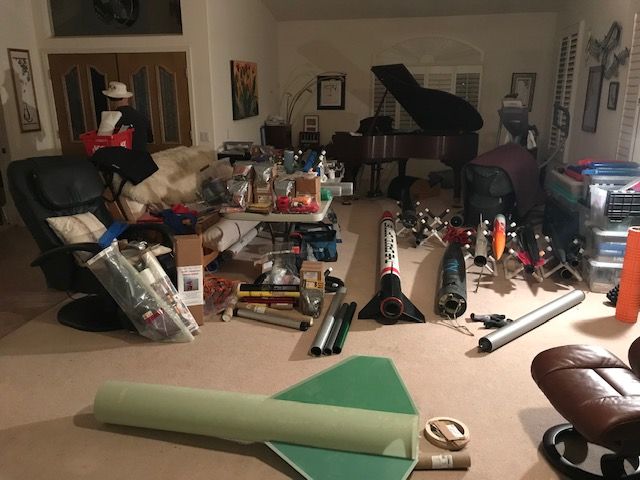
The Magician has finally reached flight-worthy status (or so it seems). The motor mount has dried, the chute and shock cord rest in their proper places. Everything is glued down hopefully solid enough to survive the blast of flight. It probably needs something more design-wise, but I think I'll wait until after the first flight. Up to this point it's the largest rocket that I've built. We'll see how well it phooshes.
Since coming out as a BAR, I have built six rockets: 2 Mosquitoes, an Alpha III (it came with a launch kit), an Estes Black Brandt III, an Apogee Blue Streak and the Magician. The Sky Shenzhou still has a few more steps to go. I have moved a little up the skill level ladder from BAR Beginner (Alpha III) to BAR Intermediate (Mosquito, which I still can't believe now qualifies as intermediate, Black Brandt III and Magician). Many categorize the Shenzhou as a skill level 3, but I wonder if level 2, or maybe 2.5, makes more sense. For my next kit, I ordered an ASP WAC Corporal (the 24mm to 18mm model), which sounds fairly challenging. I haven't built a 2-stager yet. We'll see if glory or shame results. I haven't stopped building yet since my epiphany only some months ago, but eventually I'm guessing that I'll run out of room. Epiphanies take up a lot of space.
View attachment 392381


")


![0904190944[1].jpg](https://cdn.imagearchive.com/rocketryforum/data/attachments/309/309288-6a4a966614b5c8dbf2fcb0c2fd2774fb.jpg "0904190944[1].jpg")
![0904190945[1].jpg](https://cdn.imagearchive.com/rocketryforum/data/attachments/309/309291-bb45b02251242047aae4611ad5e2f86c.jpg "0904190945[1].jpg")
![0904191054[1].jpg](https://cdn.imagearchive.com/rocketryforum/data/attachments/309/309295-044e51c4a9d9fb587fc883050f6a327e.jpg "0904191054[1].jpg")