Technically speaking you are referring to a self-clinching nut. PEM is a brand name, PEM Engineering. It's like calling all snowmobiles a Ski-doo. T-nuts are completely different. I use T-nuts in ply bulkheads, but self-clinching nuts in composites.
As far as a PEM self-clinching nut being better at bonding than another manufacturer, that is a matter of opinion. I would argue that in this application there is no appreciable difference. The differences are typically in the size, shank height and the material as well as hardness...so you can get different grades of stainless or zinc. Again for our application my only concern is the size and shank for practical reasons, and I prefer the stainless to mitigate oxidation.
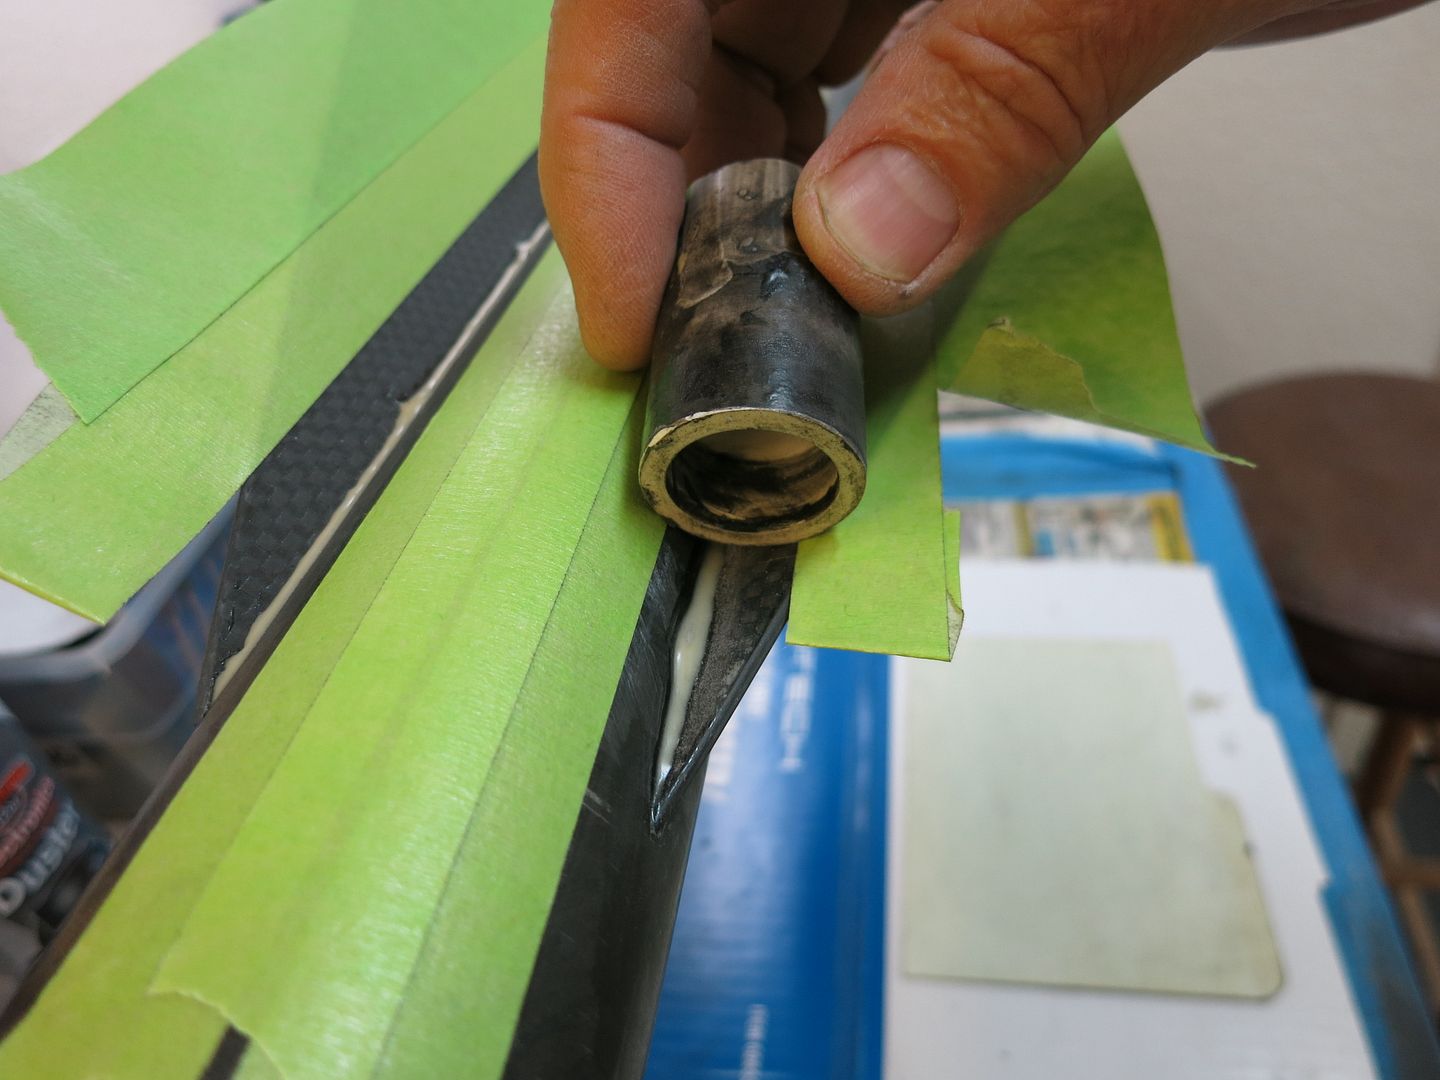
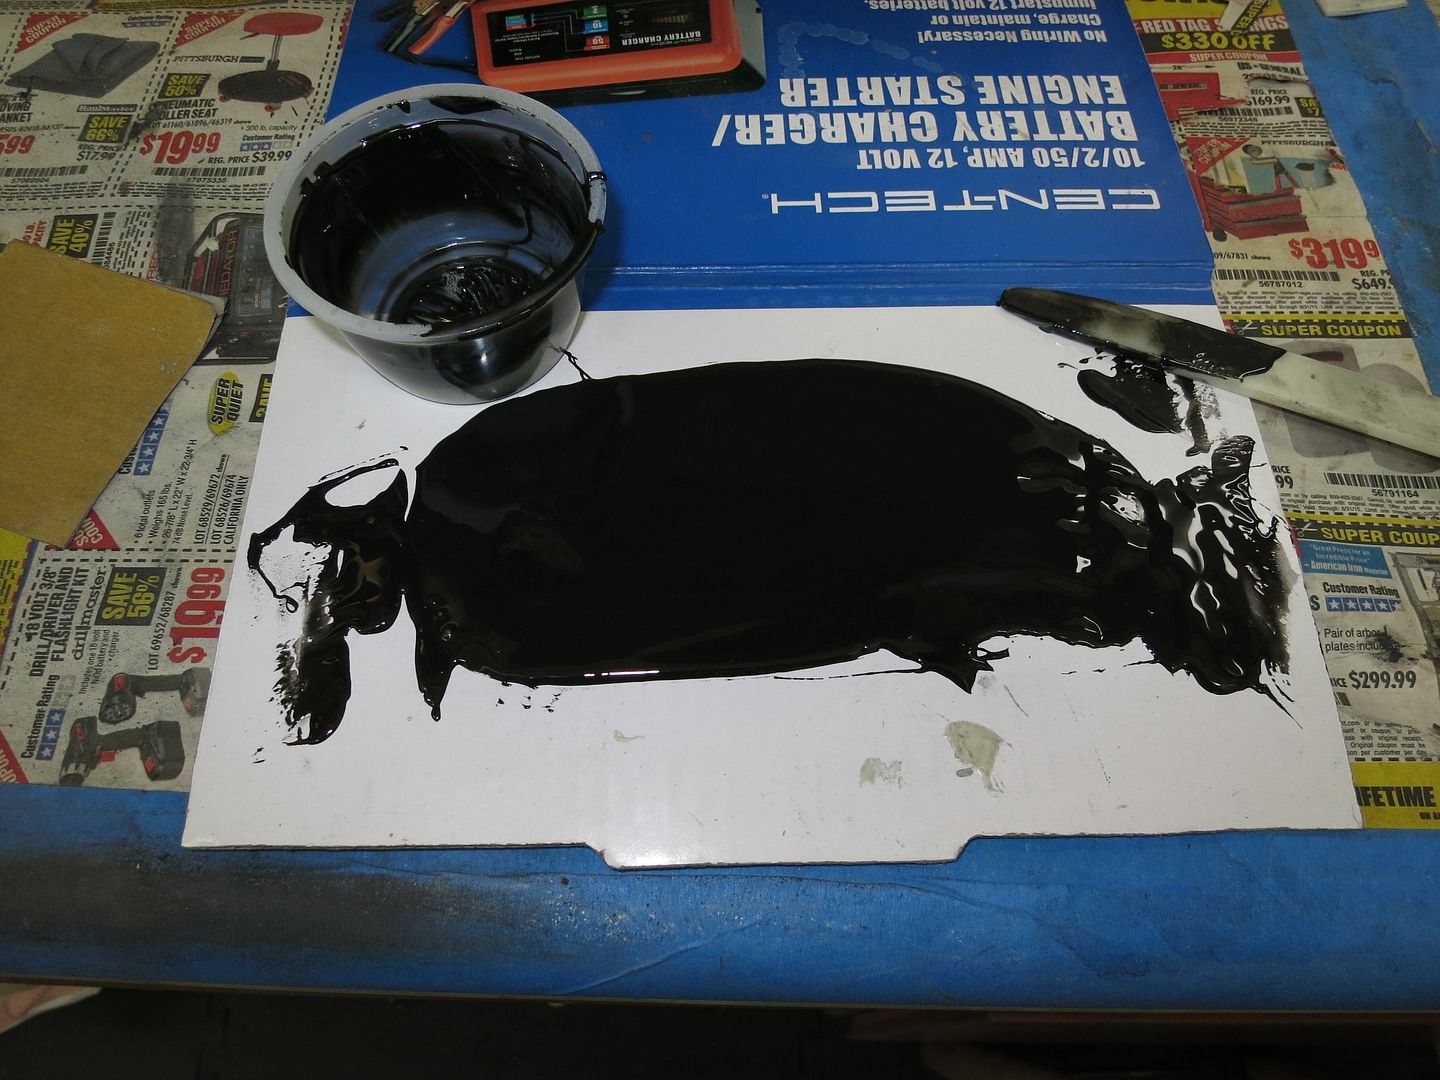
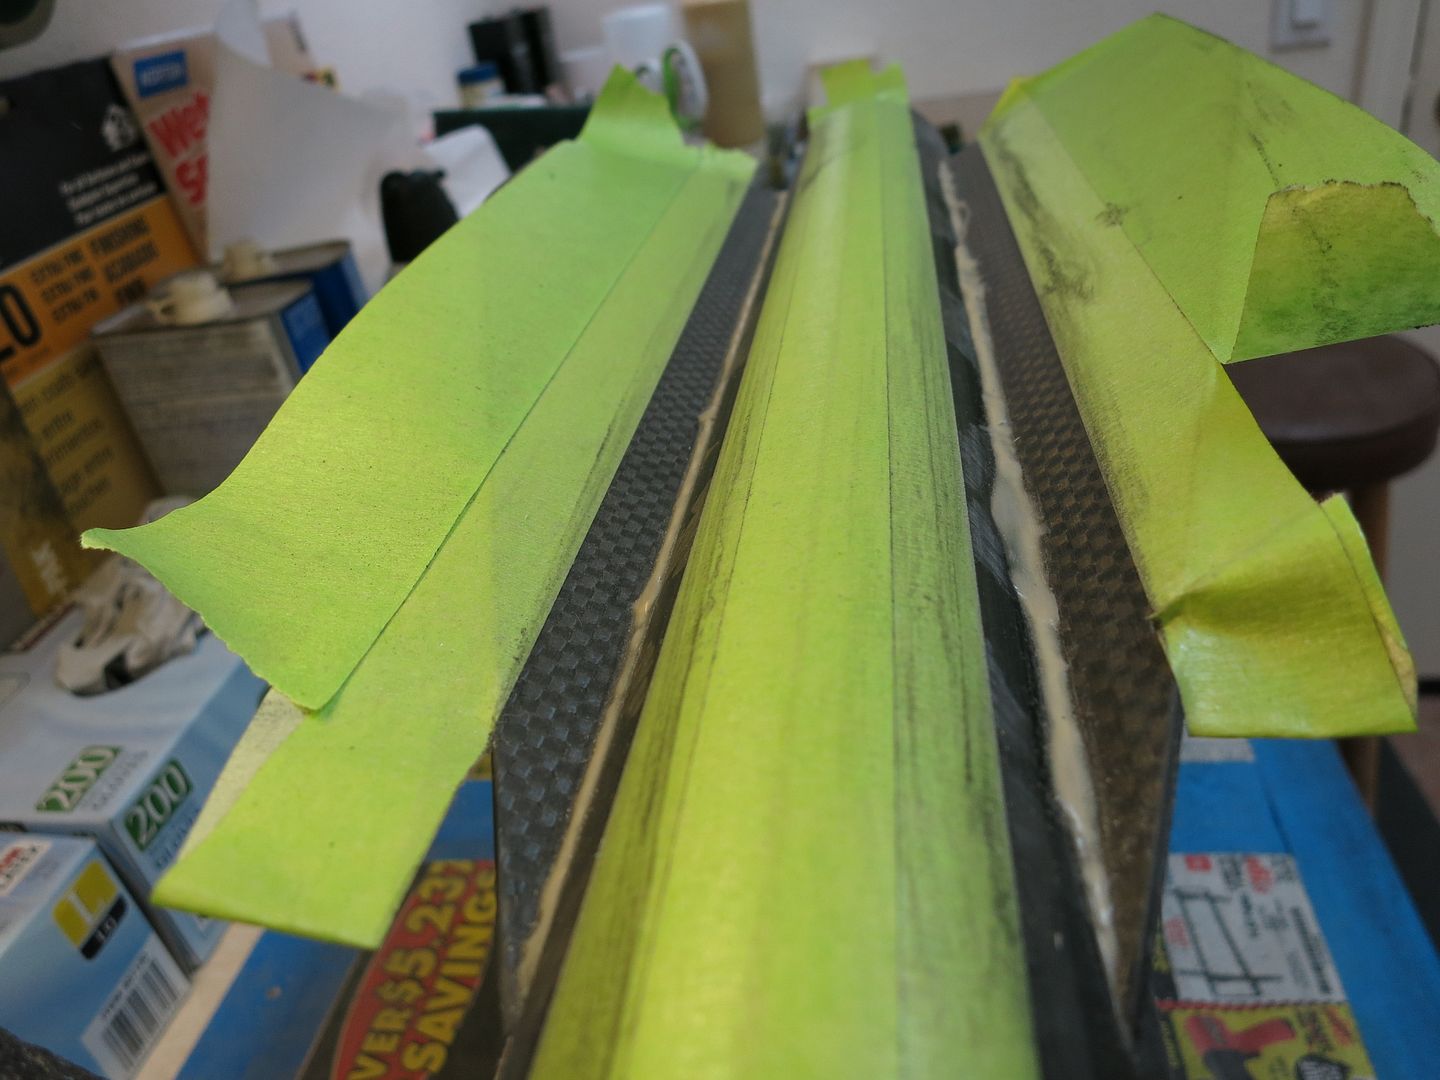
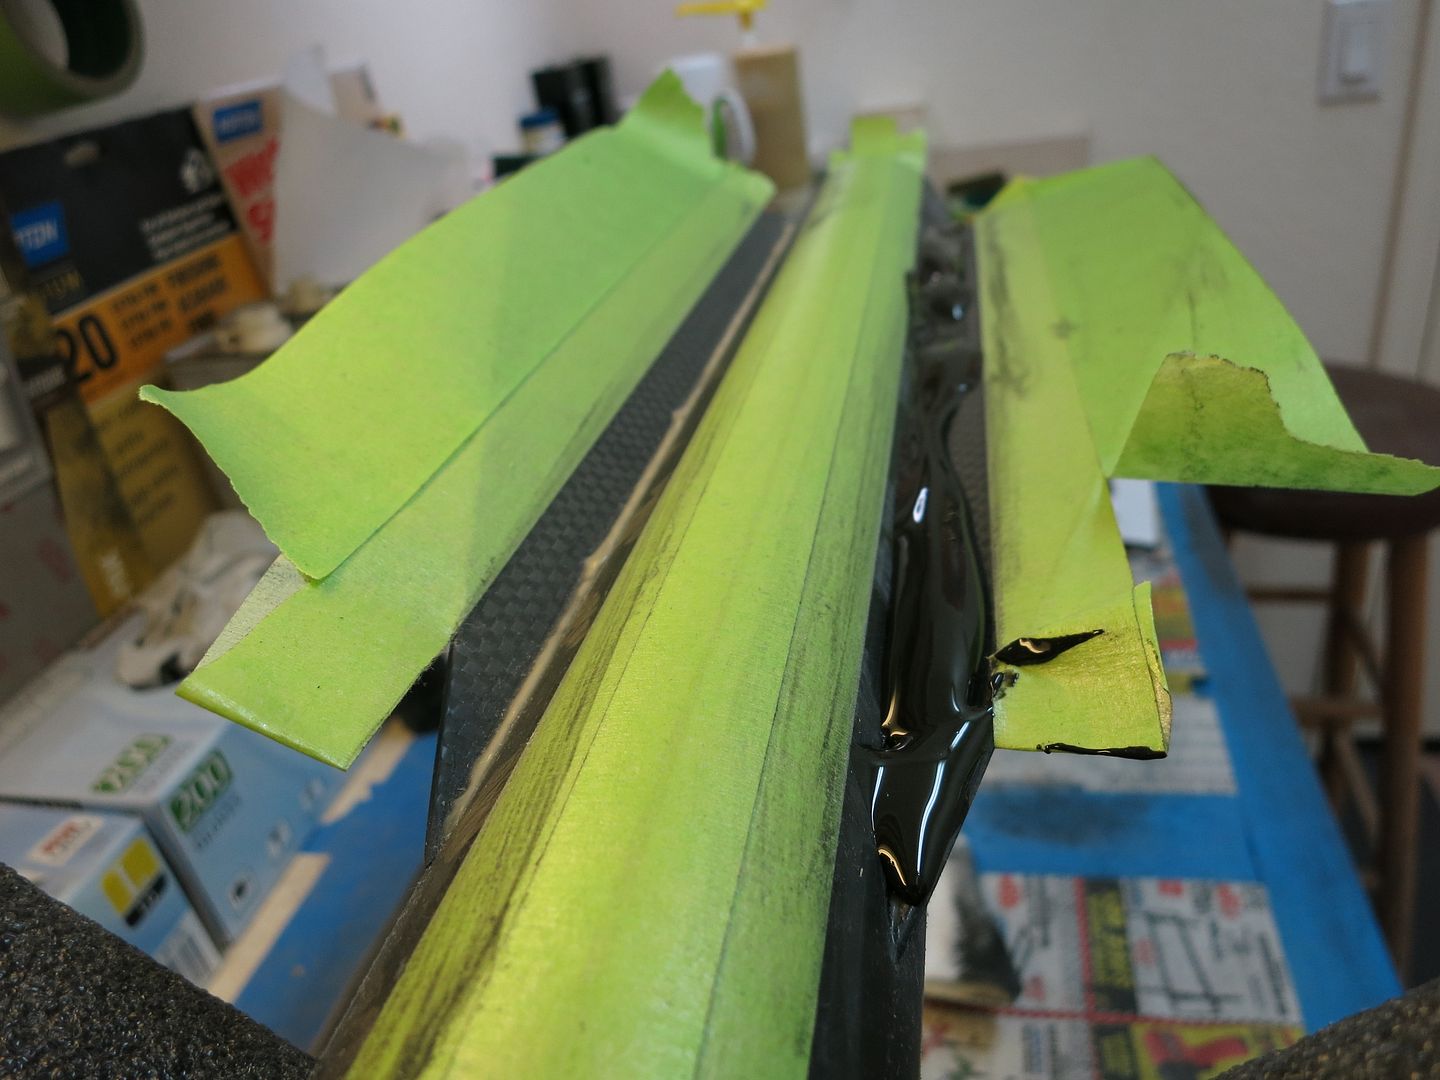
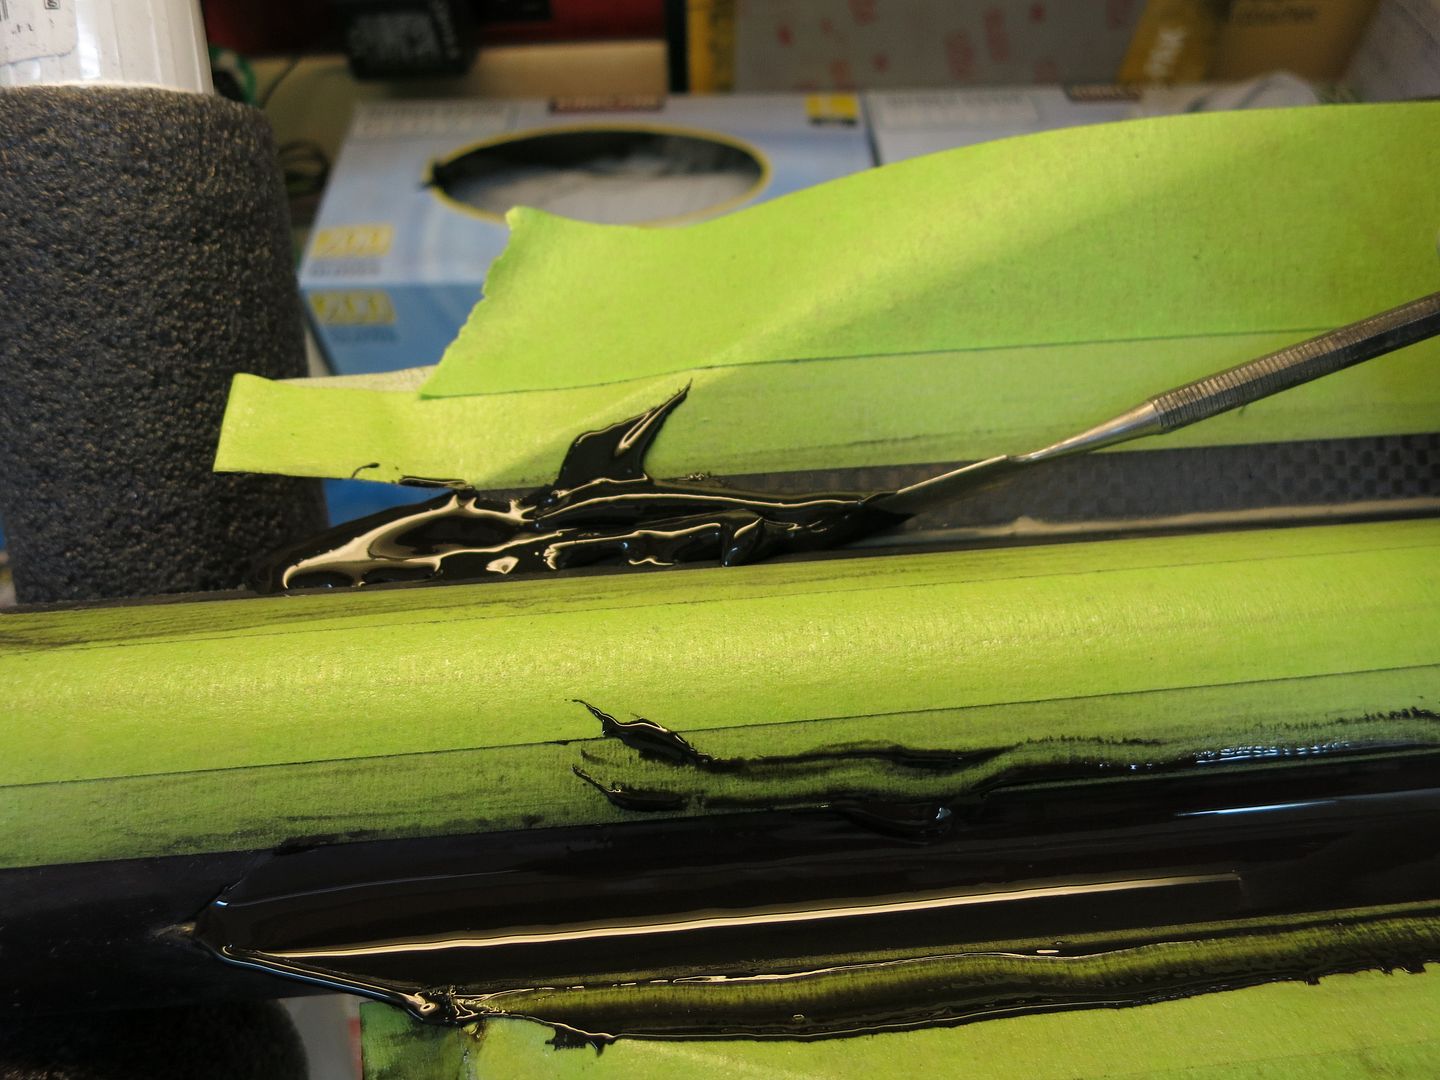
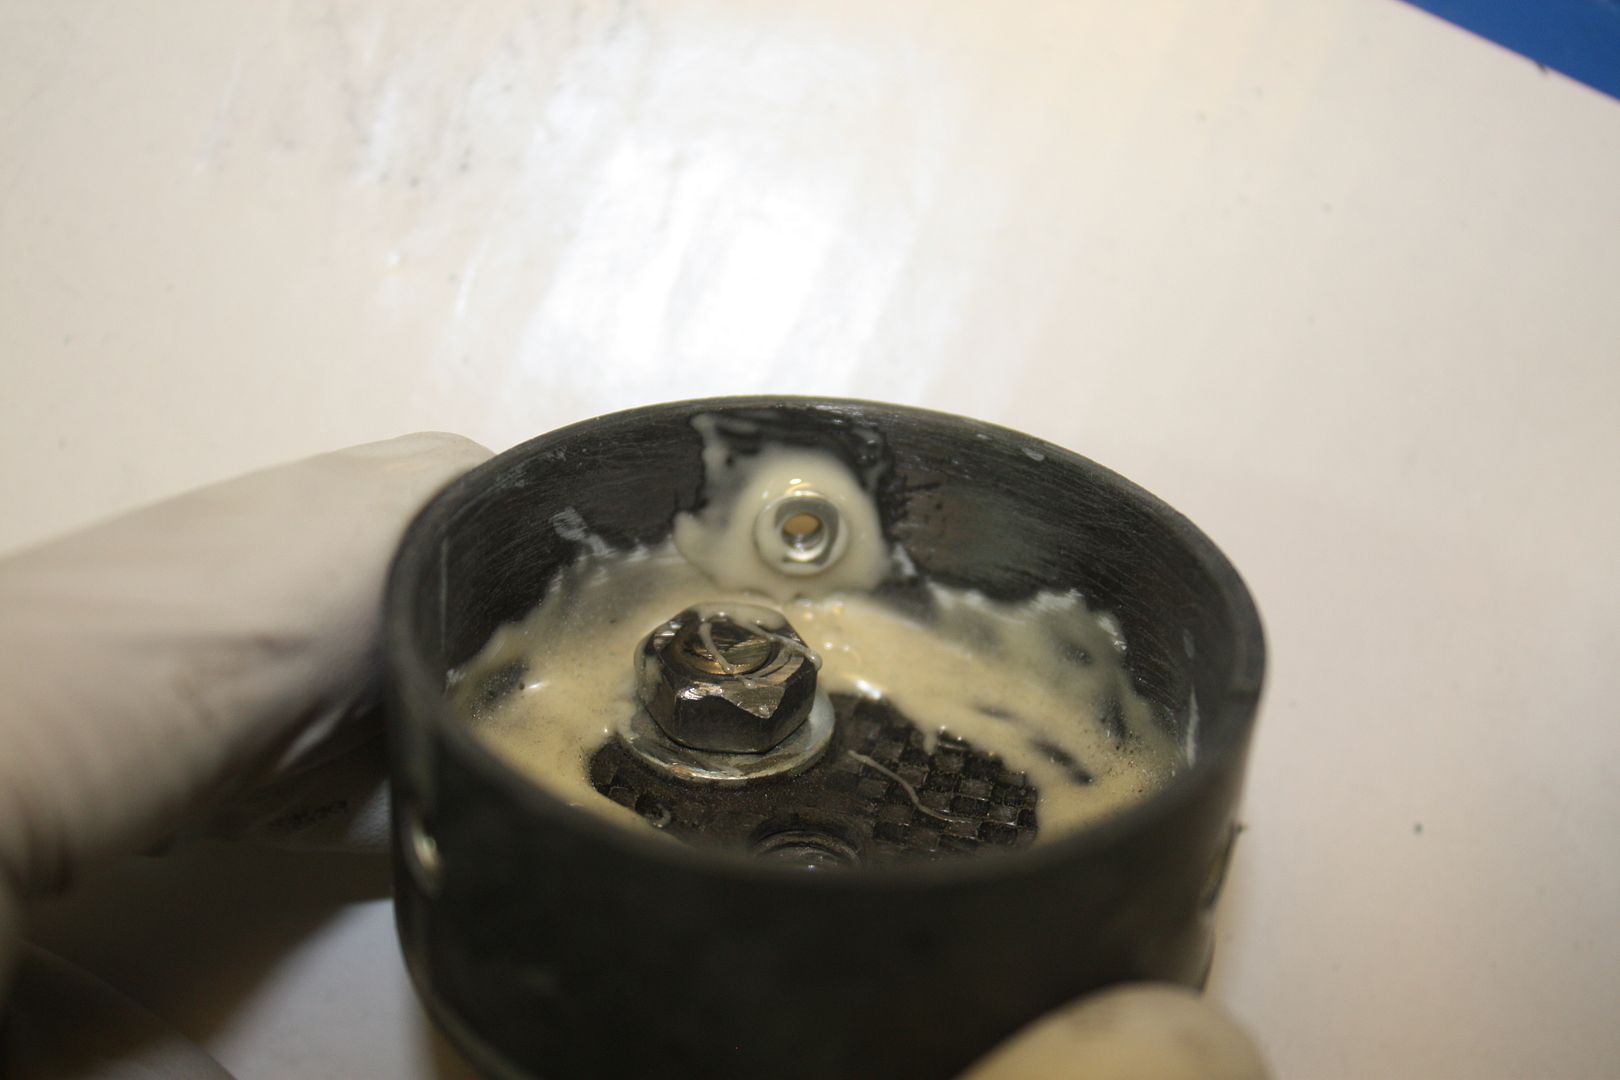
Last week a swapped three self-clinching nuts out of a nosecone for ones with a shorter shank, and I can tell you it took quite a bit of force and effort to get them out. I use Aeropoxy structural adhesive ES6209 to bond mine in.
As far as the link I provided, this is where I sourced them, which is convenient for me. However as others pointed out you may be able to source them for less. My intention was to simply provide a link for information purposes and not necessarily a source as I am located in Canada.
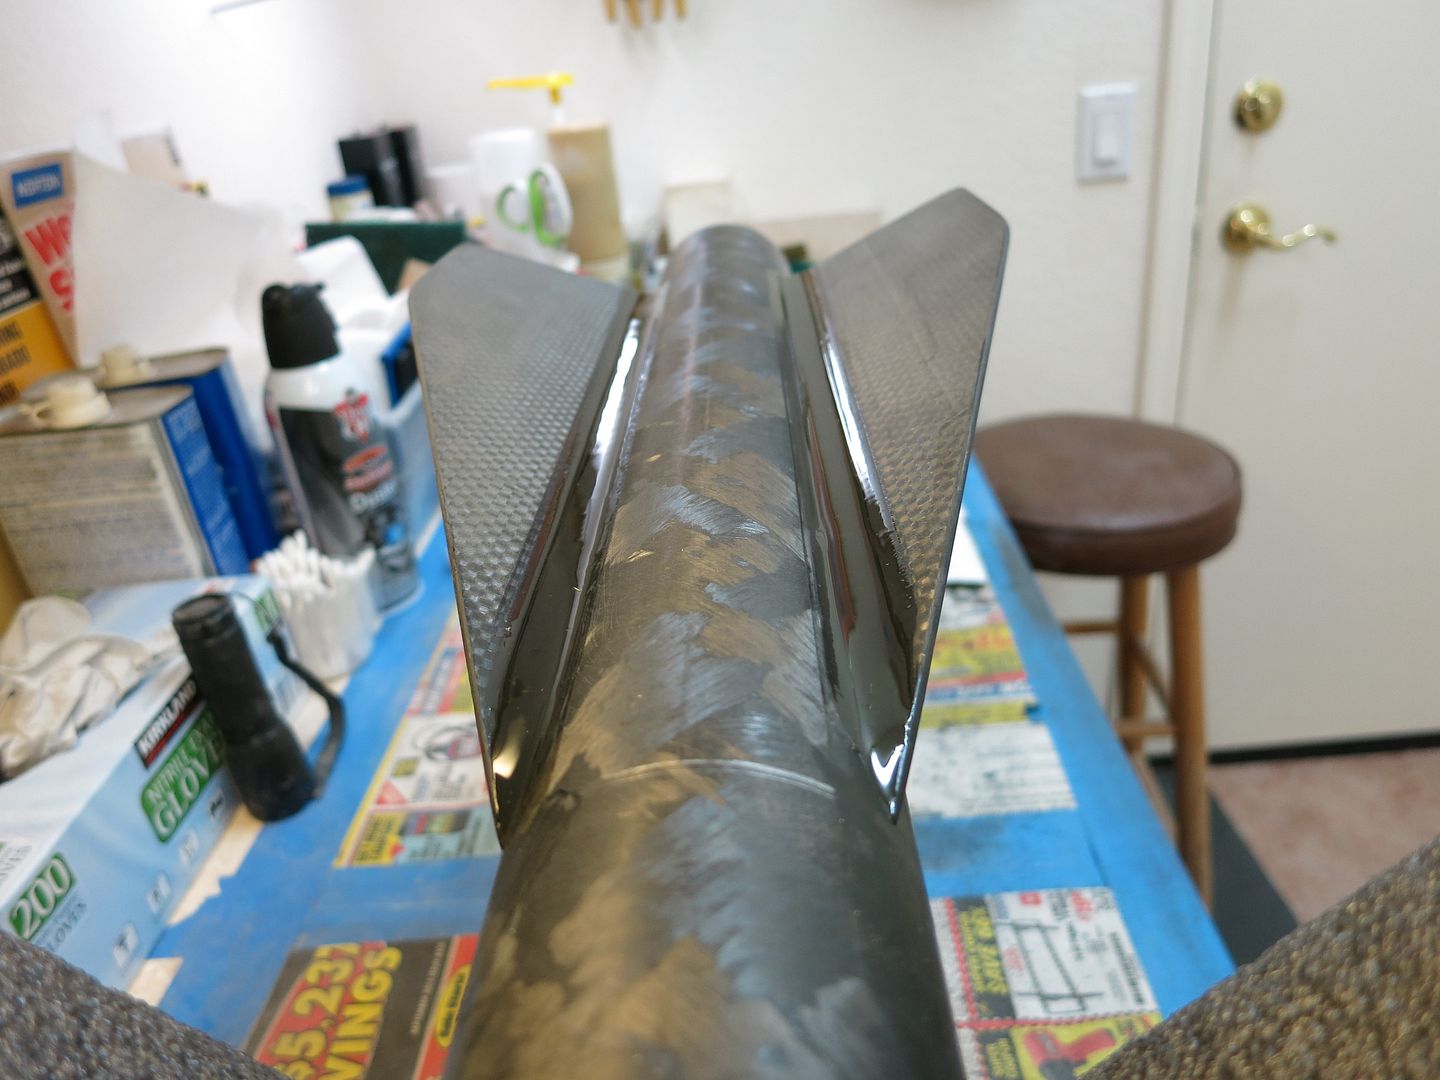
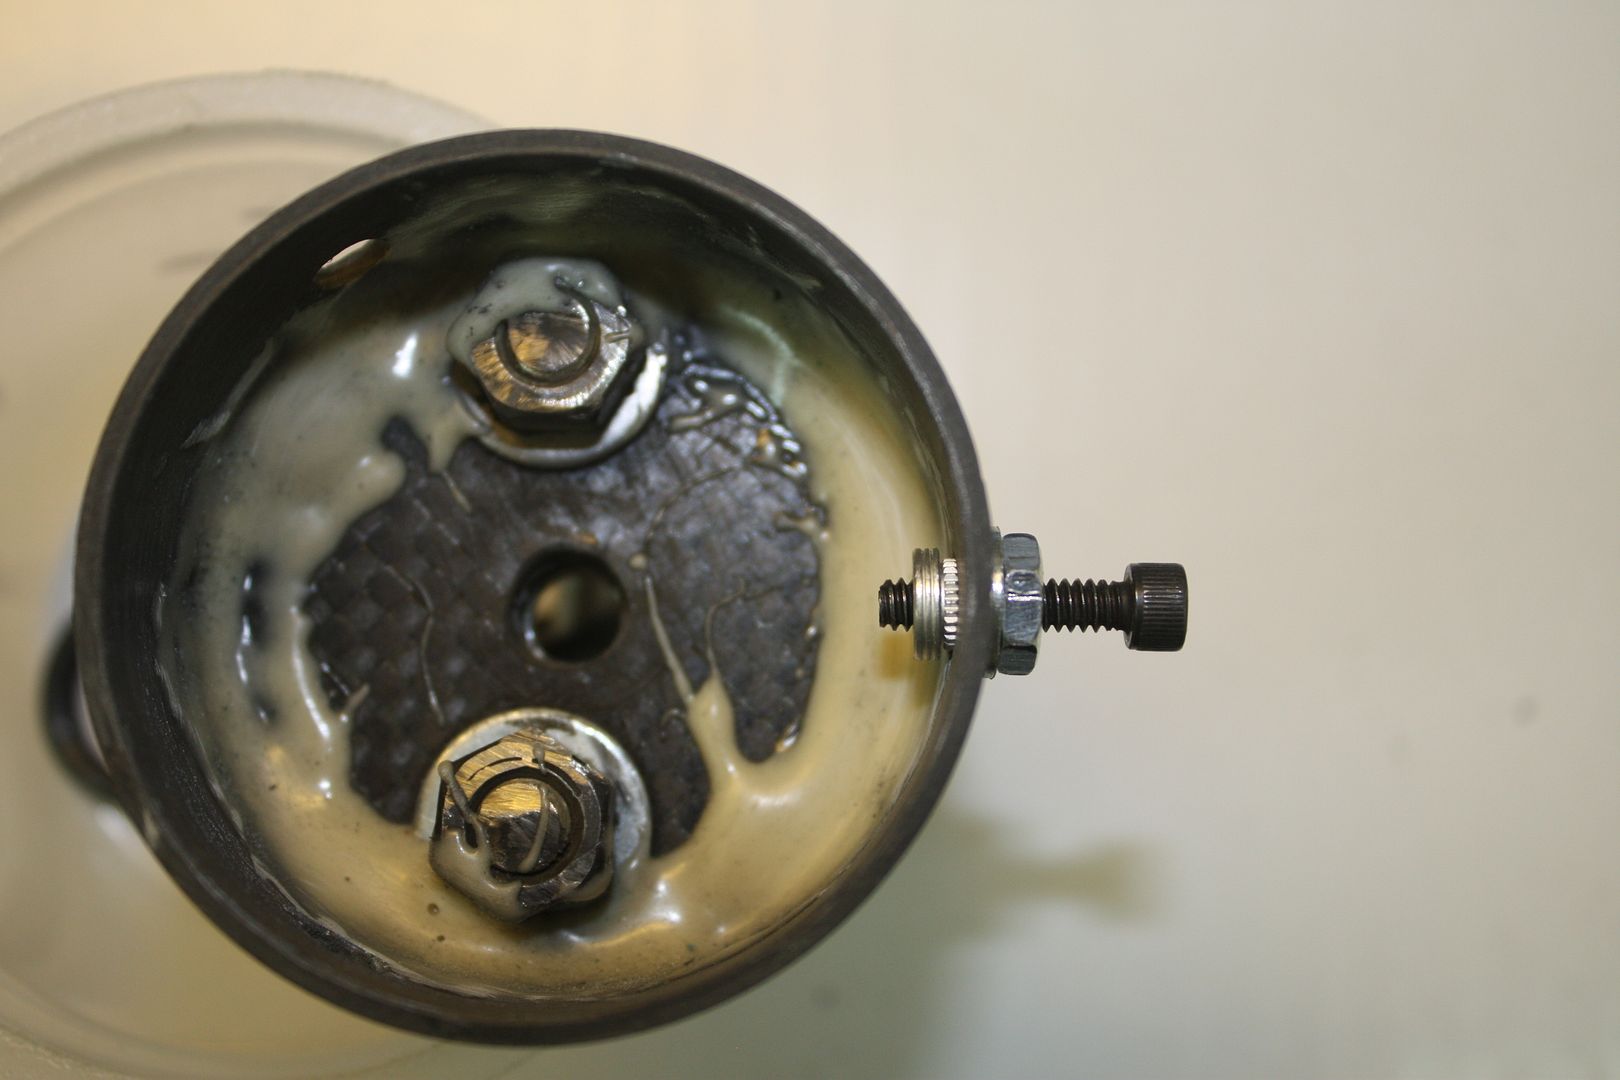
This is the shoulder of a nosecone, removed and looking from the top. It is removable, which is what the 3 self-clinching nuts on the side are for and you can see I used two self-clinching nuts in the bottom ring which secures the aft bulkhead. The bulkhead is installed with a Kevlar loop as an attachment point in lieu of a u- or eye bolt.