Anyone Build The Launch Pad Rocket ALARM?(Modified)

The Rocketry Forum

Help Support The Rocketry Forum:

This site may earn a commission from merchant affiliate links, including eBay, Amazon, and others.
Well, the PC Superpoxy seems to have set up pretty well. Meanwhile I recieved my MMT and Retainer from LOC. I read the instructions for the Aero Pack Retainer, and realized it will not fit the LOC Tube. I Emailed them, and I'll send it back. It is the only 24mm Aero Pack Retainer that LOC carries, so I assumed it would work. However, it is sized for Apogee and Estes MMTs. That's Okay, the MMT they sent me is Top Notch, and there is plenty to make multiple MMTs with. For this build, I will just go ahead and use my Estes 24mm Retainers, as they fit the LOC MMT. If LOC can't replace the Aero Pack, I may just keep it and reinforce an Estes Tube and make a MMT for a Scratch Build.

You may be able to remove the glassine layer. Scrore a ring first around the tube to limit how much pulls off. I had to do this to fit the Estes 29 mm retainer to an Aerotech tube. Depending on how much you want to use that retainer, but I think the Estes one won't look right on this model -- I'd go with a regular hook if the only way.
 
You may be able to remove the glassine layer. Scrore a ring first around the tube to limit how much pulls off. I had to do this to fit the Estes 29 mm retainer to an Aerotech tube. Depending on how much you want to use that retainer, but I think the Estes one won't look right on this model -- I'd go with a regular hook if the only way.

That's already settled. I used the Estes Retainer. It turns out that there is a different Aero Pack Retainer to fit the Tube I got from LOC. Funny thing is, LOC does'nt stock this Retainer. I e-mailed them, but was told to "Sand the Glassine Layer off." Which I had already done, but forgot to mention in my E-mail. Aero-pack has a different version of the 24mm Retainer that Fits.
 
I've never own a gun or rifle. But if I ever wanted to simply go shoot for the fun of it, I would be on a plane to Paul's place! So many different ones to try! Must be fun! :cheers:
 
Last edited:
I'm still working on sanding down the Fin Fillets, as I really Butchered them. This is good though because I am noticing other imperfections and knocking them down as I go. Definitly not going to ba launching this month. I have to get to work on my Rail Launcher anyway, as this is my first Rail Launched Rocket. I have a Sharpened Piece of Rebar that I am going to affix to the Bottom of the Rail with Hose Clamps. I will then simply Spike it into the ground. This will work for now, til' I can afford to build one with one of the Clamping Workstands.
 
Now you've done it. The NSA will be watching us for sure with all those firearms floating around.:wink:
I have built a couple of THP kits and really like them. Great job
 
That's already settled. I used the Estes Retainer. It turns out that there is a different Aero Pack Retainer to fit the Tube I got from LOC. Funny thing is, LOC does'nt stock this Retainer. I e-mailed them, but was told to "Sand the Glassine Layer off." Which I had already done, but forgot to mention in my E-mail. Aero-pack has a different version of the 24mm Retainer that Fits.

Not to mention, I sanded the "Glassine Layer" off to use the Estes Retainer too, as roughing up the Mating Surfaces is Common Sense.
 
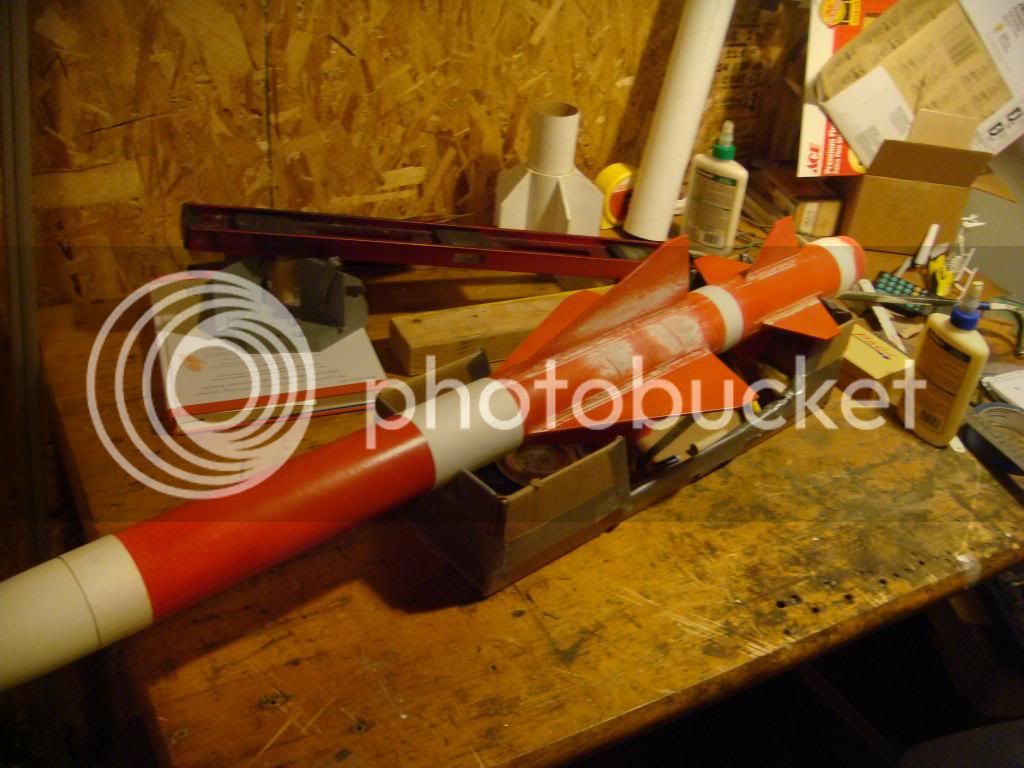
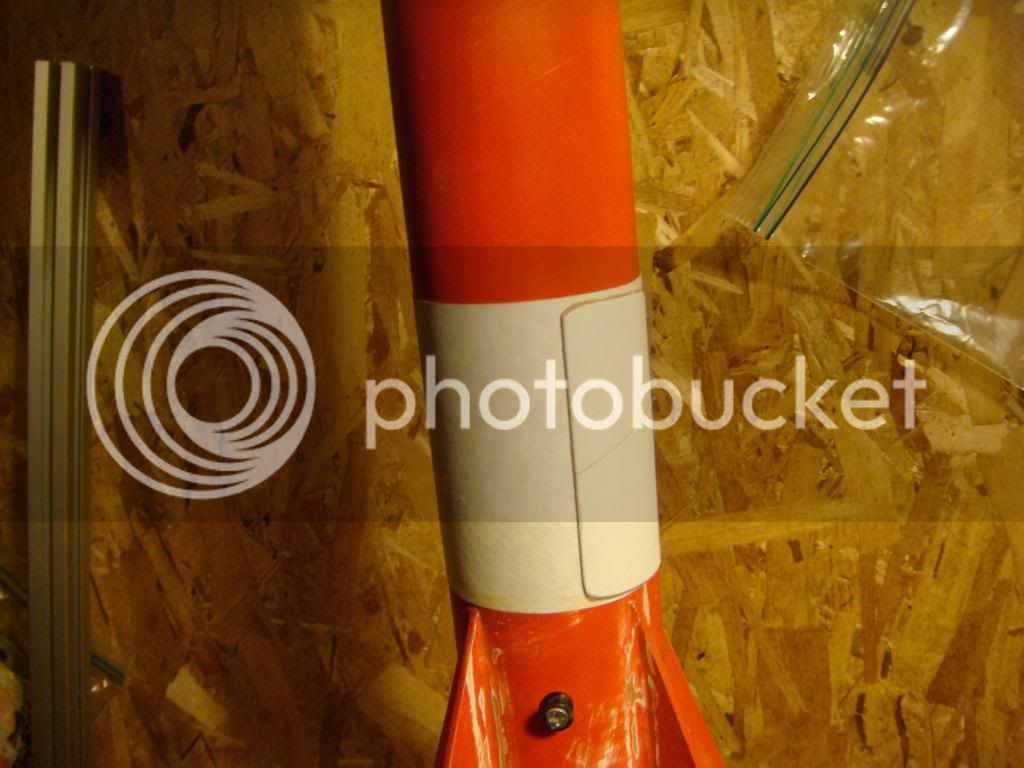
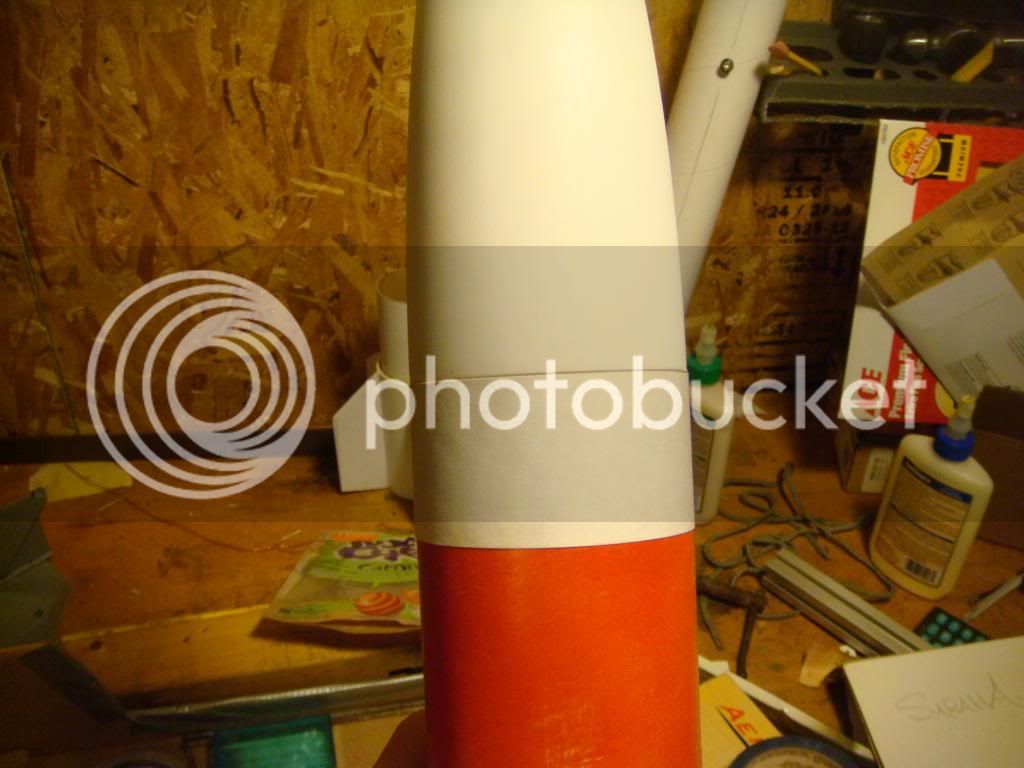
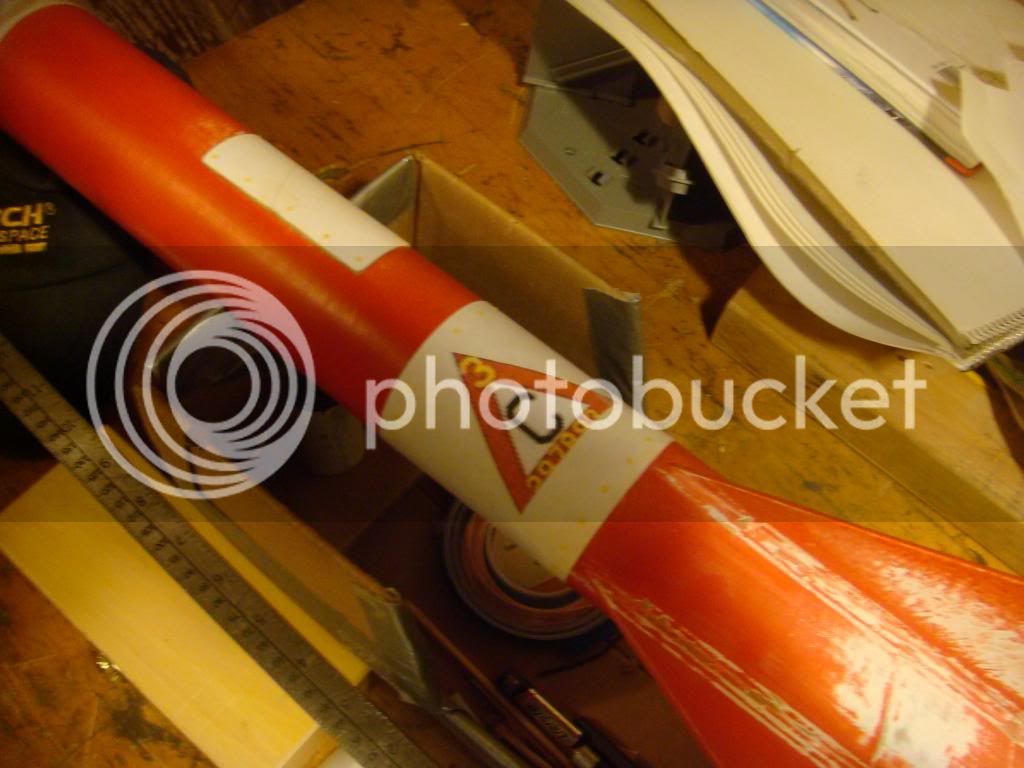
Tonight, I cut out and fitted strips of 80lb. Card Stock and made 2 "Hatches" out of a different Tube, to glue on as Detail Decoration. Paul, A.K.A. "Sodmeister", does this on his Models and they look phenomenal with these added touches. I figure this Rocket is a good one to begin practicing those Techniques on. I still need to get more Sandpaper to finish cleaning up the Fin Fillets with. I still need to put together a decent Rail Launch Pad, and need to order some Motors, so I'll just bide my time and focus on the Detail Work for the next couple of Weeks. I had wanted to test Launch this Rocket with a D12-3, but after having added the Weight to the Nose Cone, I realize I need to use something like an E15-4 Composite Motor for my first Launch.
 
Tonight, I cut out and fitted strips of 80lb. Card Stock and made 2 "Hatches" out of a different Tube, to glue on as Detail Decoration. Paul, A.K.A. "Sodmeister", does this on his Models and they look phenomenal with these added touches. I figure this Rocket is a good one to begin practicing those Techniques on. I still need to get more Sandpaper to finish cleaning up the Fin Fillets with. I still need to put together a decent Rail Launch Pad, and need to order some Motors, so I'll just bide my time and focus on the Detail Work for the next couple of Weeks. I had wanted to test Launch this Rocket with a D12-3, but after having added the Weight to the Nose Cone, I realize I need to use something like an E15-4 Composite Motor for my first Launch.

I find the old hatch & cardstock technique works great on all matter of rockets.I just did the same thing on my Madcow HoJo ,a much bigger kit ,but in dire need of detail.

Old Brady does a super job on these kind of added details,he is indeed a master of the build ,and i might say.....a better man than me.

If you want to add those little rivets ,thick white glue, applied with a pointy toothpick looks great.Just dab into the glue and dab onto the areas where you want them.let dry and voila.....rivets.

Don`t worry if they look too big ,the glue dries and shrinks and they turn out great.

Try it !


Paul T

Thanks Paul!
Who is this "Old Brady" of whom you speak? I'm just trying to learn to employ some of your Techniques. I have a hard time thinking there's someone out there "One Upping" your work.
 
Thanks Paul!
Who is this "Old Brady" of whom you speak? I'm just trying to learn to employ some of your Techniques. I have a hard time thinking there's someone out there "One Upping" your work.

His handle is "bradycros" and he is one hell of a craftsman ,this fellow knows how to build a superb rocket from scratch and kit.

He`s here quite often ,although not much as of late.

He has some really really nice builds here on TRF !!


Paul T
 
All true. Check out Paul's and bradycros' threads. Lots to learn. Boosterdude does some wicked builds but IIRC not to many complete build threads. Oh there are several others. Scottydog... hornetdriver (F18 pilot?) and more. Too many to list. Etc...
 
All true. Check out Paul's and bradycros' threads. Lots to learn. Boosterdude does some wicked builds but IIRC not to many complete build threads. Oh there are several others. Scottydog... hornetdriver (F18 pilot?) and more. Too many to list. Etc...

I agree ,there is a large pool of great hobbiests and builders here on TRF ,much may be learned from them !


Paul T
 
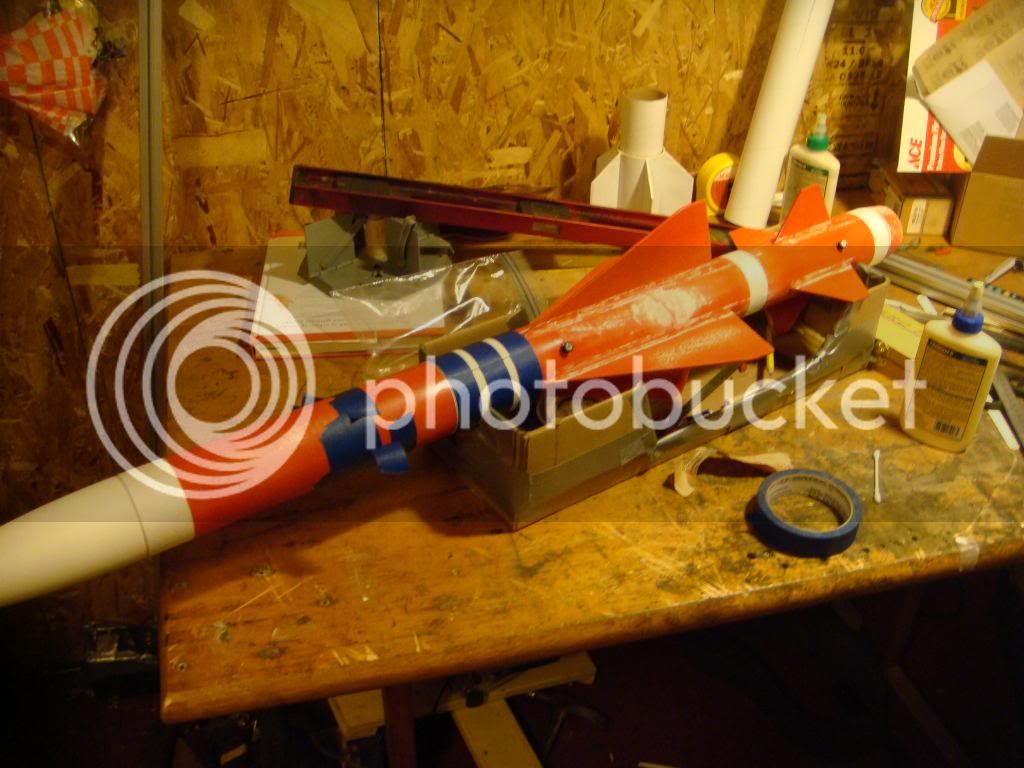
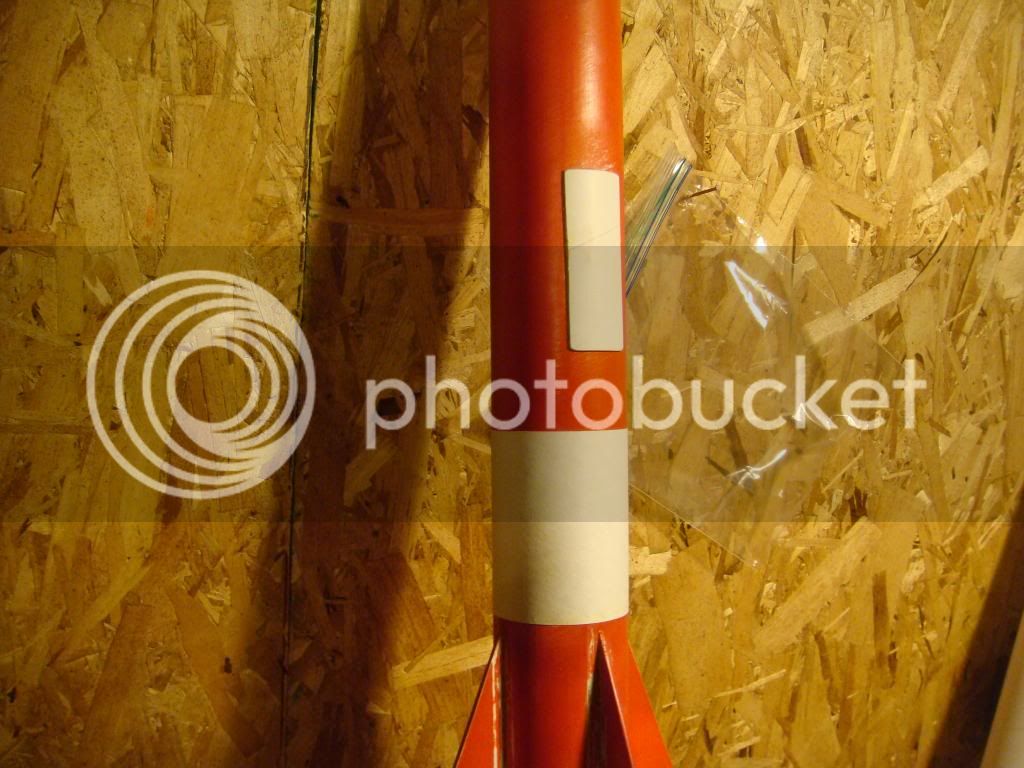
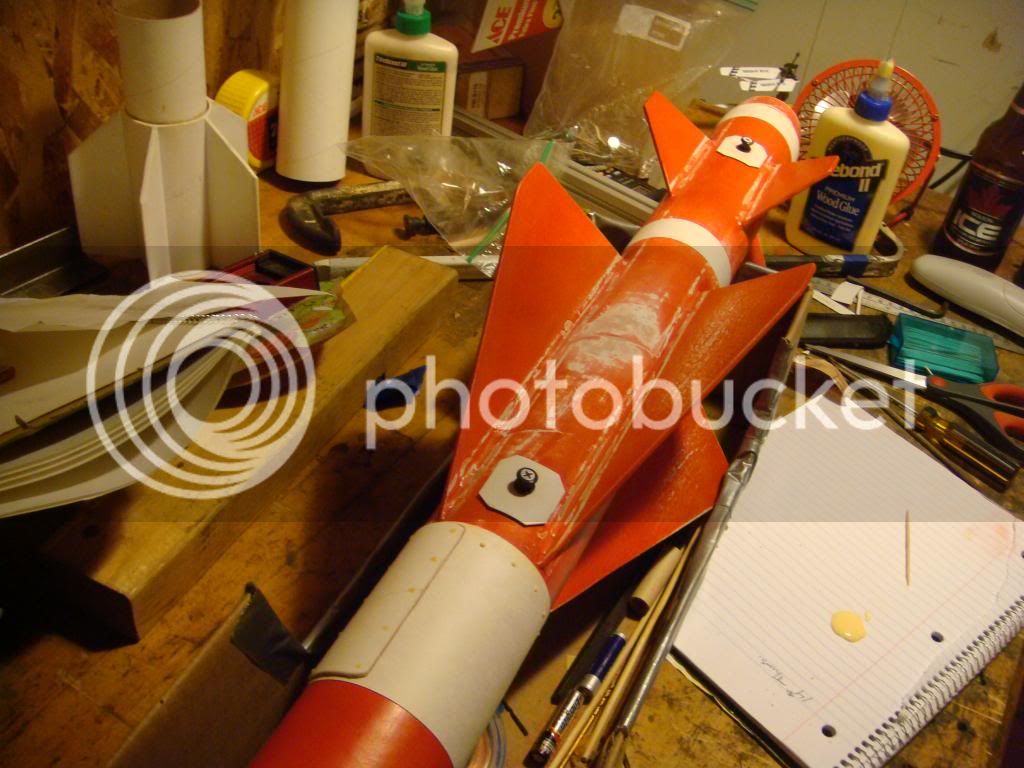
I put on my Cardstock "Bands" and two "Hatches" made from some extra Scraps of Body Tube. The process reminded me of papering Fins. I sanded the Body Tube where I wanted to apply these. I spread the Titebond II evenly on the Cardstock and they went on with no issues. The faux Hatches I have tightly taped to the Tube til' they dry.


Last edited:
I find the old hatch & cardstock technique works great on all matter of rockets.I just did the same thing on my Madcow HoJo ,a much bigger kit ,but in dire need of detail.

Old Brady does a super job on these kind of added details,he is indeed a master of the build ,and i might say.....a better man than me.

If you want to add those little rivets ,thick white glue, applied with a pointy toothpick looks great.Just dab into the glue and dab onto the areas where you want them.let dry and voila.....rivets.

Don`t worry if they look too big ,the glue dries and shrinks and they turn out great.

Try it !


Paul T

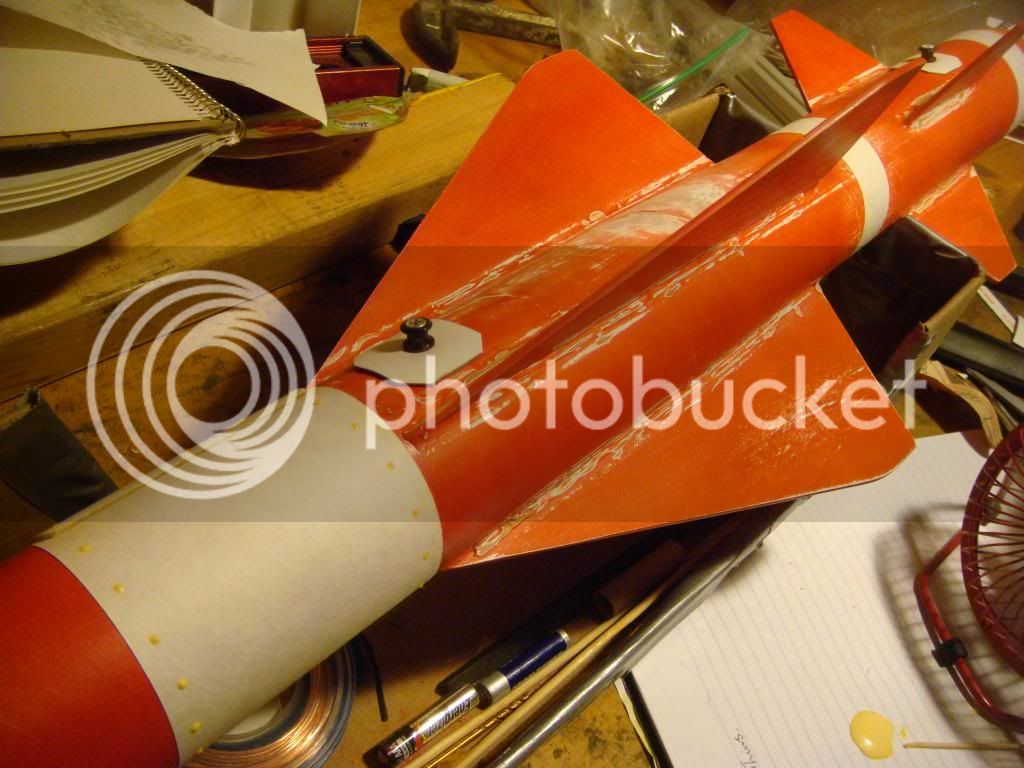
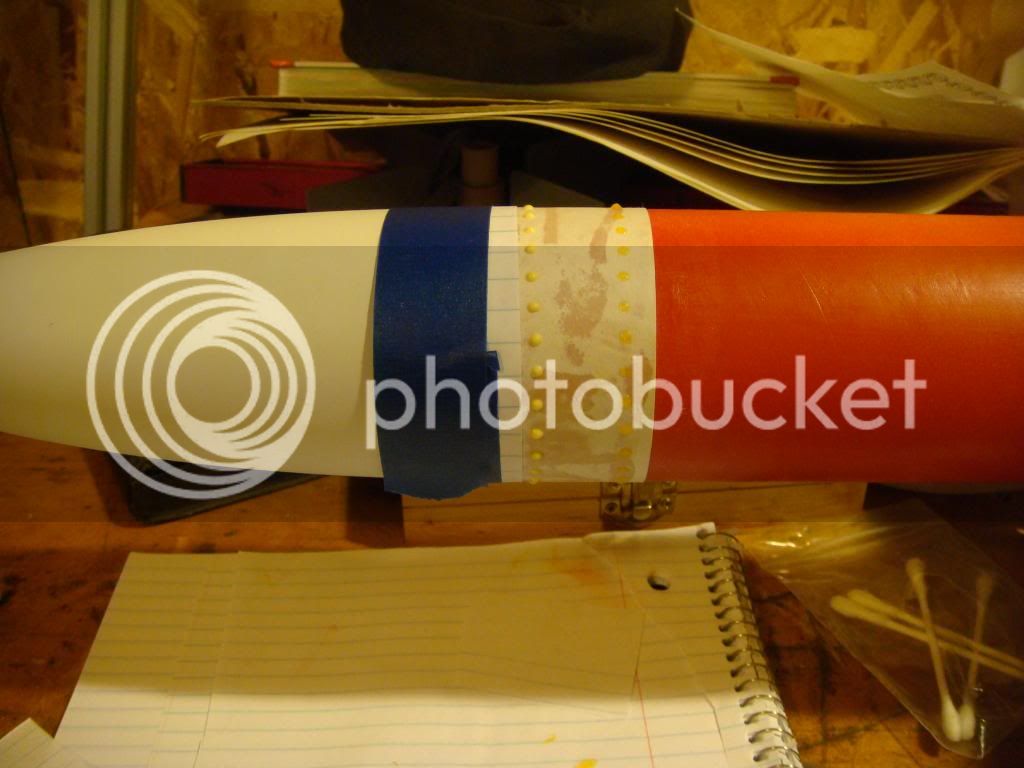
Took your advice, and started doing the Glue Rivets.
 
I'm getting carried away! What fun this Detailing is! Thanks Paul, for inspiring me to go this route. From now on all Rockets will have Glue Rivets, Bands and Hatches. This is gonna' look killer when I'm done and get some Paint on there. I'm going with a Drab Tan Camo theme, like something you'de find in the Desert. I'll paint all the Rivets by hand and add a few random Stencil style Decals to make it look militant.
 
I'm getting carried away! What fun this Detailing is! Thanks Paul, for inspiring me to go this route. From now on all Rockets will have Glue Rivets, Bands and Hatches. This is gonna' look killer when I'm done and get some Paint on there. I'm going with a Drab Tan Camo theme, like something you'de find in the Desert. I'll paint all the Rivets by hand and add a few random Stencil style Decals to make it look militant.

Here's a few ideas you may like.

nike ajax 017.jpg

sizzler 290.jpg

sizzler 297.jpg

Sparrow 423.jpg

Sparrow 427.jpg
 
A few more Rivets. I have a small Fan directed at the Model, and it seems that Rivets take about 45 Minutes to dry. When I first started doing them, I was worried they would run if Gravity had its way with them. Turns out, you can go all the way around the Body Tube with them, then set it aside to dry, and they stay where you put them. This is with the Titebond II.

 
I just got my Printer today! Now I can make my own Graphics!


It's on now!!!!
 
Last edited:
Here she is. $60.30 to my Door from Sears. It has a marked down Price, free Shipping, and I cashed in $2.47 in Reward Points. I like it.

 
I just tried homemade decals on two recent rockets, using inkjet decal paper from https://www.decalpaper.com/. Worked great once I got the hang of it (I practiced on a paper towel tube first).

View attachment 151745

That's beautiful Work Rich! I went on Amazon and found Avery Brand Clear Sticker Sheets. They get good reviews, and I'm gonna' try them out.
Like I said in the Thread about military Style Graphics, I don't mind having to use a Hobby Knife to cut out Graphics or Lettering. My Mother was the Art Director for the "Suburban News" in New Jersey back in the early 80's.
She taught me to use X-acto Knives at age 4. She recently gave me her Compass Set.

 
Back
Top