Wildman Sport DD, AKA Billy The Kid

The Rocketry Forum

Help Support The Rocketry Forum:

This site may earn a commission from merchant affiliate links, including eBay, Amazon, and others.

RKeller

Well-Known Member
Joined
Jul 31, 2014
Messages
1,055
Reaction score
24
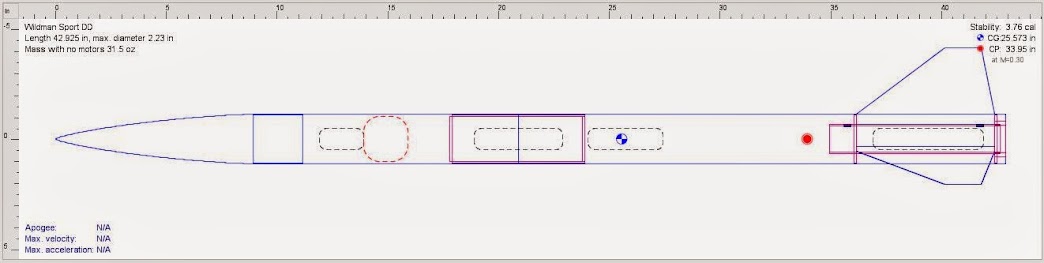
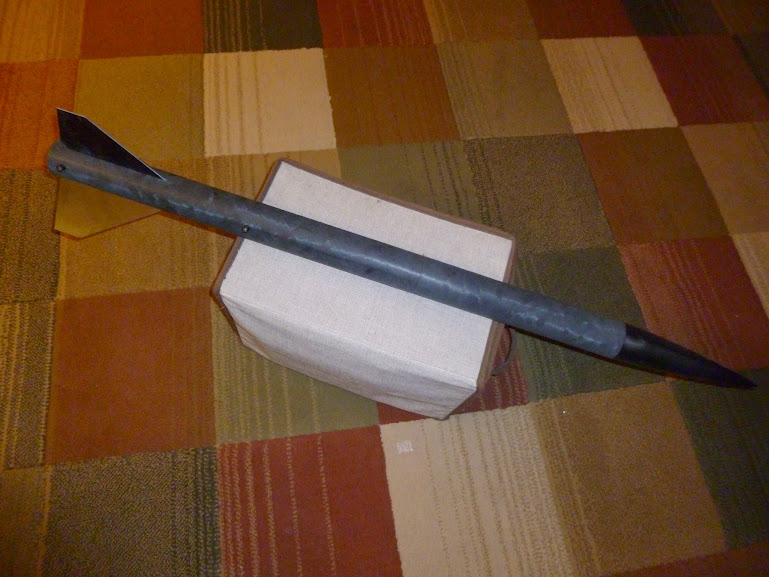
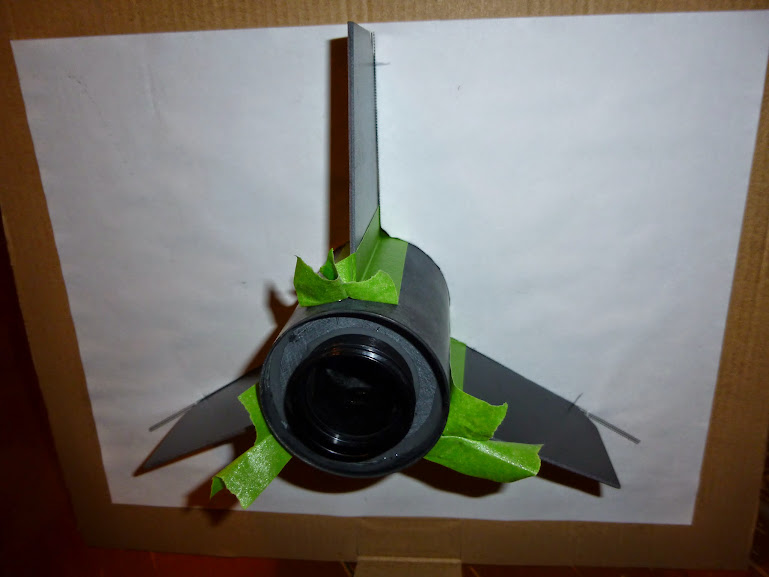
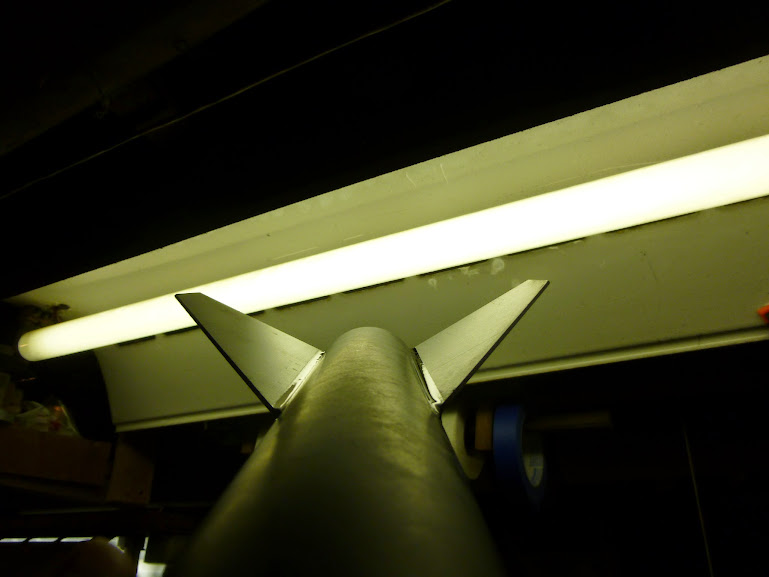
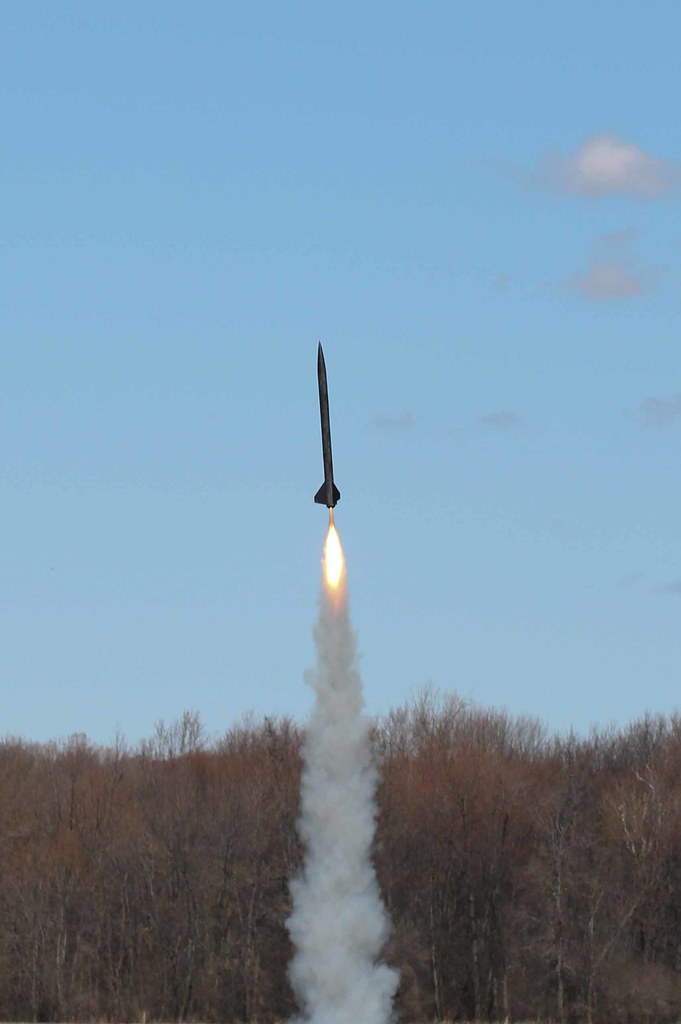
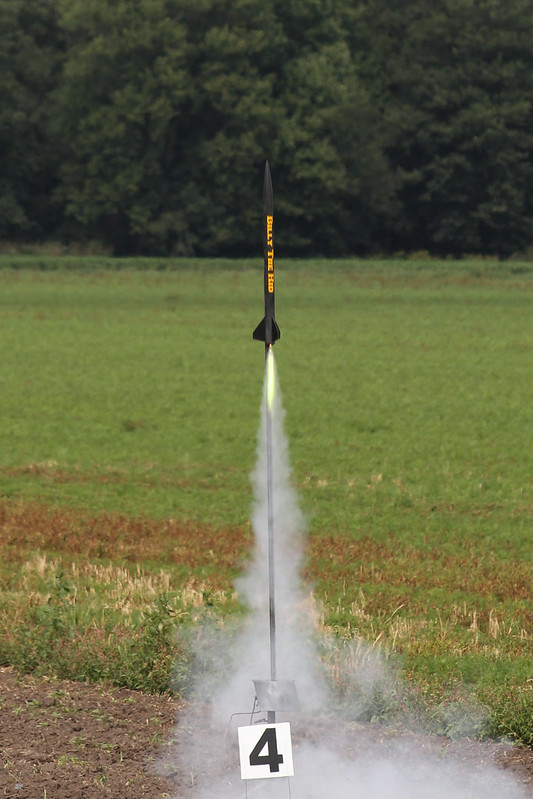
one of the kits in my build pile is a Wildman sport I picked up a while ago. I picked up a 12" payload tube and 6" coupler to make it dual deploy. my goal with this kit is to build a lightweight yet durable rocket to fly on 29mm G and H motors. I am going to build it as light as I can keeping the "sport" flyer in mind. So far all I've done is wash everything and start to clean up the edges and mock up the parts. I also weighed every piece to get a good idea of the build weight. it's looking like 2 lbs might be possible (without motor) which should fly real nice on G and H motors!
Wildman%2BDD.JPG
 
I decided to start building this one too. what the heck, why not build 4 fiberglass kits at the same time? I'm going to try to use epoxy sparingly on this build to keep the weight down. for the shock cord mount I'm using a loop of 1/4" kevlar. I'm going to use 1/8" kevlar for the shock cords but I wanted the Y harness to be a little tougher since it gets glued in.
012.JPG

013.JPG
 
washed, sanded slots and squared up the tubes, washed, drilled for rail buttons, washed and wet sanded again, cleaned with alcohol, then using a small bead of JB weld glued in the motor mount's front centering ring only. used the extra JB weld to install the rail buttons. stuck the fins in just to see how it will look.
002.JPG
 
all buttoned up. hopefully I didn't use too much epoxy. I put tiny ~1/8" fillets on the internals then put the rear centering ring and retainer on. I'm going to do 5/16" diameter fin fillets with rocketpoxy.
013.JPG
 
I used rockepoxy with the included black dye for 5/16" diameter fillets. the back half is done and it weighs in at 13.97oz. not too bad for 54mm fiberglass. now if I can keep the ebay weight under control it should stay under 2lbs. we shall see.
024.JPG
 
got the ebay done, setup for one altimeter and I'll use motor eject as a backup. I used a missileworks screw switch but swapped out the phillips screw for a low profile socket head cap screw that takes a 5/32 hex. that way I can just reach through one of the vent holes to arm it.
UmjTwxdCvNeMrFFn6Zcd-0v_6mA6ku-lvIGnpe5nP1g=w769-h577-no

007.JPG

I made the ejection charge caps from some high temp glass filled plastic and made some eye nuts from aluminum
001.JPG


hopefully do some ground testing tomorrow.
 
Last edited:
I also made this nose cone sled for my other GPS tracker to go into this rocket and the Scarab 54.
003.JPG
 
used 0.8g of 4F in both ends and up she went! perfect flight on an AT H128. Pics courtesy of David McCann (Dizwolf)
17246039716_ba7f37c0f3_b.jpg
17270217962_15bf4d925a_b.jpg
17246040226_ee653b784f_b.jpg
 
Last edited:
Stickers! usually I put them the other way but this way it can fly as Billy The Kid, or just The Kid...
JdMzieaCTBVuKq9m6ejlZ-drb1uHlSjKYGAbNmysrdg=w890-h667-no

Friday night LDRS34 launch on a CTI H255 to 3k feet.
qivqOssUonXZyfANK5Ct4DFpdDuZJXx_DvhH2z9g8mk=w526-h623-no
 
When I go to Wildman web site he don't show the dd kit for that rocket. So does that mean he will make one up for this kit.
About how much did he charge extra for the dd kit.

I see that you went with 1/8 cord instead of 1/4. Is that to save weight or space. How long is you cords. And what size of chute did you use. It look like in the picture you did not use a drogue put it looks you did have a sheet of something on the cord.

Do you have a rocksim file for this rocket. If so could I get a copy of it.

Also I like the ejection charge caps and eye nuts from aluminum. If you make them would you consider selling me a set. That looks like it would save some weight.

Kevin
 
I had to call and ask for the parts to make the kit DD. you can do that for any of the sport kits. I do not remember exactly what I paid but it wasn't too bad.

I actually ended up using 1/4" kevlar on this, during my build I saw a wildman Jr kit with 1/8" kevlar separate at the field so I just went with 1/4. I used 20ft for both cords. probably longer than it needs to be but the 1/4" packs well and I like the longer length. also the drogue cord has a loop tied about 5 feet from the end where the nosecone is attached. I do fly it drogue less. I use a nomex chute protector just to wrap the shock cord in so it doesn't get a direct blast from the ejection charge. The chute is a top flight 30" regular flat chute, works well.

I don't have rocksim but I do have an open rocket file I'll attach to this post. in regards to the charge wells and eye nuts, I don't have time to make my own stuff, let alone stuff for other people, sorry. you can use 10-32 eye bolts or a loop of kevlar with a knot through the bulkplates. a glop of good epoxy on the back side of the plate will keep it in place.View attachment WMsport DD.ork
 
Very nice stuff. I also like the eye nuts. Trick stuff. Nice build and flight

Thanks, it is fun little rocket and does very well on cheap non hazmat 29mm motors. I picked up some aluminum all thread to replace the steel ones, hoping to shave a little weight.
 
ready to fly sans motor is 37.8 oz. that is with the 3.5 oz eggfinder gps tracker bay in the nosecone. also with steel 8-32 all thread in the ebay.
 
Last edited:
Today I flew this on a AT G76 green. real nice flight to 1095ft. the 7 sec delay was perfect as a backup to the RRC2+. fiberglass, dual deploy, and a great flight for $11. I will be doing this again!
 
Last edited:
The longer the better. Here in WI most launch site have trees. The long cord helps to get rockets out of the trees.
 
Ever consider a longer shock cord?

:D 
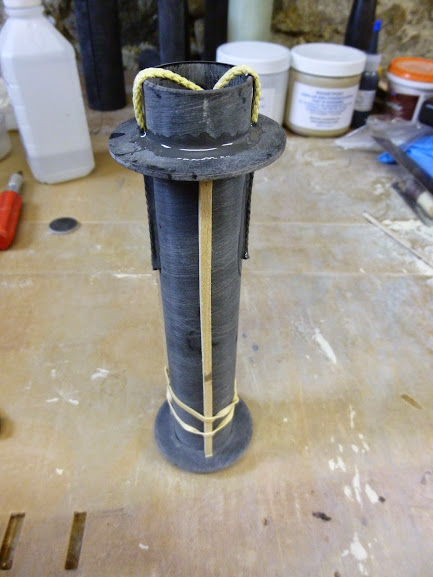
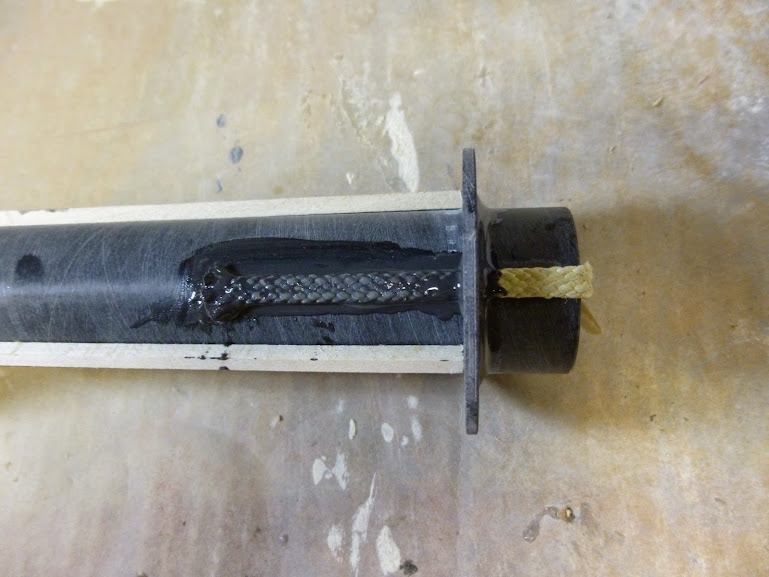
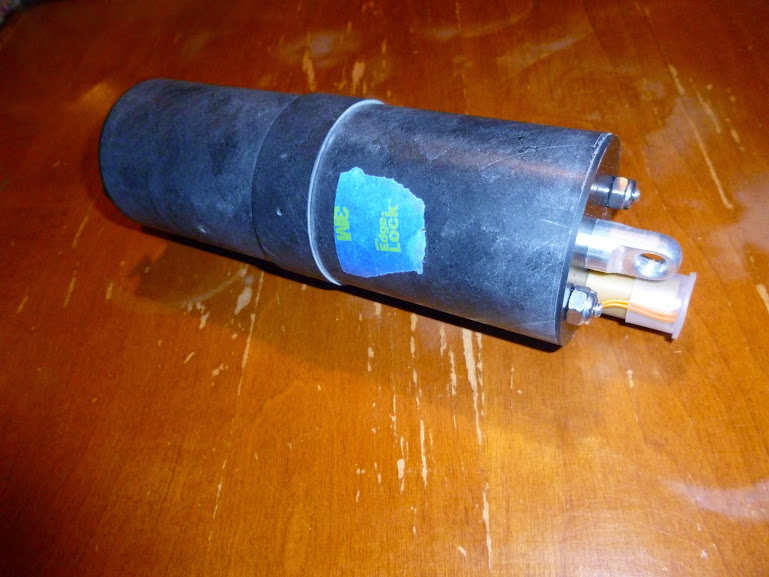
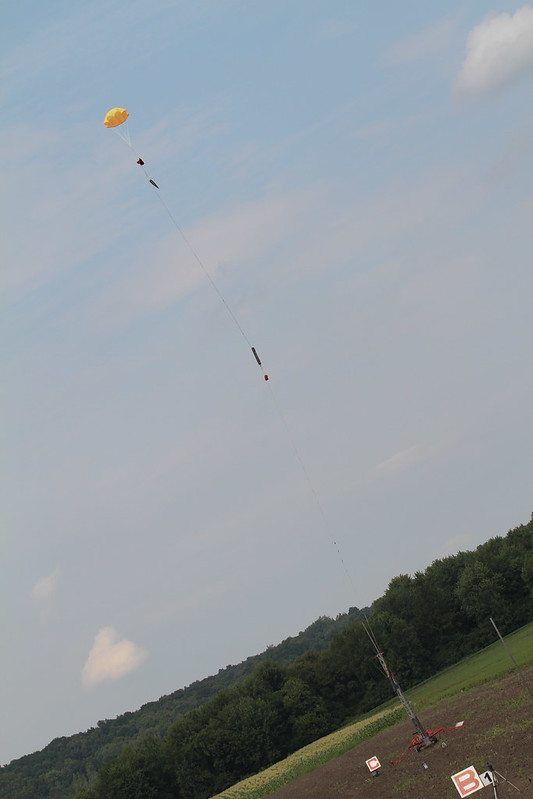
there is 20ft of 1/4" kevlar on both ends. when first getting into rocketry I asked how long a shock cord should be. one of the best answers was longer than the tallest tree. 1/4" kevlar is cheap from wildman and rocketry warehouse.
 
man I love this thing. I've flown the crap out of it. today was an H165 redline to just over 1800ft
QIk1wFmmyVa3aCyxDOEnNxJO8TCLazoxU8Shyf_t3Ies9RgRrT-Agwq5mFMNL7JsgNA88UPf9wTzYSM3lIT8DGyshCq9U6peJHhXSlDAZJR5g2cY7JEacxDhUkitbPXY3BYwfs4e9LzLjy9vdDm4VHC27Q950M_kLcH3MjVsLDUsiQTuYzfijAHBuc-m-n33GzPxd9EIIp-IBWgkotbprNWFEg8rll3SB0xfeuT6eXvlBLyzXCn4pNugwoy_hGjLvSVLQMbRJfu4g3AyGIaNFzigbMPfmrIbm-Y_Zzb0PfZfWIuNl8HUuleS5UC54yAu5TvbFGI9YmopqaI-jfB_wNz-X5mkJ3KRjdkCndAT4AoZ8mjwmm9vFf0IST-Hevqhjg093_5cHJ9_rk5PAiomkld5cKRplZMBhOvsTkJHAxqZlRDQsULMuLBbNHSffVgGqpStBN-iFf84F69S0Y2lN8oZNJ-0X9lIZrA36X9-UTrJPBtnjpAejbXMDgYuGhOgDkxtWpJhs2QY5C7LGMVPaZNMVCI6F35CUXBy8_IX2RQ0NlOE-WIa3d4Rqr3XO2sNzFRN8IqZH4U0RdocrVia9BFVDgVOMAs=w445-h667-no
 
Last edited:
I drilled and tapped a #8 thread in the center of some 3/8" aluminum rod and epoxied them into the nosecone. I have installed them into several rockets that use the same sled. I just screw them to the bulkhead and apply a small amount of JB weld to the nose where they will be. push it in and then carefully unscrew it the next day and add fillets.
 
Neat idea. So the sled and bulkplate is one piece (obviously) that slides into the NC and attaches with a #8 screw threaded into a 3\8 all thread that is JB Weld(ed) to the NC. Your kevlar is attached to the sled/bulkplate assembly? And everything depends on that one #8 screw to hold the NC on? Not being critical, I am just wanting to see if I understand. It obviously works great! Maybe something I can incorporate into my current build. The aluminum thread doesn't interfere with your tracker?

Mike
 
no, there are two #8 screws that thread into a threaded boss that is epoxied into the nose.
found some pictures from a different nosecone...
tVNXRRa4xHunTRq1tPNQa2UZNpqKbf374FC6mQsLXptTeJQBhnWIMbAnac6BmnLdYP0dq3hH2GWgGEJXiqXEIv0-CArVLOiy8hSYiQzBbff7PF4-7m-GY7bJuzlO_u0P8Y1btrl_pVmo70ujk1UmPFmy8IGf59wLXmdWjSBj2xi5aPI4C7syCJaEj4mEKc3BrD9hw2c8DC4Unsrfby0yD83Q1CLoFjqt8Sr8WTZO-UDZGJyPrpbxAiQginXEVIrv2qqcRmhDvTS6ybCg08v6iXXUCGsxgoMpler6v_Df-UtLdQkLN-0rVClkuGFo5mxtP-w5LPqiwJyd2rYKY7W7RaQ0Gd9QFozhseQI5HuqrkE6XEIpevxnFOytdGHQPdcvDVMyuwyAAj6WdulZQD9_1iVTvlVk5DmsvPjwg_qTH2CRbBBcx0lZOVqElQ0n-sudBXuj14pTi81drp5w8LUGPF6-aRl_qucVmnhturMBQl2BOqI09IeNgx9KljkxPyXKPINTYym2wVPsWpxGrzYa3nt7KPr4Ikh_QN9IxOpILC6hFm0mMQo0Zir0g8gOTpwquQTRV2NQ05JgLCKNufXo_11xfDgRfic=w496-h661-no
 
Back
Top