That would be Mike Terry, our NAR section honcho.We just had a flier from Hawaii over here for SodBlaster 3, one Mike T.
How did his flight go?


That would be Mike Terry, our NAR section honcho.We just had a flier from Hawaii over here for SodBlaster 3, one Mike T.

Good....other than he found the rocket eating cornfield. Some really helpful power parachute fliers spotted it from the air and told us roughly where the rocket was so myself and another flier went looking for it (Mike had already left for the day, and I believe was heading home the next day), so BEC and I went to recover it and another one the fliers had found for us. The first rocket we recovered was a 6" Black Brandt which they gave us gps coords for, Mikes rocket we had directions of look for two hay bales with a silver tarp and its about 50yds into the corn. The bales and tarp were not easy to find due to dips and swells but after a trip around the field (serious offroad fun) I spotted them about 50' off the road but hidden by a swell in the ground. Just as I got near the bales a one of the power chuters flew over and pointed downwards so I lined up about where he pointed, he flew back the other way and did it again, I adjusted my position, then he flew from directly behind me over the rocket again pointing down and the fun began....into corn I went, about 2 minutes later Bingo! It wasnt the rocket we thought it was but it was Mikes 4" Eagle Claw. We hauled it back to the launch site, and commenced to digging through flight cards for a Wildman Eagle Claw (only one flown during the event), then once we had a name it was digging through registration info for his phone, I called him and he came picked up the next morning. So it all ended well, now if we could just locate the other 5-6 rockets that ended up in the corn.That would be Mike Terry, our NAR section honcho.
How did his flight go?


One option is to cut a motor hook just after the first bend, or use a Quest hook (same thing). Insert the sustainer motor in fully hooked position. Then tape the booster motor under it, CHAD style. That will create a tiny gap, the thickness of the hook material. Does this count as gap staging? Barely, if at all. Then slide the booster over the booster motor.I haven’t decided how I want to handle motor retention in the sustainer. I’ll need a hook to serve as a motor block but I haven’t decided whether I want to sacrifice a bit of performance by keeping the aft bends and allowing them to to snap back into place at staging, or if I want to snip the bends off and just friction fit it.
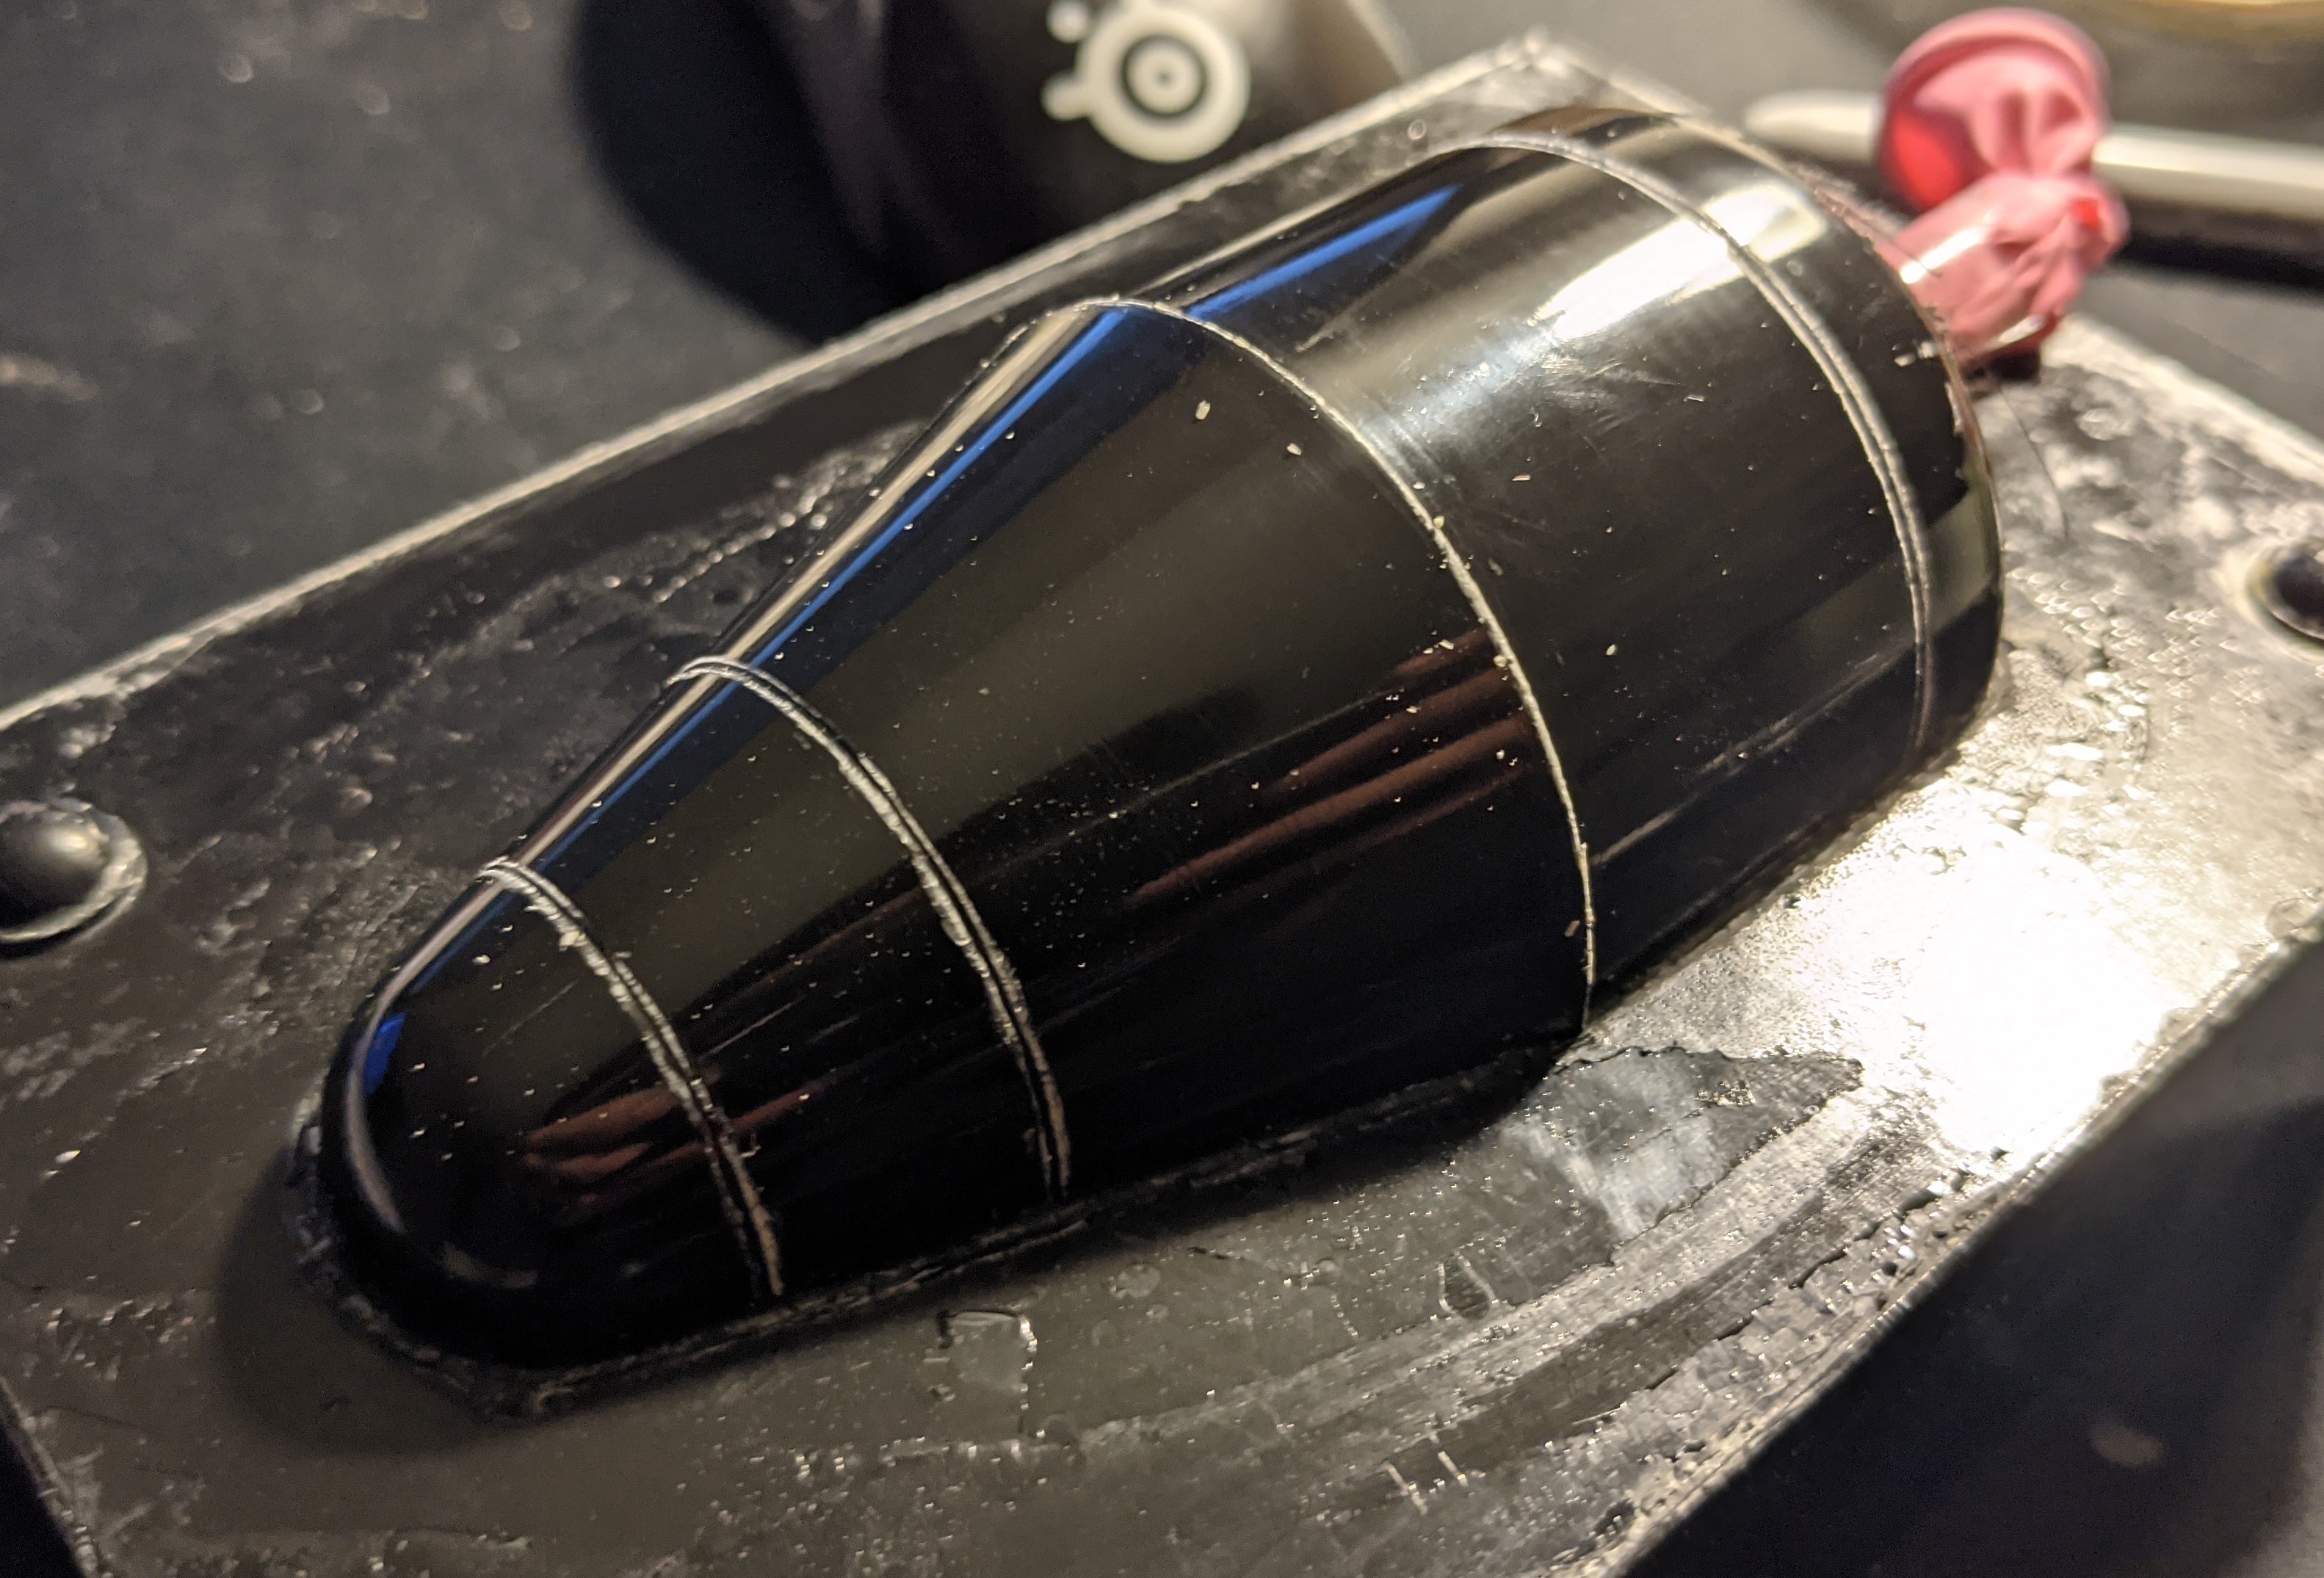
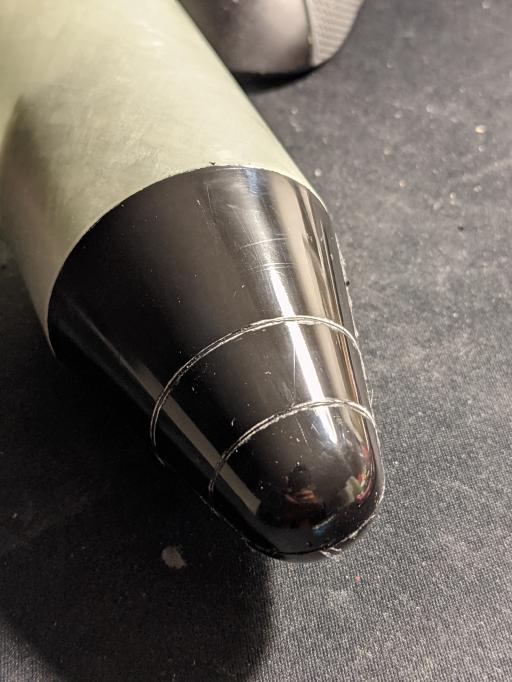
Baby Bertha build. After assembling the fins, I now got a new coat of sandable primer on. This should be the final coat before painting begins. I'm not sure how to proceed with sanding. Should I start with 400 or start with something like 220 then finish with 400?
5s delay on a rocket that light means it's likely still going up on ejection. 7s is probably closer to apogee or just slightly after. Check the plots from the Sims and it'll show you in the flight path where it is when the ejection charge pops.Modified the Estes Alpha OR file and created one called "Astrocam". Sims out at 1K+ with a C6-7. Sims better with the C6-7, less velocity at deployment, then with the recommended C6-5. What gives?
.JPG")
That's really more my point. Why did Estes recommend a C6-5? When, based on the sim and your experience, a C6-5 isn't enough delay. I expect this was an extensively researched rocket. Maybe they want the nose to blow prior to the apogee so the camera spends less time shooting open sky ???Even with just one stage a c6-5 isn't enough delay.
Maybe they want the nose to blow prior to the apogee so the camera spends less time shooting open sky ???


![1006210858[1].jpg](https://cdn.imagearchive.com/rocketryforum/data/attachments/401/401443-23a96c45a4676e62ffc7ff50593e1ac4.jpg "1006210858[1].jpg")
![1006210858a[1].jpg](https://cdn.imagearchive.com/rocketryforum/data/attachments/401/401444-0d2af0df488a31166c2b60abb5d4836e.jpg "1006210858a[1].jpg")
Booo!I won't use this for my rockets, but will probably give it to a kid.


Wow! What motor?Put together a matching stand…
View attachment 483972
My guess is that they provide 2 recommendations so that the user has the option to blow before or after apogee.That's a reasonable theory.
Enter your email address to join: