MAC Pappy: 54mm screamer!

The Rocketry Forum

Help Support The Rocketry Forum:

This site may earn a commission from merchant affiliate links, including eBay, Amazon, and others.

ECayemberg

Well-Known Member
Joined
Jan 21, 2009
Messages
2,949
Reaction score
1,077
Now that I have everybody fooled into thinking that I only build low and slow behemoths, let's begin a departure from that concept and venture into the speed realm. I'm guilty of liking big rockets, low and slow, cardboard and plastic...I really do! BUT I also like testing the melting point of composites and ablatives. After a few years absence from the stellar Rocket Pasture in Argonia, heaven willing I'm eager to make a return in 2017! With a lot of open air above Kansas, I like to test out the skies a bit while there. Here's one of the projects for Airfest this year!

A few sources of inspiration.

1. Loki 54/4000 hardware. I've always liked the Kosdon, then AMW 54/2550 motors. I've always admired the Kosdon 2.1(54)-3300 hardware. When Loki turned the 54/4000 hardware loose, I jumped on the first run. When a 54mm M was certified, I had to have one. Now I gotta fly the darn thing!

2. MAC Performance Rocketry. Holy cats, if you haven't picked up a kit from Mike, do it now! The fit and function, attention to detail, communication, and level of service is second-to-none! When I learned of a new product *cough* carbon fiber airframes *cough* I couldn't help but thing they'd compliment that Loki 54mm M1378 Red just fine! No better way to test out a new product than to punish it with the baddest 54mm motor to ever hit production! This shall be a test; of materials....and my building skills for sure!!!! Bonus, these tubes are sized exactly the same as Mike's canvas components, and therefore all 54mm components are interchangeable...cool!:cool:

3. Name & nomenclature: best I could come up with was Mac Pappy. Mac Daddy is too obvious, but Mac Pappy has the same kind of ring to it. One of my other passions is aircraft; particularly the classic war iron. One of the favorites is the Corsair; it's my Grandpa's favorite from his Navy days in WWII, I love the tales of the Corsairs flying over during his service. I've flown several r/c versions; it's certainly a favorite of mine as well. Greg Pappy Boyington was made famous in the TV series Baa Baa Black Sheep based on the Marine Corps' VMF-214 squadron of F4U Corsairs. Corsairs, nicknamed "Whistling Death" are often portrayed as darkly painted, mean, and known for causing all kinds of noise and mayhem; I liken this little rocket to the Corsair reputation!

One such Corsair with a number closely matching the OD of this screamer! (57mm roughly, but close enough!)

pierce_jr.jpg


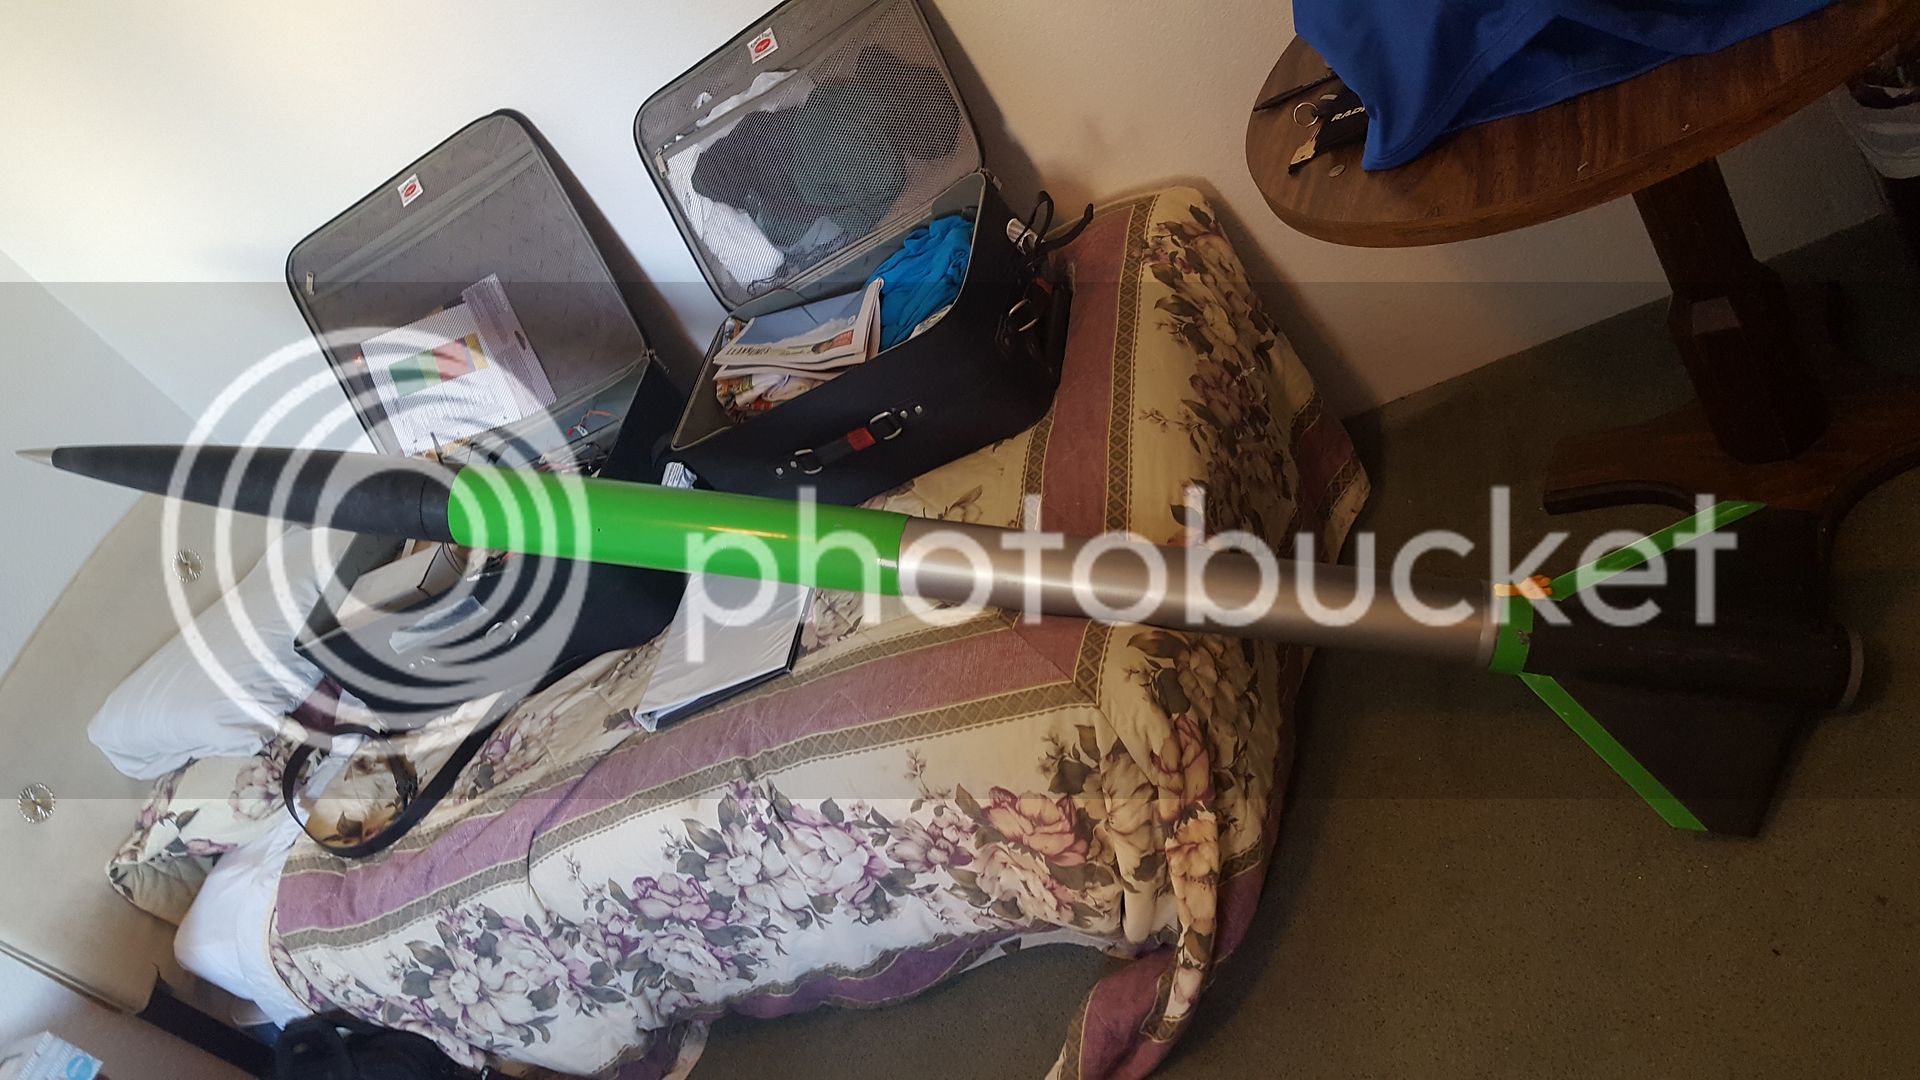
So what are we trying to accomplish here? Well, I want to fly the M1378 in a minimum sized airframe; testing out Mike Crupe's new carbon airframe, intending for a nominal (non-shredding) flight and successful recovery at Airfest this September. Will it be easy: no? This motor in a minimum diameter ship is a rocket killer. We'll see how we fare!

Photo of the simplistic design. Yes, there's more to it, but this silhouette give you an idea.

MPappy_zpsudquxsbd.jpg


-Eric-
 
Looks sweet! Do you have the fins yet? If not, I might be able to provide you a ready made set... :)
 
Who remembers this thread? https://www.rocketryforum.com/showthread.php?113523-MonGoose-Unboxing-Thread Art, you're killing us! I can't quite drag it out like that, but I've literally only unboxed this thing. That said, it's a treat unboxing a MAC product....so nicely packed, fit together, wrapped. It's a pleasant venture!

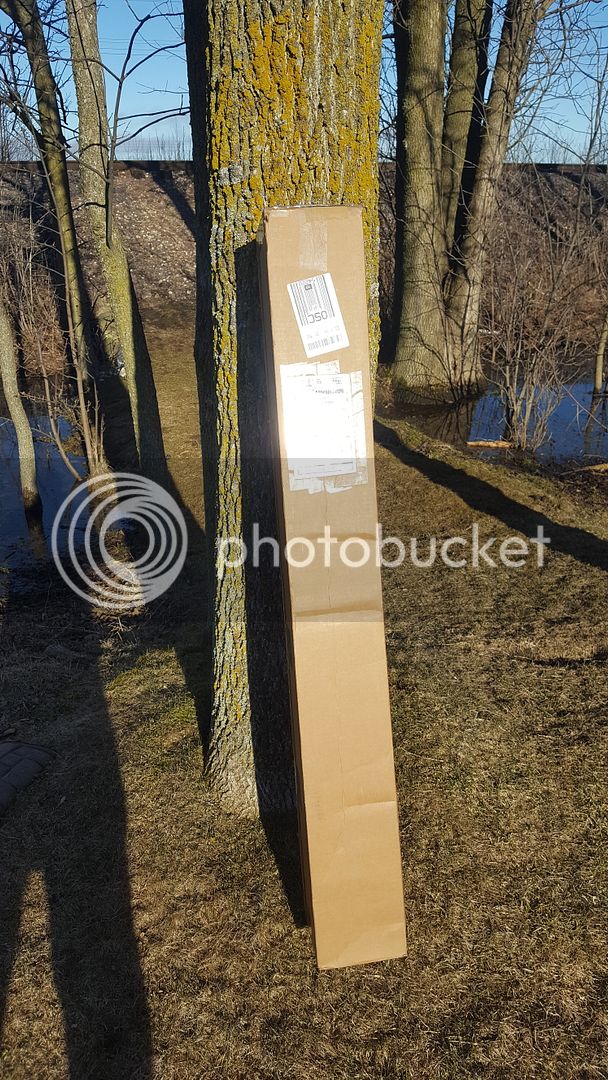
So in Art style: we get a box:
20170328_171617_zpsgr2npzus.jpg


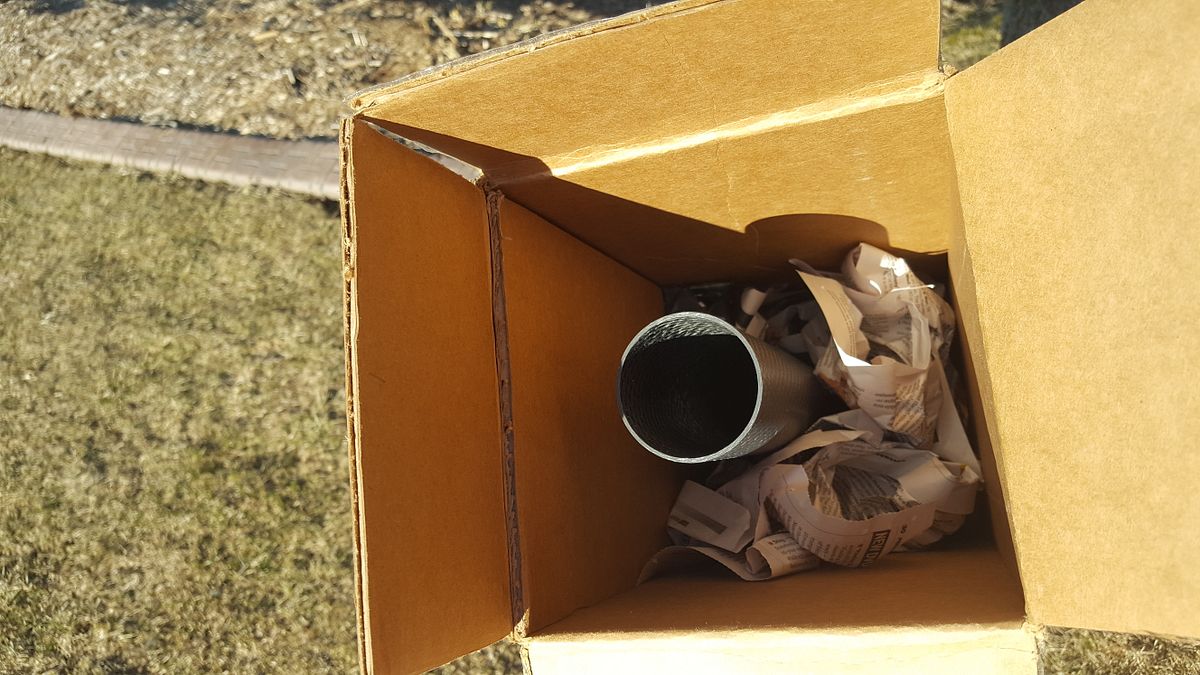
Then we open the top and begin to excavate newspaper:
20170328_171710_zps3gie9dme.jpg


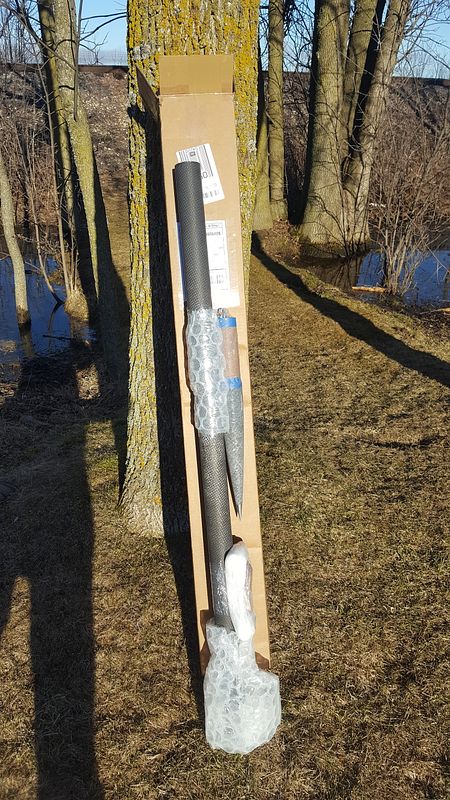
The sweet carbon tube is taken out of said box for inspection. Nicely convolute wrapped; OD is finely machined, this is a nice product!!!
20170328_171812_zpsidcbcqbj.jpg


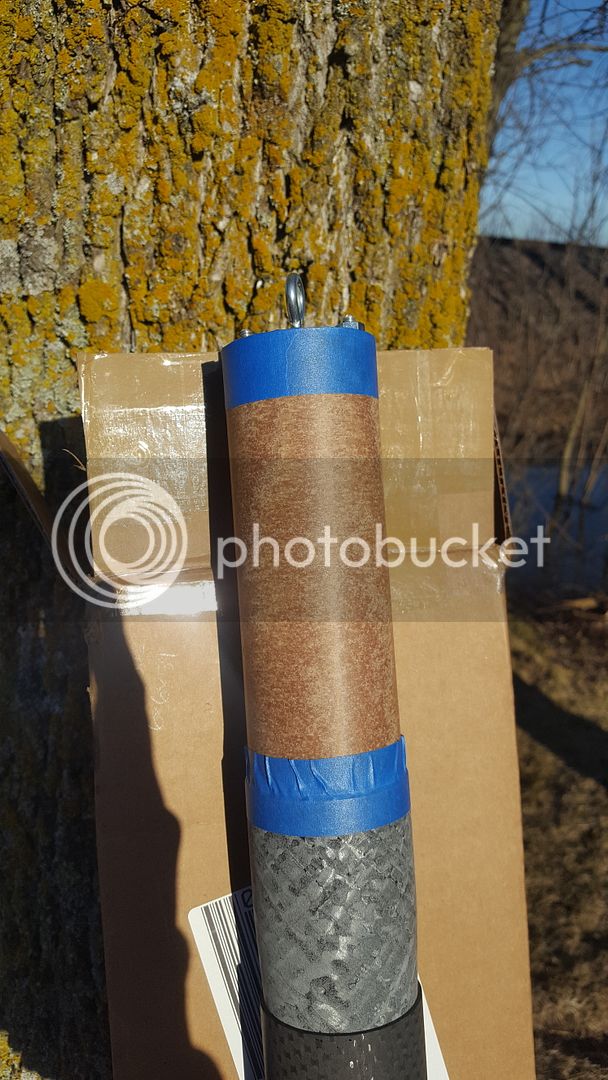
Extra long coupler on the nosecone. In my opinion, this is a good thing on long-ish minimum diameter-ish rockets. More on that later.
20170328_172001_zpsic8hkyep.jpg


And that's where I pause for now. Just a little teaser for the short term.
 
Looks sweet! Do you have the fins yet? If not, I might be able to provide you a ready made set... :)

Yo Justin....figured this one would be up your alley! Yes, carbon fins are in the box. Admittedly haven't even unwrapped them yet.....this afternoon! Thanks man!
 
Two ridiculous products from Loki and MAC?

Excuse me, I need to go have a fanboi-gasm :)
 
This is going to be cool! That tube looks great.

I should probably get to back to work on my Loki 4000 project. After I finish my current MAC project!
 
Now that I have everybody fooled into thinking that I only build low and slow behemoths, let's begin a departure from that concept and venture into the speed realm. I'm guilty of liking big rockets, low and slow, cardboard and plastic...I really do! BUT I also like testing the melting point of composites and ablatives. After a few years absence from the stellar Rocket Pasture in Argonia, heaven willing I'm eager to make a return in 2017! With a lot of open air above Kansas, I like to test out the skies a bit while there. Here's one of the projects for Airfest this year!

A few sources of inspiration.

1. Loki 54/4000 hardware. I've always liked the Kosdon, then AMW 54/2550 motors. I've always admired the Kosdon 2.1(54)-3300 hardware. When Loki turned the 54/4000 hardware loose, I jumped on the first run. When a 54mm M was certified, I had to have one. Now I gotta fly the darn thing!

2. MAC Performance Rocketry. Holy cats, if you haven't picked up a kit from Mike, do it now! The fit and function, attention to detail, communication, and level of service is second-to-none! When I learned of a new product *cough* carbon fiber airframes *cough* I couldn't help but thing they'd compliment that Loki 54mm M1378 Red just fine! No better way to test out a new product than to punish it with the baddest 54mm motor to ever hit production! This shall be a test; of materials....and my building skills for sure!!!! Bonus, these tubes are sized exactly the same as Mike's canvas components, and therefore all 54mm components are interchangeable...cool!:cool:

3. Name & nomenclature: best I could come up with was Mac Pappy. Mac Daddy is too obvious, but Mac Pappy has the same kind of ring to it. One of my other passions is aircraft; particularly the classic war iron. One of the favorites is the Corsair; it's my Grandpa's favorite from his Navy days in WWII, I love the tales of the Corsairs flying over during his service. I've flown several r/c versions; it's certainly a favorite of mine as well. Greg Pappy Boyington was made famous in the TV series Baa Baa Black Sheep based on the Marine Corps' VMF-214 squadron of F4U Corsairs. Corsairs, nicknamed "Whistling Death" are often portrayed as darkly painted, mean, and known for causing all kinds of noise and mayhem; I liken this little rocket to the Corsair reputation!

One such Corsair with a number closely matching the OD of this screamer! (57mm roughly, but close enough!)

pierce_jr.jpg


So what are we trying to accomplish here? Well, I want to fly the M1378 in a minimum sized airframe; testing out Mike Crupe's new carbon airframe, intending for a nominal (non-shredding) flight and successful recovery at Airfest this September. Will it be easy: no? This motor in a minimum diameter ship is a rocket killer. We'll see how we fare!

Photo of the simplistic design. Yes, there's more to it, but this silhouette give you an idea.

MPappy_zpsudquxsbd.jpg


-Eric-

3 or 4 fins. I vote for four 😀
 
3 or 4 fins. I vote for four ��

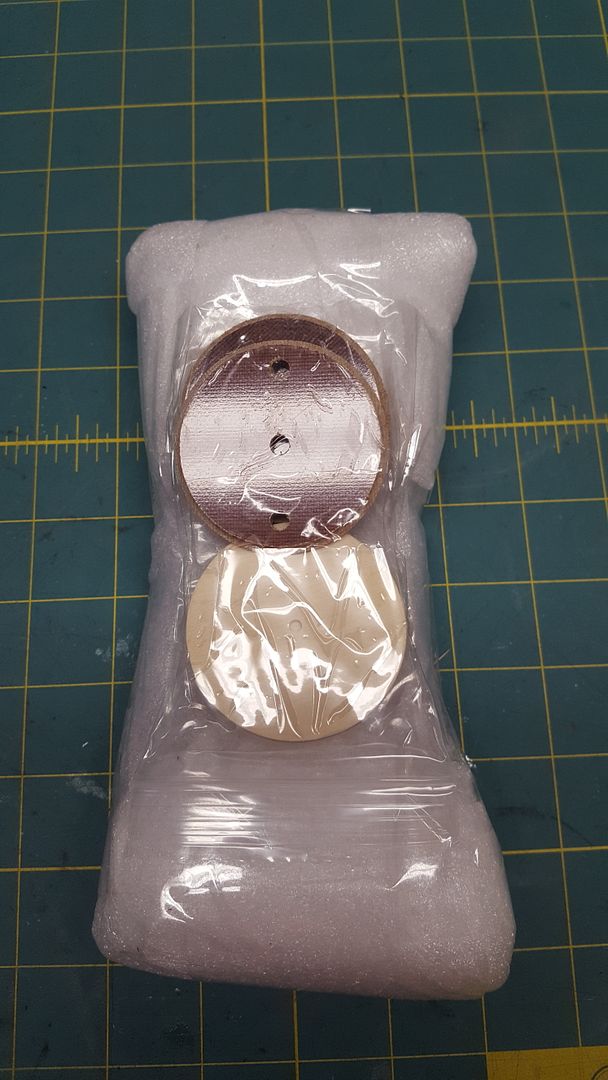
Can't tell. They're buried deep in this foamy stuff wrapped in ultra protective clear packing tape. Jeepers, Mac Mike doesn't mess around!

20170331_133034_zpsk5milisv.jpg


Oh boy, this is gonna be fun to watch!

Hi Ryan! Just don't blink!:wink:


Agreed! Love new stuff!

This is going to be cool! That tube looks great.

I should probably get to back to work on my Loki 4000 project. After I finish my current MAC project!

Yes yes; watching and waiting with interest!!!

Two ridiculous products from Loki and MAC?

Excuse me, I need to go have a fanboi-gasm :)

Lol David! Definitely a combination of great products. 'Twill be interesting to see if two greats make....confetti!:y::wink:
 
Last edited:
Ok, I suck at slow playing things. Four fins it is!

My past speed demons have always been three clipped delta fins....looking to try something different (though past experience has always been good)! Ah well, trying out the aft sweep quad carbon thingies.

20170331_133253_zpsvqszbj7i.jpg


20170331_133258_zpsojf2uwoy.jpg
 
Eric,
Can't wait to see your project fly. I have an identical project to fly on the same motor at Airfest as well. Can't wait to see what this motor can do.
 
Eric,
Can't wait to see your project fly. I have an identical project to fly on the same motor at Airfest as well. Can't wait to see what this motor can do.

Thanks Kyle; can't wait to see yours fly as well! M1378 Red?

Hey Eric, how's this project coming along?

Hi Ryan. Life happened and this was inadvertently paused for some time. I'm hitting "play" again, so here we go!
 
Holy cats, Airfest will be here soon! Better get in motion on this carbon critter. Away we go!

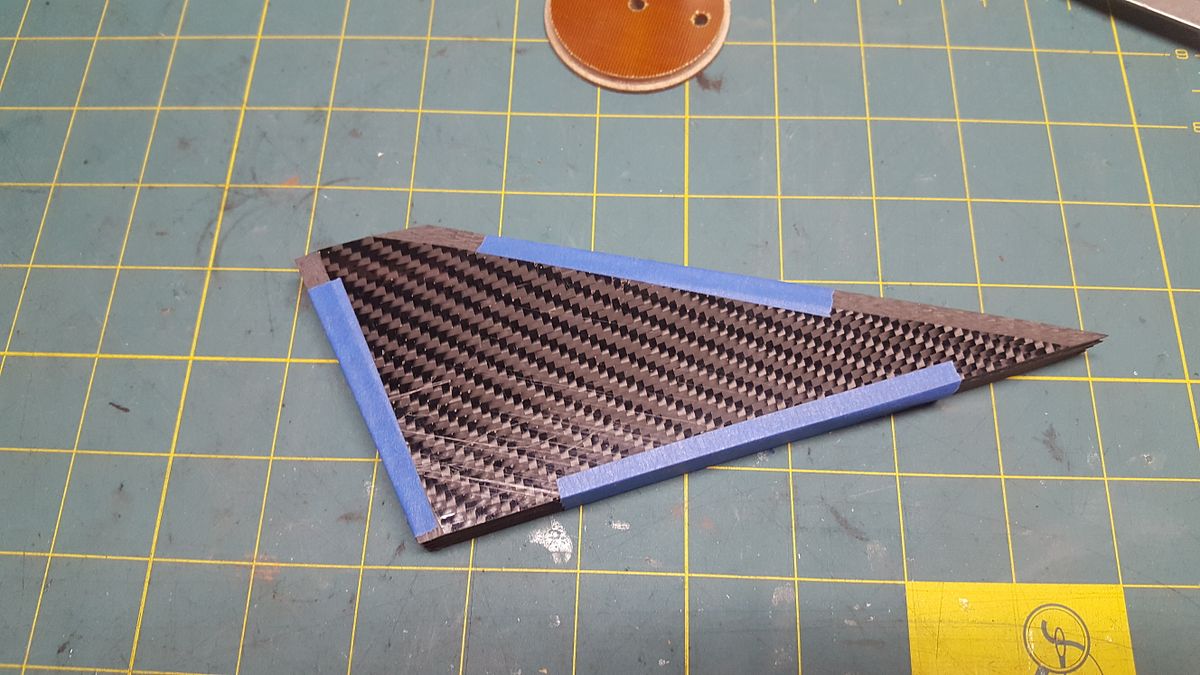
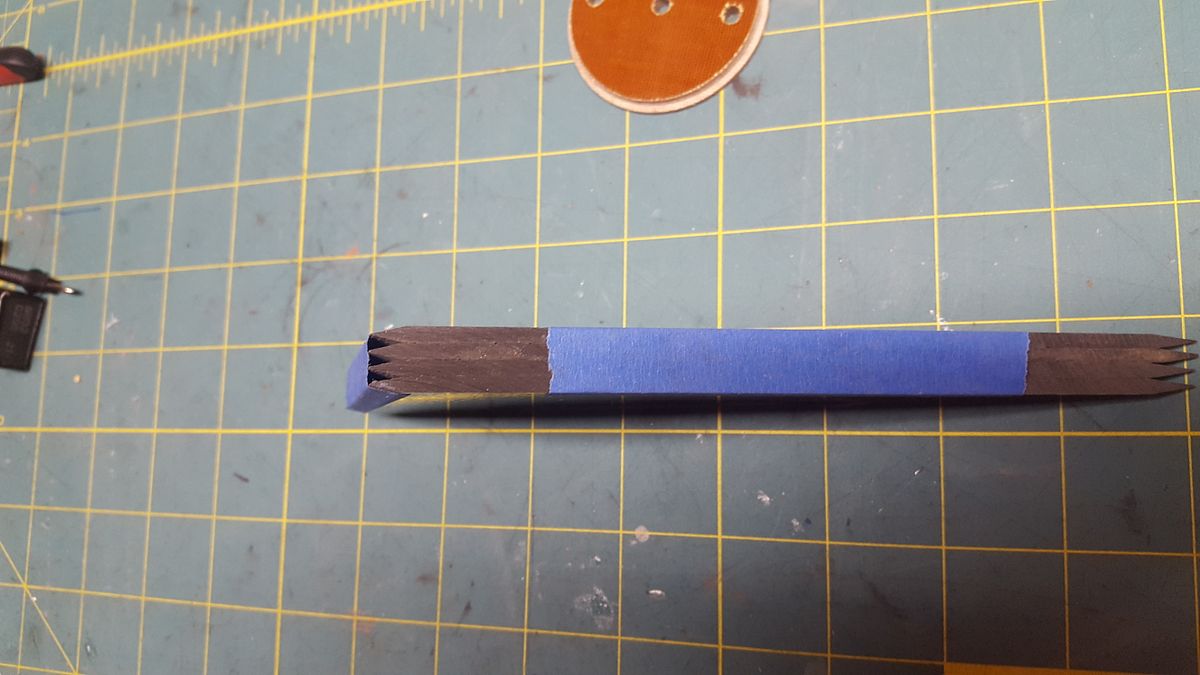
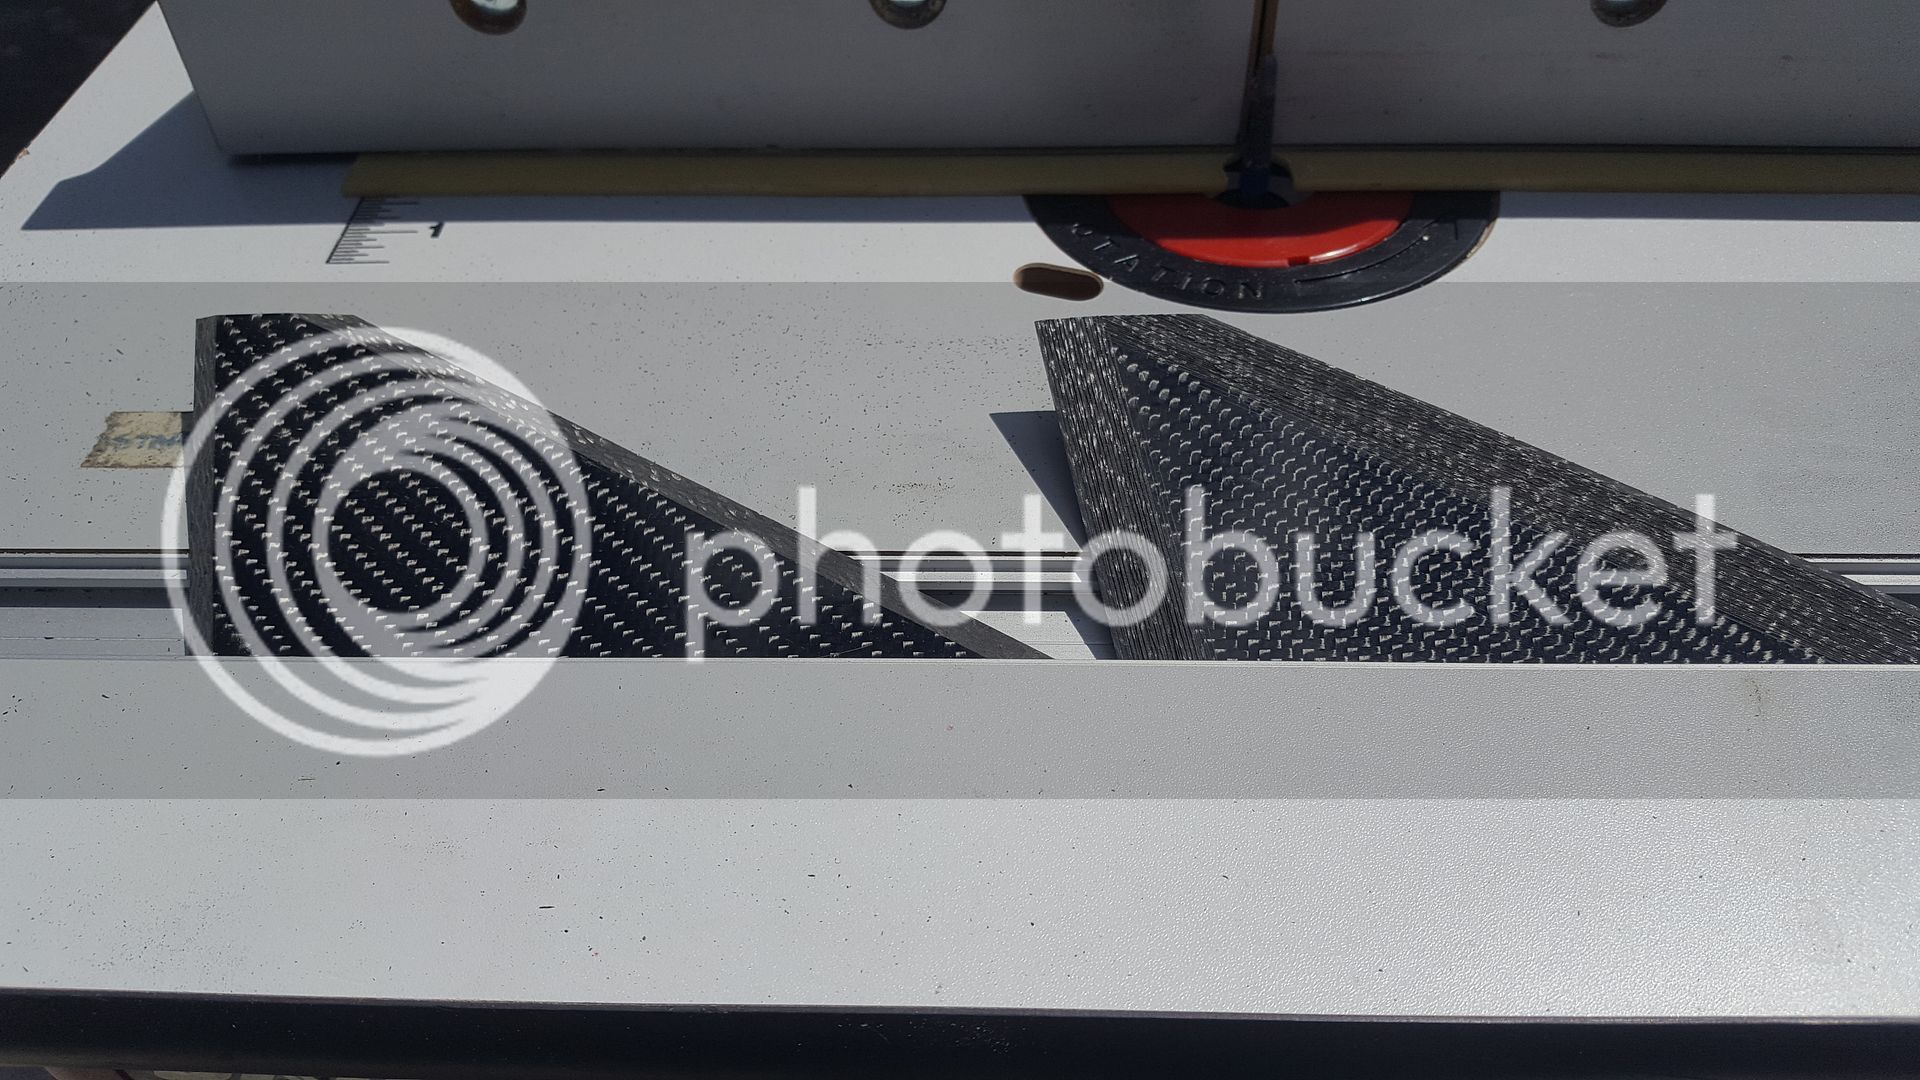
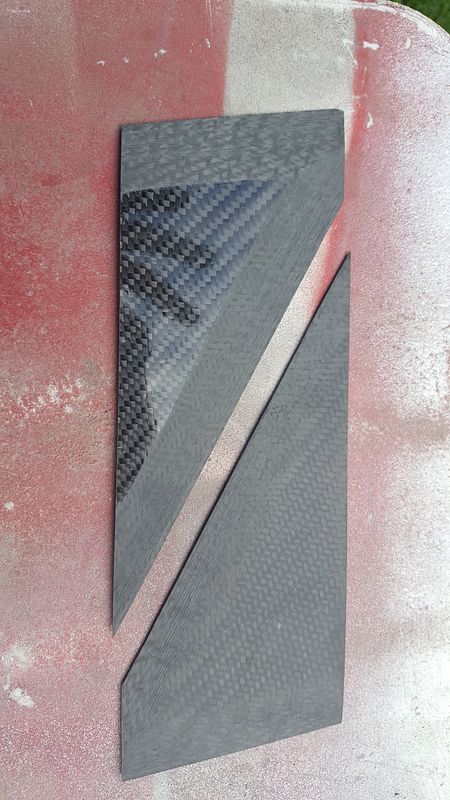
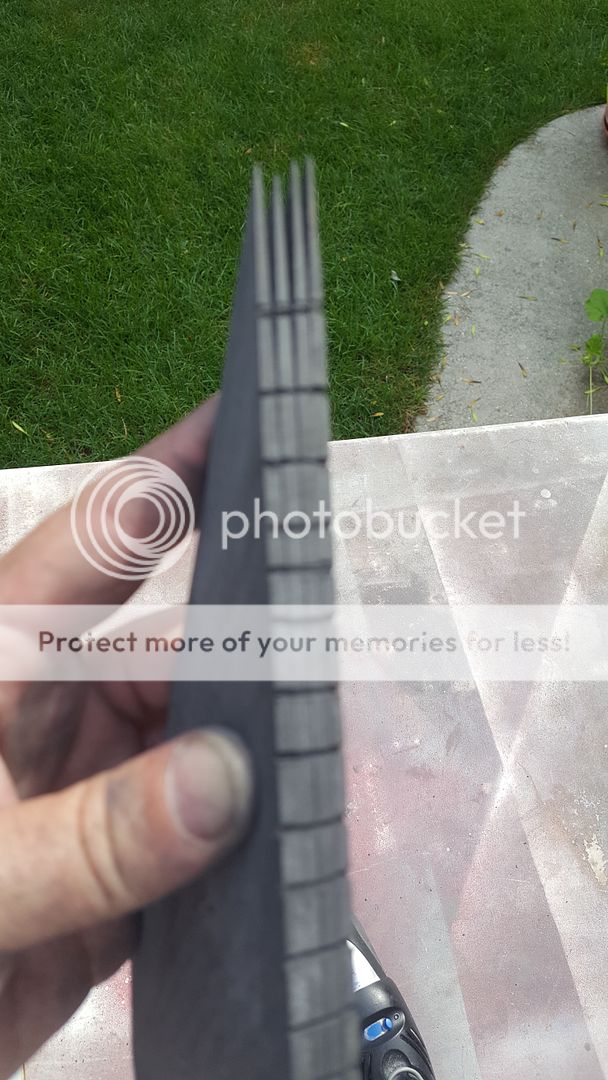
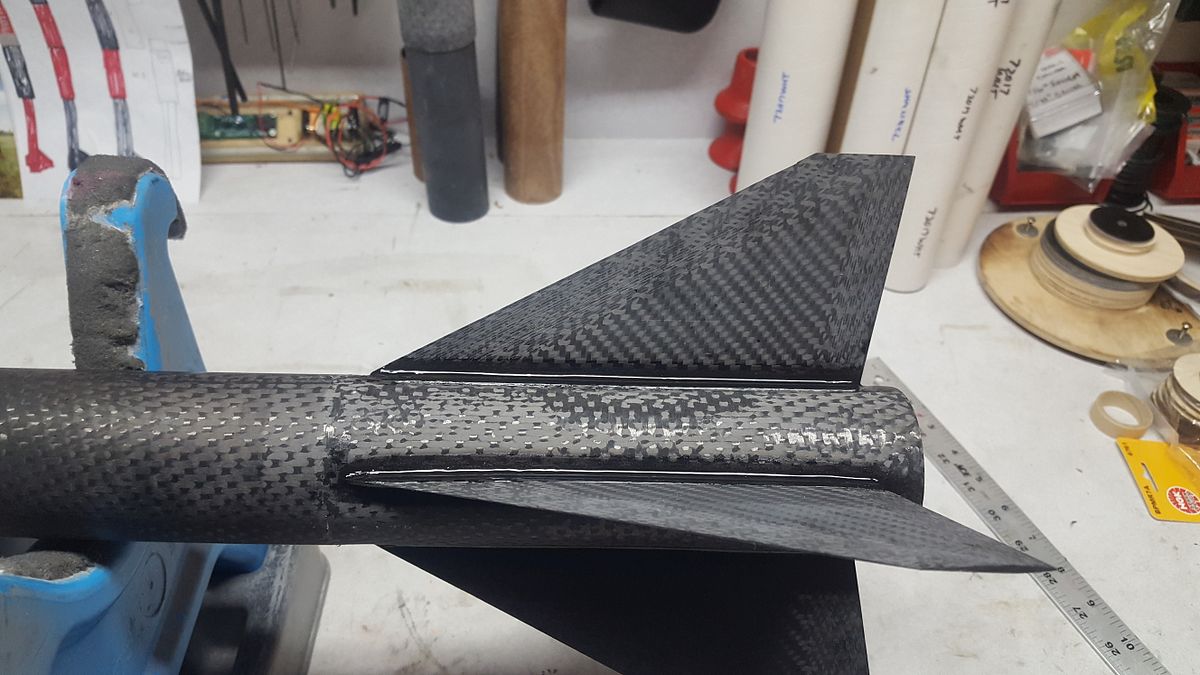
Mike provided some killer fins. But I just can't leave well enough alone. So the fins get sent through the router to increase the bevel distance/decrease bevel angle on the leading and trailing edges. The fins are small enough, the bit is long enough, and my fingers were close enough that I had to stop and catch my breath after every fin. Yikes; glad that escapade is over!

Stock fin on left, uber bevel on the right. Of course the bit leaves a bit of texture which is knocked down by using a sanding block.

035_zpsm9bfolze.jpg


Also done with the carbon dust in the air was taking down the OD of the airframe in the fin area only. I will be doing a bit of carbon-epoxy lamination plus a small amount of ablative application, so turning down the OD in the fin area made sense. No picture of the process as photographic evidence is inconsequential here!:shock:

Coming next...soon I promise is fin tacking, filleting, lamination, and ablative gooping. All will be done within chemical windows, that is, not waiting for the stuff to 100% cure then roughing up. Should start the process this weekend or early next week.:cyclops:
 
I'm learning a whole new side of you, Eric... Never knew you were into screamers like this one. I'm watching closely.
What's your plan for electronics and recovery? Just straight HED?
 
Eric, yep same motor, M1378. Just finished 3-layer layups. Sorry for sideways pictures, I don't know why my phone does that. Looking forward to it.
Kyle


20170722_191009.jpg20170722_191059.jpg
 
I am mostly interested in seeing your AV bay and recovery configurations.

Haven't forgot about you Michael. Waiting to finish it up then I'll send you some pictures. Still have some I need to dig up from my last rocket. It's crunch time so it won't be long.
Kyle
 
I'm learning a whole new side of you, Eric... Never knew you were into screamers like this one. I'm watching closely.
What's your plan for electronics and recovery? Just straight HED?

You bet! When I get opportunities to move around a bit and experience bigger waivers, I like to stretch the legs a bit! This year's trip to Airfest is no exception; this is one of three projects that should be exciting one way or the other!:wink:

Eric, yep same motor, M1378. Just finished 3-layer layups. Sorry for sideways pictures, I don't know why my phone does that. Looking forward to it.
Kyle

Yeah buddy! Lookin' good sir; can't wait to see it fly! 3 layers....great minds think alike?!?!?!
 
Kyle said it's crunch time and I agree! Let's get rid of the fin-less status, shall we?

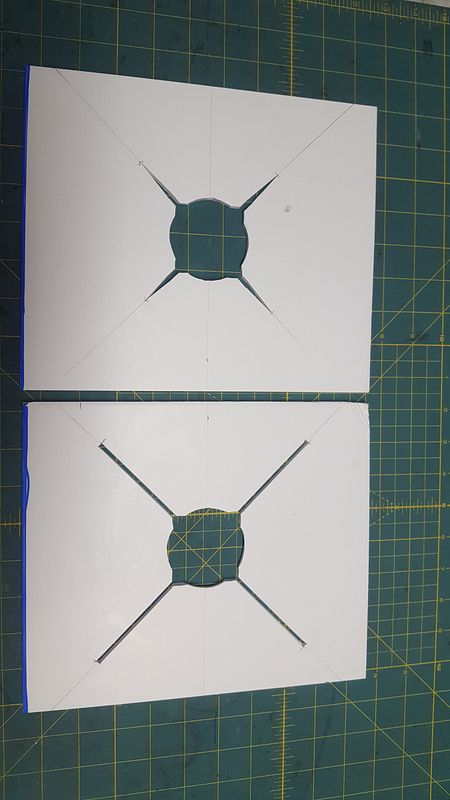
In rapid succession, chronological order. Fin guides are cut out. The location of the airframe and fins on both patterns are identical, therefore I can place the guides flat on the bench and everything magically aligns itself.

015_zpslluiqn9u.jpg


Fin bevels were smoothed a bit; have to remove the sheen from the nice plates Mikey C. Shine-B-gone:

079_zpsul29xvk5.jpg


I believe in adding a bit of surface area to the root edge bond. Dremel cutoff wheel helps with that. Sorry for the blur!

082_zpsukir9aw9.jpg


Pre-fin can assembly note: I'm a believer in chemical bonds over mechanical bonds. Therefore, the following steps shall take place in a rapid fashion; each successive step occurs/will occur within the cure window of the previous application of epoxy.

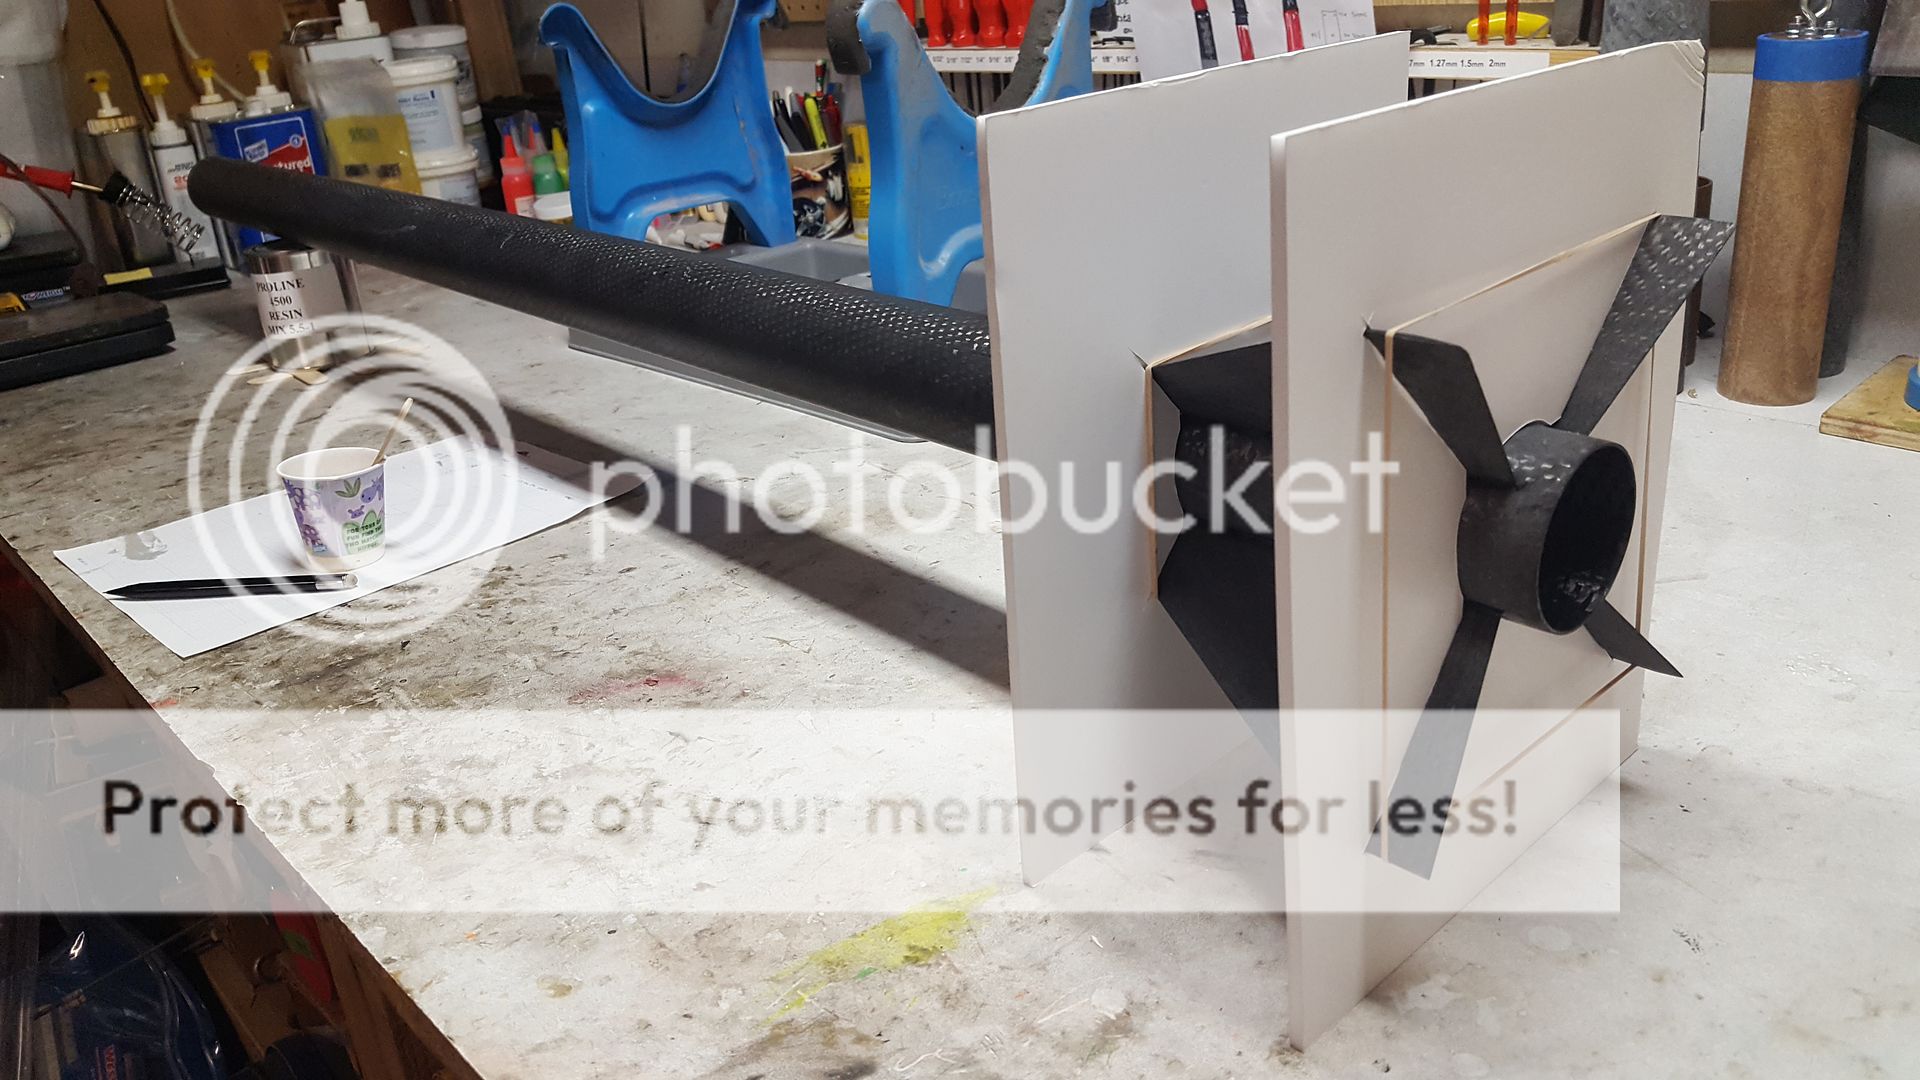
12:30pm Sunday: Everything gets cleaned up really well. Tack cloth to remove dust, alcohol to remove sorrows...errr oils. Then we tack! I like a strong root edge-to-airframe bond, so a small batch of Cotronics 4461 is used for the bond. Those nifty fin-jigs hold everything in place. Rubber bands were used because they're fun to play with.:cyclops: At room temp, 4461 has a 16 hour cure time, so my window is pretty big here!

094_zpssr1nvm0x.jpg


10:00pm Sun: 4461 is hardened to the point where I don't think the fins will fall off or droop. Small SMALL, SMALL fillets of Proline 4500 are applied after a bit of tape is applied to keep things clean. There is a reason the fillets are SMALL. Relax, all shall be clear in due time!:) Tape:

101_zpsziipqxnh.jpg


Fillets:

102_zpsb98lrgmv.jpg


Bedtime! Sorry, no photos of this step!:blush:

Wake up in the morning, rising to the street.....

4:30am Mon: Yawn. There was a bit of a bubble of 4461 left from the tacking process along one of the fillets. Removed it with a round file: zing!

106_zpsbt06nk6w.jpg


Within the window of the Proline 4500 cure schedule, let's extend our window a bit. First, the amine blush they're talking about in one of those glue threads is removed...alcohol and terry cloth, removes the shine.

107_zpsdwpmatst.jpg


Then I make them shiny again with a REALLY SMALL batch of 4461 applied with a little brush. Pretty silly, huh! Anyone have a guess why I'd waste my time with such a silly step?

108_zpsqmyk3nl8.jpg


More to come...
 
Last edited:
12 hours later its time for the lamination steps.

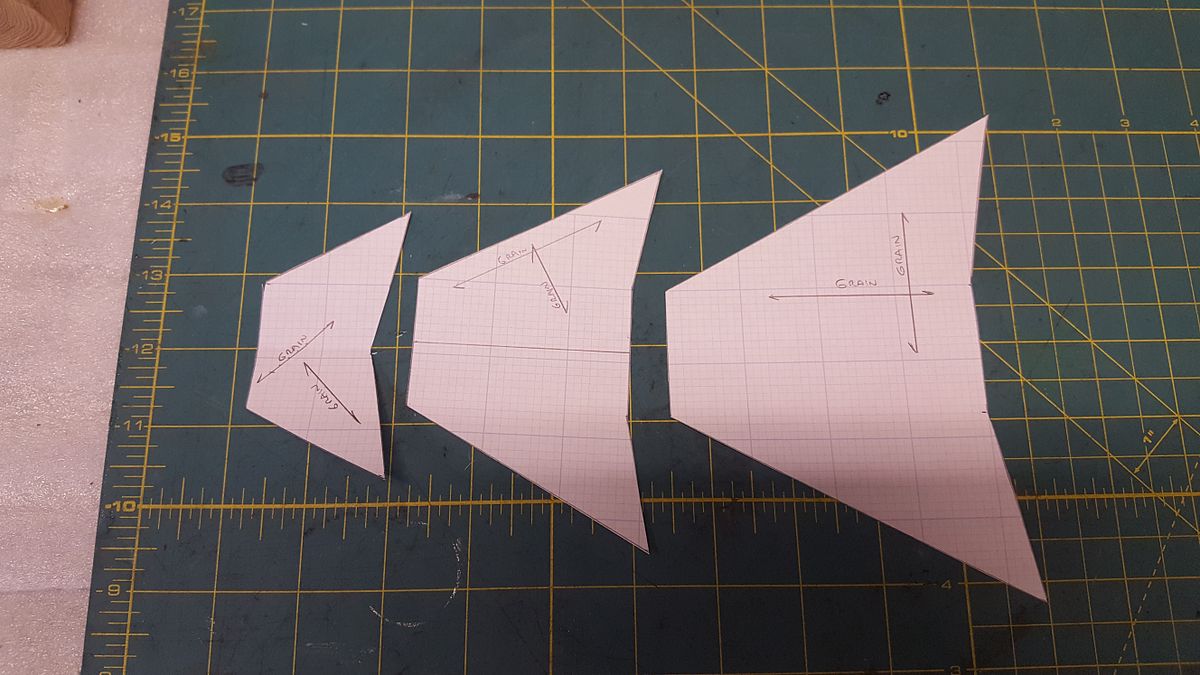
Lamination patterns were cut; fiber orientation is noted. Direction is important.

10725633-c717-4f8f-9c4c-b50bf4bf1d95_zpsgjsceagu.jpg


Back to the 4461; a batch is mixed up for the layups. It has higher viscosity than I'd prefer for a laminating resin, but it works and I've melted West 105/206, Aeropoxy, and Proline 4100 in the past, so I'm after some heat resistance. First piece applied.

004_zpsldqdcsns.jpg


Second:

003_zps0hekxnfe.jpg


Third:

005_zpsjsis3tiy.jpg


And fourth:

006_zpskjxt0yh6.jpg


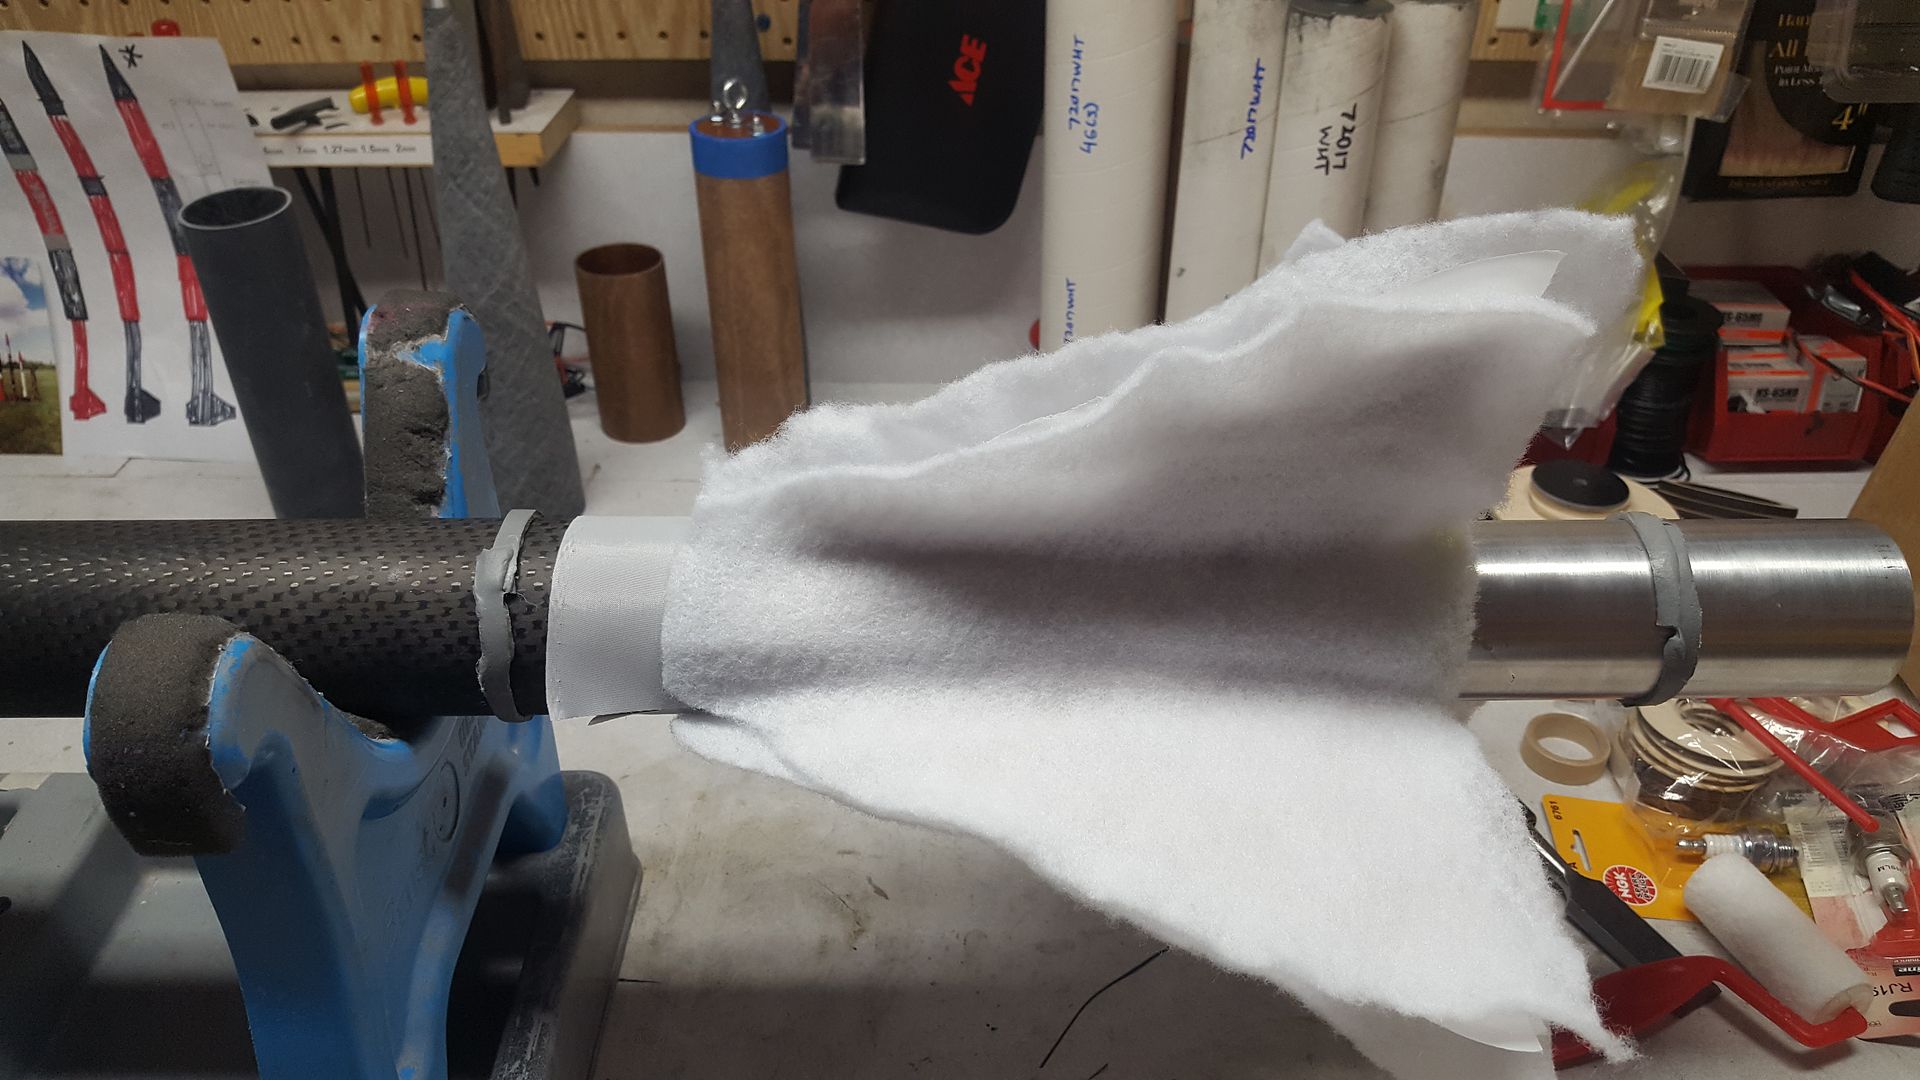
Peel ply and breather applied:

008_zpsbtzdislu.jpg


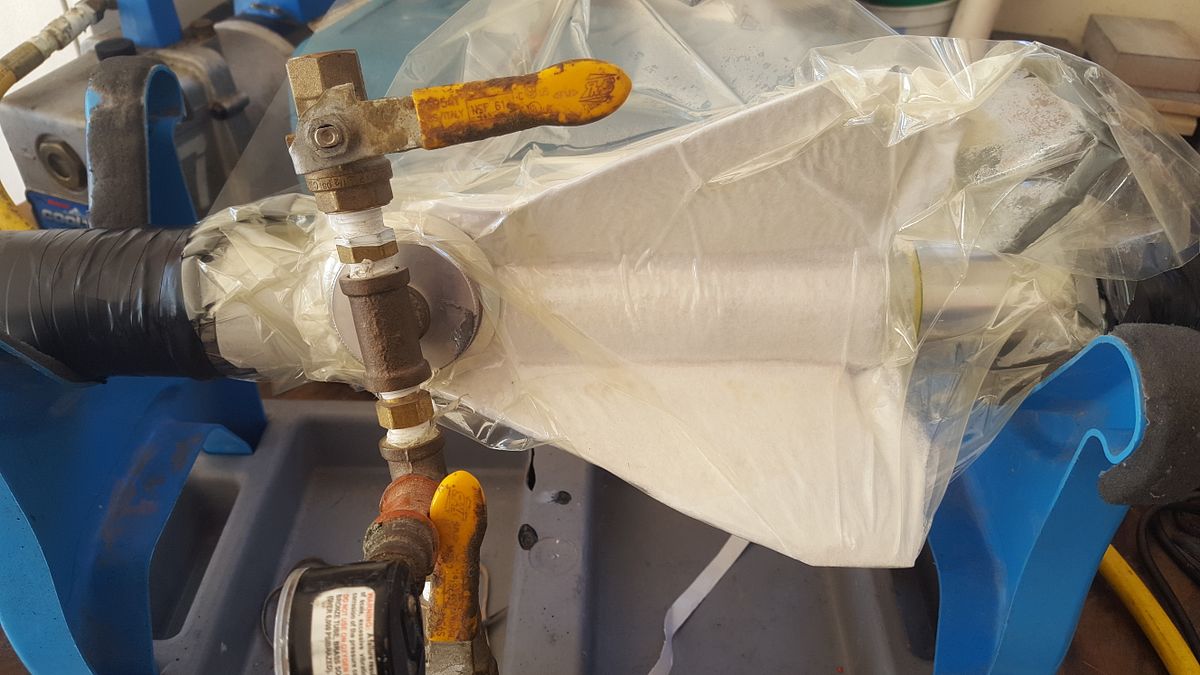
And vacuum bagged. Sealed to the airframe forward of the fins, and a motor casing on the rear end. I really enjoy working with composites; I really don't enjoy vacuum bagging. There are better ways of attaching to the bag I know, but I didn't feel like disassembling my propellant sucking apparatus!:cool:

009_zps0f8dwrg7.jpg
 
Last edited:
Apologies for what comes next. I have a rocket named Carbon Slipper....it's a 3" all carbon jobby that is well traveled. It's been to Black Rock twice as a sustainer that never flew.:facepalm: But, it has flown in Kansas and Indiana in the past; it's a fast mover and I use it to test stuff out. Last time it was in Indiana, it hit Mach 2.7 and melted Proline 4100 lamination resin and a small layer of Cotronics on the leading edge. Manny captured the post flight furry critter photo.
manny%20heat_zpsq68w78fm.jpg


Last September at Black Rock, I wasn't able to get the full stack off the ground, but flew the booster to the 2 stage version of Carbon Slipper to Mach 2.5 and 44k'. I used ablative goo on the leading 1" and it performed well. Melted off all the paint, cooked the surface a bit, but no delamination or visible heat damage.

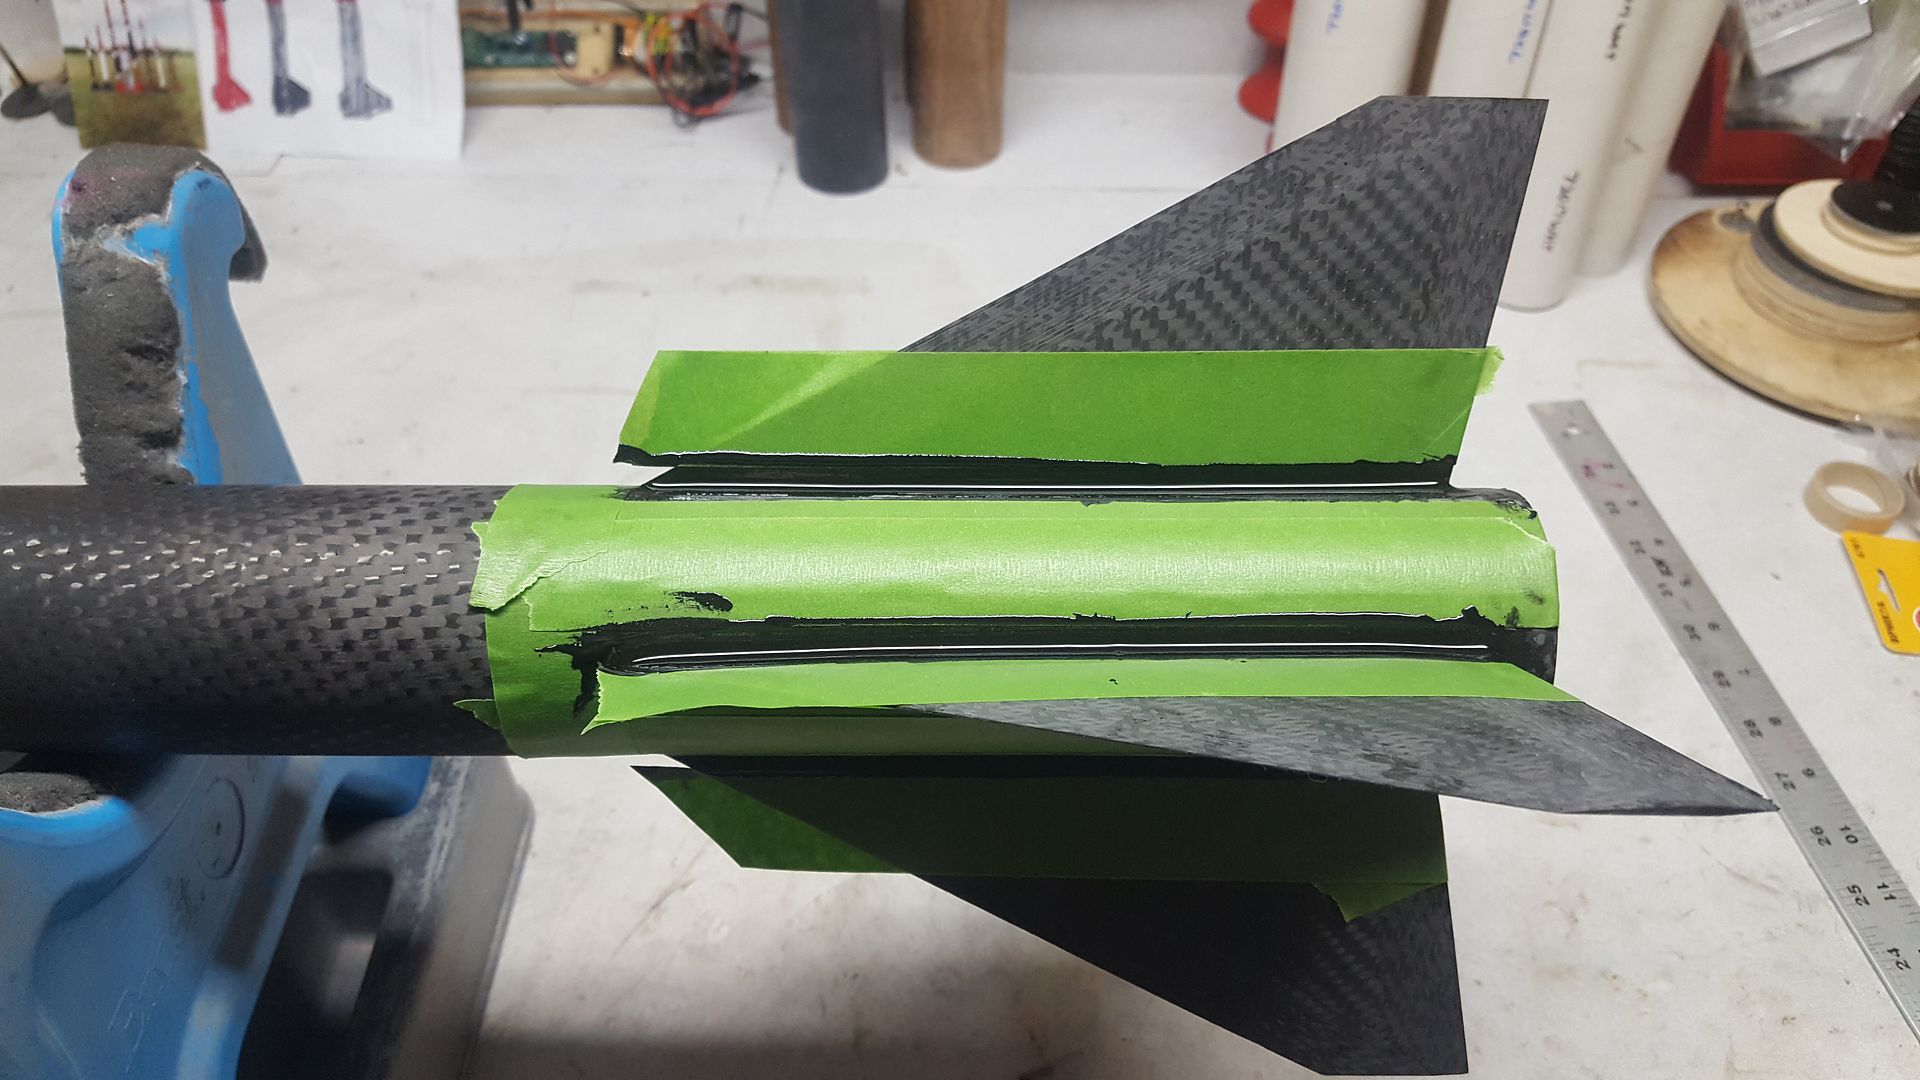
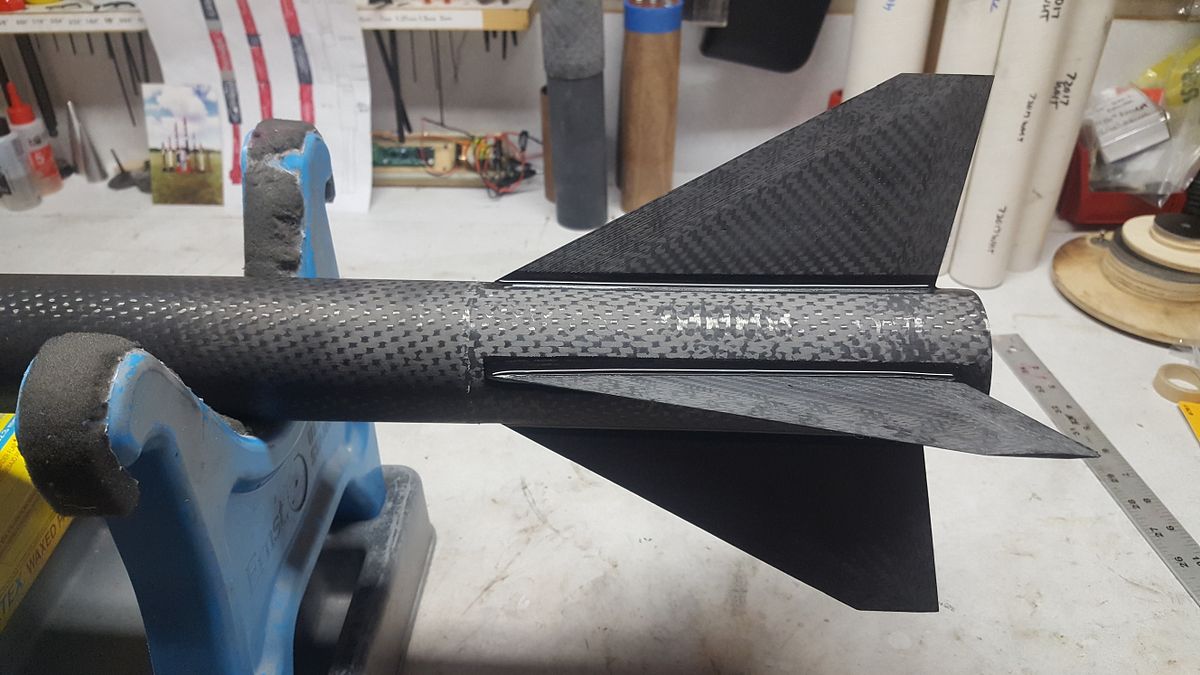
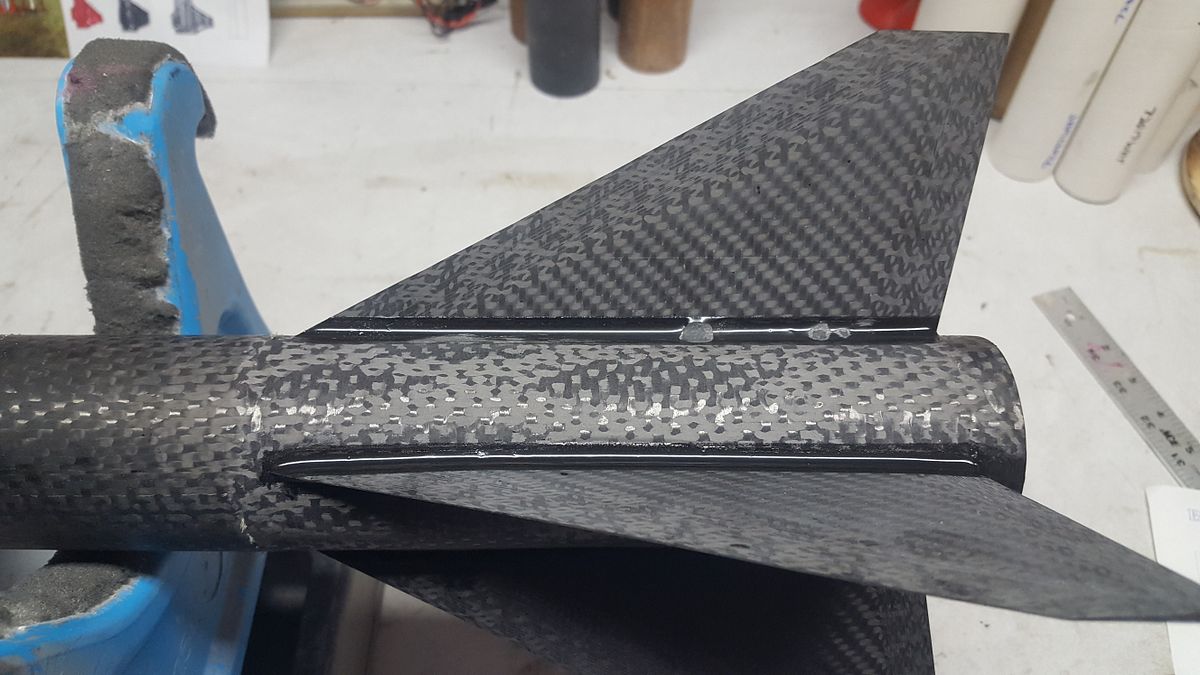
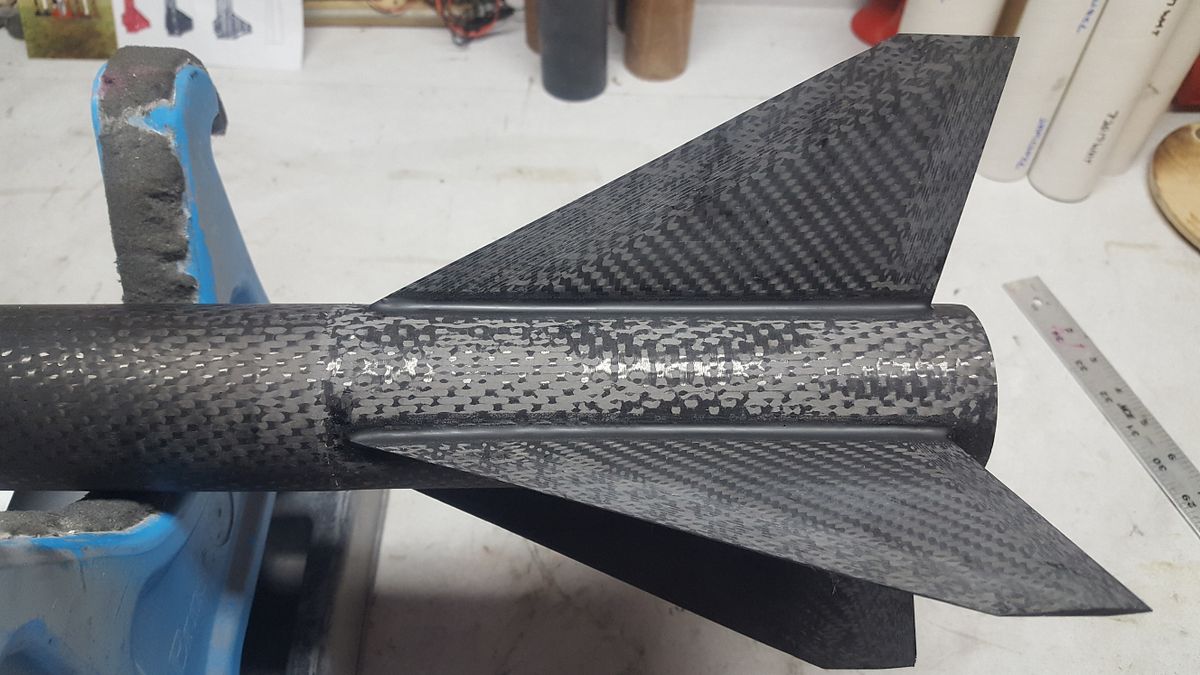
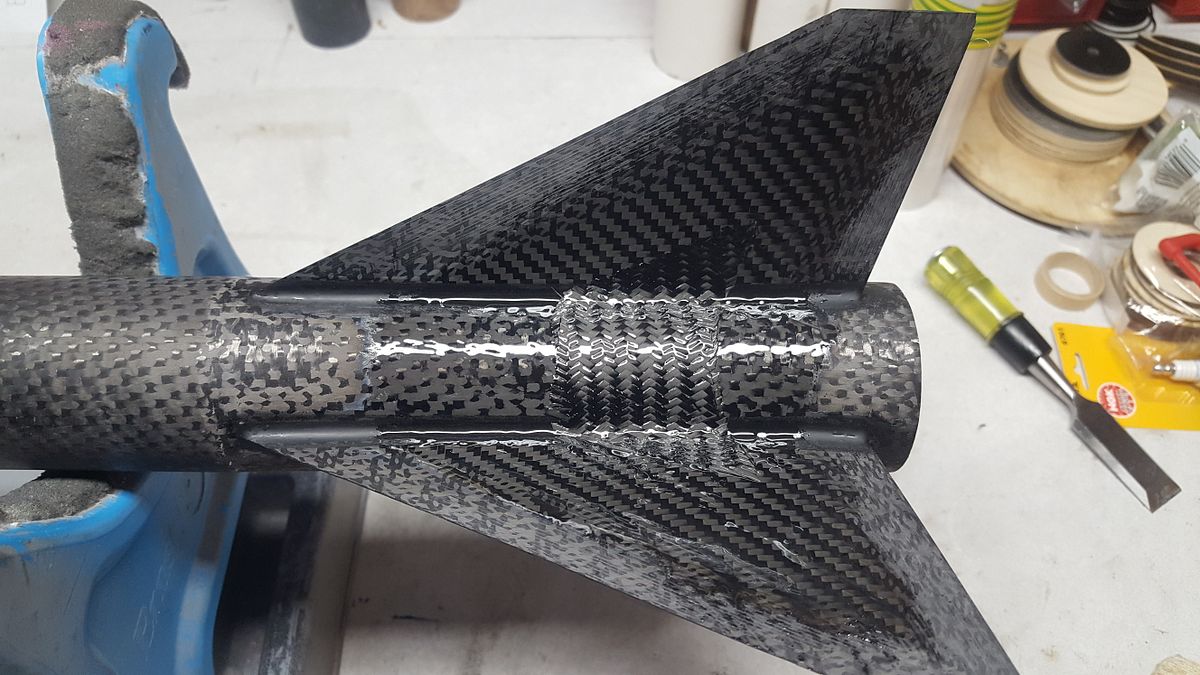
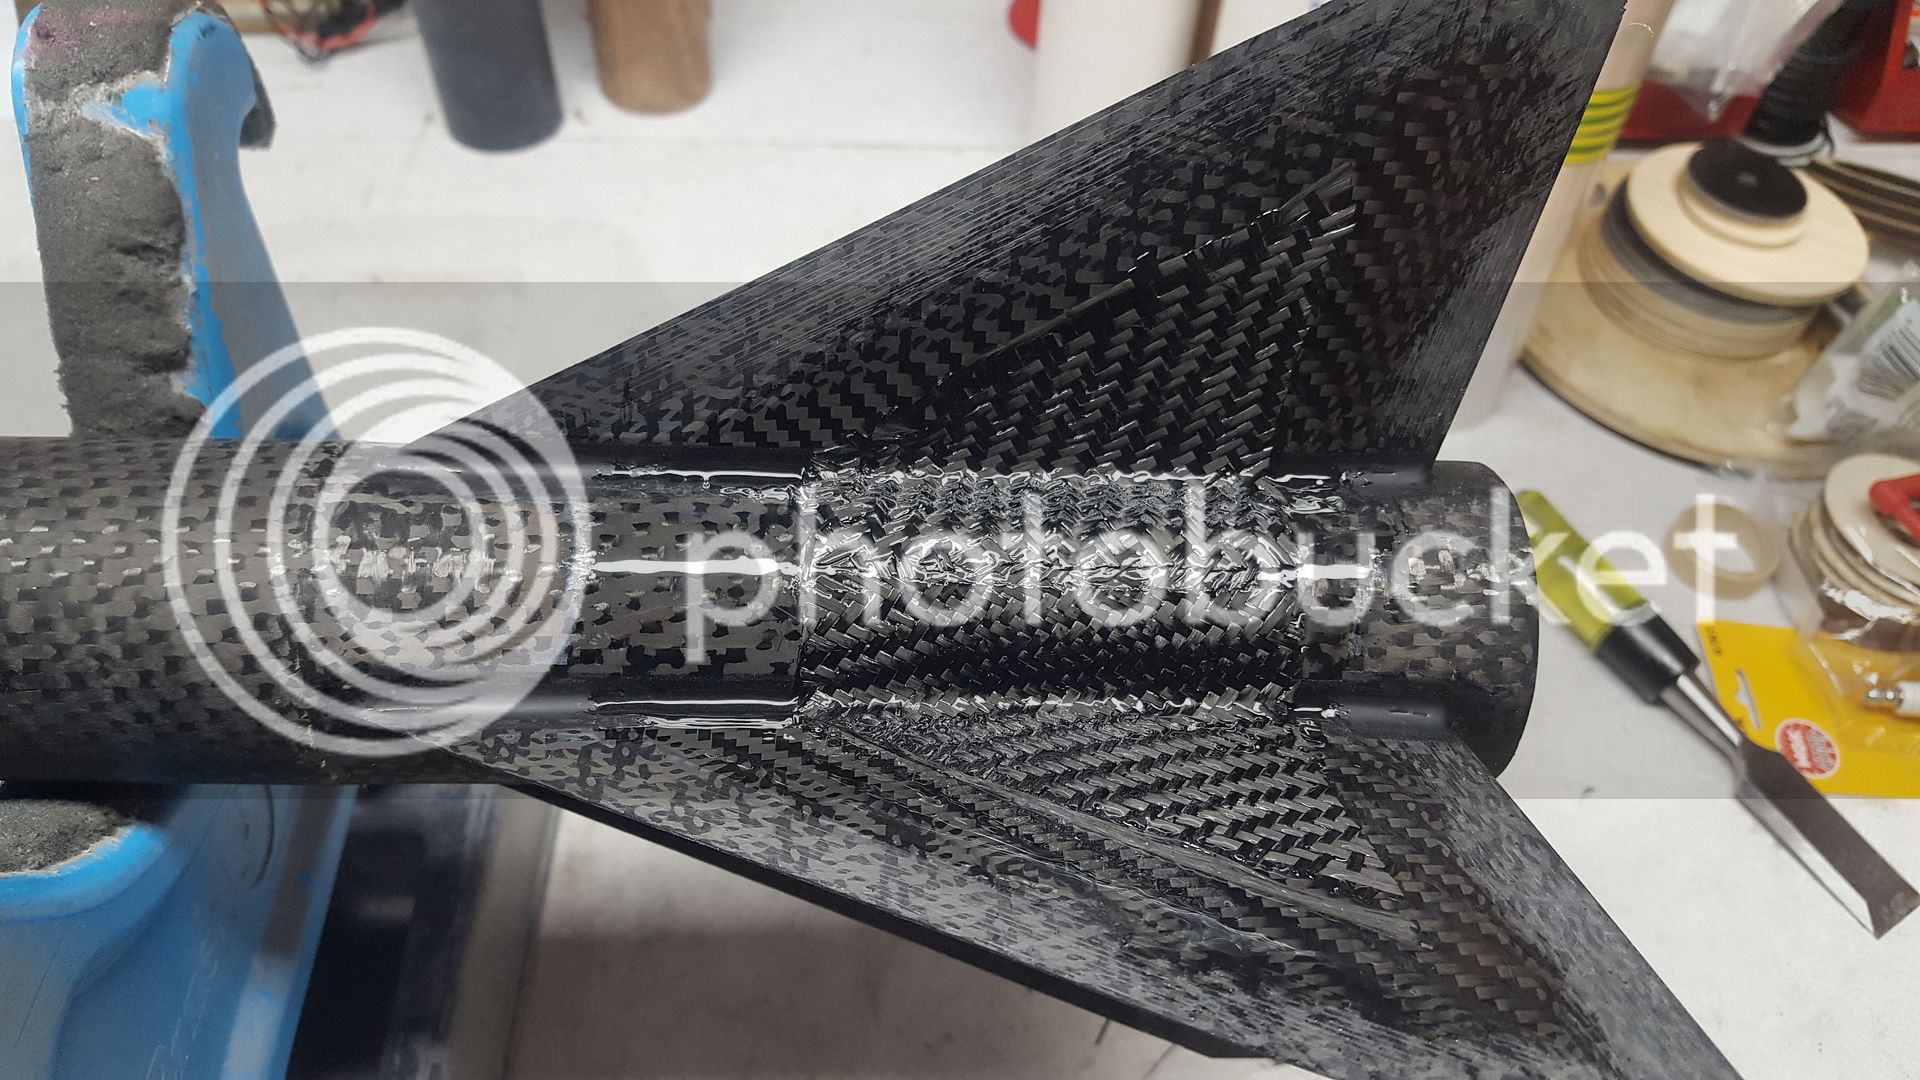
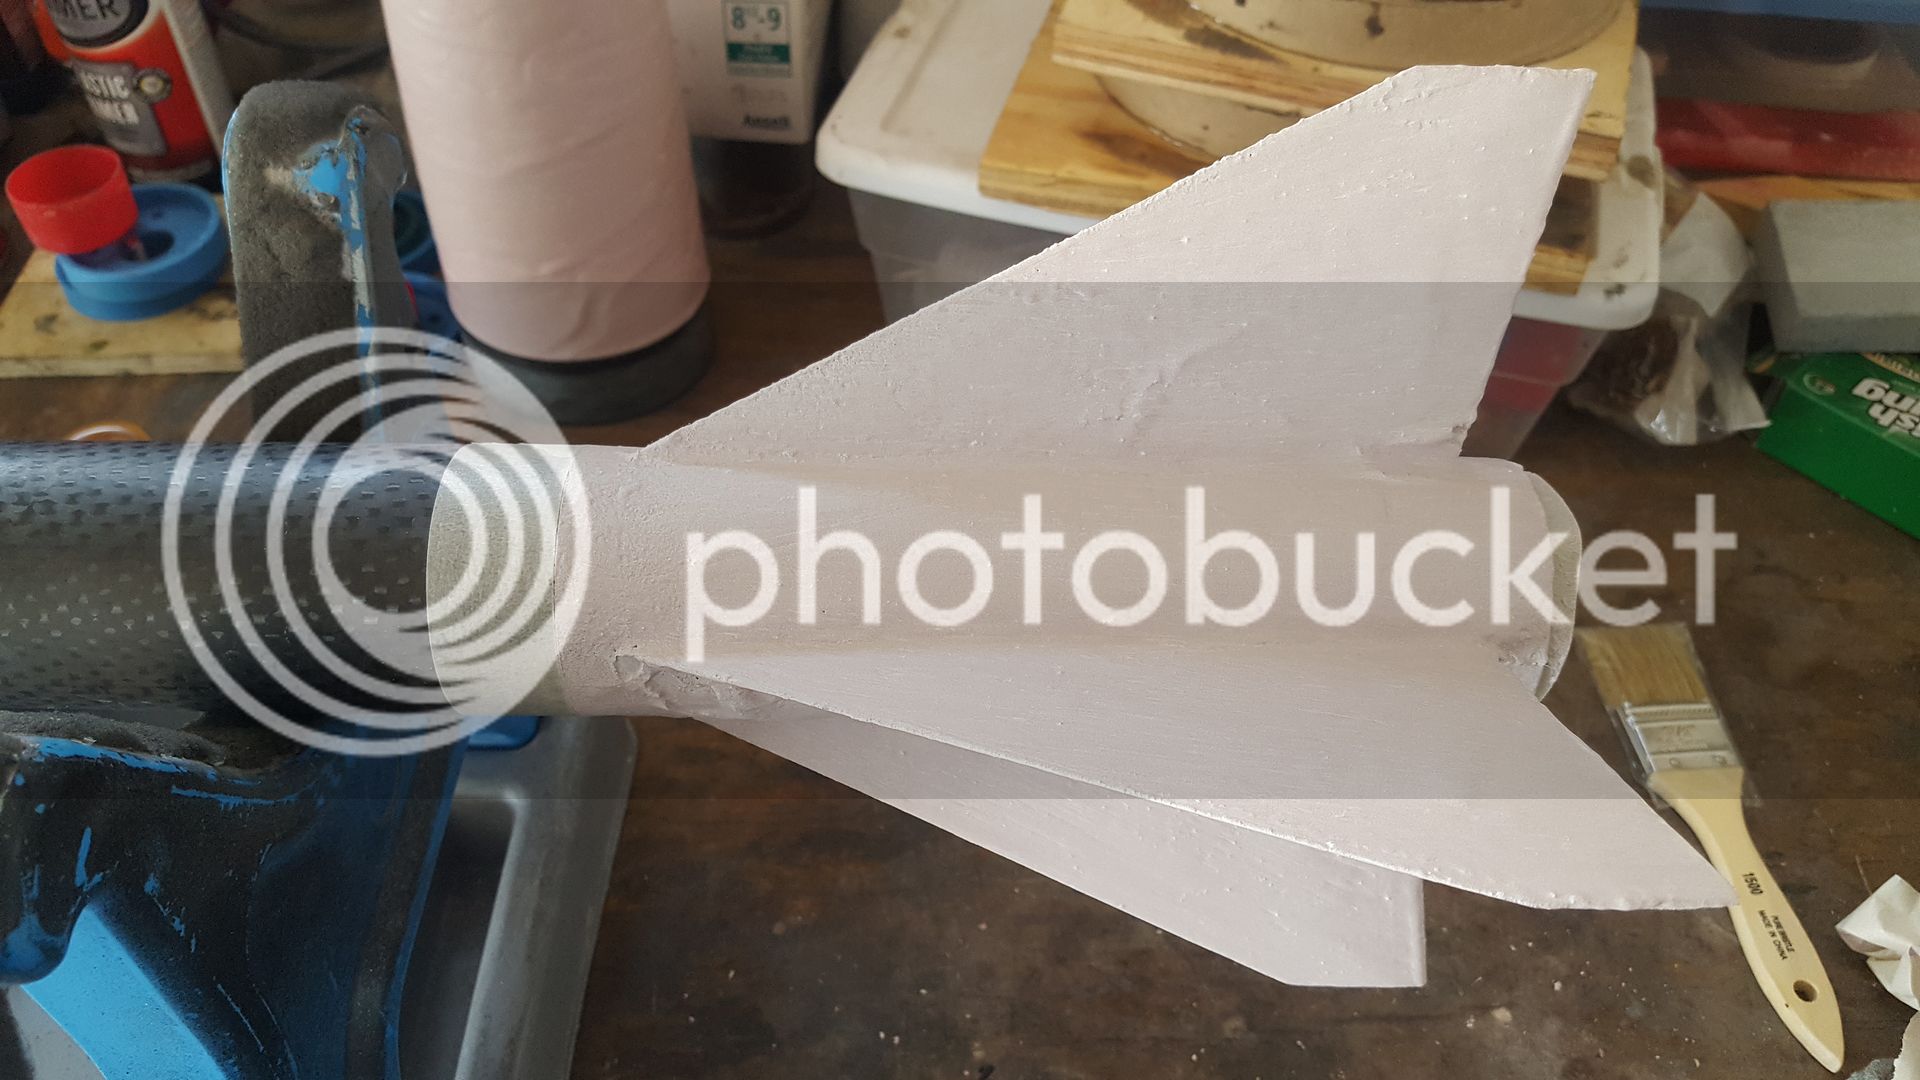
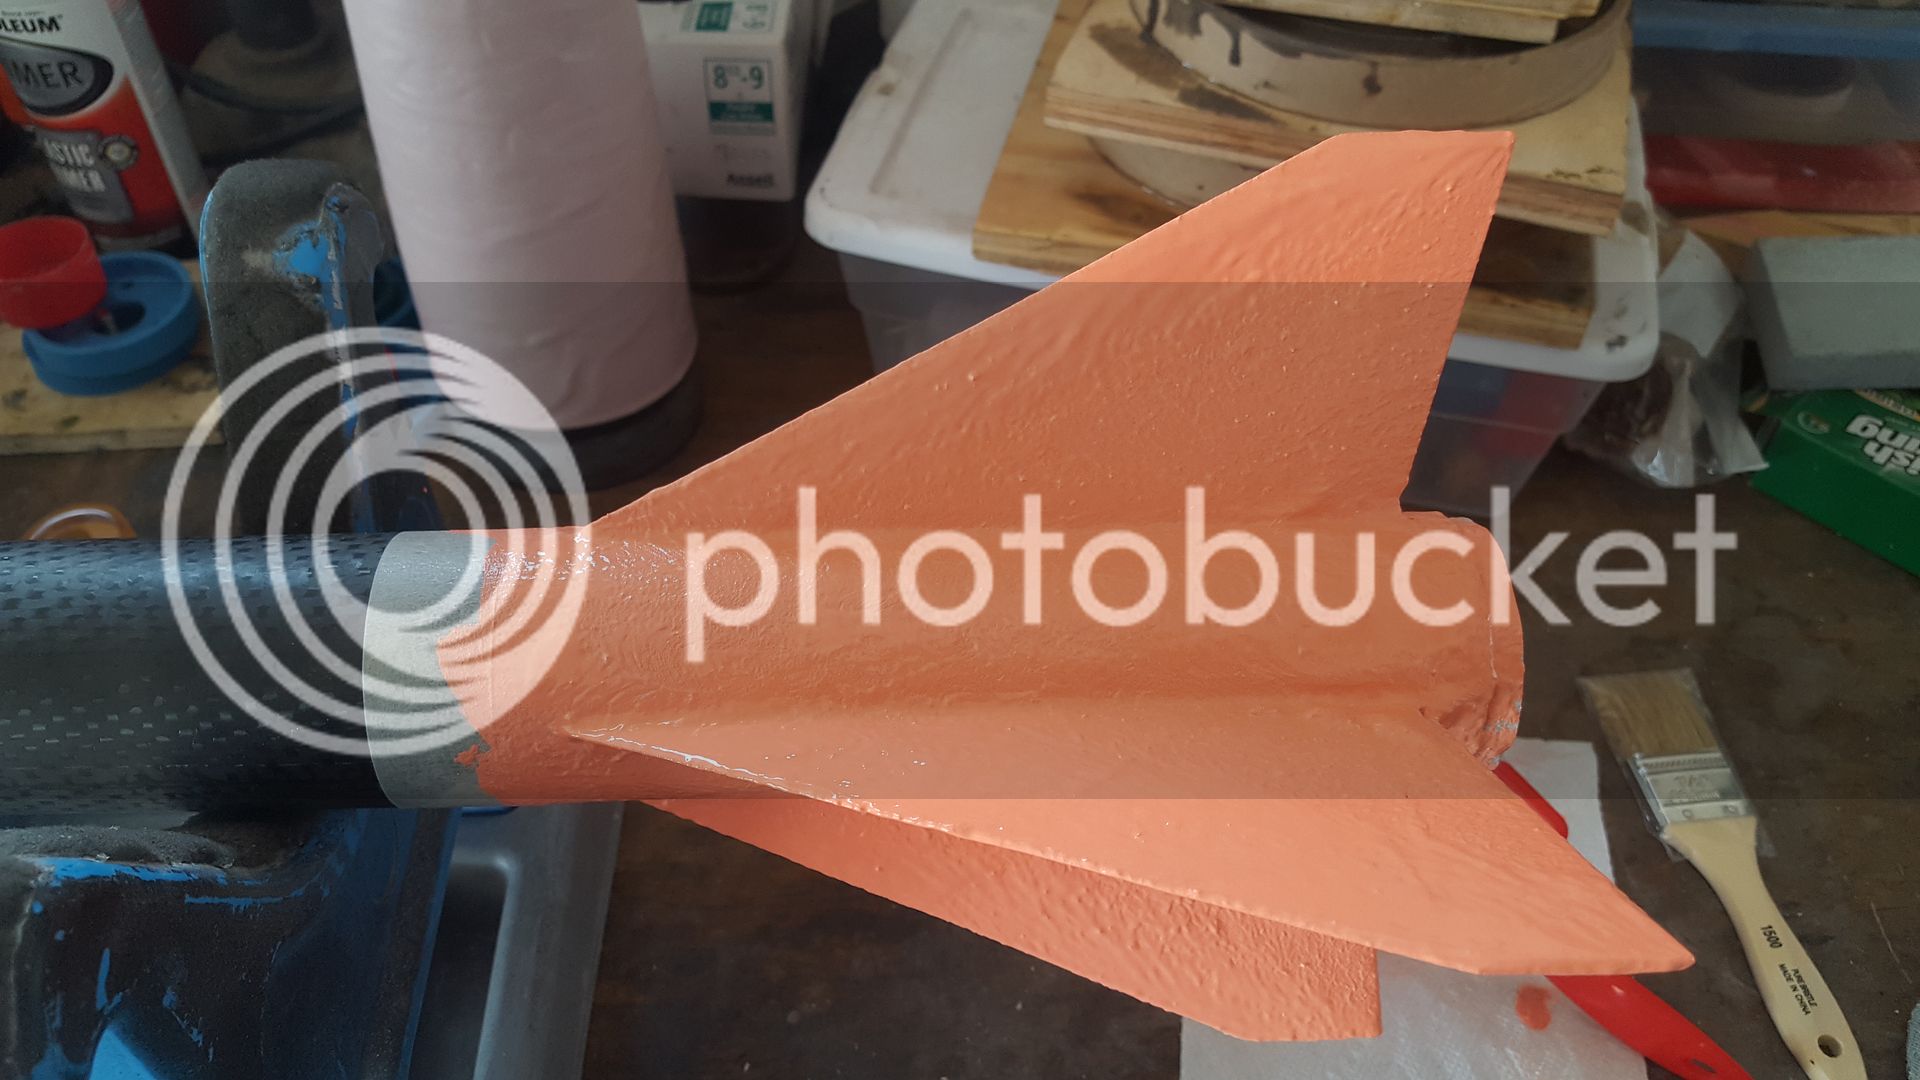
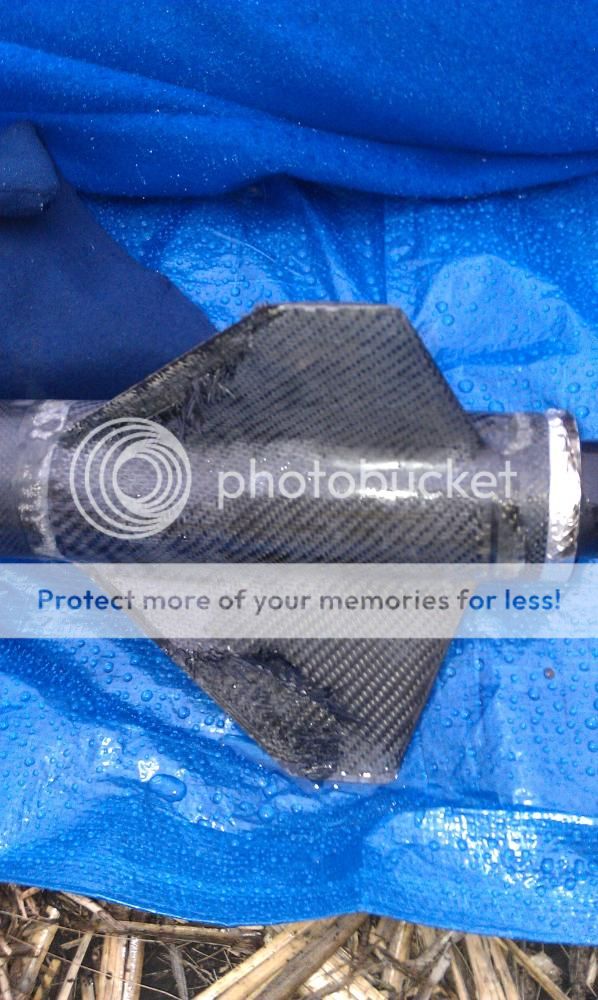
This little 54mm bird is going to haul the mail. Moving fast relatively low to the ground means a lot of heat. While I love a pretty carbon fin can, I'll sleep just a bit better by applying a few layers of ablative. So, no more pretty finish on the fins....sorry folks!:cyclops:

012_zpsklx9gbru.jpg


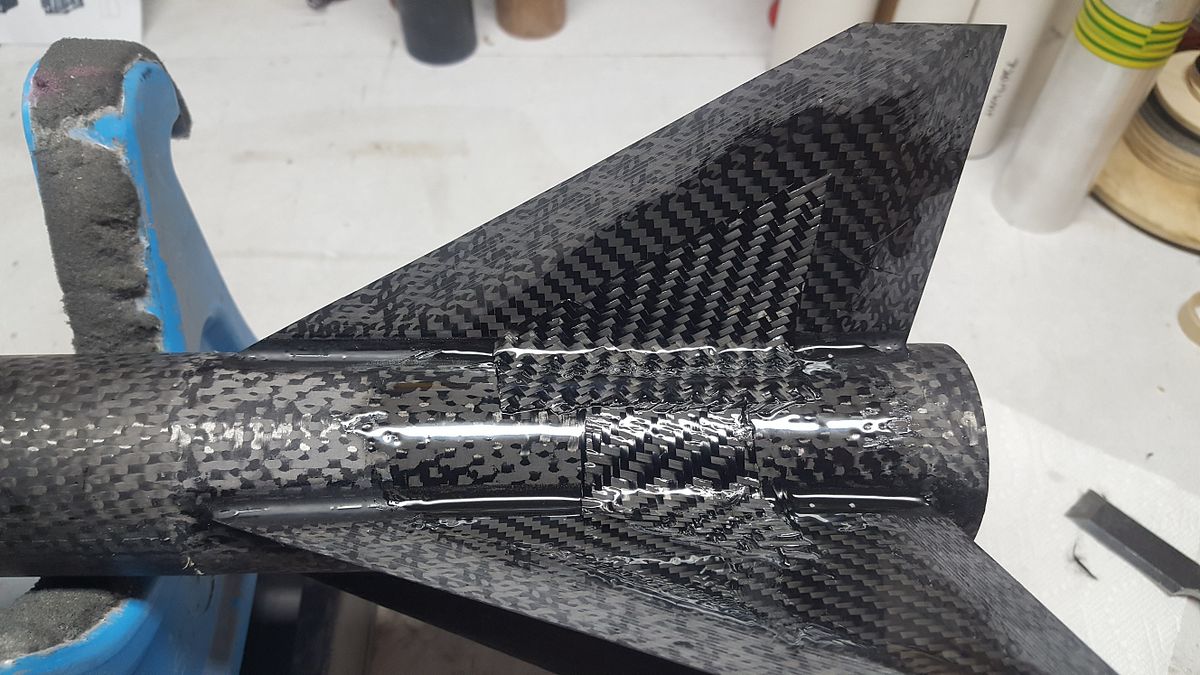
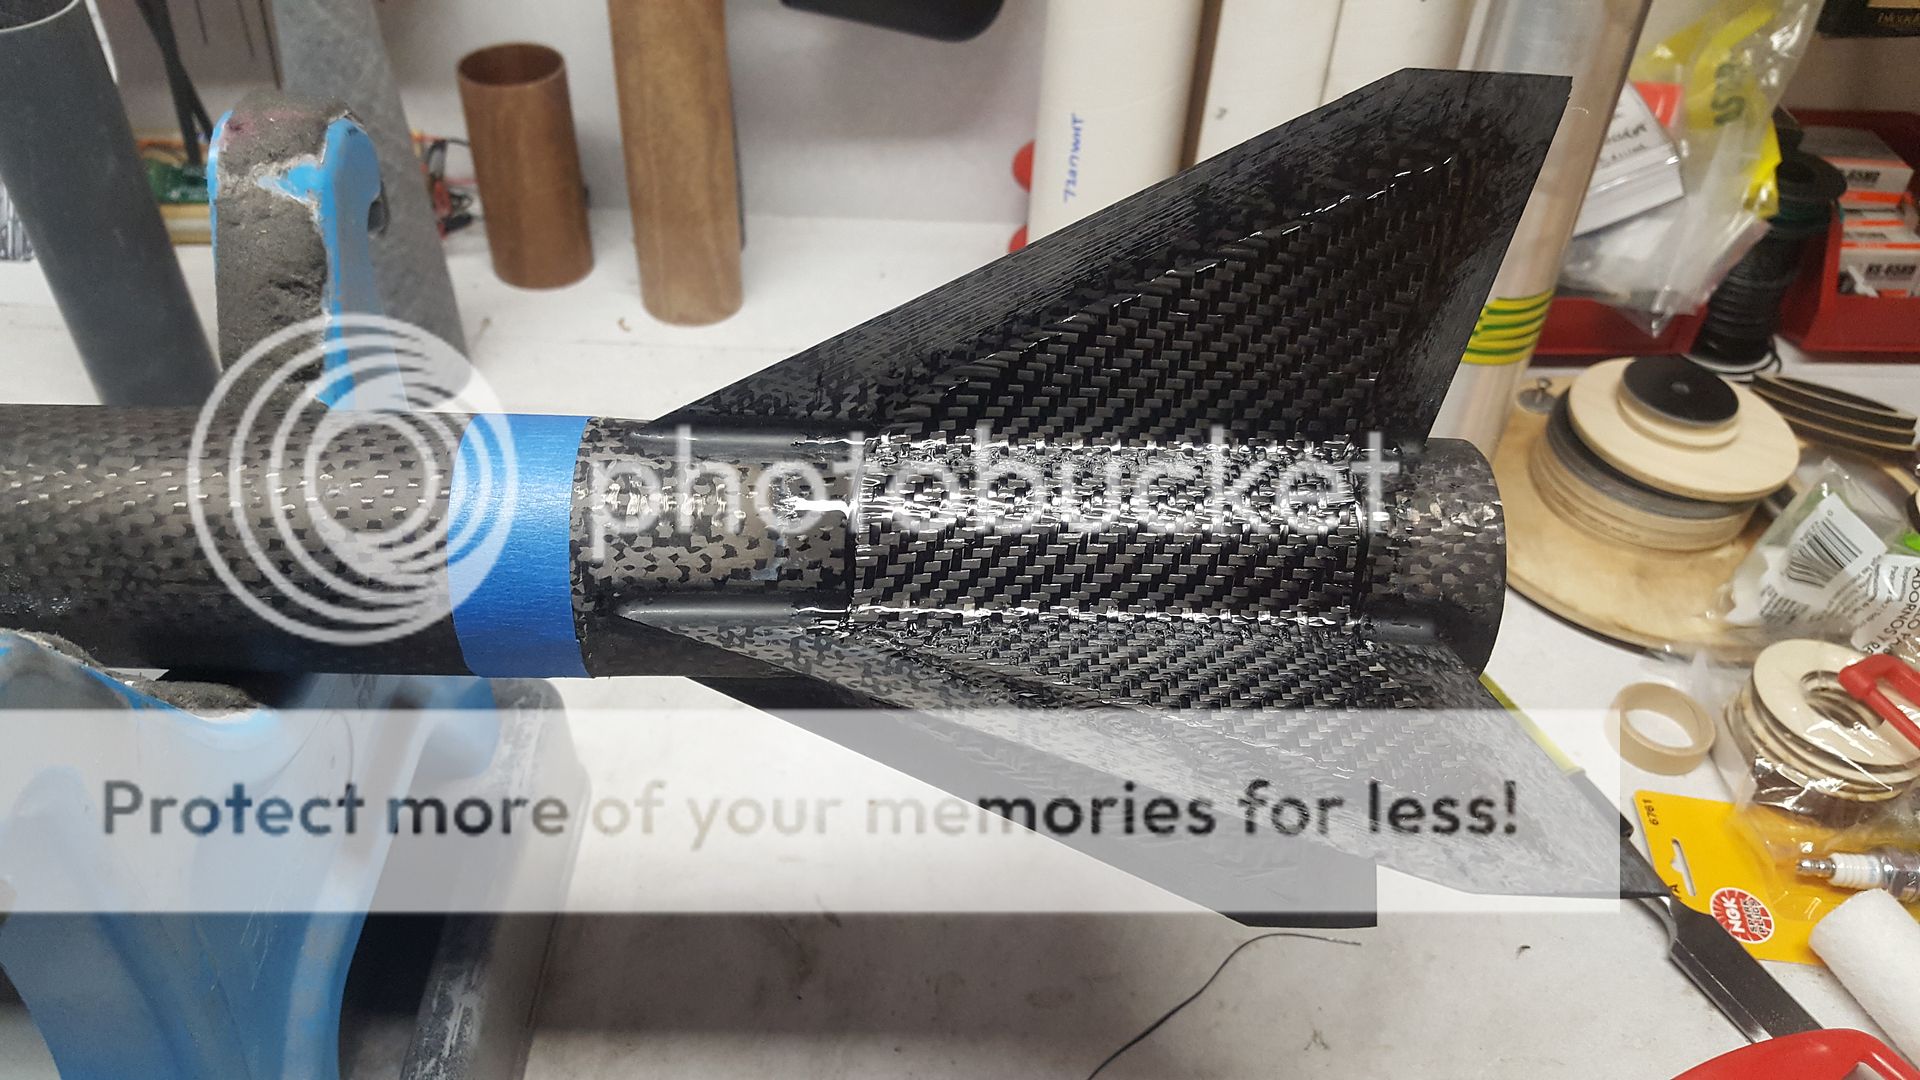
Let's do another layer for good measure. Re-coated within the cure cycle window, added a bit of tint to this one. We'll see how it looks once sanded. It may just remain this color; this is a "Go", not "Show" rocket.

013_zpsnkp3dri1.jpg
 
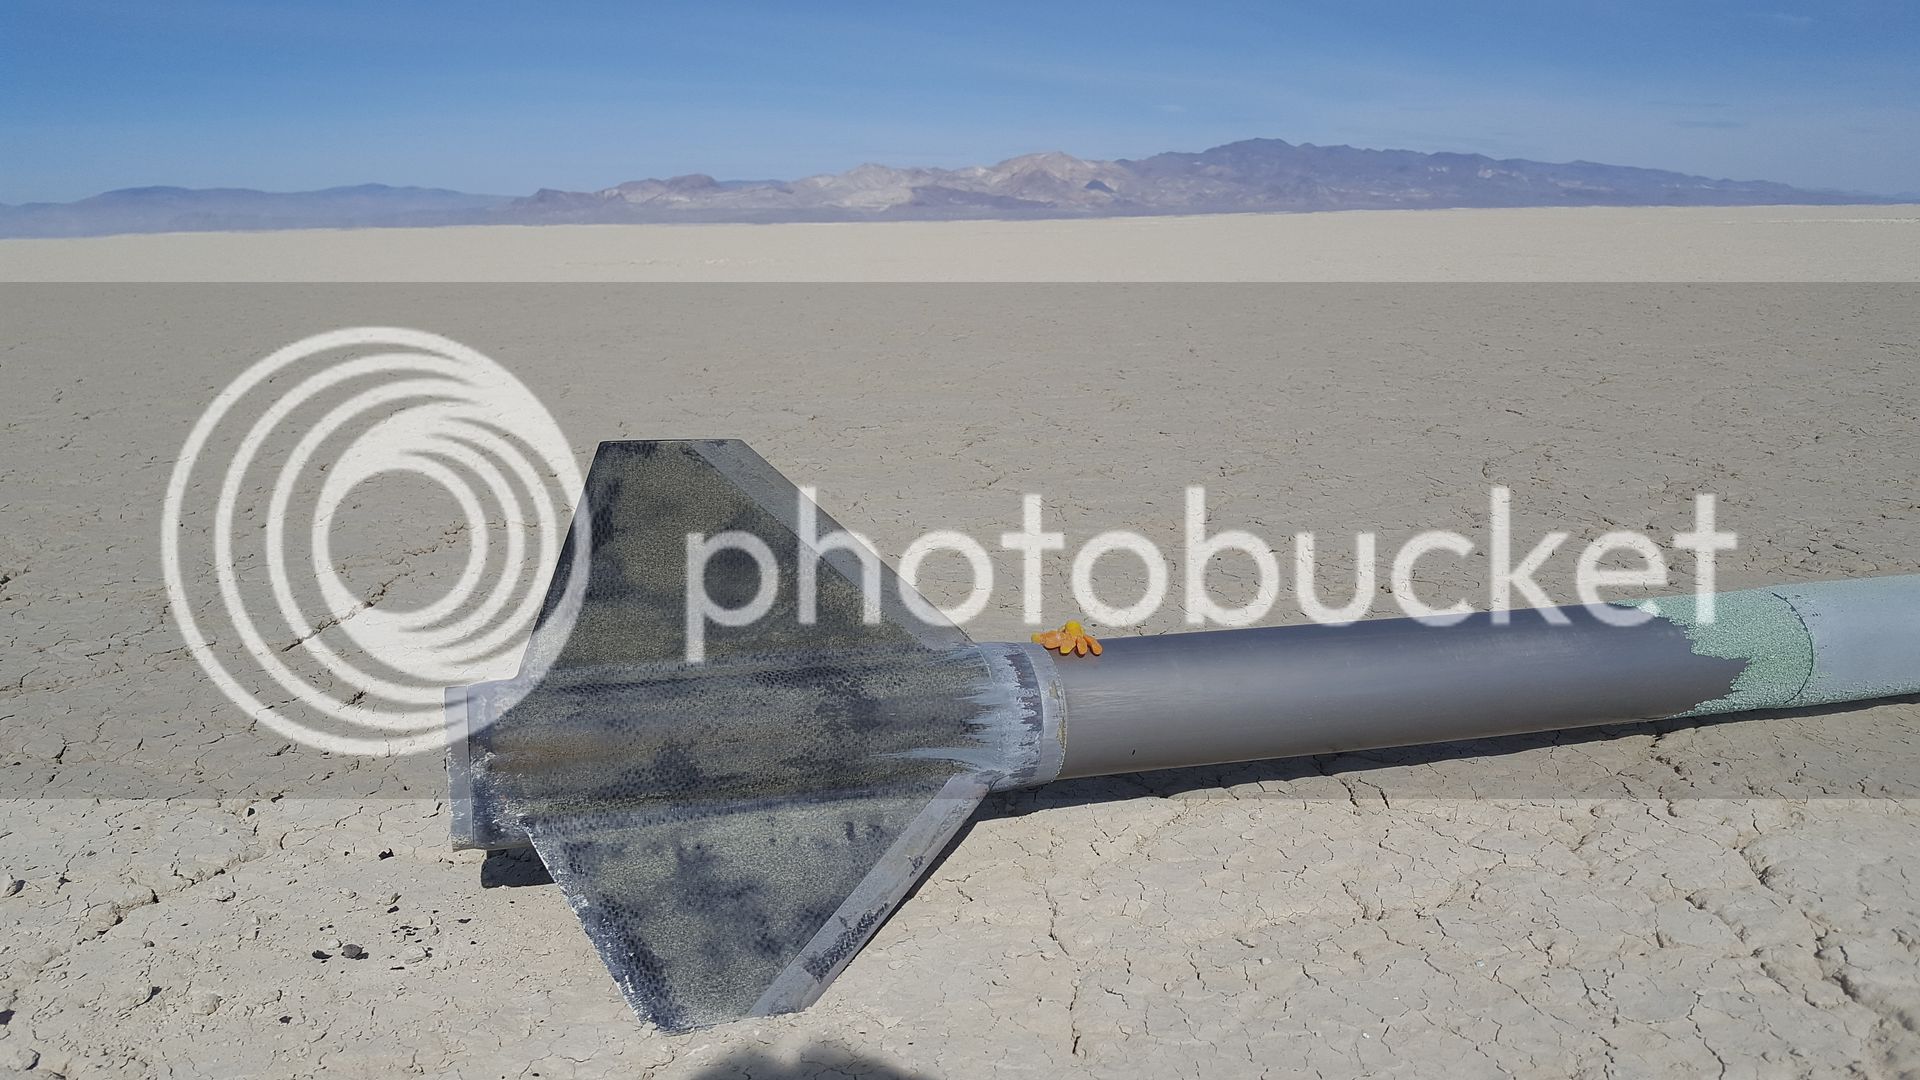
Here's last September's attempt. Kept most of the carbon in decent shape, but went slower and started at a higher altitude.

Before:

239_zpstn3ide6z.jpg


After:
259_zpsegerxxaj.jpg


Heat did affect the surface, but left the ablative coated leading edges mostly alone. For this little hot rod, I'm covering all the carbon in the can area.
 
Last edited:
That looks great Eric. I don't think you'll have anything to worry about as far as surviving the burn goes.
 
That looks great Eric. I don't think you'll have anything to worry about as far as surviving the burn goes.

Thanks Kyle! Hoping to not shred this thing! Would love a screamin' straight flight!

You covering the carbon on your screamer, or leaving it bare? Either way, can't wait!!!
 
Only paint. I had no problems with the L2050 but this is a different beast. I'm starting to worry a tad, we'll see what happens.
 
Eric- I'm nowhere near making a rocket like this, but what are you using for an ablative coating on the fins?
 
This is a really cool project. What kind of tracking are you going to use in such a small 54 mm tube? Please have someone take video of your flight and post it in the forum.

Good Luck,
Bob
 
Back
Top