DavidMcCann
Well-Known Member
- Joined
- May 15, 2016
- Messages
- 2,656
- Reaction score
- 180
You went to KSC and bring us a cell phone pic of 39A? :/
I can't wait to see one of these fly.
I can't wait to see one of these fly.


Thanks Michael!
I just got my nose cone AV bay from MAC in the mail yesterday so looking forward to your build.
This is going to take me forever since I'm ordering one piece at a time LOL!
You went to KSC and bring us a cell phone pic of 39A? :/
I can't wait to see one of these fly.

Looking good.
I'm convinced if I had two hours to work on something I'd do 15 minutes of work and then sit around confused the rest of the time.

Thanks.
And you're probably more accurate with the 2 hour thing, my ADD kicks in and I usually end up trying to juggle 30 things at once.
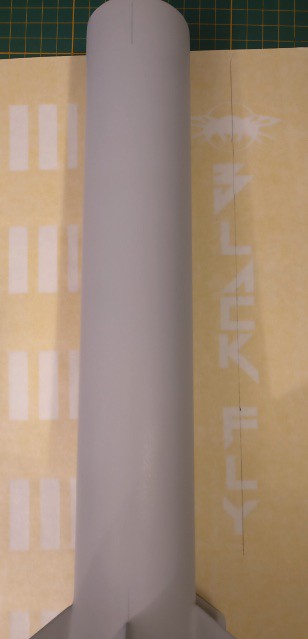
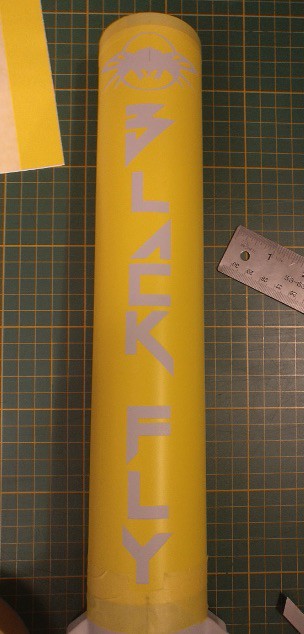
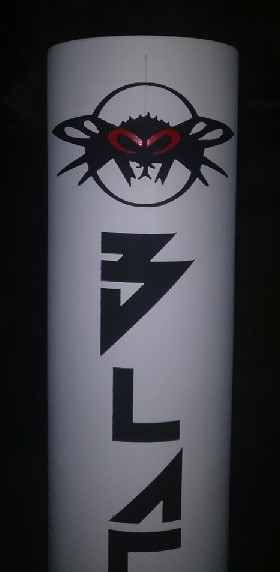
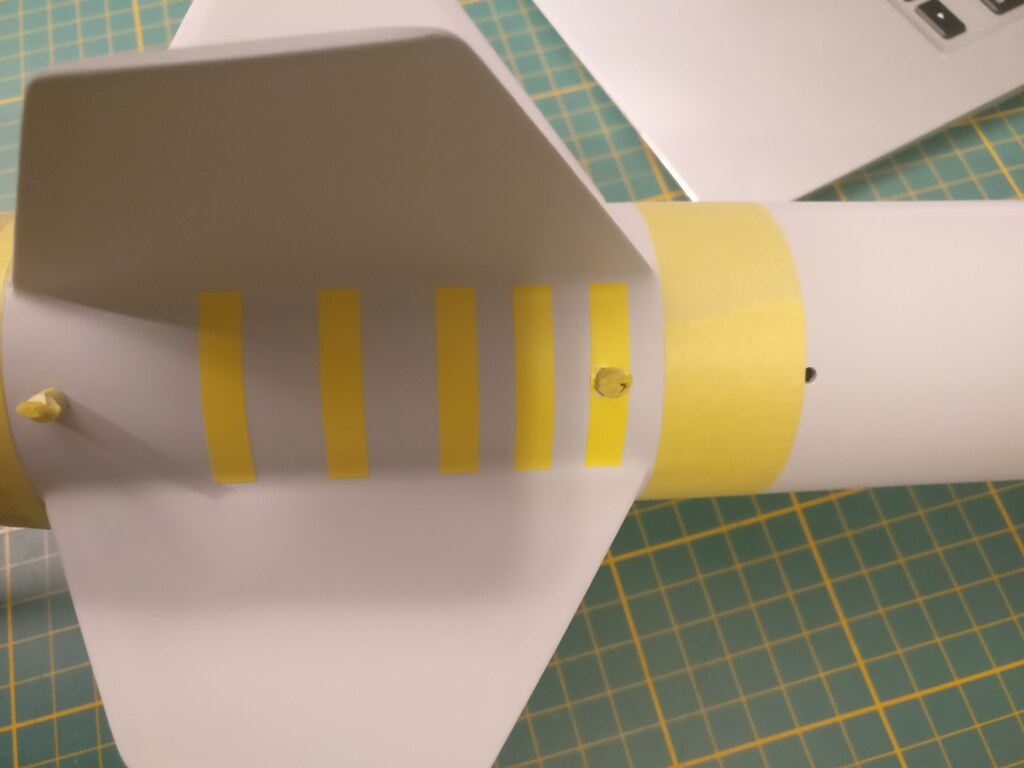
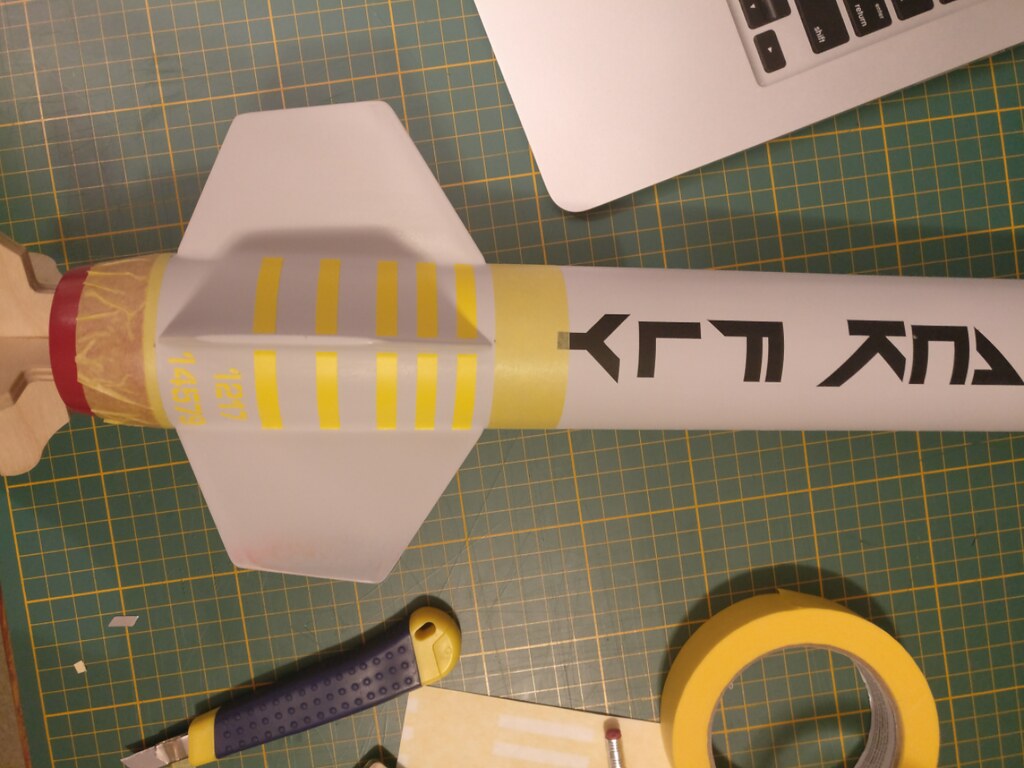
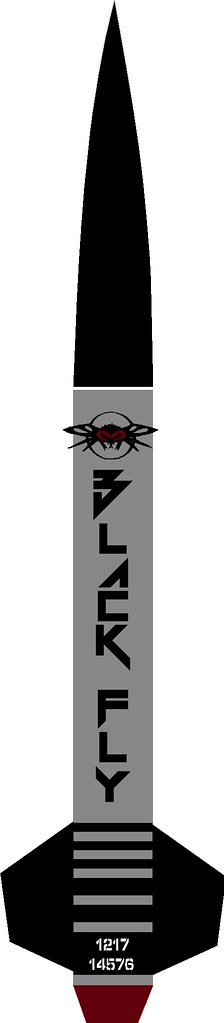
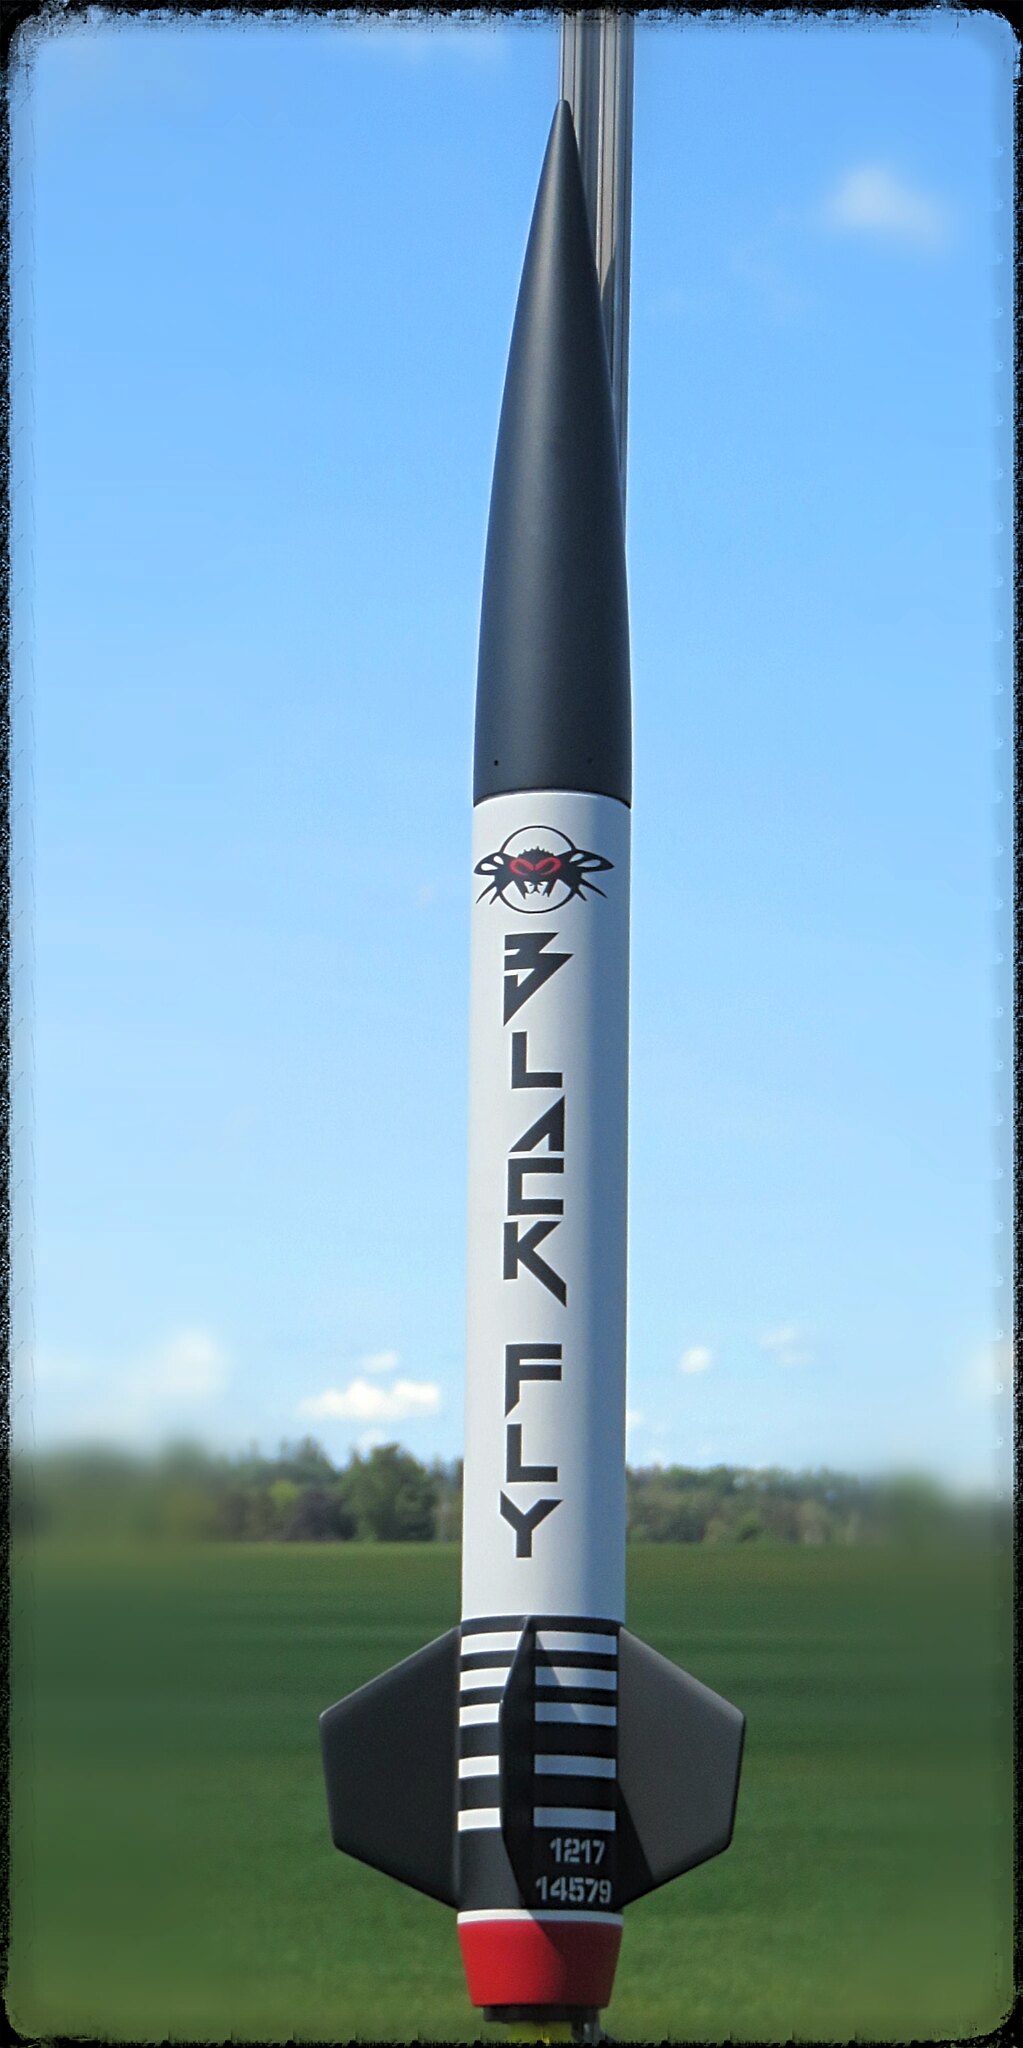
I took 20 min to lay down the red eyes of the black fly. Not quite as easy as it looks but not rocket science either. You cannot see the underlying image so aligning it took a few extra min. I simply drew the a vertical and horizontal center line on the mask, then aligned it with the center line I drew earlier on the rocket vertically, and horizontally I used part of the wings of the black fly as reference marks. The end result was pretty darn perfect, which is always a nice surprise as you peel back the mask. Obviously I masked off everything but the red square.
And whalla! a set of eyes looking back at me.
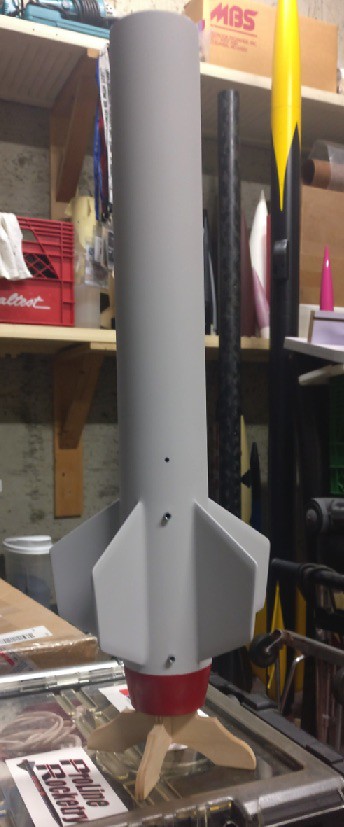
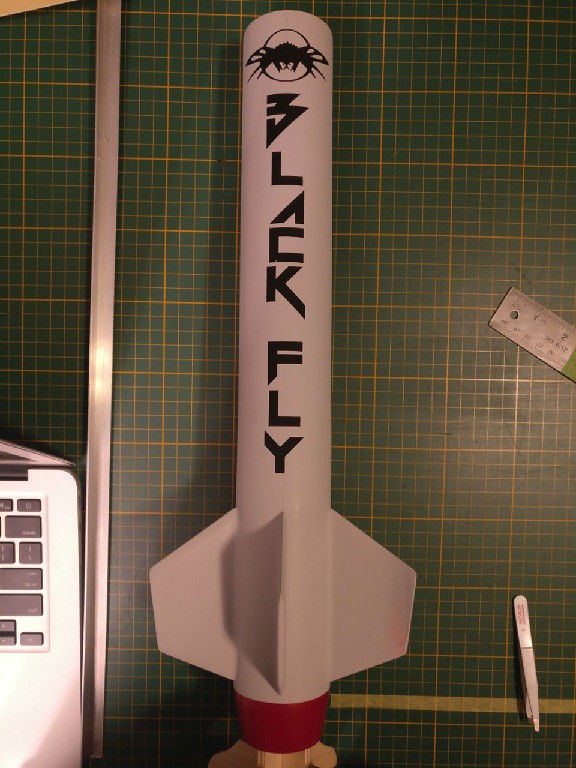
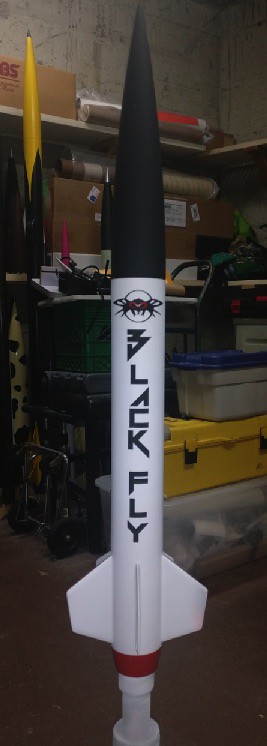
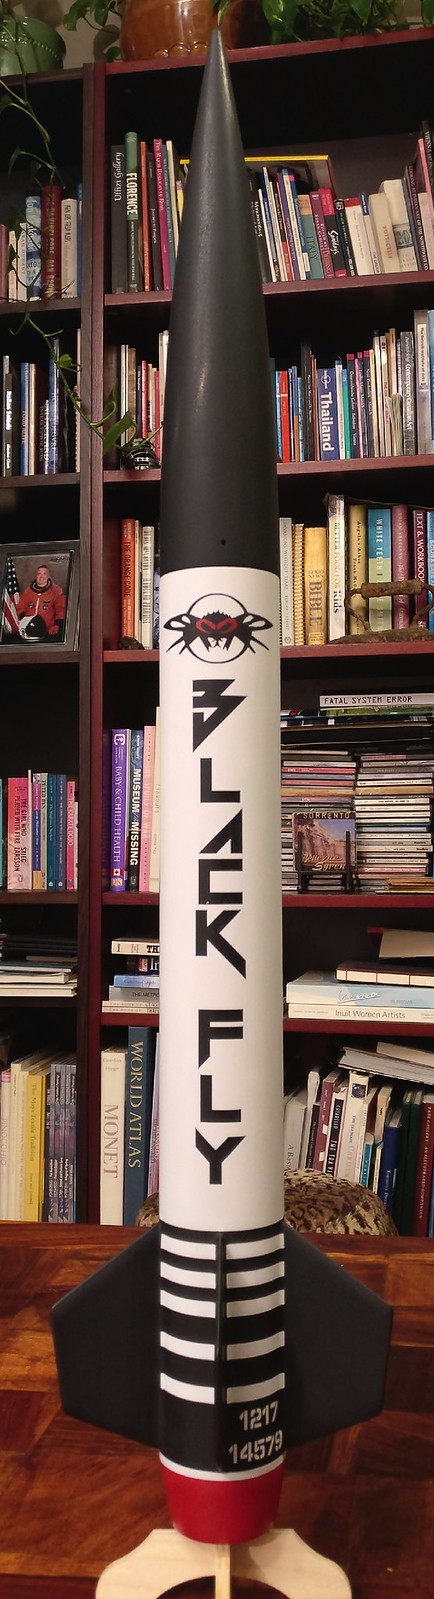
Of course I had to pop the nosecone on just to see if it is starting to resemble my rendering, and I have to say it is really starting to look like what I envisioned.
As I mentioned earlier, unfortunately I cannot paint the black stripes and black fins at this stage due to missing my re-coat window, so it looks like I will be at it next weekend before finishing the paint. Throughout the week I will do a light and careful wet sand, just to knock down the edges between layers, and on Saturday night I will mask and spray the black, then Sunday I will lay down the clear. Once that is done I will let it sit for a bit to cure and harden, which is min 1 week, plus the matte clear when initially sprayed tends to lay down cloudy and take at least a few days to clear up.
I will also be working on the nosecone AV bay this week including catching up on posting some of the AV bay work already completed.
Mike, there are rattle can paint products that don't have the long redcoat window associated with hardware store enamels. Duplicolor has a wide range of colors in their Perfect Match automotive series. It is a 1K acrylic (new term for lacquer). Color choice is wide and coverage is very good. It requires a clear coat. You can use theirs (requires some buffing) or a clear polyurethane rattle can clear will work. I have used it on a number of Mid Power projects. The MAC 3FNC I flew at URRF4 used this system.
Oh, BTW, It could not look any better regardless of the paint system used........
Looks fantastic, Mike!!! All matte? I still have to get mine in the air. MWP at the latest.
I'm going without an av-bay, just JLCR and tracker. Yeah, with school starting, I'm slow on Rocketry for awhile.Thanks Eric, it was a fun build.
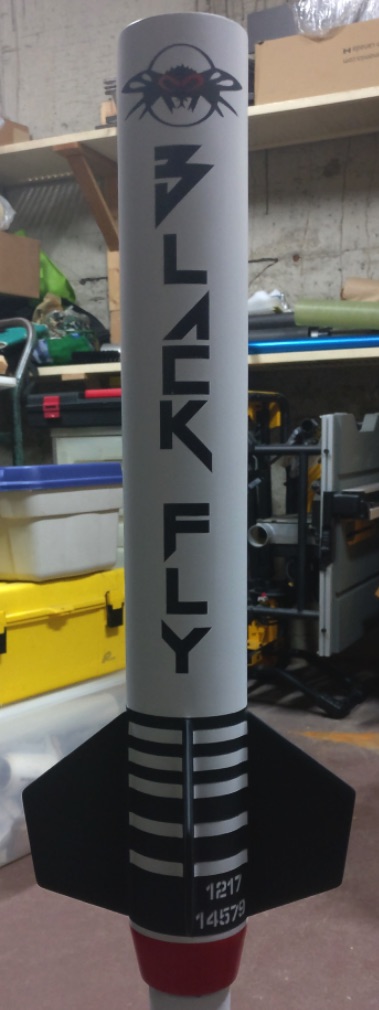
Yes it is all matte. That Krylon matte clear is so easy to work with and the finish, once cured, is pretty durable. I also used it when I refinished my Aerotech Arreaux payload tube in the spring, and it took a while to fully cure but it has taken a beating. Most definitely recommend it to anyone looking for that matte look.
I was going to PM you about yours, I figured you would have at least a few launches under your belt by now. I highly recommend the CTI G106 Skid, great flight. Because my AV bay is not complete I used a simple pop and drop, 11 second delay, which was bang on and the JLCR set to 300...it was picture perfect. I will be popping the CTI G250 Vmax in next.
Hopefully I will find sometime in the next couple of weeks to finish my AV bay and if so I will post some pics.
This got me thinking: rhinoliner or cerakote? Hrmmmm.....
Cerakote Elite at 180F for a few hours... HRMM!Never thought of either of those coatings before, but I would love to hear about any alternative practical coating that are both tough and look good.

Awesome Mike!
I am still fumbling along with mine. My first attempt at epoxy fillets came out a little heavy handed which is requiring a LOT of sanding!
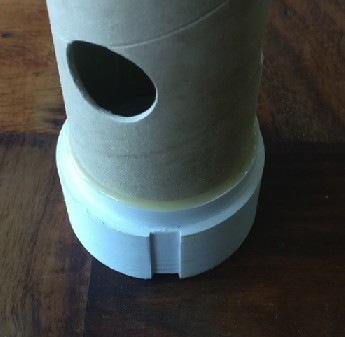
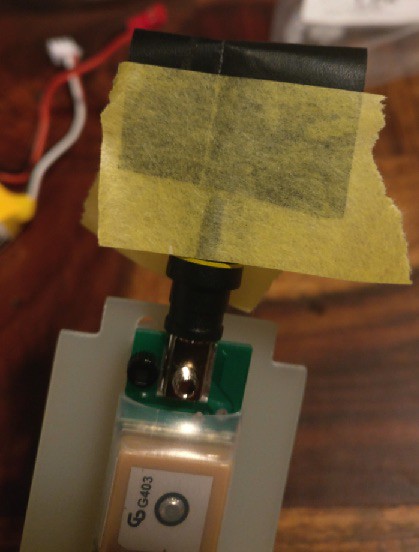
I am almost to the point that I am happy with it however and have started on the nosecone assembly and have the same nosecone AV bay from MAC. Before epoxying the AV Bay/Nosecone together, I was wondering about adding nose weight like you did or if I should even worry about it? I am not L1 certified so I will predominantly be flying mine on mid power F-50 through G-80 motors for now and would like the option to use bigger motors at a later date. It appears it would be difficult if not impossible to add weight in the future once it is all glued together?
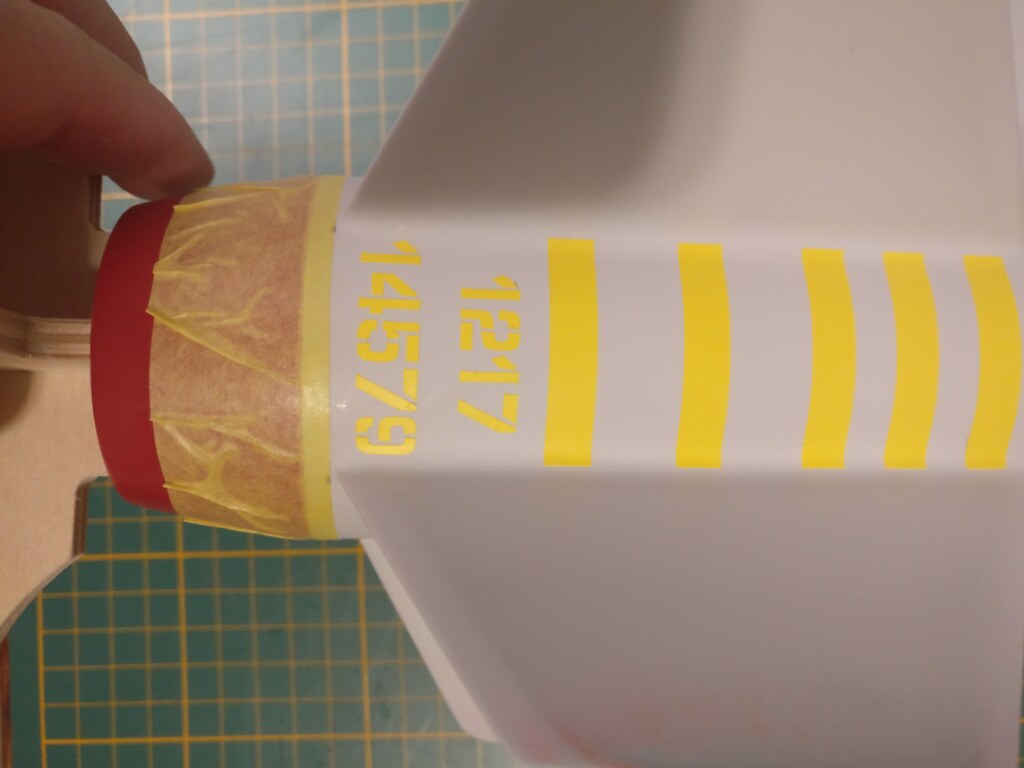
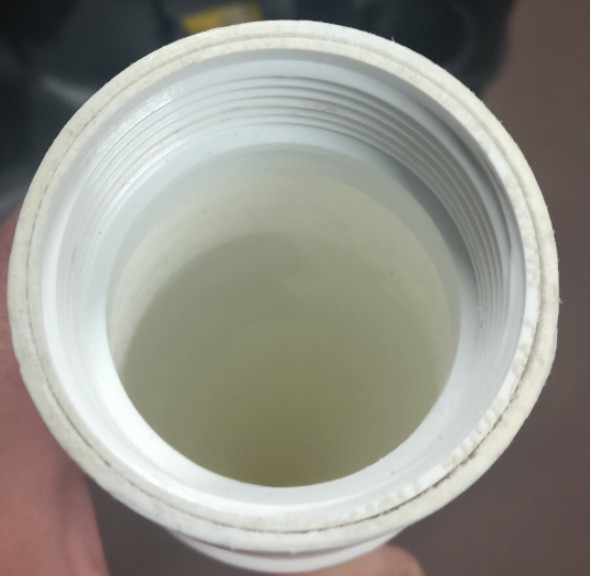
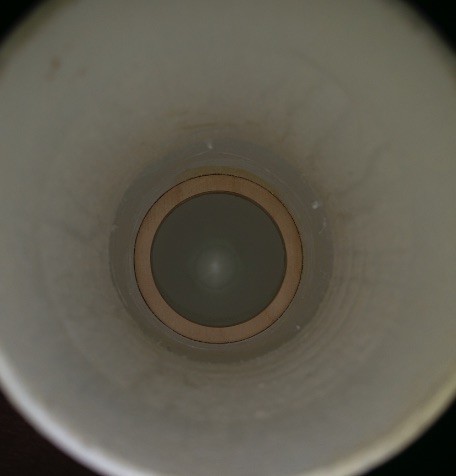
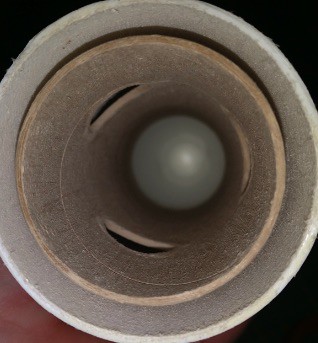
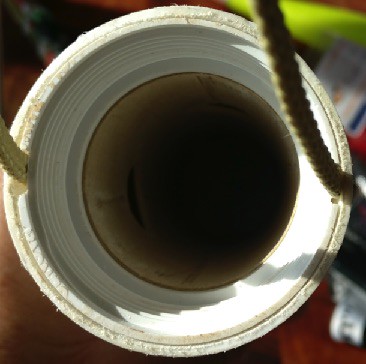
Also, what size holes did you drill for the static ports/sampling holes in the nose cone? Looks like they are smaller than 1/8 but it is hard to tell from the picture. Are the holes in the AV bay tube 1/2?
View attachment 325813
Thanks again for all your help and it's great to know she WILL fly one day LOL!
Thanks Mike!
I did use the carbon paper trick you mentioned and even drove 30 miles one way to pick up the paint spreader/spatula doo-dad you posted a picture of. I believe my problem was that this being the first time I did this, I ran my tape lines OVER the top of the carbon paper lines instead of next to them. When I pulled the tape off it peeled up the edge of the fillet leaving a very pronounced line. I'm getting better though, I've been practicing on the $15 dollar Estes PSII clearance bundle rockets!
I will get some pictures tonight and post tomorrow. I also downloaded Open Rocket but haven't had a chance to do more than just look around. That will probably have to wait for the weekend.


This has been an absolute joy to build, thank you Mike for all your assistance!
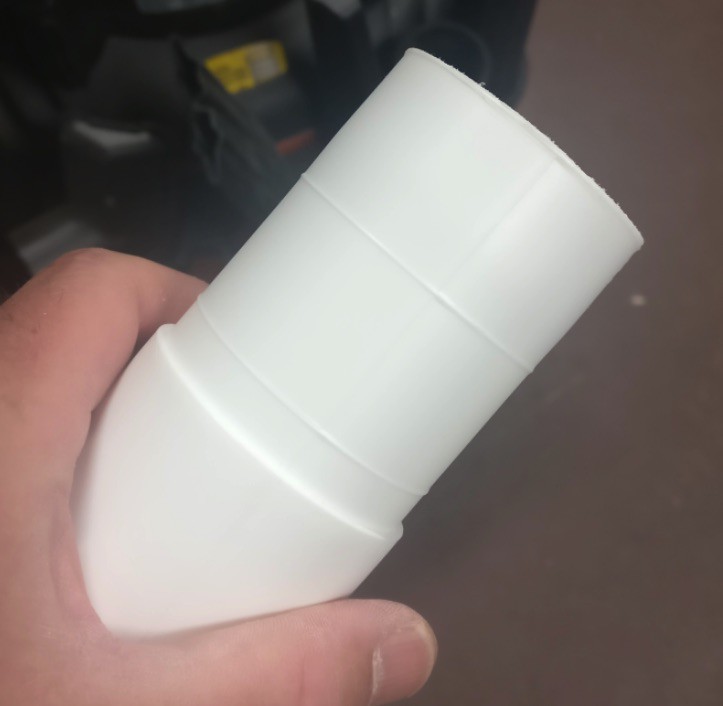
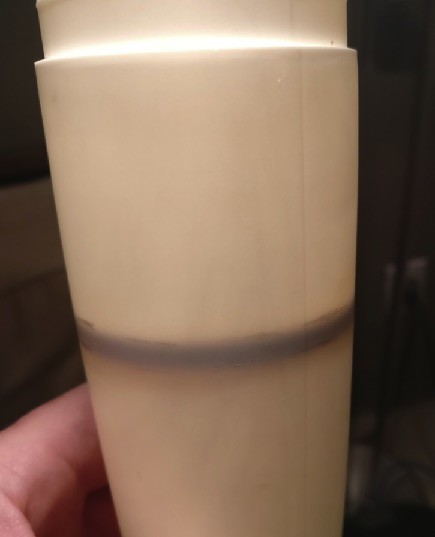
Interesting. I have a equivalent number of flights on my Radial Flyer, which has the same tailcone. I don't have any issues there, just a little carbon. I wonder if there is some influence in how far back the motor tube/retainer extends out of the cone, though yours doesn't look to be too different...
One other thing that I would consider adjusting is the length of the tailcone. I now have three flights and after each flight there is a bit of blistering on the end of the tailcone. I think if the tailcones was a bit shorter it would help mitigate or even eliminate this. For anyone just starting the build I would sand off .25" and take it from there. For me I am going to sand the paint off the end then repaint just that area with some high temp paint. I am not sure if this will resolve or mitigate it for me as I believe it is caused by the underlying PLA off-gassing due to the heat. However to shorten the length once built with the retainer on, is possible but it would be a challenge for me.
If anyone tries to mitigate this on their BlackFly, please let me know what you try.
")

Enter your email address to join:
