Looking for someone to make waterslide decals for me

The Rocketry Forum

Help Support The Rocketry Forum:

This site may earn a commission from merchant affiliate links, including eBay, Amazon, and others.
Are those ALPS printed? I don't know what else they could be, given the layered white printing. Do ALPS-printed decals need to be clear-coated before soaking? I gotta check that guy out if he's really printing with ALPS. Just emailed him with some questions.

For what it's worth, I never add Microset or soap to my soaking water. I *do* wet the surface of the rocket with Microset before applying; you definitely want some moisture where the decal is going to go so you'll be able to adjust position. When it's in place you'll want to get the excess water out from under the decal; rolling (not wiping) a Q-tip is a good method.
Ooh, good point about ALPS decals. I have no idea since I'm not sure if I've ever worked with them.

Boy, decal work is like a minefield!
 
The white "015" on the STA's tail fin is an ALPS printed decal on Bare Metal Foil's Expert's Choice decal film. Since it's a dry ink, no overcoat is needed to protect the ink while immersed in water. The same is true with the laser-printed markings on the model, although the toner can flake if the decal is overly flexed before it's laid down. I generally avoid overcoating, in an effort to keep the decal as thin as possible.

The markings on the Orbital Transport Laboratory are also a combination of ALPS and laser-jet printed decals.

ALPS dry ink can be a little sensitive to the clear coat one chooses to use. Generally, the hotter clears (like Rustoleum Crystal Clear) can cause the ink to wrinkle if not carefully applied. I've had no issue with Testors Gloss or Flat top coats.

MicroSet on the model is the way to go; adding it to the bowl of water will likely dilute it to the point where its effectiveness becomes limited. And soap or detergent in the water is usually meant for vinyl markings; lubes the surface to aid positioning before the thing is stuck down.

Hope this helps.
 

Attachments

  • Tail Arrangement.jpg
    Tail Arrangement.jpg
    249.5 KB · Views: 0
  • OTL 7A.jpg
    OTL 7A.jpg
    1.2 MB · Views: 0
Hi Neil;

Nope, just the photos I keep on my computer.

Mr. Antares provides some spot-on advice about laying down a gloss clear coat before decal application; this will help preclude any silvering, which if it is present after the decals have dried, can usually be resolved with an application of MicroSol. Once that's dried, the final topcoat (matte or gloss) can be applied. And that's why pre-testing the solutions and coatings one plans to use on a spare decal or two is so important; you don't really want to find out you have a compatibility issue once you've laid the markings on the model.

The F-61 Starfighter, below, was a clone scratch build, and so I redrew the markings and printed them on my HP LaserJet printer. No overcoat before applying them, just some care to avoid damaging the toner during application. The final Testors Lusterless Flat (now back to being called Dullcoat) topcoat helped to make the film disappear.
 

Attachments

  • Airframe Final Assembly.jpg
    Airframe Final Assembly.jpg
    164.4 KB · Views: 0
  • Infrared Torpedoes.jpg
    Infrared Torpedoes.jpg
    194.6 KB · Views: 0
  • Decal'ed.jpg
    Decal'ed.jpg
    190.4 KB · Views: 0
Getting the film to disappear on a gloss finish is harder, because of the way light reflects off that type of finish. So sometimes a bit of extra effort is needed to achieve that result. In the AERO-HI example, below, the black text markings were printed on my HP LaserJet printer, placed on a gloss underlay, and then had several gloss coats applied over top. The white text markings on the black fin are actually Gothic Block letters from one of MicroScale's aftermarket railroad marking sheets. Cut and placed individually, again with some gloss coat care. I kept everything thin by using an airbrush for the finish.

Hope all of this is of help, and looking forward to the fully finished, refurbished Delta.
 

Attachments

  • Ready for Assembly.jpg
    Ready for Assembly.jpg
    391.7 KB · Views: 0
  • Fin Flange Installed.jpg
    Fin Flange Installed.jpg
    352.7 KB · Views: 0
  • Aero-Hi Complete.jpg
    Aero-Hi Complete.jpg
    321.2 KB · Views: 0
I have to look in my emails but I had some descent old school Estes Big Daddy water slide decals made the last holidays. They look like their quality made.
 
Reminder: Terry@STSdecals did not say his decals are ALPS. He just said "Modified digital printer", and I had specifically asked him if it was ALPS, so I tend to think it is not. But who knows.

I'm of the opinion that clear-coating decals is always a good idea. It is unknown which clear coats these particular decals will respond well to. I don't want to bother Terry with more questions, probably best for @hobie1dog to ask (if desired) since he's the actual customer. I usually use Future which is safe for pretty much anything.

I do plan on getting a quote from Terry in the future. My decals for dark-background rockets are always a stupid project unto themselves; if I can get proper opaque decals with white printing for a reasonable price then I'm in.

You might also want to check with Tango Papa Decals. I needed 1/132 scale decals for my Saturn V, he re-scaled the std decals and hooked me up for $8. If you can provide the file... I'm betting he can provide the decals. [email protected]
 
So I'm a bit confused... if there are decals like ALPS you're not supposed to clear coat before applying, is it OK to clear coat them after they're applied?
ALPS decals can indeed be overcoated before they're applied, they just don't need to be, and I always try to avoid overcoating any decal before application if I can so that I can keep the thing as thin as possible. Nothing against inkjet-printed decals, but if I can avoid those I will, because they must be overcoated before application.

As Neil says, once the markings are on and dried, overcoating is good idea; makes them more permanent, and gives you options to blend the decal film into the final finish, if that's important to the project.
Ah, got it, thanks John!

I grew up building models (spending ridiculous OCD hours making them perfect), so I can understand the annoyance when the decals don't look quite right.

However, for me, I don't mind the extra thickness of a clearcoat if it makes decal application easier on my rockets and they look pretty good at about arm's length.

BTW Amazing work on your rockets! I can understand why Neil asked you about a photo gallery. :)👍
+1 I love to see Expert modeling too.
 
Well, this turned out to be a disaster as those GD water slide decals were so small that the McDonnell Douglas decal, which is the sole reason that I ordered the decals to begin with, both of the two that he sent me folded over on themselves and they would not come undone, so both of them are completely screwed. :mad: so this whole thing was extremely frustrating endeavor two of the decals are on looking pretty good and the main one that I need is now missing.
This is a day I wish I would have never gotten back in to this hobby.:angiefavorite:🤬
 
Sorry the decals folded on you.

Applying water slide decals is an art form requiring a very delicate hand, small tools and a good bit of experience.
I have ruined many decals just the way you described or by tearing the decals apart.
 
Well, this turned out to be a disaster as those GD water slide decals were so small that the McDonnell Douglas decal, which is the sole reason that I ordered the decals to begin with, both of the two that he sent me folded over on themselves and they would not come undone, so both of them are completely screwed. :mad: so this whole thing was extremely frustrating endeavor two of the decals are on looking pretty good and the main one that I need is now missing.
This is a day I wish I would have never gotten back in to this hobby.:angiefavorite:🤬
FWIW Clear coating before application helps stiffen them. No guarantee, but it seems to help for me. Also I dip the decal, then remove right away and let sit while the water soaks in and if it curls, it's fine. After about 5-10 minutes, I test and if decal is loose, I can then flatten them and apply.

The suggestions I gave were more to improve chances of success for a beginner at the sacrifice of aesthetics. Also decals vary quite a bit, so it's tricky.

If you've scanned them, I can print out some of them for you. The white lettering would be tougher, but I can apply a background color similar to your rocket color.
 
Here's more of my rocket decal work I've posted elsewhere.
480406-d7e567f20091519340dd5265625e90a0.data


I don't do it often, but when I do it's usually somewhat exteme. 😆
 
FWIW Clear coating before application helps stiffen them. No guarantee, but it seems to help for me. Also I dip the decal, then remove right away and let sit while the water soaks in and if it curls, it's fine. After about 5-10 minutes, I test and if decal is loose, I can then flatten them and apply.

The suggestions I gave were more to improve chances of success for a beginner at the sacrifice of aesthetics. Also decals vary quite a bit, so it's tricky.

If you've scanned them, I can print out some of them for you. The white lettering would be tougher, but I can apply a background color similar to your rocket color.
Of note is that I don't have recent experience with ALPS decals. If it were me, I'd test any clear spray on a snipped clear portion first and also apply multiple light coats. You can also use the clear that John suggested or research. YMMV
 
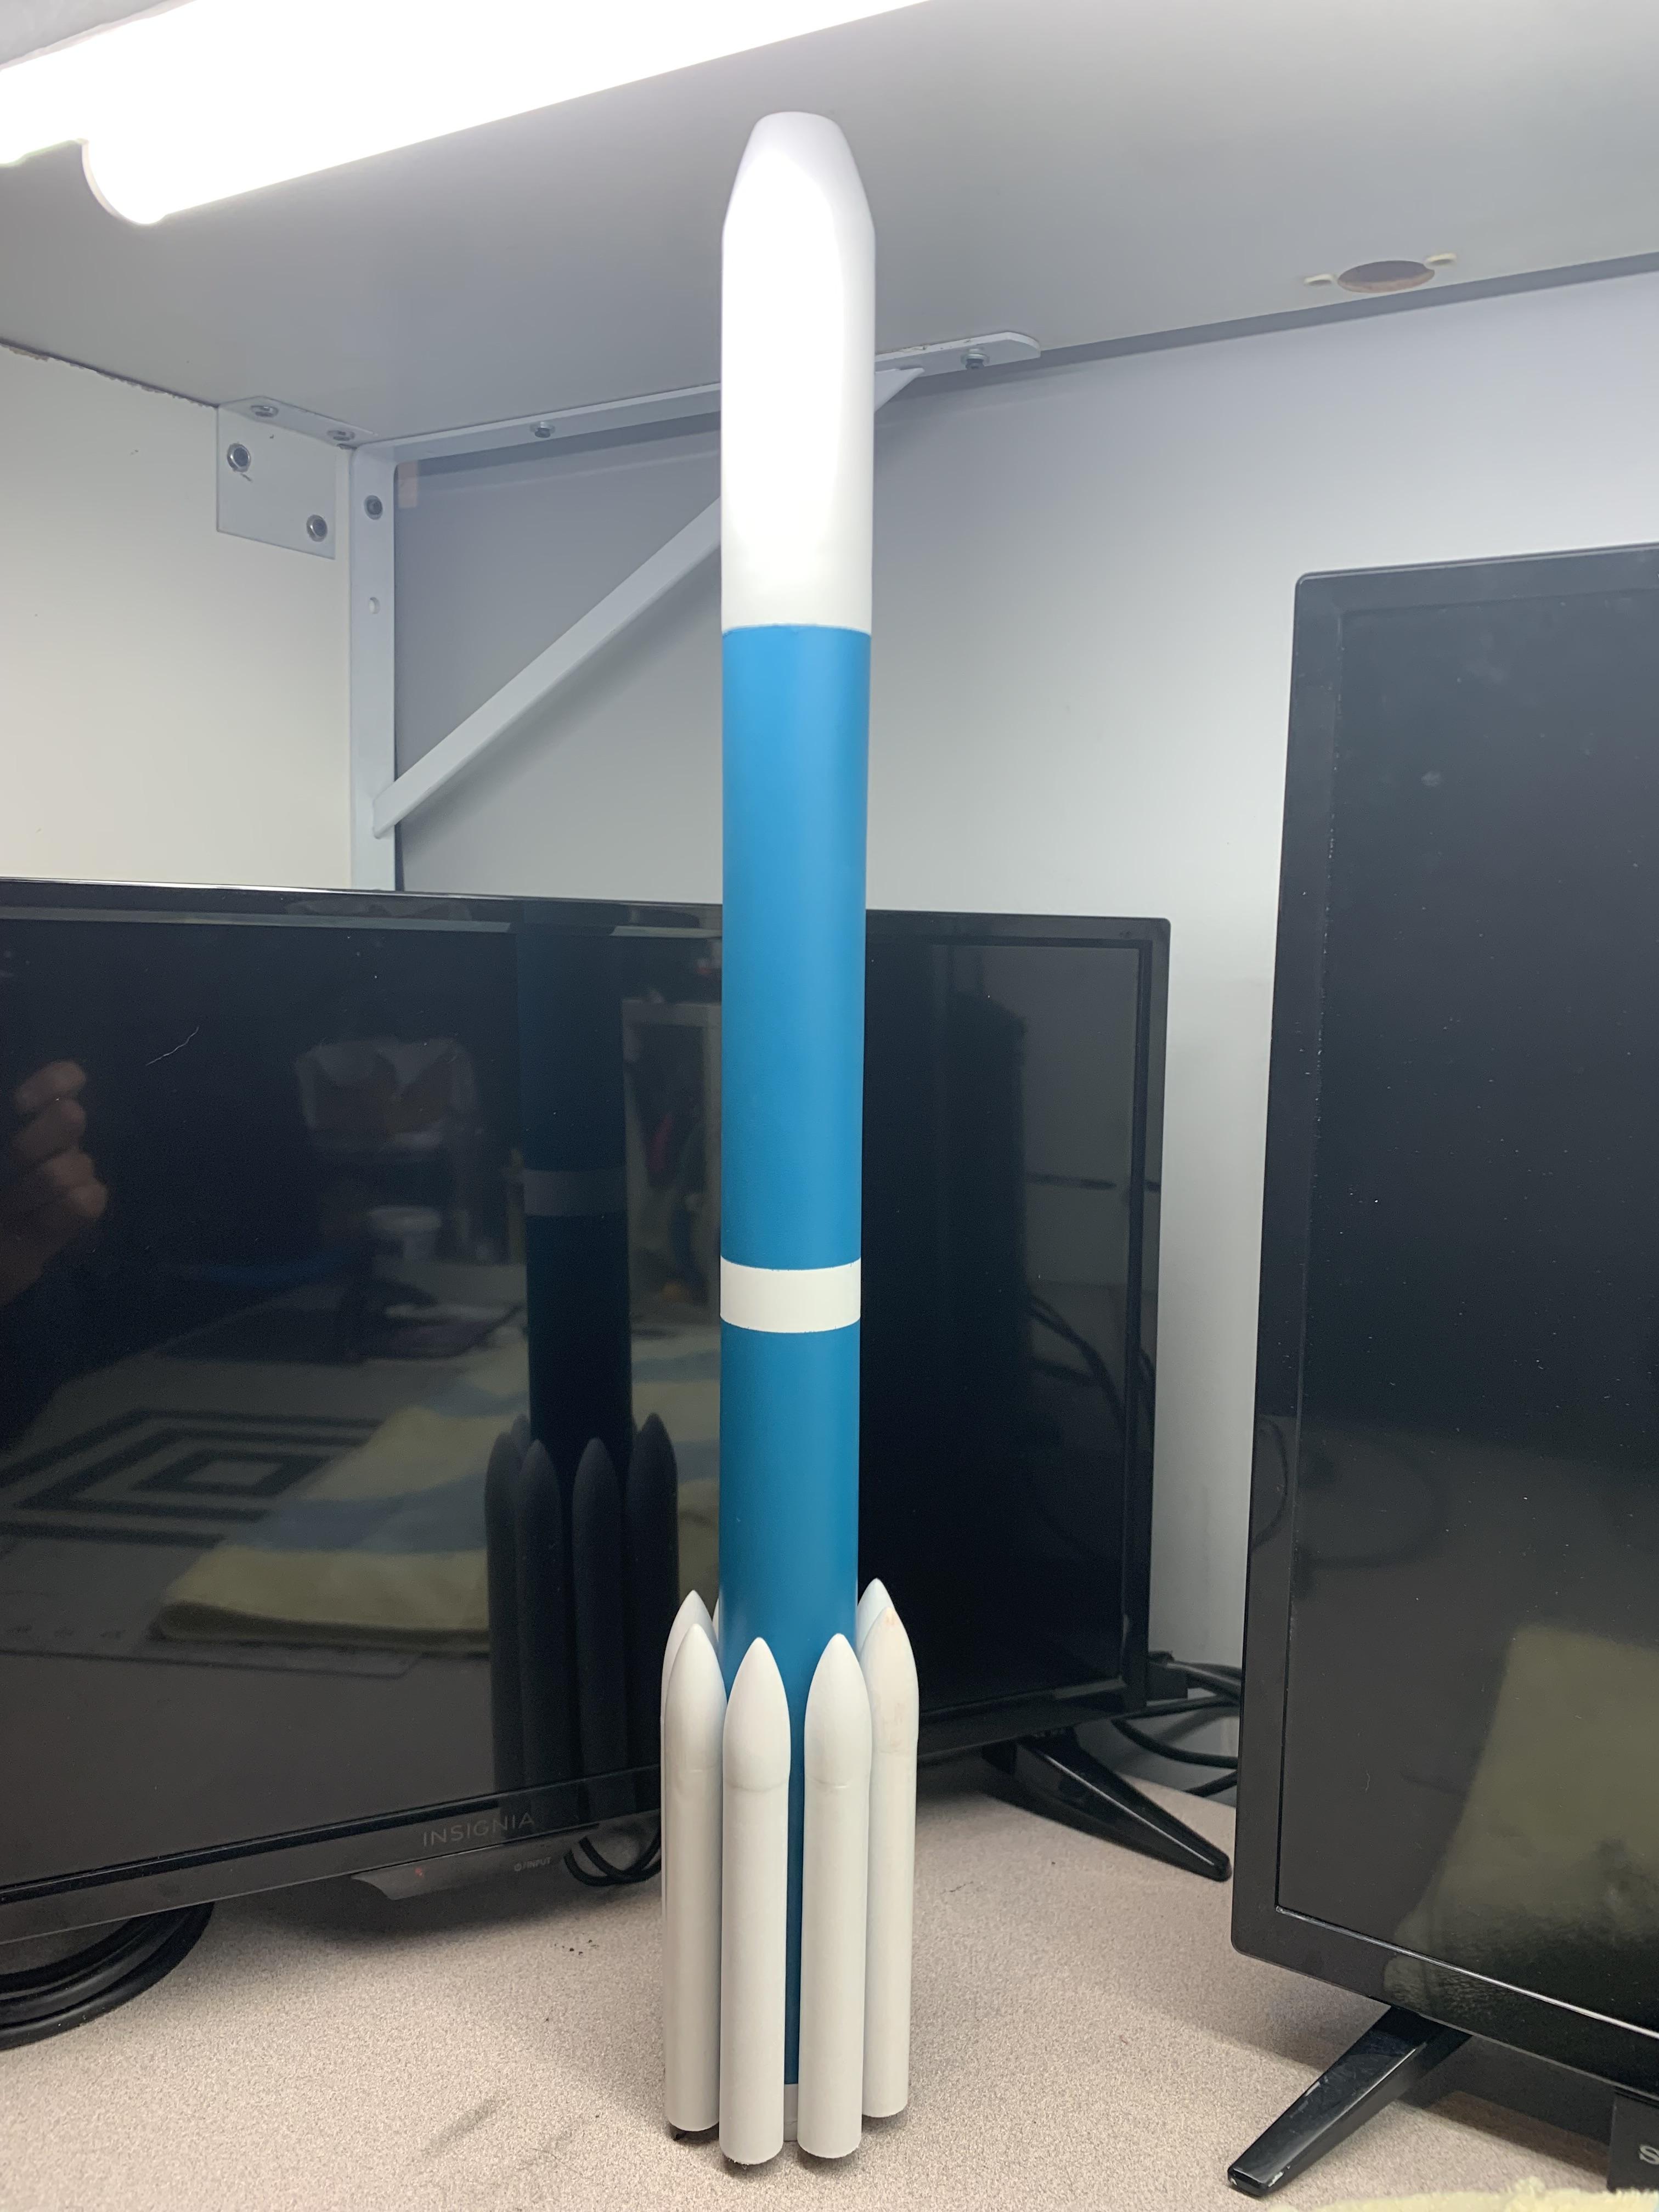
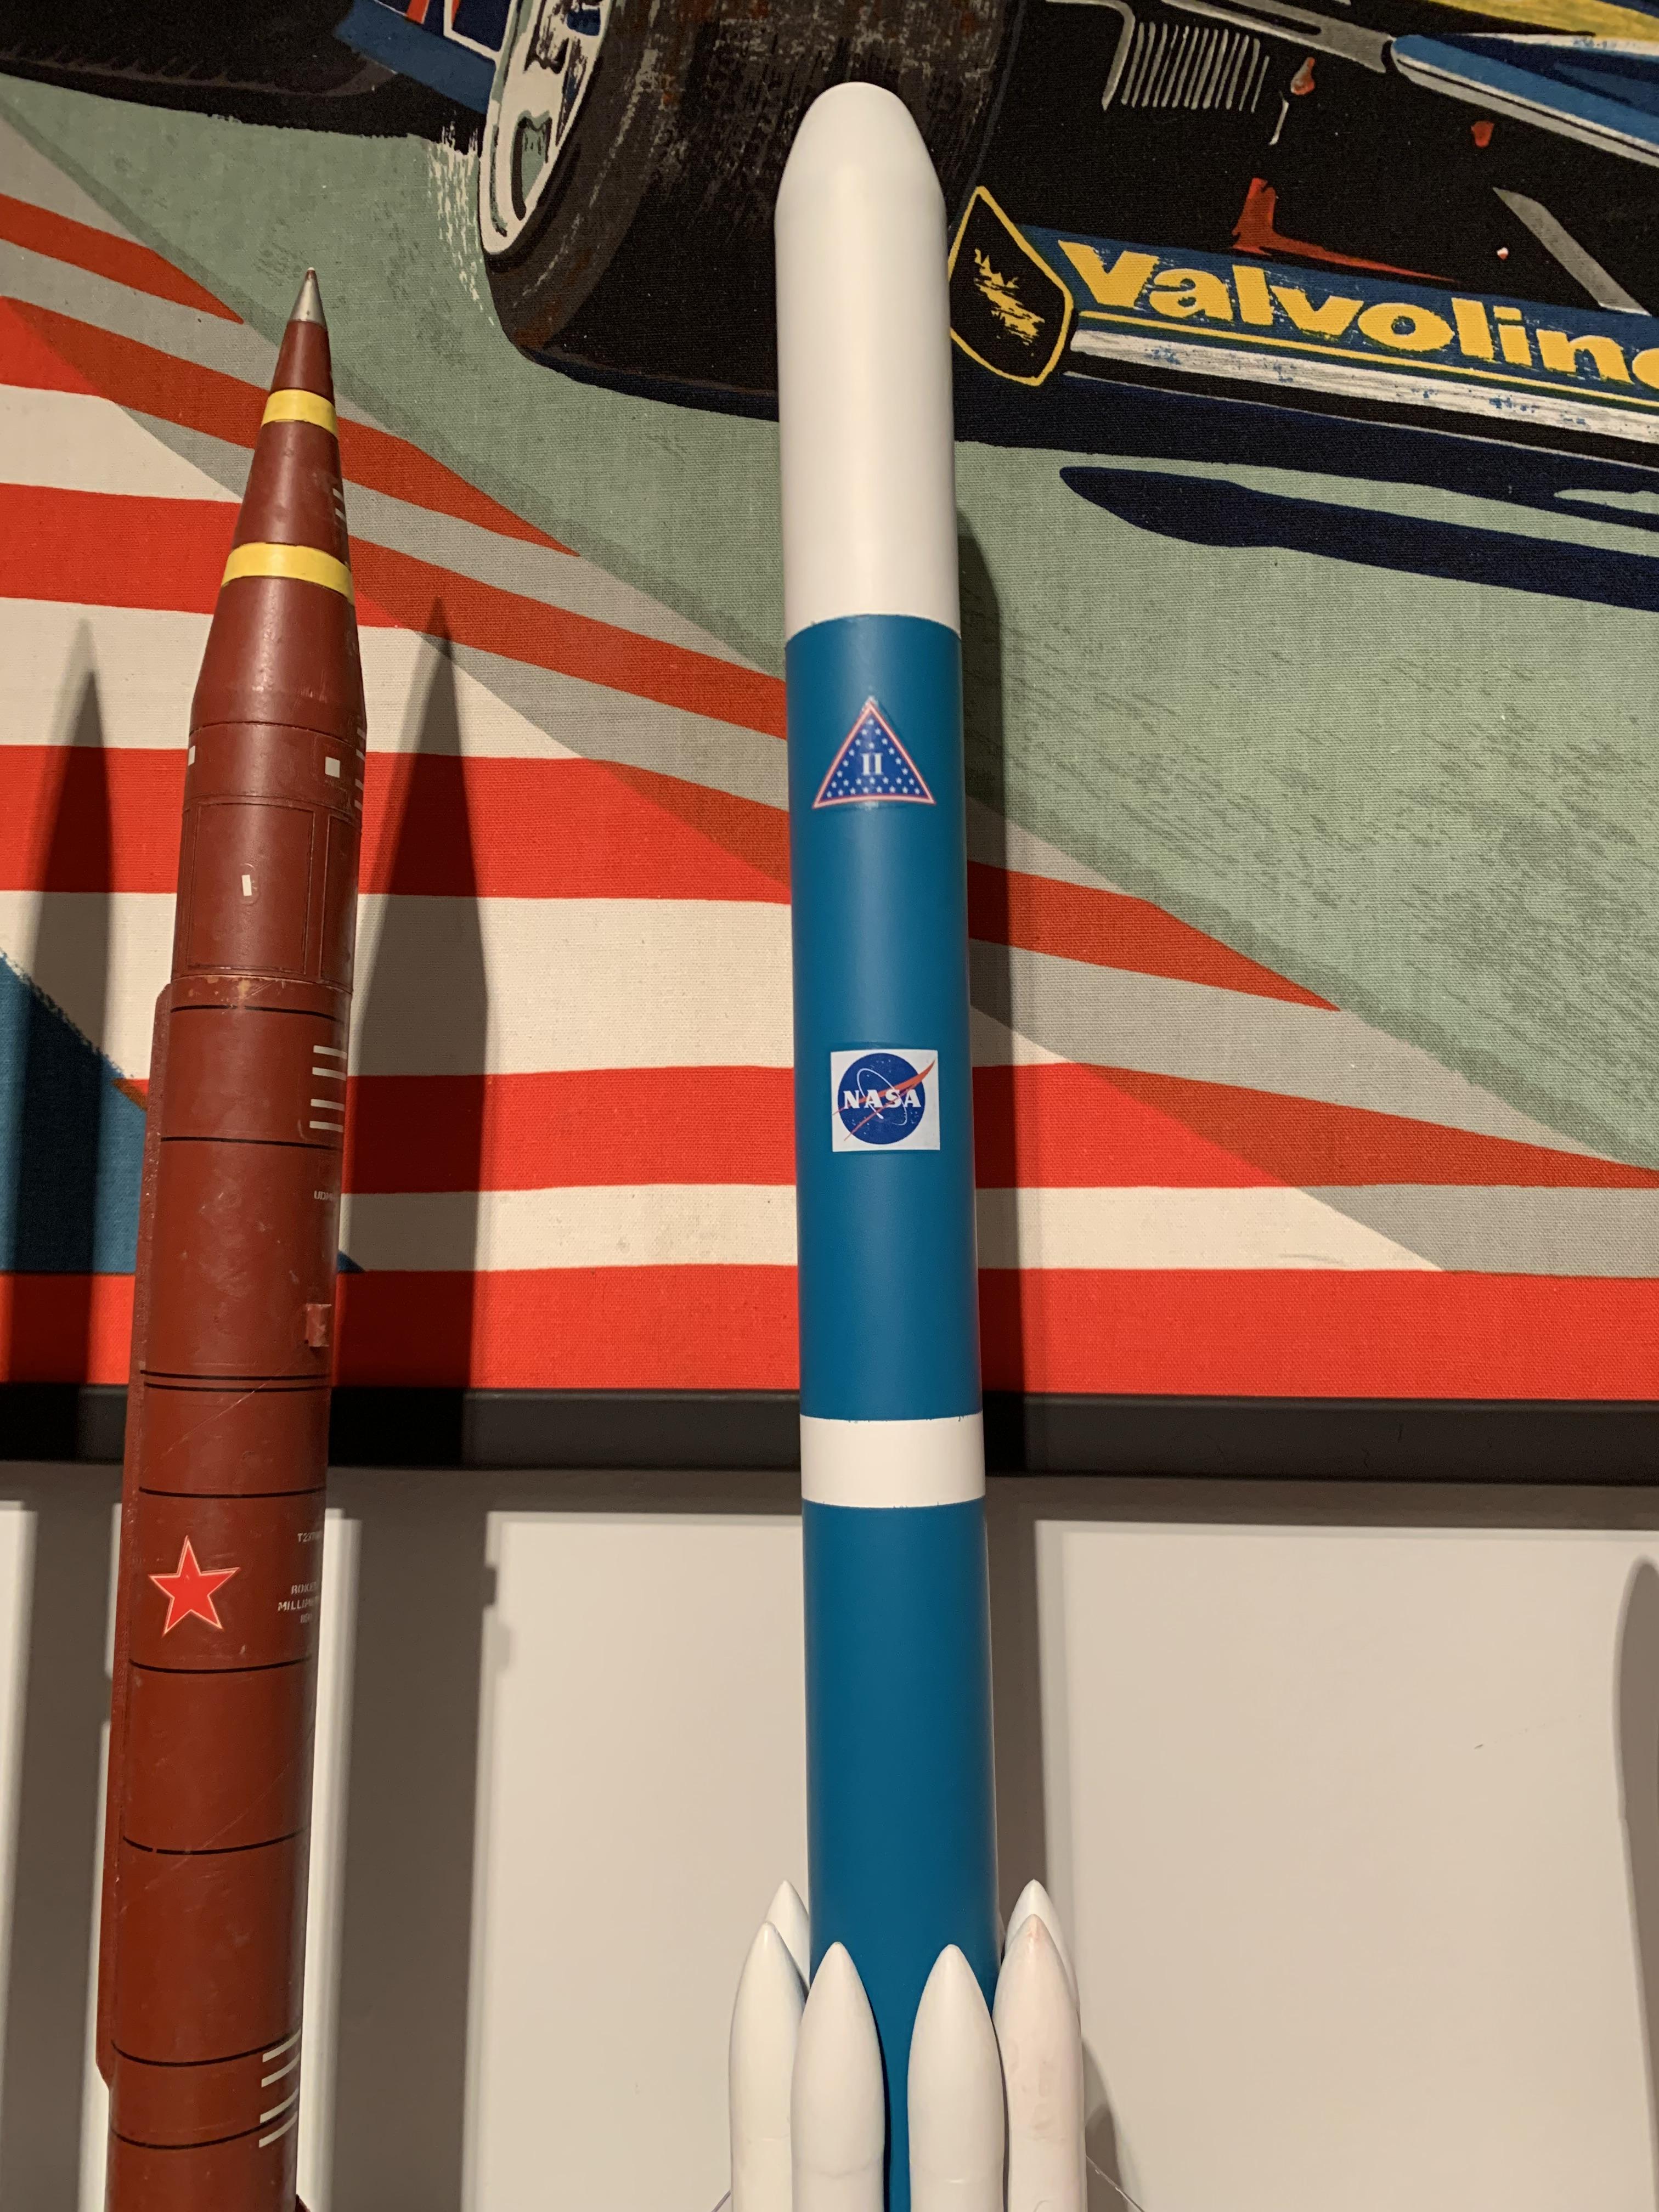
I've been restoring a 40 yr old scratch built rocket I was gifted by a local 80 yr old gentleman. I would like to get the proper decals for it. I've looked on the web for some but came up empty. This is what I'm needing.
4XmlFAD.jpg


This is what my model now looks like
eiw7enF.jpg


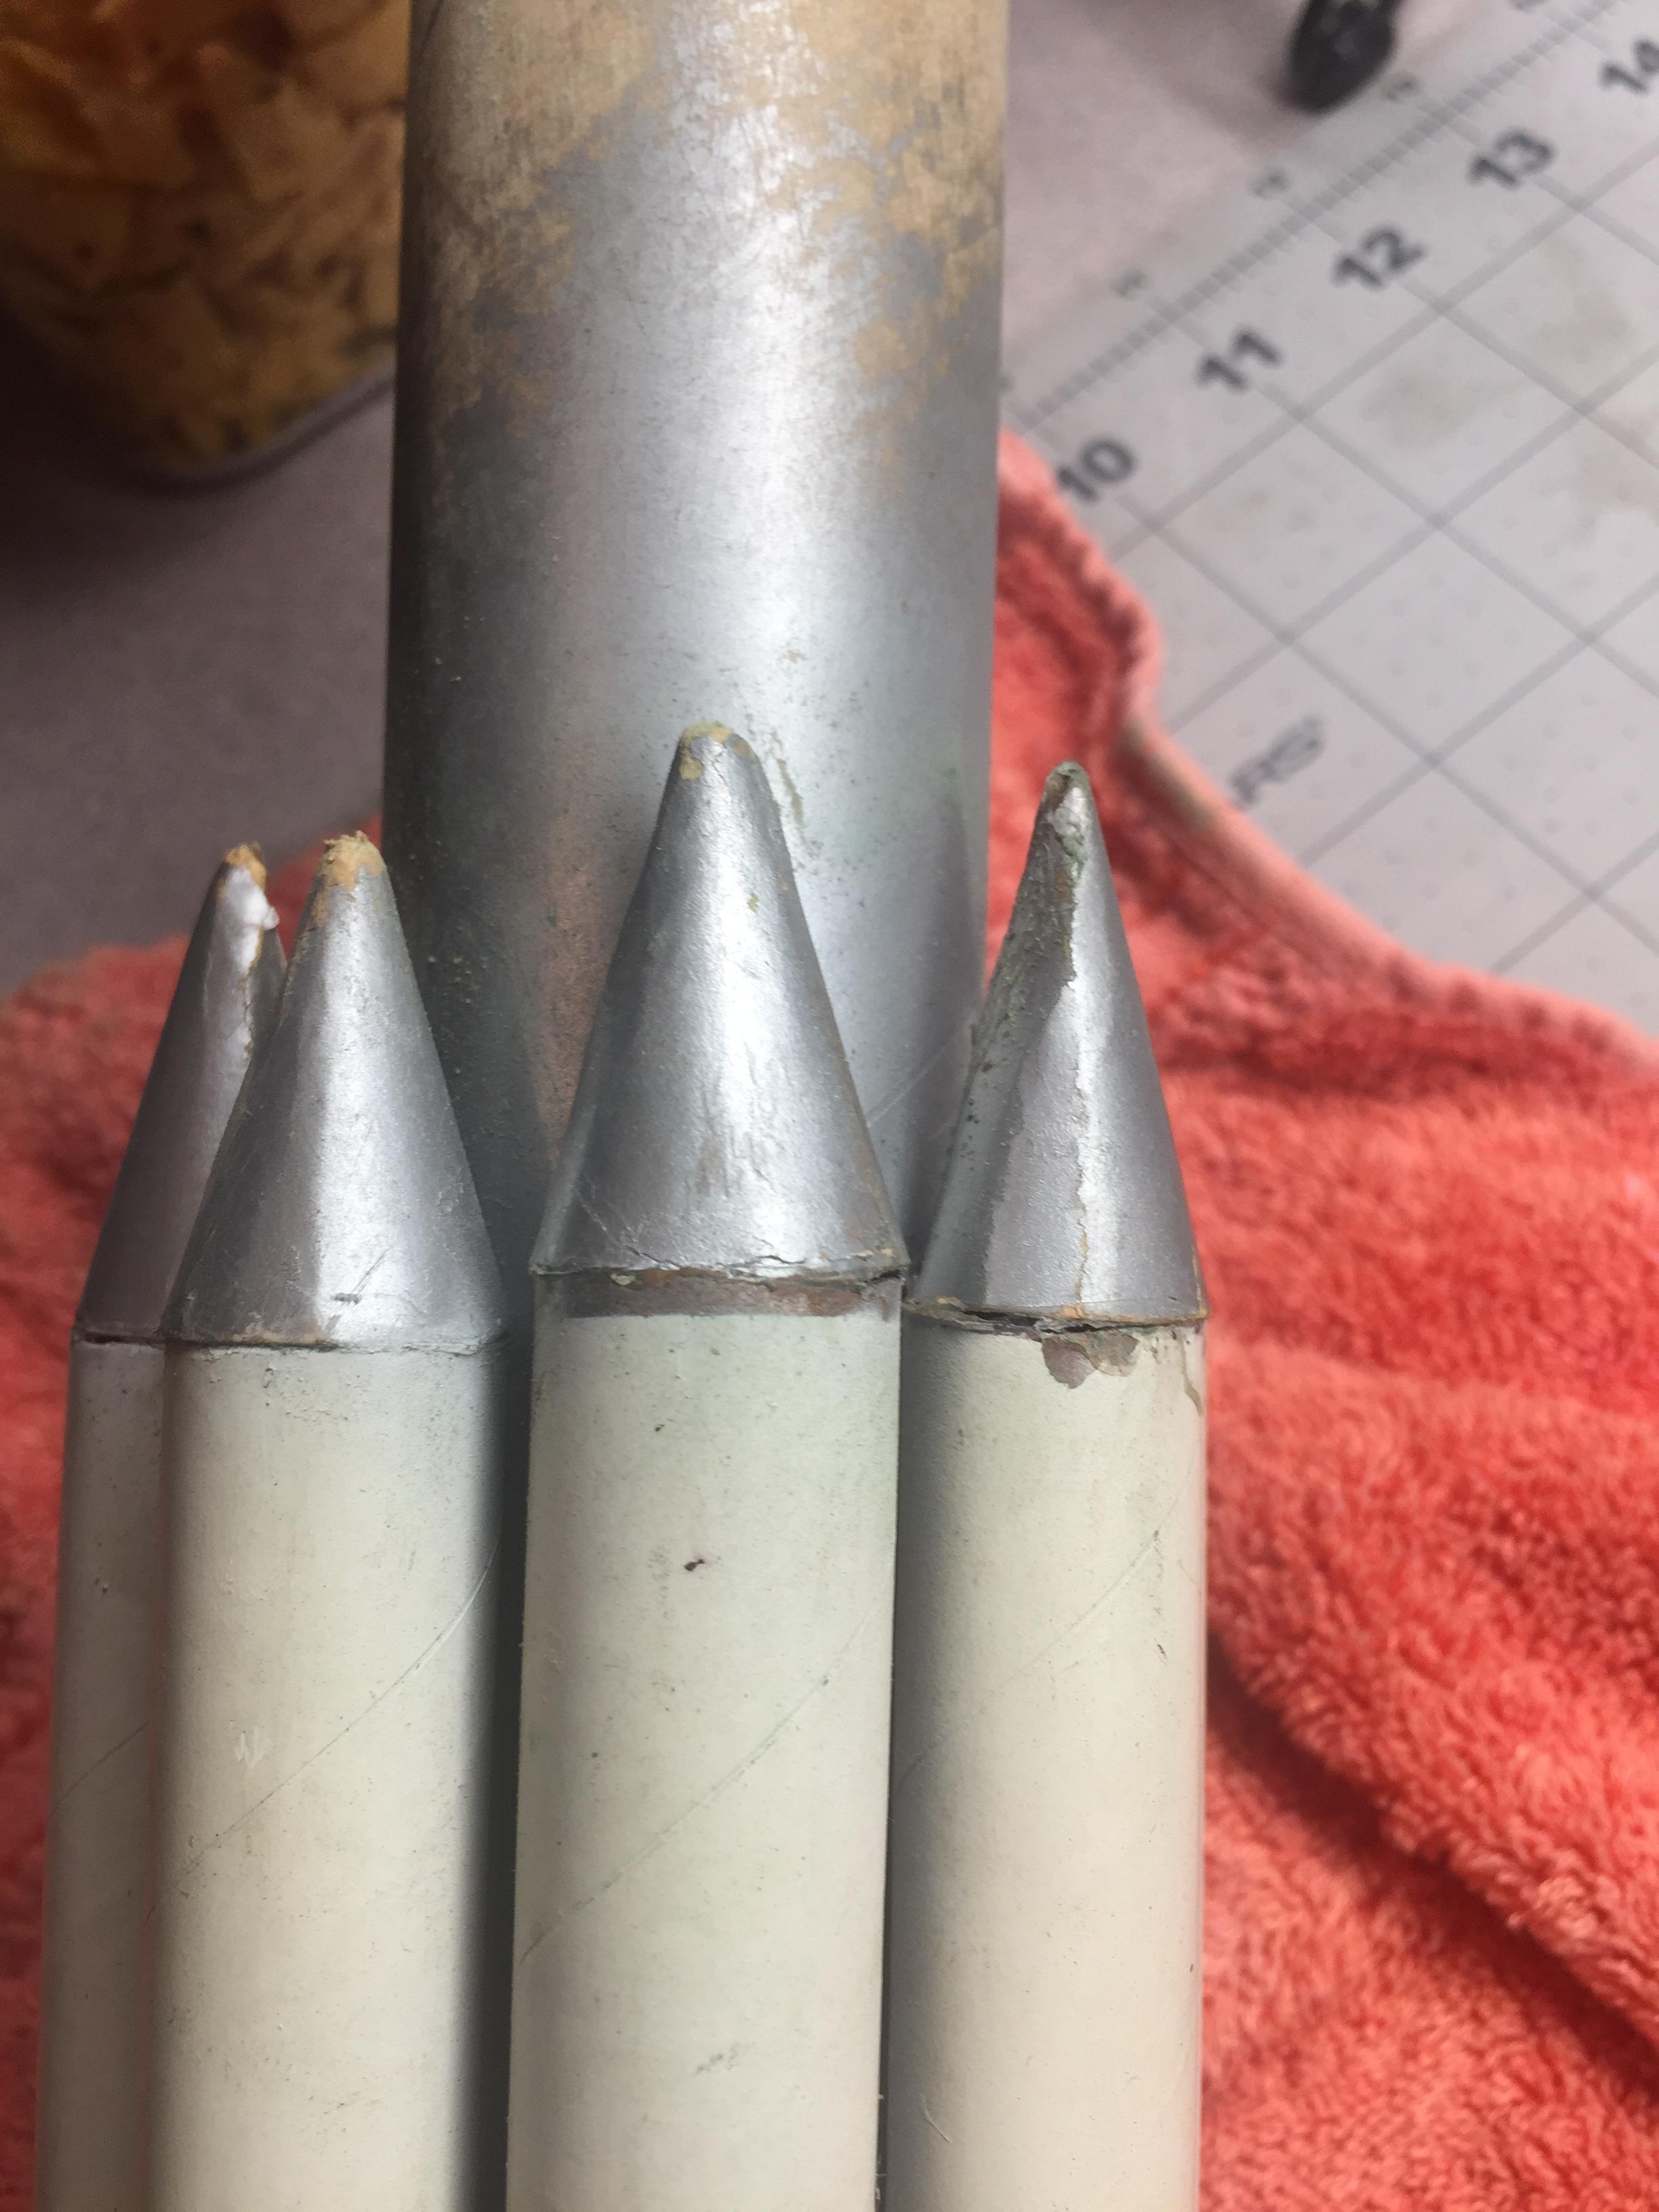
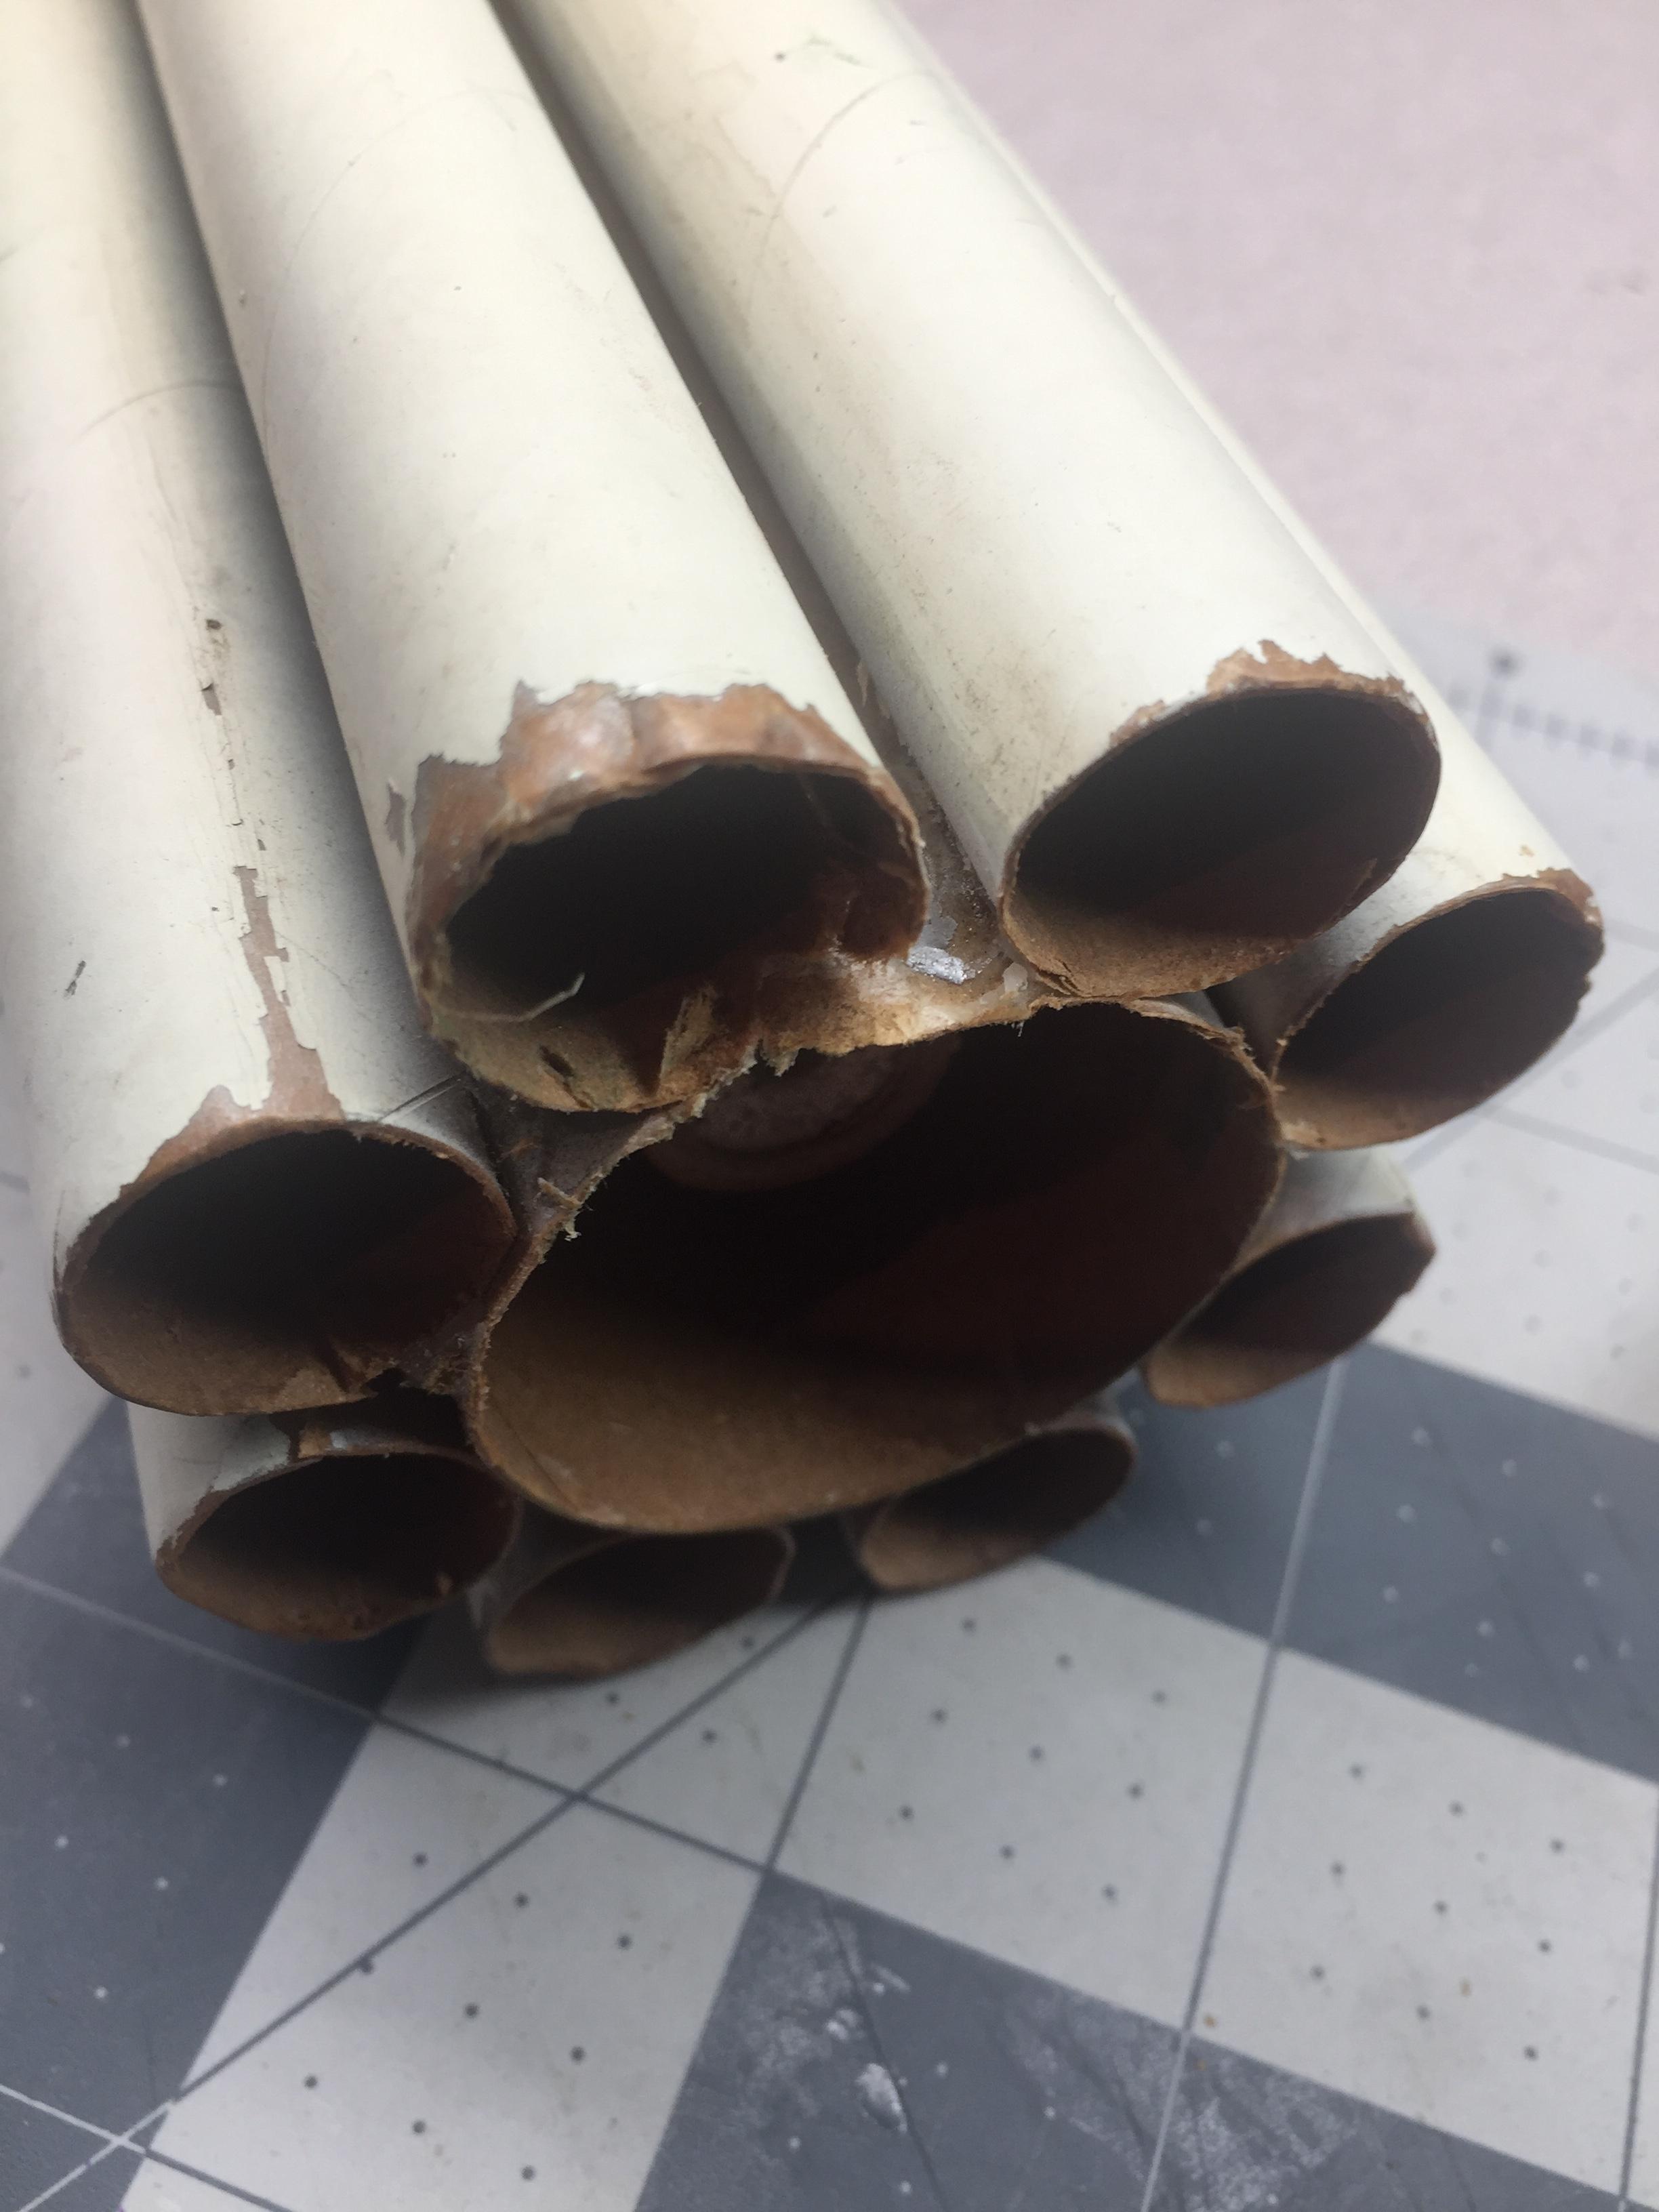
Before pictures:
nx53C1o.jpg

Solrw5K.jpg


Thanks
BTW AMAZING job you did restoring the rocket! How did you repair the damage at the bottom?
 
BTW AMAZING job you did restoring the rocket! How did you repair the damage at the bottom?
the original layout had the motor mount up inside the rocket 1 in or so. it allowed me to cut off half of an inch of the bottom of the tube without hurting anything. then I just tore off all eight booster tubes and replaced them, but there was lots and lots of filling and sanding with lightweight body filler also in the process
 
Sorry the decals folded on you.

Applying water slide decals is an art form requiring a very delicate hand, small tools and a good bit of experience.
I have ruined many decals just the way you described or by tearing the decals apart.
I sent the guy who made them an email telling him basically it was probably my 95% nerve lost in my hands so I have very little feeling so we will try again and he is going to make some more McDonnell Douglas logos, but this time we are going to size it up just slightly so that the logo is one and a half inches wide instead of one and 1/8 in wide.
thanks for the offers to help make other decals but I'm already in bed with this guy. :p
 
the original layout had the motor mount up inside the rocket 1 in or so. it allowed me to cut off half of an inch of the bottom of the tube without hurting anything. then I just tore off all eight booster tubes and replaced them, but there was lots and lots of filling and sanding with lightweight body filler also in the process
Honestly I was in shock that it could be repaired do well, but given you could cut that section off, it makes sense now.

I do enjoy challenges, so I had PM'd you some options (for others I asked to be sent a section of bt spray painted with the same paint so I could color match the background) and I could also try a Cricut with white vinyl as well, but that depends on how big the lettering is.
 
I sent the guy who made them an email telling him basically it was probably my 95% nerve lost in my hands so I have very little feeling so we will try again and he is going to make some more McDonnell Douglas logos, but this time we are going to size it up just slightly so that the logo is one and a half inches wide instead of one and 1/8 in wide.
thanks for the offers to help make other decals but I'm already in bed with this guy. :p
Great! Best luck with it and feel free to contact any of us if you need help.

Since last week I was actually considering posting about how I created and applied the Jabo decal under the Techniques forum. I had the luxury of printing my own decals so I could afford to make errors while relearning the process.

I hadn't offered the decal help to you earlier since I hadn't done it for years when you asked.
 
I sent the guy who made them an email telling him basically it was probably my 95% nerve lost in my hands so I have very little feeling so we will try again and he is going to make some more McDonnell Douglas logos, but this time we are going to size it up just slightly so that the logo is one and a half inches wide instead of one and 1/8 in wide.
thanks for the offers to help make other decals but I'm already in bed with this guy. :p
Good you will try again.

I soak in water until the decal loosens from the backing paper.
Then use tweezers is remover from the water onto a paper towel just to remove excess water.
Next in lift the decal which still on the backing paper with tweezers onto the model in position. While gently holding the decal in place using a tooth pick or cotton swab, gentle slide the backing paper out from under the decal with tweezers.
The decal goes directly onto the model's surface.

A few extra decals also doesn't hurt to have on hand in case one does it own thing.
 
I soak in water until the decal loosens from the backing paper.
What kind of soak?

I would caution about leaving the decal soaking in a partial cup of water only because in my past experiences with model building, it can actually end up dissolving the adhesive and then the decal doesn't stick. This has happened to me and I've even had decals float off... ugh.

Instead I would often just lay the cut decal(s) out on a plastic plate or lid and add a few drops of water onto them, ensuring that the adhesive doesn't disappear.
 
well this may not work out too bad as I need four of the red and white and black stars that are on the Russian Mig-31 plane that I have the model rocket of. I will need those red stars so we can just make a new invoice out and he can throw in some slightly larger new McDonnell Douglas decals and him not be out any time and money to send me just the Douglas decals
 
What kind of soak?

I would caution about leaving the decal soaking in a partial cup of water only because in my past experiences with model building, it can actually end up dissolving the adhesive and then the decal doesn't stick. This has happened to me and I've even had decals float off... ugh.

Instead I would often just lay the cut decal(s) out on a plastic plate or lid and add a few drops of water onto them, ensuring that the adhesive doesn't disappear.

Just long enough time for the decal to loosen from the backing paper. No longer than that.
I sit there and keep checking for it to loosen and never just "leave it" in the water.
Also, not much water and depending on the size of the decal what I might use. Been known to use a plastic jar lid and other small, shallow containers.
Good method! I was in the habit of using something like a half-filled yogurt cup because they usually suggest warm water and my place was often cold leading to smaller amounts of water chilling too quickly.

I've also often used a plastic lid with a raised lip much like you. :) 👍
 
Back
Top