Interceptor E

The Rocketry Forum

Help Support The Rocketry Forum:

This site may earn a commission from merchant affiliate links, including eBay, Amazon, and others.

Steven

Well-Known Member
TRF Supporter
Joined
Sep 17, 2013
Messages
4,404
Reaction score
2,296
I had always wondered how the "chameleon" paint job was done or how it can be replicated.:confused2:
 
I remember reading that it was based on hand-cut frisket and spraying on pearlescent paint.

And confirmed...


https://www.oldrocketforum.com/showthread.php?t=2440

It's a beautiful job. I don't know if I'll ever take that much time on my Interceptor E.

Doug


Yes, I've seen this before. While it gives good insight into how it was done (for the most part), it still leaves something to be desired in the actual pattern itself. How can one actually create this on frisket paper?
 
By "chameleon" paint are you by chance referring to color shifting paint? If so, I painted my motorcycle a few years ago using this paint. From one angle the paint looks gold, but from a different angle the paint is sort of a red color. It turned out so nice, I used green/purple color shifting paint on my PML Intruder rocket.

The way this works, it's a three step process. The first or base coat looks almost flat black, then the color coat goes on. The color coat looks sort of clear, with flakes swirling in it. The final step is just a clear high gloss that seals the color coat.

From what I've read, the way it works is this: What our eyes see as color is just light with different wavelenths. Color shifting paint just reflects different wave length light depending on your viewing angle.

It does look awesome on rockets, but photos don't really do the subject justice.

Thanks for the info, though I was referring to the actual pattern itself.:D How was it or how can it be replicated with all the rectangles and such?
 
I'm assuming you are talking about all of the faux panels and weathering effects?

Here is how I would do it. Your mileage may vary...

The hard part is masking everything off. Lots of different methods here, shapes cut from frisket paper, masking each area individually with Tamiya tape or some other low-tack masking tape (post it notes work really well for this too), or some type of hard mask. If I'm going to do a bunch of different panels, I would go with a few hard masks. Basically, take some type of stiff material, thick card, styrene sheet, etc and cut a bunch of different patterns in it. You can then hold this in place over the surface while you spray your color coat on. You may get some overspray with a hard mask, but it will give you a soft edge which helps the effect. Preferably, you would be using an airbrush to spray the color for two reasons, one you can more accurately control how much (or how little in this case) paint you spray on the surface, and two you can custom mix your own colors. To get the effect that is on the Interceptor, I would take the base white and add a touch of gray to slightly tint the base color, that way it isn't so stark. You can also make different panels different shades to heighten the effect.

If you don't have an airbrush, there is a way to cheat with a spray can. Paint your base color, and then mask off all of the panels you want to paint a darker color with some type of tape. I highly recommend the Tamiya tape for this. 3M Blue would be a good alternate. Don't use post-its with spray paint. Once everything is masked off, paint the rocket with a dark gray or black and then remove the masking once the paint is dry. It will look like leopard spots, but we're not done yet! Take your base color again and lightely mist the base color back over the top of everything. Work slowly and gradually and the dark gray/black areas will start to fade out into the background. Basically stop when you are happy with the finish. I probably wouldn't use any of the 2x or primer/color 2 in 1 sprays for this as they are too thick. Plastic modelers call this effect pre-shading, although we still use an airbrush.

Make sure you experiment on a scrap surface first!

-Dave
 
I bet this guy knows: https://www.ebay.com/itm/321266175370. Beautiful work.
Now that's what I'm talking about!! I just fired off a message to see if he (if he's the builder) can give me some tips. I just can't believe this is done with masking alone. Can you imagine masking each one of these individually?! It has to be some pattern that was picked up.:confused: And thank you very much for this!!
 
Last edited:
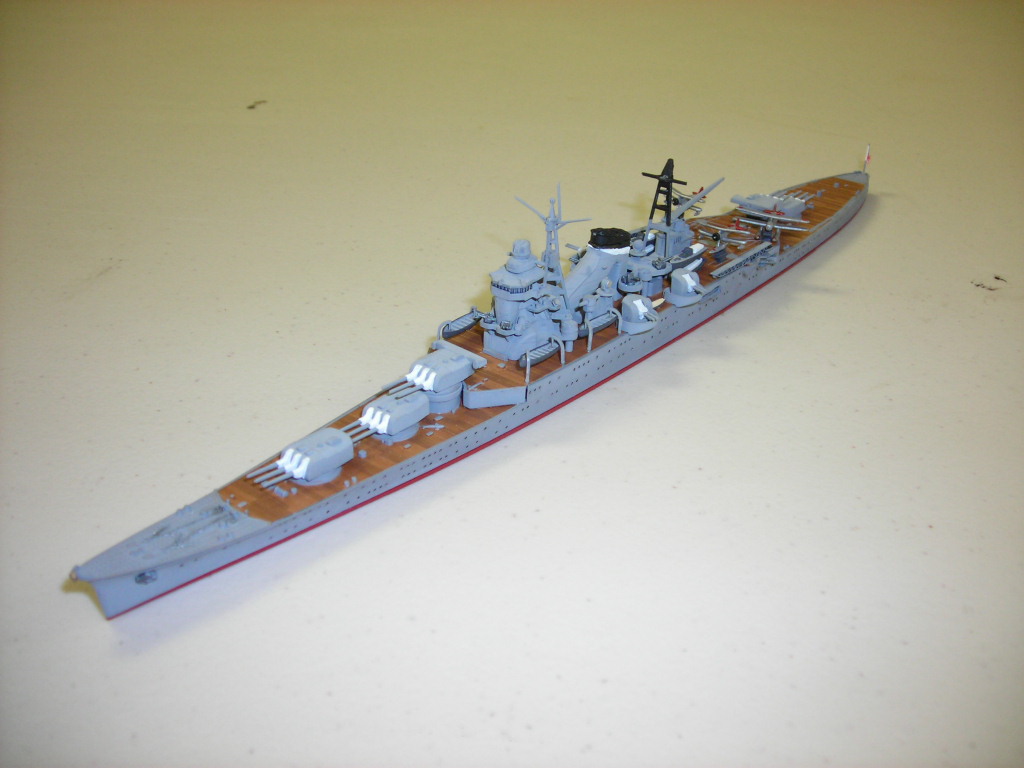
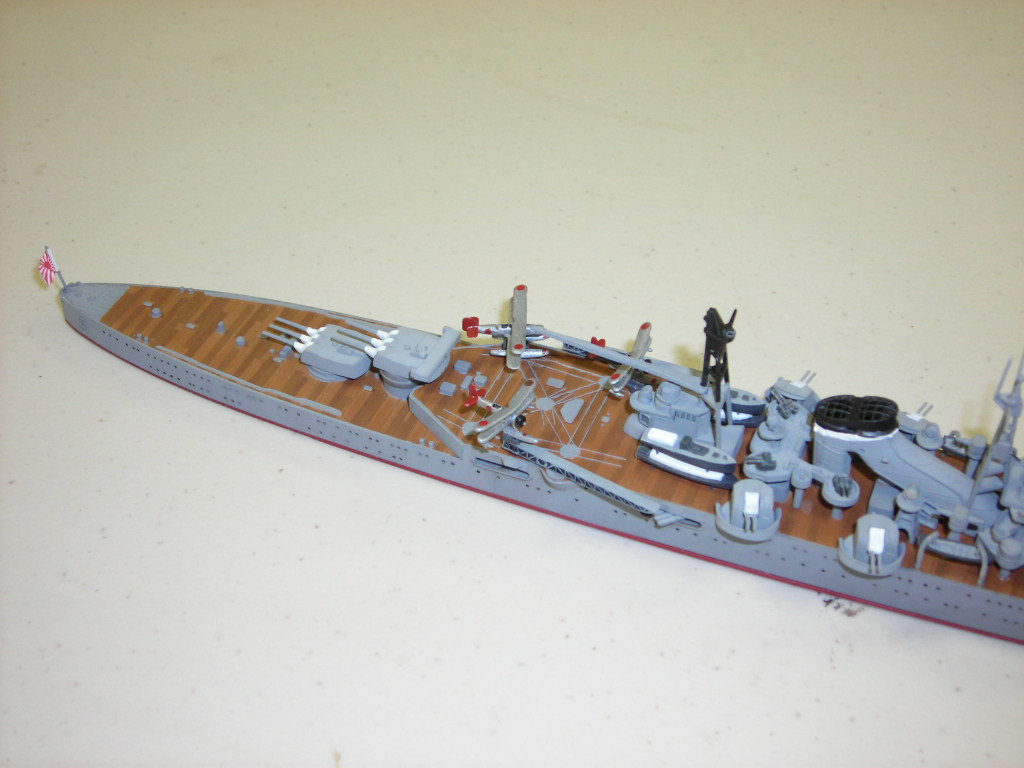
This is a 1/700 IJN Kumano WWII Cruiser I did a few years ago. I used the same technique to do the decking. Each of the brown stripes on the deck were individually masked off.

2176142903_0305f3115c_o.jpg


2176142753_4727991dca_o.jpg


It's really not that difficult, just a little time consuming. The entire ship is about 11" long.

-Dave

Nice job! I've done this on decks myself. The ones that I have done already had the panels molded in so it was much easier to mask off not to mention, there was something there as a guide. In taking a look at John's Interceptor, it still amazes me how all the shapes were done. He must use a mask or something. Something that might make it easier to lay down a series of patterns as opposed to doing them one at a time.
 
Back
Top