


I'm looking to build a table for my cheap drill press since it is such a pain to clamp things to the built-in table. I found this one, but it costs about 5 times what I paid for the entire drill press!
https://www.rockler.com/product.cfm?page=10163
Most of the plans I found are a lot like that, and they all require a router, which I don't have, for the T-channels.
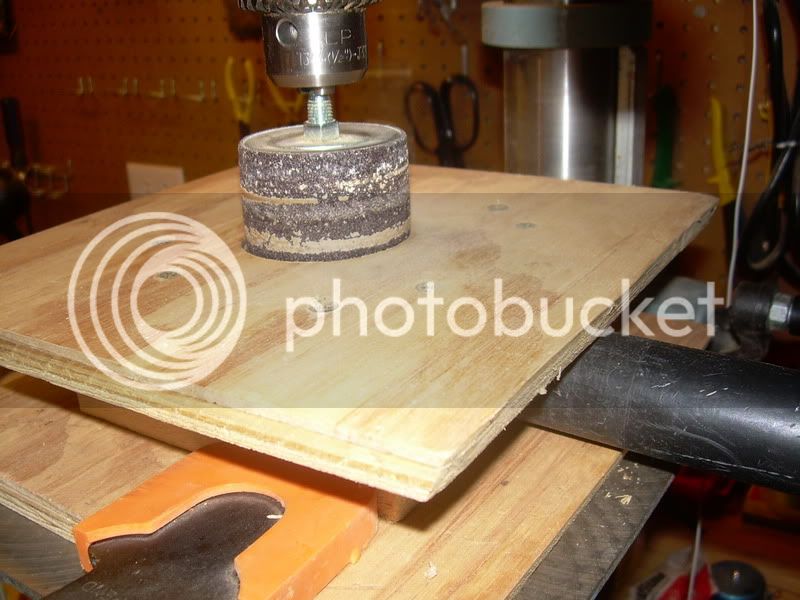
I have been clamping a piece of MDF with C-clamps then using quick clamps and/or nails (as a really quick fence) to hold the piece I am working with in place. I could bolt the MDF to the table, but I'm wondering if anyone here has come up with a better/more versatile solution.
https://www.rockler.com/product.cfm?page=10163
Most of the plans I found are a lot like that, and they all require a router, which I don't have, for the T-channels.
I have been clamping a piece of MDF with C-clamps then using quick clamps and/or nails (as a really quick fence) to hold the piece I am working with in place. I could bolt the MDF to the table, but I'm wondering if anyone here has come up with a better/more versatile solution.
")