Apogee X-15

The Rocketry Forum

Help Support The Rocketry Forum:

This site may earn a commission from merchant affiliate links, including eBay, Amazon, and others.

McTschegsn

Well-Known Member
TRF Supporter
Joined
Jun 1, 2022
Messages
173
Reaction score
361
Location
Dreieich
Hey fellow rocketeers :)
Now that my Estes Saturn 1b is nearing completion (the last layer of clear coat came today), I got a new project from my growing stack.
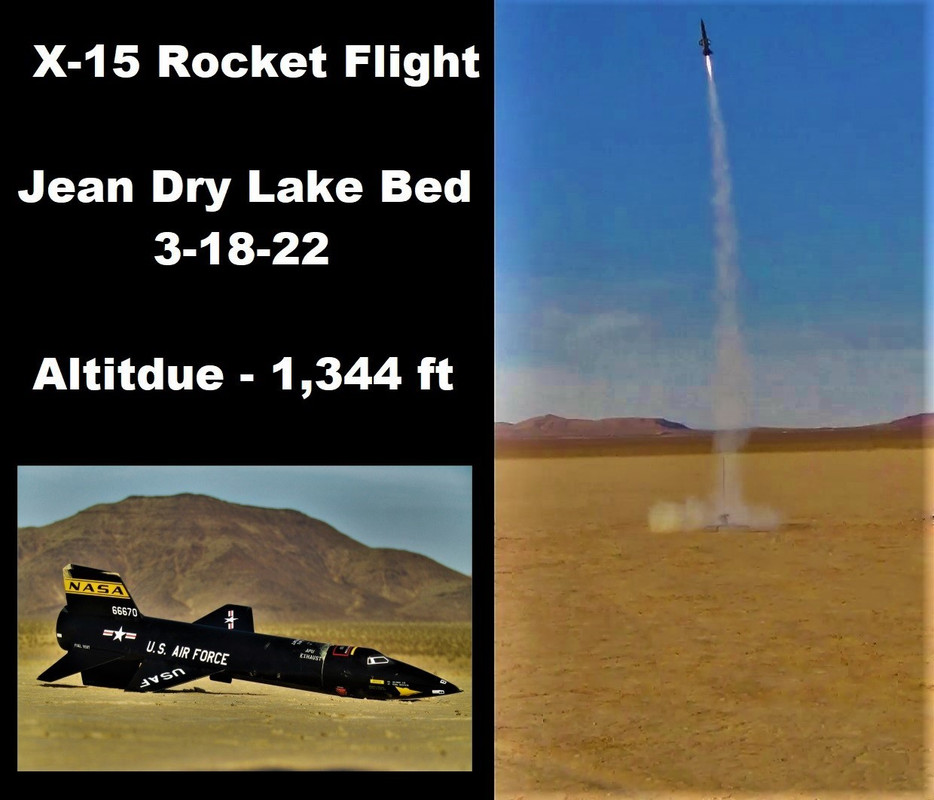
The choice fell on the Apogee X-15, which I bought from a friend.
Viewing the kit:

20230410_131442_c.jpg


Everything there and in good quality. I started with the baffle, which is assembled from 3 plywood parts and the coupler:

20230410_141420_c.jpg


The tubes glued together with the help of the coupler and at the same time glued the formers on the engine tube. It struck me that this is probably the first 29mm motor model that I build... Well, bigger is always possible. I have to order hardware... First of all, probably a screw mount.

20230410_143037_c.jpg 20230410_144122_c.jpg

20230410_144126_c.jpg
 
Pretty cool build! :cool: I thought the X-15 was a tough build. Is there skin wraps for the wings? Looking forward to that part.
No wraps. The wings are pure Balsa. Though I thought about glassing them which will add (unneccesary) weight. The model seems to "land" on the fins which are balsa too. Im still thinking about that.
 
Last edited:
Ah thanks :) Thats what I thought of. Just regarding the stability when hitting the ground.
Fill it, sand it, paint it it will be then :)
Yes... mine had some slight rear tail damage but nothing serious.

X-15-Flight-poster-darker.jpg
 
No wraps. The wings are pure Balsa. Though I thought about glassing them which will add (unneccesary) weight. The model seems to "land" on the fins which are balsa too. Im still thinking about that.
why not just paper the wings. It will increase the strength with less weight and costs. You can also get a bigger chute and get a JLCR and have it deployed at a lower altitude so it will be less walking but a nice soft touch down.
 
Thinking about that. Besides that glassing them like I do with my RC models wont add much more weight than papering them either...

In read a bit about papering and my thoughts are: If I only paper the surface and not the edges (most people seem to sand the leading and trailing edge off) it would not help chipping the edges when hitting the ground, it only gives strength to the surface which is -in my oprionion- strong enough when it comes to mere flying. Well theres a bit time to think about that since I have to fill up the tube seams and installing the vacuformed parts. I may go with glassing everything.
 
Last edited:
Thinking about that. Besides that glassing them like I do with my RC models wont add much more weight than papering them either...

In read a bit about papering and my thoughts are: If I only paper the surface and not the edges (most people seem to sand the leading and trailing edge off) it would not help chipping the edges when hitting the ground, it only gives strength to the surface which is -in my oprionion- strong enough when it comes to mere flying. Well theres a bit time to think about that since I have to fill up the tube seams and installing the vacuformed parts. I may go with glassing everything.

After building one and flying it successfully with the included blasa fins in the kit you don't need to go overboard adding additional weight. I have another one I'm building and adding some Bass-wood fins this time around. Also going to include a dual separation deployment system. I would reinforce the vacuum-formed parts in the rear material is very thin in that area.
 

Attachments

  • X-15 Bass wood Fins .jpg
    X-15 Bass wood Fins .jpg
    1.5 MB · Views: 0
  • 20201217_142311_resized.jpg
    20201217_142311_resized.jpg
    147.4 KB · Views: 0
Good suggestions. Thank you :) Will keep that in mind..
Yesterday I took some time and filled the wings, fins and the bodytube for the first time. Taking time to let that dry, sand it and then decide whether I need to go for a second pass or (if adding hardwood edges) do it twice again :)

20230418_182942_c.jpg 20230418_183006_c.jpg
 
A small update.
I decided to reinforce the rear fins with a thin (2 x 3mm) pine strip.
The weight gain is negligible but the strength is increased and I hope the landing impacts won't leave any visible quirks.
Now the only question left is: glass fabric or not :)
Next up are the side beads. Everything is roughly cut out, now the adjustment work follows.

20230525_163427_c.jpg
 
Yesterday afternoon after flying there was still some X-15 time.

The retainer is attached to the engine pipe and the ABS fairings are roughly pre-cut and fitted.
The construction of the fins, if you can call them that, was also started. The parts fit together really well.

20230529_151356_c.jpg 20230529_153758_c.jpg

20230529_151248_c.jpg
 
By the way, I'm not idle, there's just not that much to see at the moment. The side panels are now glued and the first layer of putty has been applied. Now comes a bit of grinding grinding grinding.
I'm still not quite sure what to do with the surfaces. I'll probably just sand it and paint it.
The tailplanes are reinforced with a pine strip and the rest will probably hold up. I'm not the first to build this thing.
 
Now there's something to look at again.
The second layer of putty has been sanded and the remaining imperfections filled.

20230829_163555_c.jpg 20230829_163550_c.jpg

The (balsa) surfaces and fins are painted the second time with pore filler (including intermediate sanding).

20230829_163449_c.jpg

The fins have been treated with putty for the first time.

20230829_163506_c.jpg

Next, the surfaces and fins are sanded and glued to the body tube.
It's slowly getting done :)
 
And on we go.
The fins are mounted and the cockpit is in place including the first pass of Putty.

20230905_171020_c.jpg 20230905_171025_c.jpg

I will probably need a bit of pore filler to treat the areas of the body tube and fins as some have been slightly sanded through.
But shouldn't be a problem. The stability is still there. This should always be sufficient as preparation for the filling and painting.

Looks like an X-15 now :)

20230905_171033_c.jpg 20230905_171047_c.jpg
 
Thank you :) The Cone is attached to the fuse with a bit of tape to paint both parts together. I tend to do that with all my stuf to get the exact same amount of color on both barts to match color tones.
 
Thank you guys :)
Will check your build thread @Doug Rocket 👍

And another update.
The decals have been applied and are now waiting for the softenerr after they have dried thoroughly.
Then a little bit of clear varnish, put the parachute in, weigh it out and off we go :)
I will use a light matte clear coat. This allows me to somewhat conceal some imperfections in the paintwork. A little more sanding would have been good...

20231116_171621_c.jpg 20231116_180249_c.jpg
20231116_180259_c.jpg 20231116_180327_c.jpg
 

Latest posts

Back
Top