Wildman Blackhawk 38mm Build thread

The Rocketry Forum

Help Support The Rocketry Forum:

This site may earn a commission from merchant affiliate links, including eBay, Amazon, and others.
The instruction manual suggests a 1/16" vent hole in the middle of each tube and a shear pin to hold on the NC. Mine is set up exactly that way. You may eventually launch it to 3x that height so why not included the vents; its a couple of simple 1/16" holes that will take less than a minute to drill.

Thanks I will be doing such as that.

Right now I am debating on getting the 900mHz GPS tracker from BigRedBee. The hardest part is going to get it to fit inside the nosecone.
 
Just to update, today I decided to clean the garage to make room for some things in the future. After doing that for 3 hours in 100*f+, I decided that it would be best to do something inside on the rocket.

I decided to prepare the recovery system, laid out the kevlar and got it all tied and set. I also drilled the two vent holes for the body.

The question of the day this time, is simple does epoxy stick to wax paper? I want to epoxy my rail buttons into the holes, and to prevent from the epoxy from creating an issue with the motor installed I want to wrap my motor casing in a layer or two of wax paper and then epoxy the buttons on.
 
Looks good .... That thing must scream off the pad

PLEASE don't forget the CTI plastic motor assembly goes in the Aluminum case BEFORE it goes in the model !!!!!!!

I just was dealt a BIG lesson in humility today ....... The day after my level 1 Cert went great !!!!
What a stupid mistake I made
 
So I finally got some more work done today, in between all my classes today I finished up the body.

hSSJp.jpg


Drilling Altimeter vent holes, and shear pin holes.

IseF3.jpg


You can see almost every hole I drilled in this one shot. There are altimeter vent holes, plastic rivets, shear pin, body vent holes. This is just near the coupler, the upper section and nose cone has more!

HPdCG.jpg


Just for a frame of reference, all the pictures online do not do this kit justice.

I also drilled the holes and epoxied the rail buttons into place, I just forget to take a picture.

cWa8a.jpg


Finally a brief overview of the layout of the AV-Bay, this will probably take me a few weeks. I still need to figure out wiring with the magnetic switch, and drill even more holes!

Tomorrow I will go shopping for some clear coat/polish to get this baby shinning. The other question I had was if I take one of those green scrub pads to the body it self before the gloss/polish, will it destroy the beauty of the material before the gloss? I want to give it a good scrub, to get any dirt or anything loose.
 
Tomorrow I will go shopping for some clear coat/polish to get this baby shinning. The other question I had was if I take one of those green scrub pads to the body it self before the gloss/polish, will it destroy the beauty of the material before the gloss? I want to give it a good scrub, to get any dirt or anything loose.

I think that if you green scrubby the airframe itself you might have scratches you can't ever get rid of. I cleaned off the exterior of my BlackHawk with acetone and that seemed to have helped get rid of pretty much everything on the outside.

I am sure that someone with better finishing skills than I will have more insight.

Looks awesome though!!
 
. The other question I had was if I take one of those green scrub pads to the body it self before the gloss/polish, will it destroy the beauty of the material before the gloss? I want to give it a good scrub, to get any dirt or anything loose.[/QUOTE]


Waste of time. The green pads are about = 400 grit sandpaper & don't load up like s-paper does. The idea is too use them cause they contour to all the curves, nooks & crannies that paper won't. Build up 2-3 coats of clear, let dry overnight till hard, then use pad to buff down the finish, this will end up filling any imperfections with clear as you continue the process[several times] giving you a flat flawless glass smooth mirror gloss finish.
You can see what you are doing because after using the pad there will be dull areas and glossy spots. Those are the areas that need building up with clear the get the even coat. You know you are ready for final coats when you buff the finish and it's dull every where. The finish has been built up & buffed down enough that all imperfections are now filled and smooth.

Then ya hit it with the final coats after applying vinyl, if using any. Continue to coat, buff..... if ya want the vinyl to be deep in the finish for that pro-look.

In essence when finished you have applied around 10-12 coats, but have buffed off most, leaving you with a built up finish of 3-4 coats. This is how most show quality finishes are done.

Use something around 220 for the bare tube.
 
. The other question I had was if I take one of those green scrub pads to the body it self before the gloss/polish, will it destroy the beauty of the material before the gloss? I want to give it a good scrub, to get any dirt or anything loose.


Waste of time. The green pads are about = 400 grit sandpaper & don't load up like s-paper does. The idea is too use them cause they contour to all the curves, nooks & crannies that paper won't. Build up 2-3 coats of clear, let dry overnight till hard, then use pad to buff down the finish, this will end up filling any imperfections with clear as you continue the process[several times] giving you a flat flawless glass smooth mirror gloss finish.
You can see what you are doing because after using the pad there will be dull areas and glossy spots. Those are the areas that need building up with clear the get the even coat. You know you are ready for final coats when you buff the finish and it's dull every where. The finish has been built up & buffed down enough that all imperfections are now filled and smooth.

Then ya hit it with the final coats after applying vinyl, if using any. Continue to coat, buff..... if ya want the vinyl to be deep in the finish for that pro-look.

In essence when finished you have applied around 10-12 coats, but have buffed off most, leaving you with a built up finish of 3-4 coats. This is how most show quality finishes are done.

Use something around 220 for the bare tube.[/QUOTE]

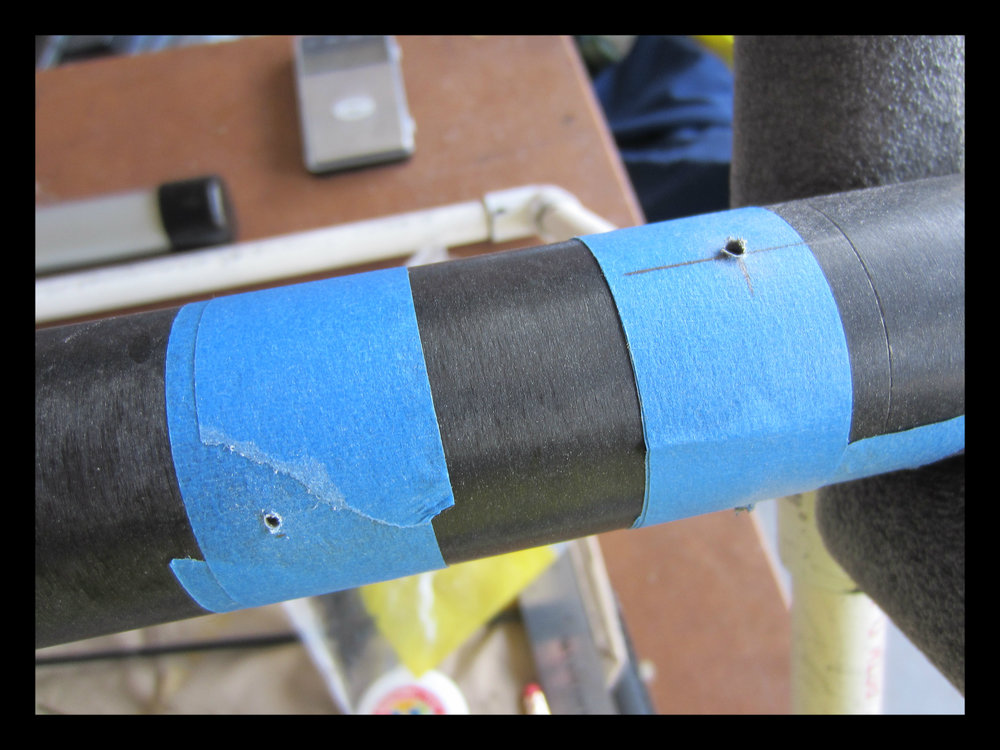
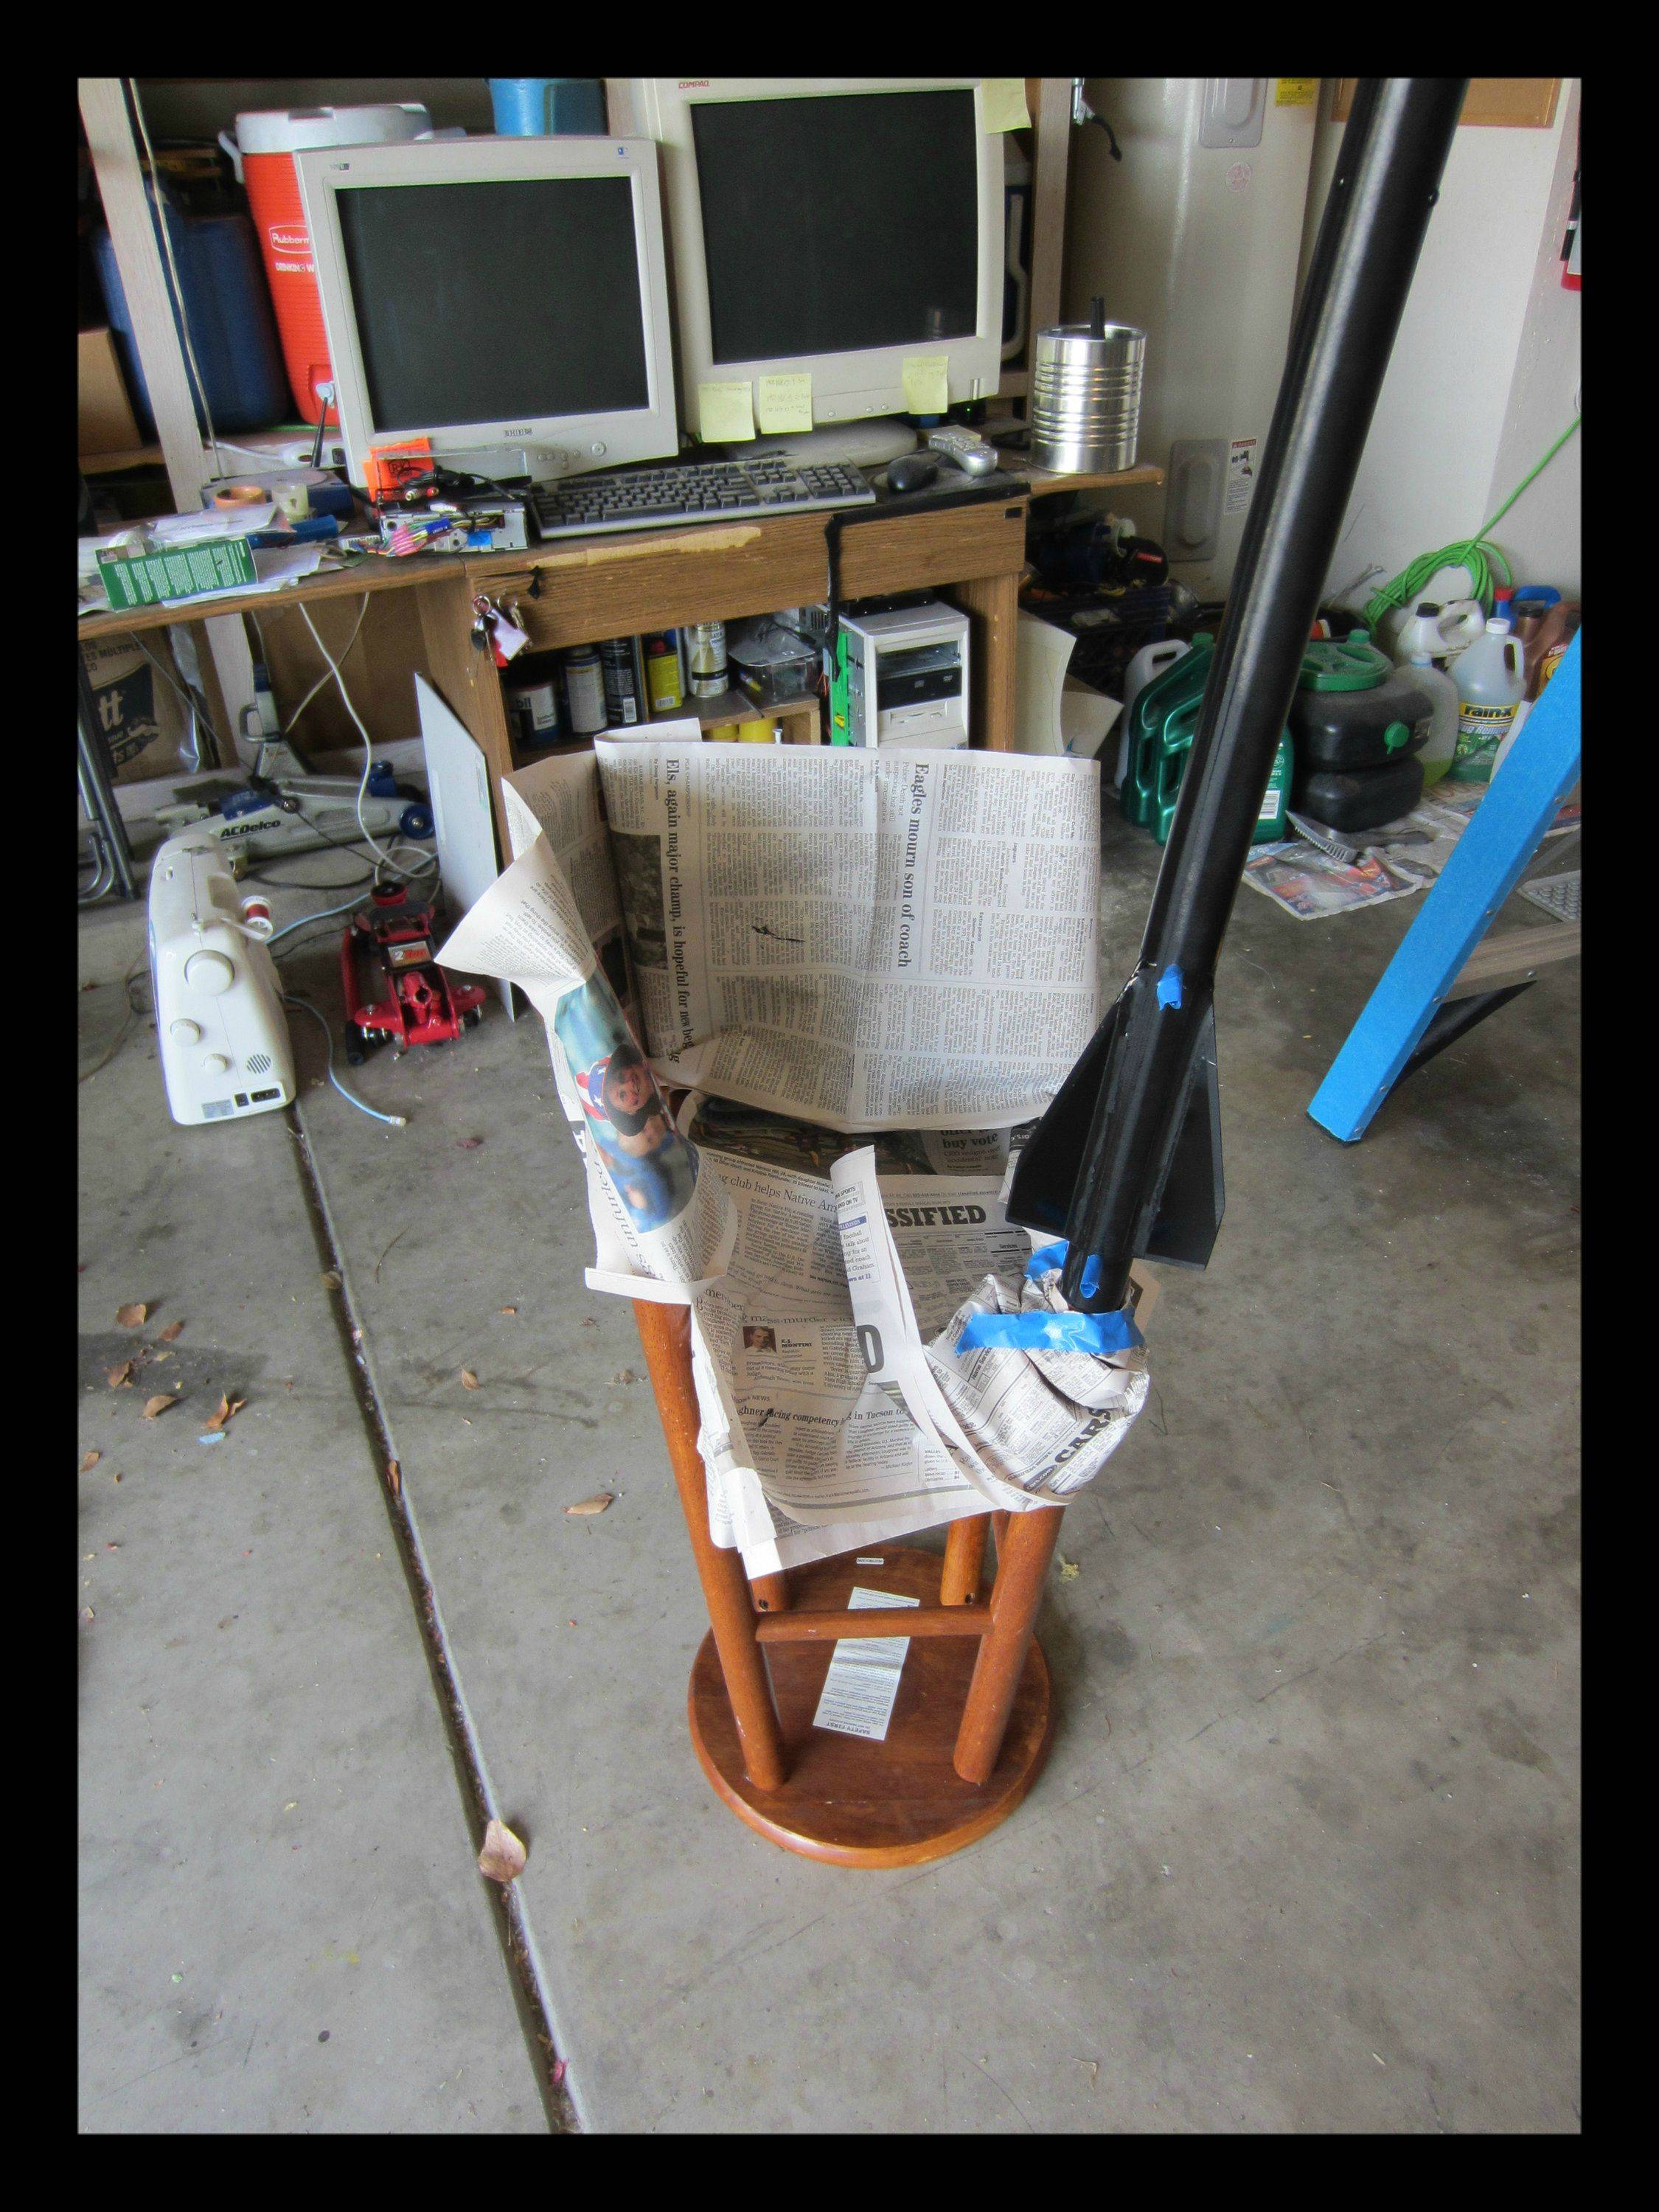
Thanks for the advice, today I acted upon your expertise and started the finishing step.

3bsxl.jpg


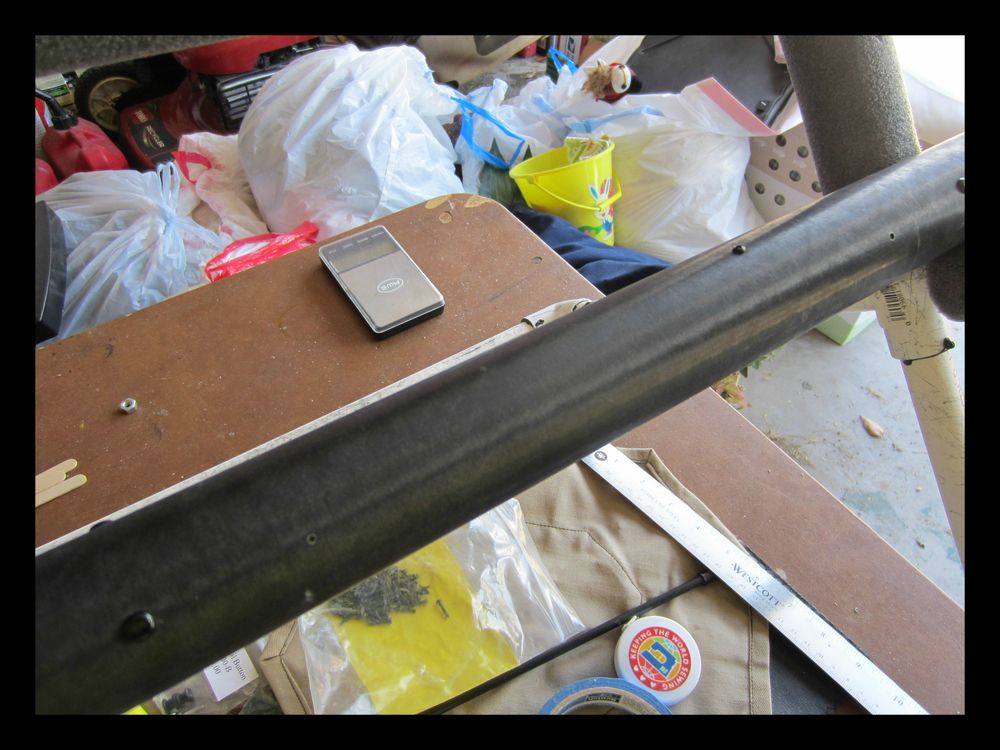
I went to home depot getting screws for my av bay and some other random things. I thought to myself, I better get some PVC to make a cool stand for holding the rocket while putting the clear coat on. Well my laziness got the best of me, and I said "I will figure something out at home". Lo and behold, the exquisite barstool.
 
Lo and behold, the exquisite barstool.

Now that is a good idea! You had me running out to measure my workshop stool legs... I can only do a 54mm rocket with mine, but alas, most of my 54mm+ rockets are too long/heavy to be held stable by a stool (even with weight on the seat)--good idea anyway for lighter rockets.
 
LOL! Good one.


Me as well. I have a BH29 coming,... and will review this thread as I build.

Hoping for a detailed description and pics of the av-bay build...

I will post as many pictures of the Av-Bay as possible. The only thing left to order is the Q2G2 ignitors, I am too lazy to buy an E-Match kit.

Now that is a good idea! You had me running out to measure my workshop stool legs... I can only do a 54mm rocket with mine, but alas, most of my 54mm+ rockets are too long/heavy to be held stable by a stool (even with weight on the seat)--good idea anyway for lighter rockets.

Yeah I was wandering around my garage, then I stumbled upon the barstool. I was thinking of using sewing thread (thats what my mother does for a living) and running it through the vent holes then suspend it from the celiling.
 
I will post as many pictures of the Av-Bay as possible. The only thing left to order is the Q2G2 ignitors, I am too lazy to buy an E-Match kit.

I have to say that the Q2G2s are perfect for deployment. I wouldn't trust my ability to properly assemble an e-match when you can easily (and legally) get Q2G2. If you get the longer-length ones you don't even need to add on a wire extension or term blocks.
 
I have to say that the Q2G2s are perfect for deployment. I wouldn't trust my ability to properly assemble an e-match when you can easily (and legally) get Q2G2. If you get the longer-length ones you don't even need to add on a wire extension or term blocks.

Do you know how long the normal ones are? I want to buy the mega pack or whatever it is, but they only sell the mega pack in the normal length.
 
Do you know how long the normal ones are? I want to buy the mega pack or whatever it is, but they only sell the mega pack in the normal length.

I don't have any on hand here but it looks like they are 2 inches long or so.

Q2G2_installation.jpg
 
0ii6w.jpg


Got some work done on Sunday, this is not a finalized version of the sled. Most likely the magnetic switch will be on the other side. I was thinking and it would be best to have it on its own side. That way the threaded rods that come through the Fiberglass will be solely for attaching charges and wires.
 
More updates:

Sorry life has been busy with 40+hours of work plus full time school.

I have finished everything on the rocket it self, with the recovery components it weighs in about 950grams. So with a motor it will weight around 1050grams.

I also attempted to test the upper section ejection, I use 0.45 grams of Pyrodex which is FFFG Synthetic. I heard a very little pop and nothing moved. So I am on the hunt for blackpowder now, I will probally also amp it up to 0.6-0.75 grams. The first amount was about double as to what the calculations predicted to use. But using more is always a safe bet.
 
Bump.

Were you successful on you BP search? Not having an easy time finding it myself.
 
I did find some BP at bass Pro Shops, they only had FFFg. But I have tested ejection and it works well.

Sorry for the delay, work and school is kicking my butt. I get enough time each week, to look at the rocket and dream about launching it.

Everything is completed except the last few layers of finish.
 
I'm finishing up a BH29. Unlikely to be ready for my 11/3 launch date,... Hope to have it ready for the 1st Saturday in December. I really want to hear a flight report on yours!
 
I'm finishing up a BH29. Unlikely to be ready for my 11/3 launch date,... Hope to have it ready for the 1st Saturday in December. I really want to hear a flight report on yours!

Well you might be waiting a month or so, I am applying for a new position at work. So they are having me learn new things, and extend my responsibilities. Full time work is already eating up all my time, plus I have school full time school. Then to thrown in another wrench I offically have a new girlfriend. The good thing she is a chemistry major and I am going into Aerospace. So she wants to come to the launch :)

I am thinking next month, I will launch. I still have to test cg/cp, but thats it

Keep posting!
 
Do you have a launch date planned yet? Have you decided on a 1st flight motor?

My BH-29 is ready for maiden flight. Planned for 12/1. Hoping for good weather. Hope to see yours fly soon!
 
Do you have a launch date planned yet? Have you decided on a 1st flight motor?

My BH-29 is ready for maiden flight. Planned for 12/1. Hoping for good weather. Hope to see yours fly soon!

I will be using a H143.

No I have not set a date for launch, my life has been out of control with school full time and work full time. I am thinking it will be on Jan/Feb of next year.
 
This is how I built my avbay for my Blackhawk 38. Charge holders are 3/8" brass tubes secured to 1/4" ply bulkhead w/ JB weld. Igniters will be Quest Q2G2's, I have had good luck with them. I made the avbay 7/8" longer than the stock 6" one so that I could use a stratologger but I'm sure if I really worked it I could have fit it all in the stock length avbay. Rods are 6/32 and the sled base is 1/16" ply. 9V full size battery mounts vertically. Wildman screw switch accessed through a 3/32" hole.EBAY TOP3.jpgEBAY TOP2.jpgBACK END.jpgnaked sled.jpg
 
Last edited:
TStone - I'm thinking of the Blackhawk 38 for my L2 cert rocket. Could you do a bit more of a write up on your AV Bay design? MY L1 was motor ejection, so no experience at all on this. What parts did you use?

What engine did you fly it on?

Cheers,
W
 
TStone - I'm thinking of the Blackhawk 38 for my L2 cert rocket. Could you do a bit more of a write up on your AV Bay design? MY L1 was motor ejection, so no experience at all on this. What parts did you use?

What engine did you fly it on?

Cheers,
W

I might as well share mine.

RmIQR.jpg


jU9rs.jpg


Mine is really simple, I have a raven connected to the magnetic switch with a simple LIPO.

Then one of the screws is the output to the ejection charges. When I install the top bulkhead I will attach the wires directly to the screw and the altimeter. Then I have a simple hole in the bulkhead where the wires will run from the charges to the board.

Then when I install the bottom bulkplate, I will have a spare wire running from the output of the switch that will be wired to the charges. Then the Raven will be facing down so I can install the last two charges into the raven directly.

Any questions?

I forgot to add I finally set a date for launch it will be February 23rd.
 
Last edited:
Here is a very simple way to make an av-bay for this bird.
All will fit stock coupler.
Cut sled to a tad under 5 3/4in. long by 1 1/4in. wide. Sand to fit. Cut/dremel/file all excess off eyebolt threads back to nut

1.Use 6-32 allthread for tie rods.

2.Glue just 1 tube down center on bottom of sled.

3. Battery held in place with tape around width, & wire tie around length.

4&5. sled does not attach between 2 tie rods, Gain more room by dropping sled to bottom tie rod. Tie rods are above & below sled,leaving space for 9v.
Edges of sled are beveled to gain a bit more room.

2 sleds the same size in these pics. Adept22....HighAlt45 [which is the same size as Stratologger.] All three fit & have been used in my BH 38. The wood one has a tube...the G-10 does not.


Very easy no frills sled to make for this rocket. Actually plenty of room left over, you could mount a screw switch or magnet switch where I have the terminal block. I just use a wire for power switch & twist & tape

100_8345.jpg

DSCN1543.jpg

100_8344.jpg

DSCN1530.jpg

DSCN1534.jpg
 
Last edited:
Back
Top