Vintage Estes Patriot build

The Rocketry Forum

Help Support The Rocketry Forum:

This site may earn a commission from merchant affiliate links, including eBay, Amazon, and others.

SCIGS30

Well-Known Member
Joined
Jan 18, 2009
Messages
1,862
Reaction score
301
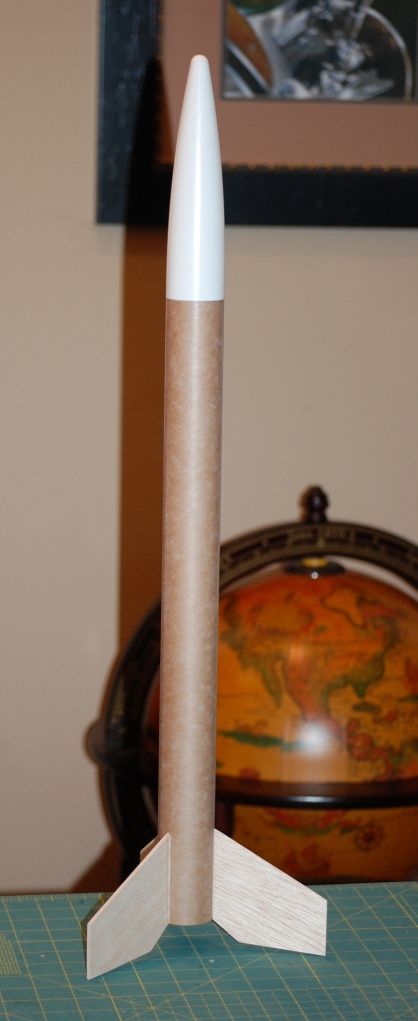
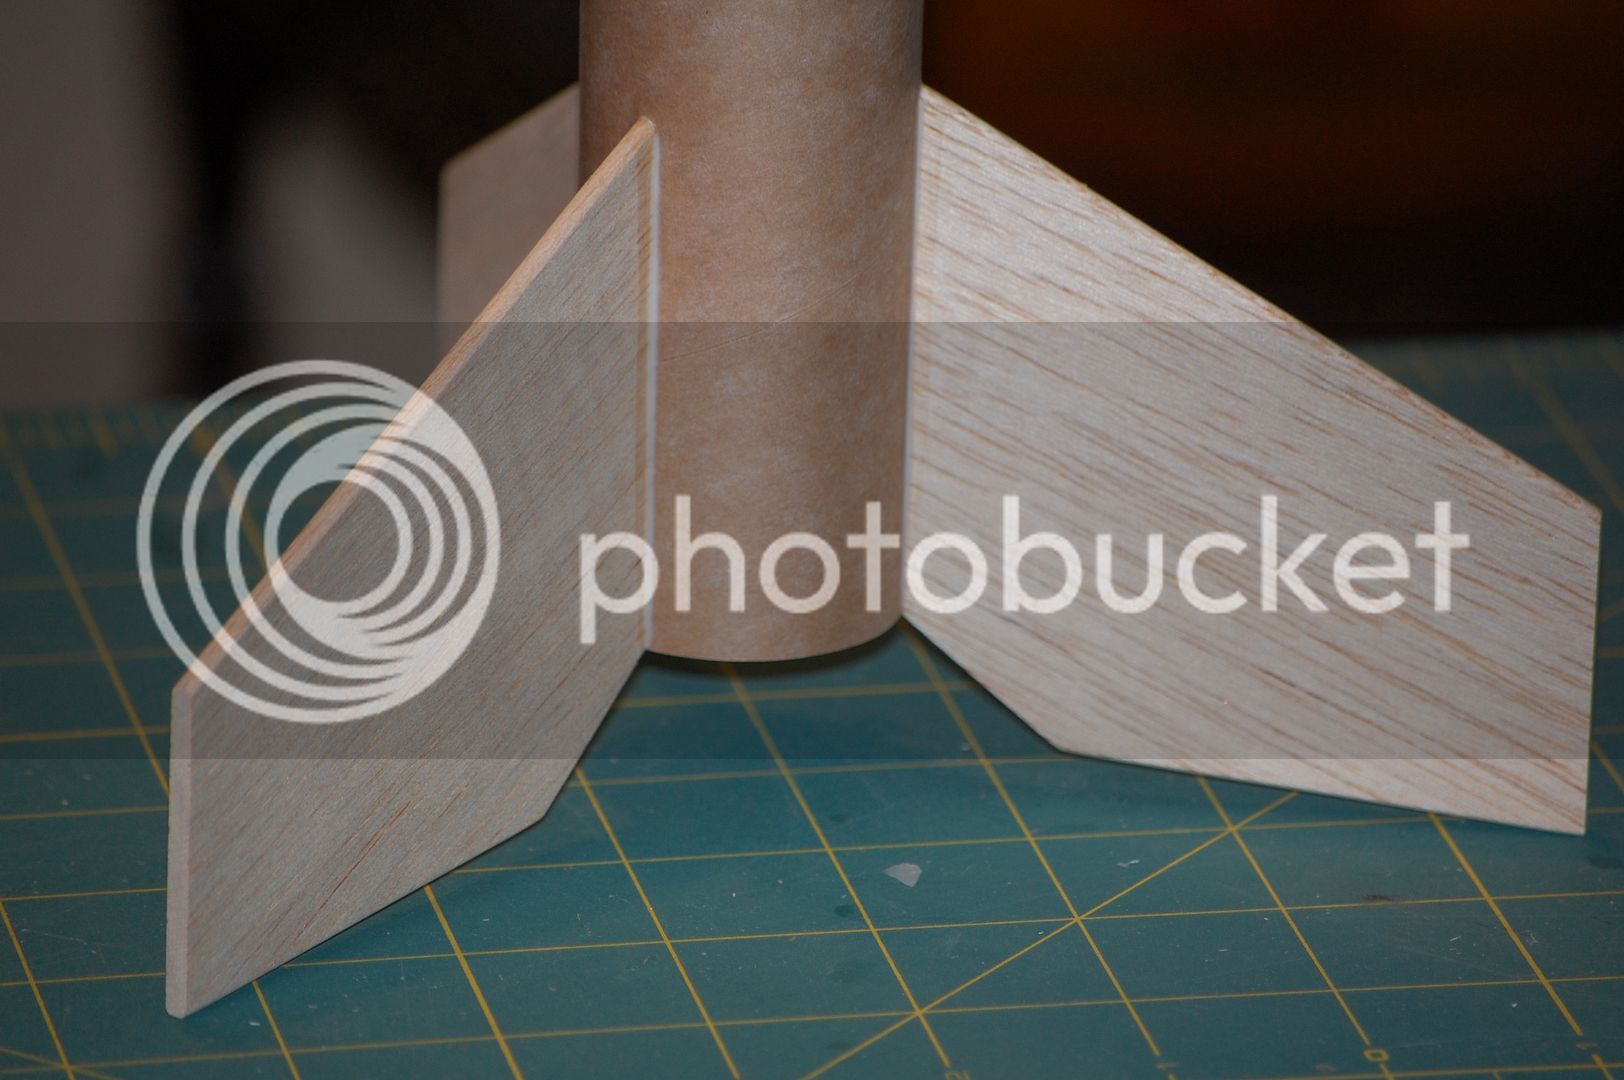
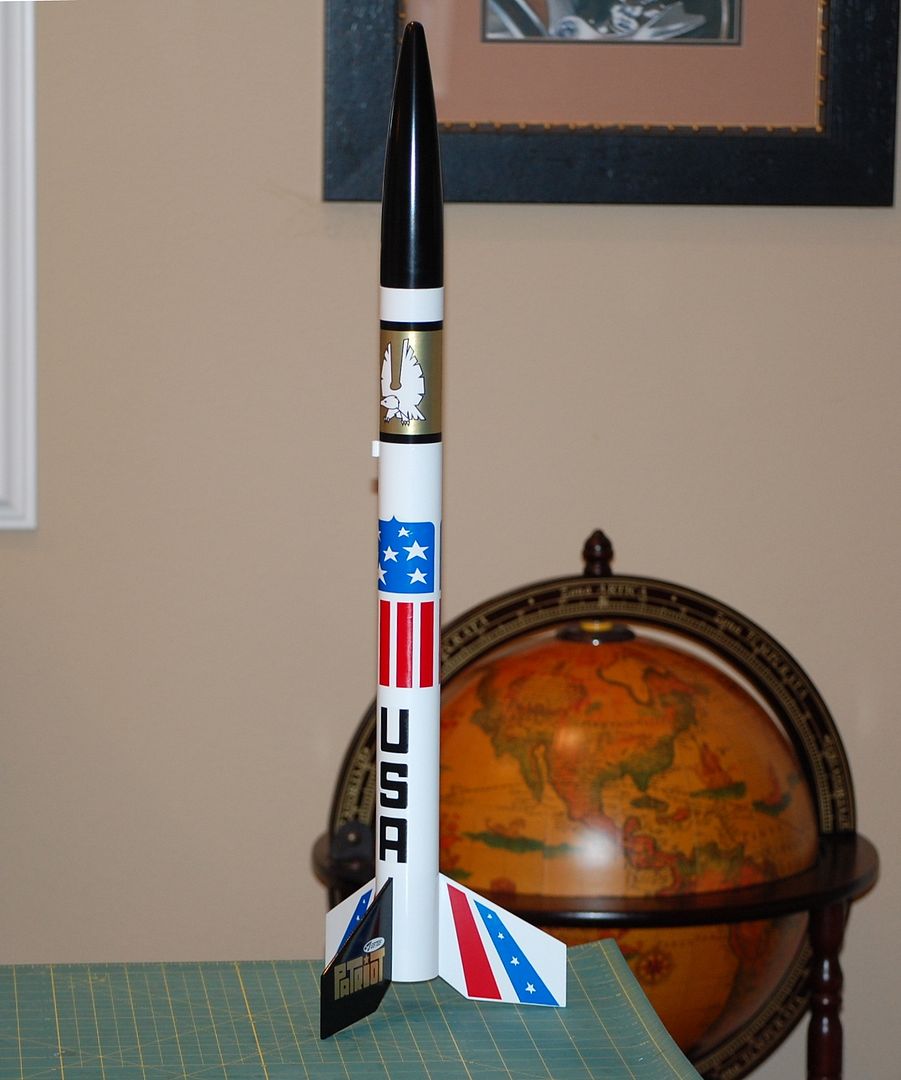
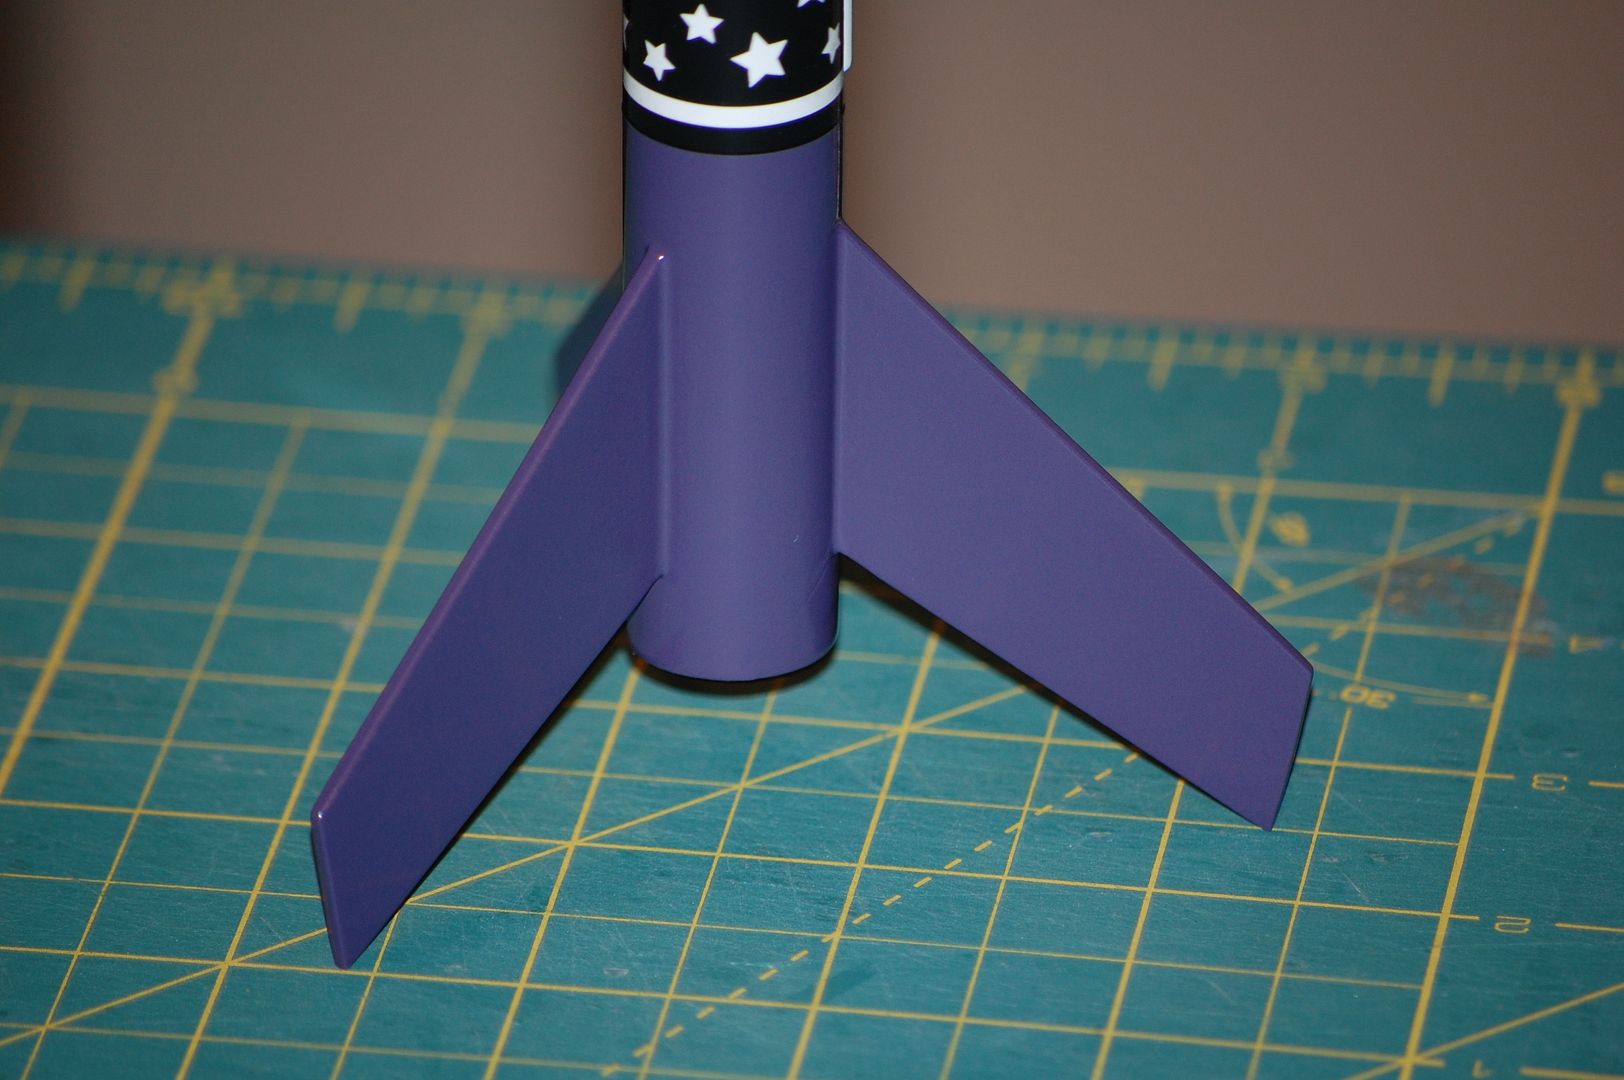
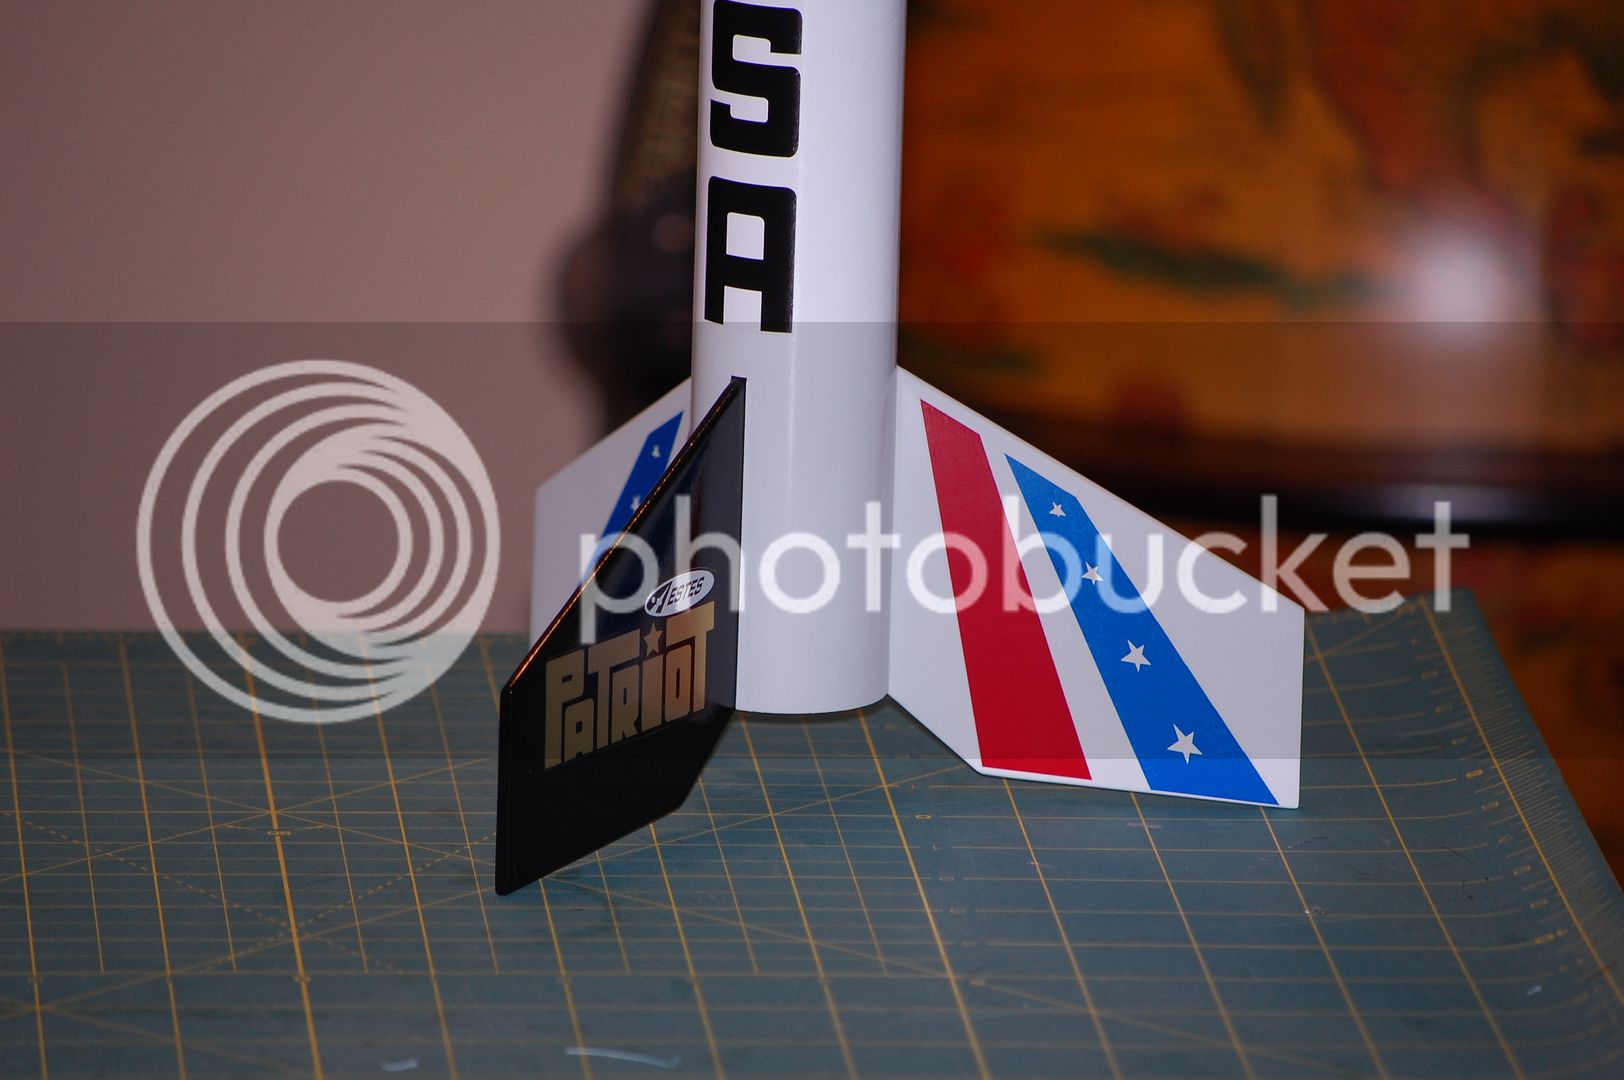
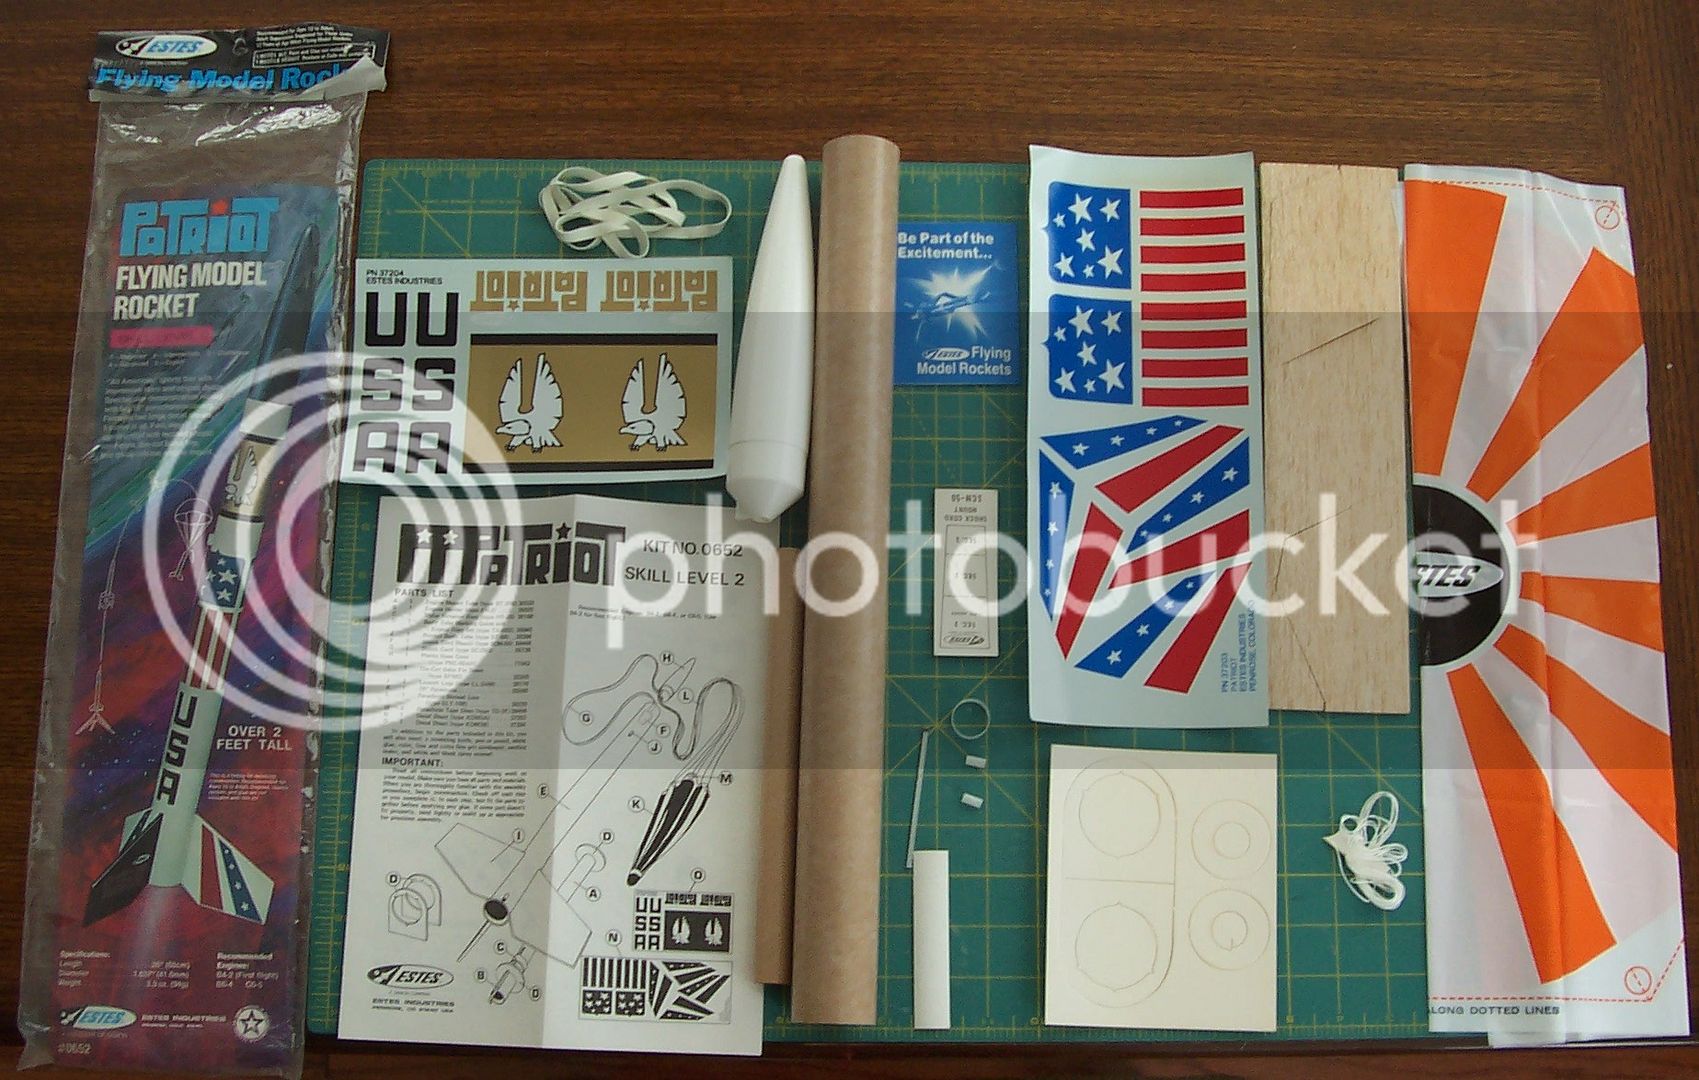
I was putting my 1979 collection together the other night and realized that I never build the original Patriot. I built a clone a few years ago and since I have acquired 3 of these kits. So I had to build the original. The kit is in great shape, I compared the parts to my clone and there are some differences. The first is the fins are about 1/2 inch bigger on my clone vs the original, don't ask why because I don't know. The decal from my clone looks good, but the colors don't match the original. Once this is done, all my 1979 builds will be originals.
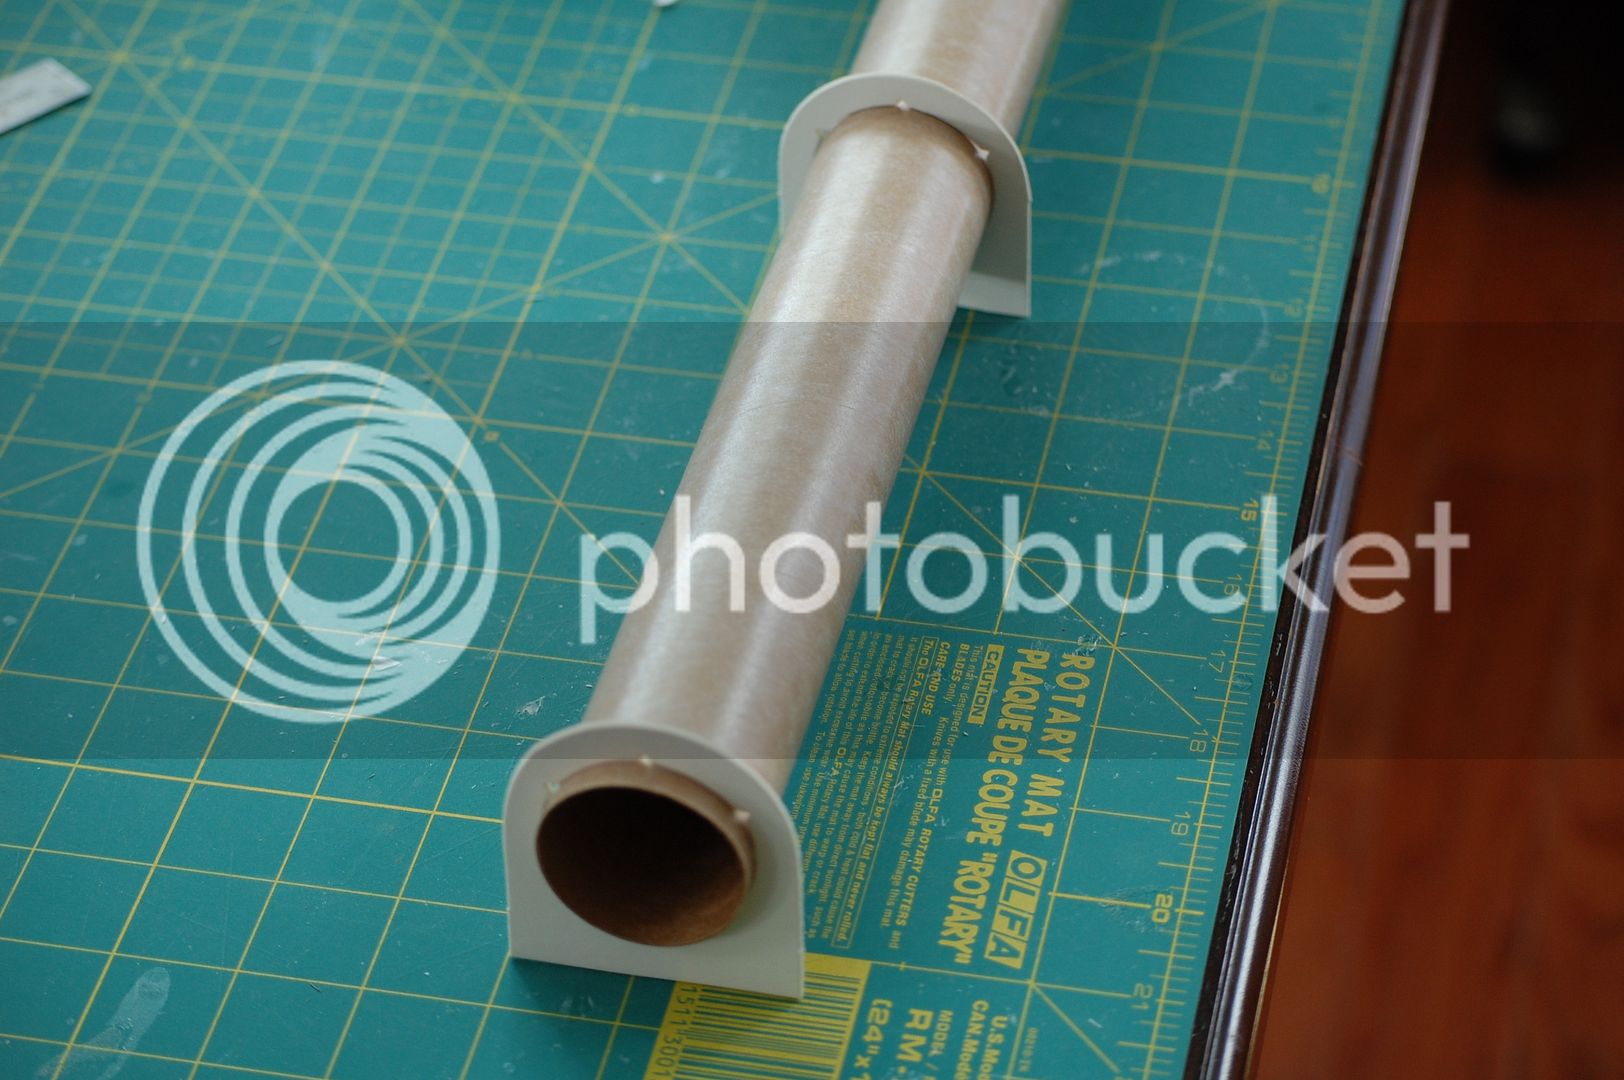
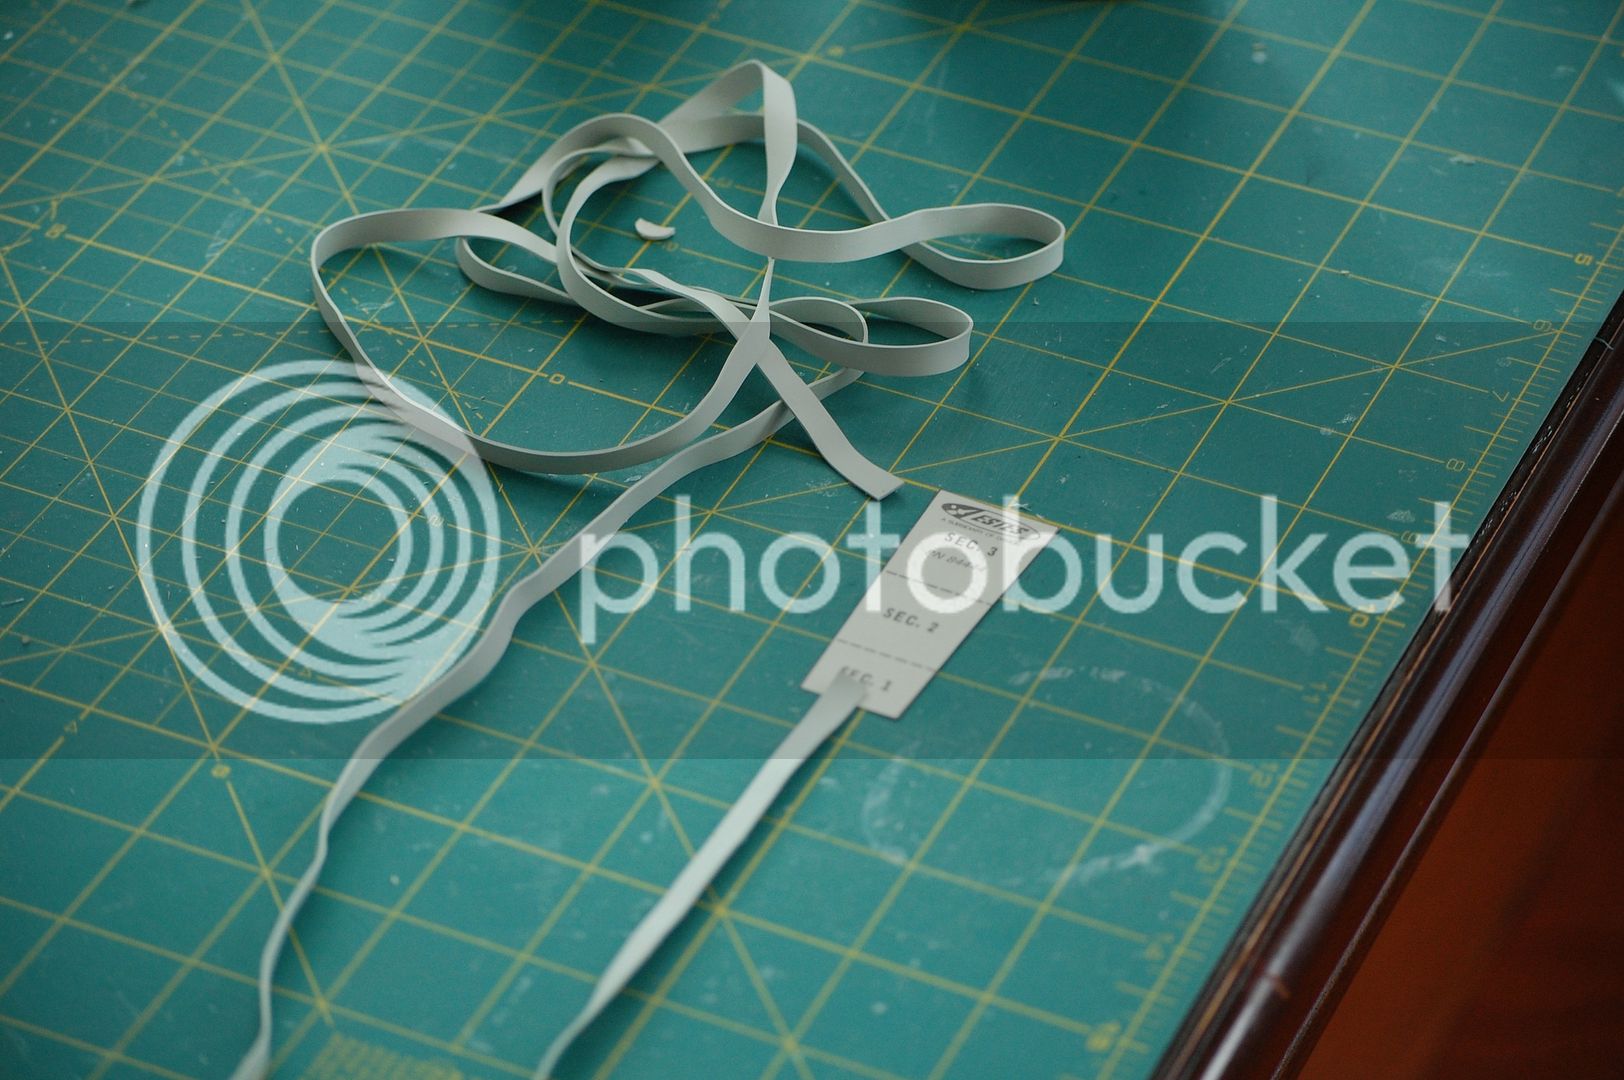
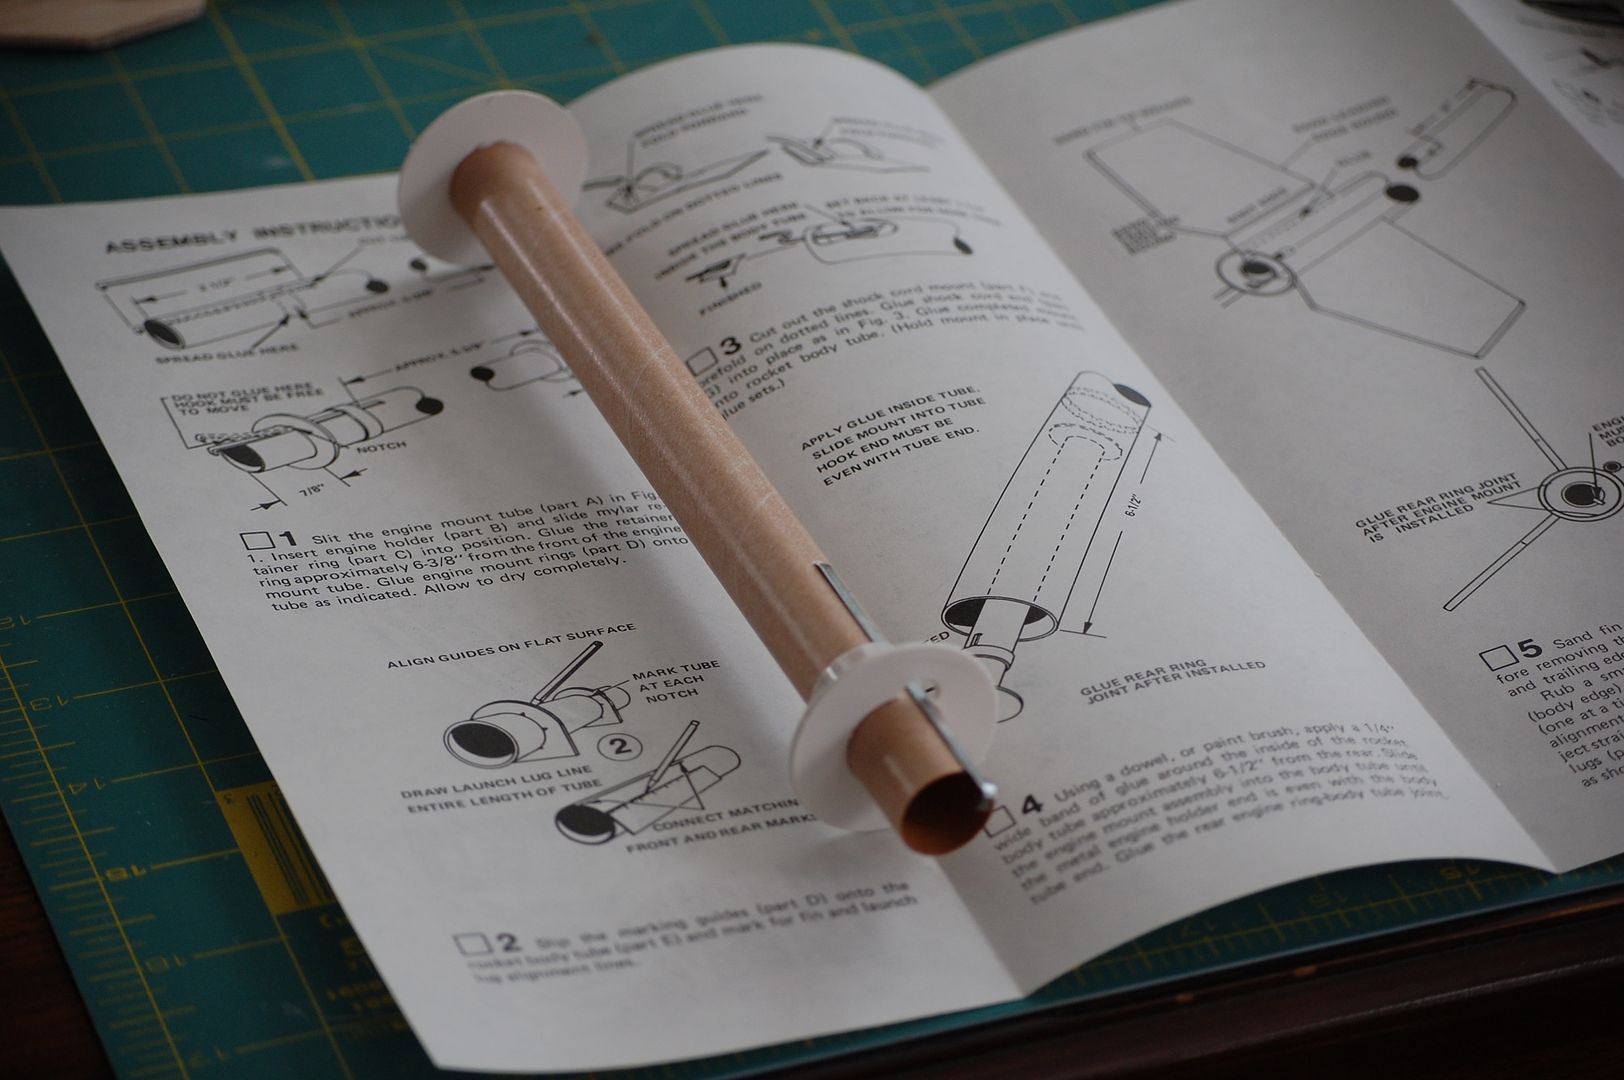
The build is pretty easy, the engine tube is straight forward. Mark the tube with the jig that comes with kit. The shock cord is typical Estes trifold with a new piece of rubber, want to at least get a couple flights out of her before she becomes a shelf queen.
100_4028.jpg

DSC_0001.jpg

DSC_0002.jpg

DSC_0003.jpg
 
The main Body Tube is 18 inches long and the engine tube is the same size as the Wizard Body tube, around 8 inches long. The jig that came with this kit is used to make the marks for the fins and lugs, I think it is used in the new Release of the Der Red Max. The build went together fast since all the parts are in great shape. Here are some more pictures, now back to my freeflight build.
DSC_0001-1-1.jpg

DSC_0002-1.jpg
 
I finished the decals today, and man that gold wrap around was tough. I also built another Wizard kit. I built the plastic nose version a while ago and now I built the kit with the yellow tag and balsa nose.
DSC_0011.jpg

DSC_0022.jpg

DSC_0024.jpg
 
Last edited:
Hi Scigs30,
As always, beautiful work.
I am curious how you do your fillets.
They look too well rounded to just be white glue by itself. The are just the right "thickness" for this size model.
So is it Moulding and Trim Glue? Fix-it Epoxy Clay? Epoxy?

I've had good results (close to yours) by applying Carpenter's Wood Filler after white glue fillets. The Wood Filler is a little thicker than what I'd use on balsa or body tube seam filling.

Thanks!
 
I asked him the same question, his work is amazing. This is what he said to my question.

I use plain old Elmers White Glue All for all the construction and fillets. I use Midwest Aerogloss balsa sealer, 3 coats.

Check out this thread, Scigs puts some awesome pics of his work with closeups on the third page of the thread. BTW - I tried just using white glue like he says and I was amazed how smooth the fillets come out. I used yellow wood glue for years but it shrinks and you get voids. That doesn't happen the same way with white glue. Elmer's Glue-All is my friend!:clap:

https://www.rocketryforum.com/showthread.php?t=2507
 
I use Elmers Glue All for the fillets, about 2 coats. I first make sure the fin fits nice and snug against the body tube. I also apply enough Elmers glue to the fin so that when I press it against the tube, the glue oozes out. I then smooth that out and apply my 2 passes of glue fillets. I smooth it out with my finger. You can see the white glue fillet in the picture above of the Patriot. You can also see there are no gaps when I glue the fin to the Bt. I think that was the second coat of Elmers drying.
DSC_0012.jpg
 
Last edited:
I think this is a clear case of "Less is More. " It seems like you are using a really conservative amount of glue. The results are splendid!
 
I'm building a couple re-releases......I just noticed the current decals Flag Body Wraps are mirrored. A left and right. The original decals are (2) of the same. If you look at the top of the blue flag, the stars are offset. On the current kit, one star is to the right of the point, the other decal the star is to the left. I guess if I want to build one that looks like the 1979 version, I'll have to rob 2 "Right" star decals. lol
Wish I could go back to San Antonio Hobbies Mt View CA, 1980, and buy a dozen before the store closed in the 2000's and became condos.
 
On the dinner room table/build bench, I'm finishing up a "D" powered version plus a "Stock" build. Will I build another and rob the decals? Maybe. I'd also move the top launch lug down about an inch, to give more room for the top wrap. I'm using small pieces of blue masking tape (cut into 1/4" tabs) to use as decal placement alignment aids.
Here is my XL version.....flying on C6. Top tube is cut about 1-1/8" to remove shipping damaged end. Mid-Separation. C6-5 too long a delay. Here is maiden flight, in slow mo by friend.
 
Back
Top