TLP Indigo Build, (With Launch Video Now)

The Rocketry Forum

Help Support The Rocketry Forum:

This site may earn a commission from merchant affiliate links, including eBay, Amazon, and others.

TopRamen

SA-5
Joined
Aug 9, 2013
Messages
9,955
Reaction score
112
Once again, I want to do the TLP Adventure. I think that with some of the Skills I've developed recently, I will be able to try to keep everything as light as possible.
I will still use things like Plywood TTW Fins and Fiberglass Tail Cone, but I will "Skeletonize" and make "Lightning Cuts" wherever it is Structurally Sound to do so.
I would like to use some type of Electronic Device on this Rocket as Standard Operating Procedure to get the Hang of Electronics. An 808 Camera is a given, but I'm thinking that this will be my First Rocket with an Altimeter.:)

Anyhow, I ordered it a couple Days ago on Amazon, so I should have it within a Week or so.
 
Last edited:
Once again, I want to do the TLP Adventure. I think that with some of the Skills I've developed recently, I will be able to try to keep everything as light as possible.
I will still use things like Plywood TTW Fins and Fiberglass Tail Cone, but I will "Skeletonize" and make "Lightning Cuts" wherever it is Structurally Sound to do so.
I would like to use some type of Electronic Device on this Rocket as Standard Operating Procedure to get the Hang of Electronics. An 808 Camera is a given, but I'm thinking that this will be my First Rocket with an Altimeter.:)

Anyhow, I ordered it a couple Days ago on Amazon, so I should have it withing a Week or so.
If you use the given tail cone and fill it with Gorilla Glue, white, it will get hard and be lighter than a glass cone! That
is weight saved!

JP
 
I have one of these in my build pile. Looks to be a good sized rocket. I've been toying with the idea of a 29mm motor mount or a cluster. I don't know yet.:confused2:

I'm Interested to see your take on this cool looking TLP kit. I'll be watching.:pop:
 
If you use the given tail cone and fill it with Gorilla Glue, white, it will get hard and be lighter than a glass cone! That
is weight saved!

JP

The Glass Cone is extremely thin, so I'm hesitant to call it heavy. I'll build Both and weigh them to compare this time. I may also take this opportunity to build another Tail Cone from a BT-80 Nose Cone, then I would be able to weigh all three, build the Rocket with my selection, and still have two useable Tail Cone Assemblies left over.
 
The Glass Cone is extremely thin, so I'm hesitant to call it heavy. I'll build Both and weigh them to compare this time. I may also take this opportunity to build another Tail Cone from a BT-80 Nose Cone, then I would be able to weigh all three, build the Rocket with my selection, and still have two useable Tail Cone Assemblies left over.
That's a great plan TR!

JP
 
Ofcourse I'm going to do my usual thing and updog it to 29mm, and use different components to build the Airframe/Fins.
For now though, I don't have any of the stuff I need to build it, so I'll have a go at building the stock Airframe/Fins in the meantime to keep me occupied.
 
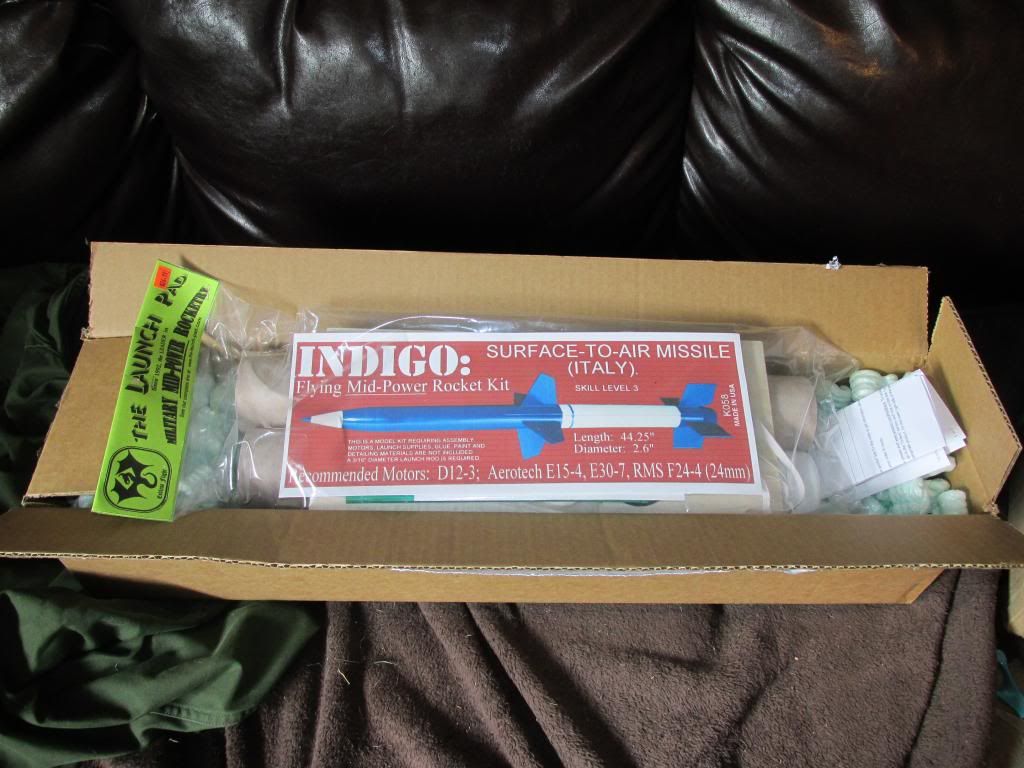
Everything in this Kit is "Top Notch". All of the Balsa is beautiful and perfectly flat, the Nose Cone barely has any Molding Marks, and everything included is of very nice quality. TLP did a nice job of packaging the Components, and Leading Edge Rocketry, via Amazon packaged it nicely and with plenty of Packing Peanuts to keep it safe during Transit.
It will be fun to play with these Parts.:)
 
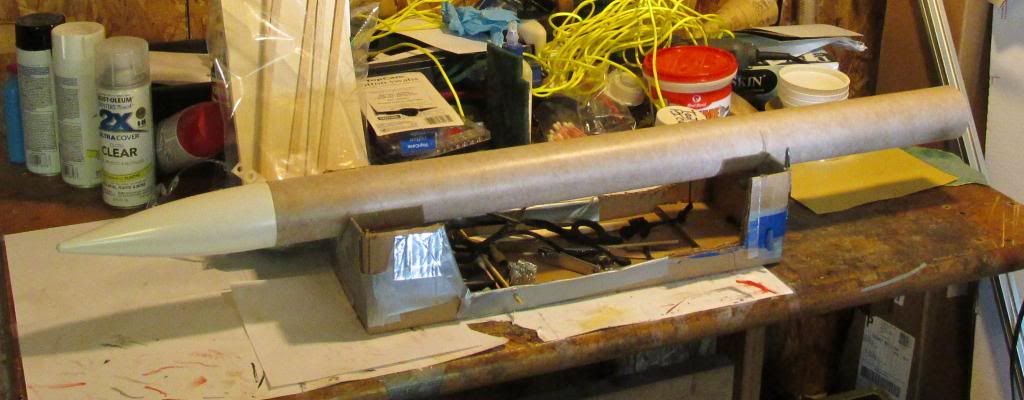
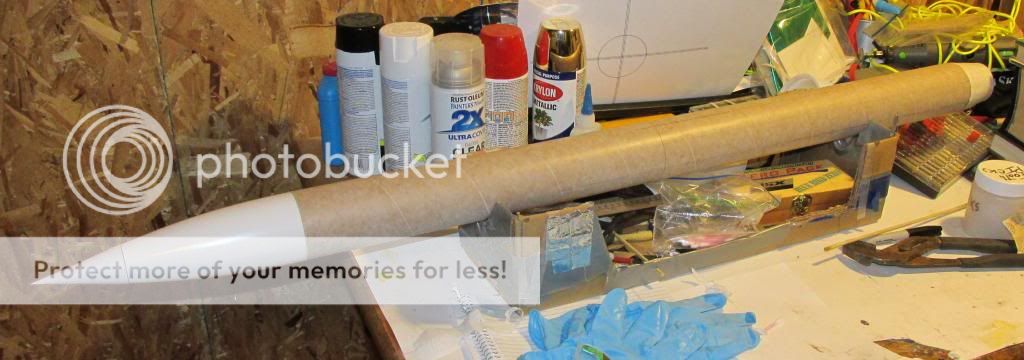
Dry Fit the Body Tubes to get a feel for the Size of the Rocket will be. I'll be using LOC Tubing for the actual Rocket, but will be assembling/messing around with the Stock Parts too.

 
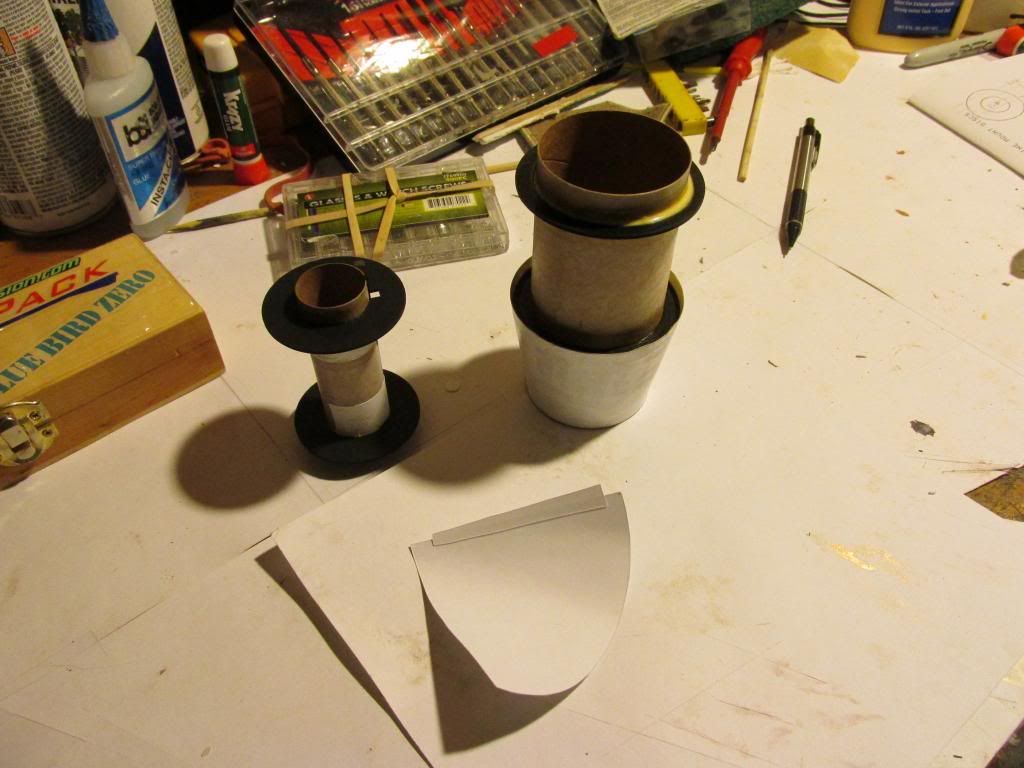
Started the whole Tail Cone Motor Mount Assembly.
I'll end up with this extra Airframe that is built with the stock TLP Kit Parts, but it will look cool hanging on the wall. I'll probably get another Nose Cone and fly it too, but I'm just building the Stock Version for the Joy of building something. Looks like I'll end up with two Indigo Rockets. One that can fly 24mm and is very fragile and lightweight, and one that will be 29mm and built to my liking.
I copied the Tail Cone and Nose Hat onto 110# Cardstock just because I like to do that, but it does'nt make much difference weight wise.

 
TLP wants the MMT 1.5" up into the Tail Cone, but I dry fit the parts and that's ridiculous, so I'm gonna' go for an Inch-ish.
 
TLP wants the MMT 1.5" up into the Tail Cone, but I dry fit the parts and that's ridiculous, so I'm gonna' go for an Inch-ish.
That's about what I get too on the tail cone sections.
Too deep and ya get a burned up tail!

JP
 
That's about what I get too on the tail cone sections.
Too deep and ya get a burned up tail!

JP


Yeah, I dry fit everything and put a D-12 3 in there to look at and decided that 1.5" is just silly. I do intend to line the inside of the Tail Cone with Aluminum Foil Tape anyhow, but 1.5" and I can barely get my Fingers up there.
 
I've pretty much decided to try to build this first Airframe as close to as TLP intended as possible, save for lining the inside of the Tail Cone Exhaust Tunnel with the Aluminum Foil Tape, changing the placement of the MMT Assembly by 1/2" and papering the Fins. I'm even going to do the Nose Cone as close to possible save for using Epoxy in place of Clay, but since they weighed the Clay at TLP and matched it to the Kit, I will weight the Clay here at home and try to match it with the Epoxy.
I realized that if I ever wanted to fly the 24mm Airframe, it would need the correct Nose Cone Assembly, and not some Lead Weighted Monster intended to correct for CG/Stability.
So, in review, This is going to be a fairly standard TLP Build, and then, when it is done, I will Clone it in an entirely "My Style" Scratch Build, with heavier Components.
Another great thing about doing this Thread this way is that it will show that I build the way I do because I like to do it that way, and not because I am limited to doing it my way. I admit, building a Stock TLP Kit is definitely a challenge, as everything feels so Fragile, right down to the Mylar Chute' which I have zero Experience with. I'm pretty sure that if I can pull off a decent Stock TLP Kit, it will be an advancement in my Modeling Skills that will reflect positively in my future Progress as a Builder.

Oh, one other small Mod am am making is putting 4 small Balsa Stabilizers on the Tail Cone Tube right at the Shoulder to ensure that it is perfectly Centered. Dry fitting reveals that the Paper Cone has just the right amount of "Flash Overhang" to be sanded away later, but it makes sense to do it my way here so that the pieces line up perfectly on the Inside. I don't wan't my thrust off/canted by a Degree or Two because I "Eyeballed" it.
The Four tiny Squares of Balsa do not even Register on my Scale, so I see them as basically not really a Modification of the Original Design, but just a better way to get it right. I have'nt gone through with this step yet, but will take Pics' when I do.
 
Last edited:
In my Gabriel III A/S Thread, I started out never giving the OEM Parts a chance, so this Time I'll do it Both Ways. Should make for an amusing Build Thread, and if I ever can afford some Motors, an equally amusing Launch Video with Commentary. It would be funny to get a few D-12 Launches out of the Stock Version, then stick one of those SU F44 Motors in it and see if it Shreds.
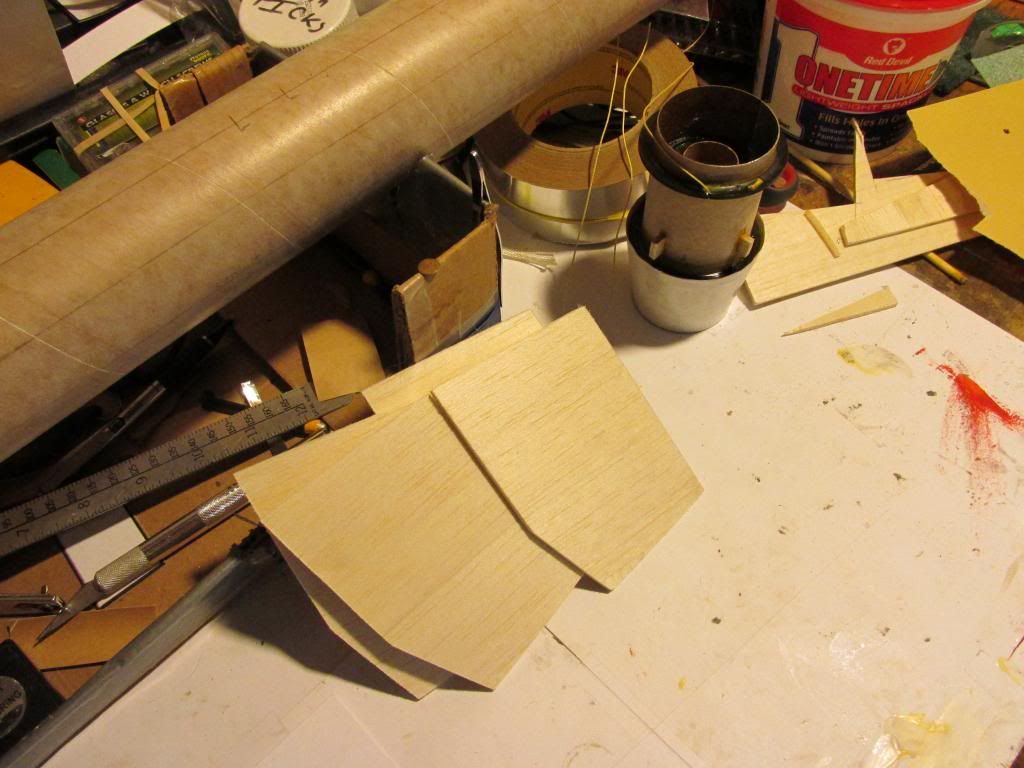
I'm going to make use of the "Double Glueing" Method for attaching the Stock Fins, along with removing the Glassine entirely and a few Hobby Knife induced Cross-Hatch Marks.
 
Last edited:
The Instruction Sheet claims that this Models actual Counterpart was personally witnessed at the Italian Test Site in Sardinia, so they say that the Paint Scheme is fairly correct, but if anyone has any Pics' of the real Missile I'de sure like to see them. Apparently the TLP Guy has seen four of them in Real Life.
 
Last edited:
I got the MMT put in the Tail Cone, and since I had the 15 Minute Epoxy mixed already I used what I had left to cover the inner wall and outside of the Tail Cone to strengthen it.
 
Got my little Centering Tabs on. The entire Assembly weighs in at just .95oz. so far.

 
Dry Fit looks good.


The Aluminum Tape did'nt weigh enough to register on my Scale.
 
Today I got the Body Tube Marked for Fins, LL and Conduits. Also attached some 100# Kevlar Shock Cord to the Upper Ring of the Exhaust Tube Assembly. Up front I'll attach it to the Elastic Shock Cord that came with the Kit. I don't like the old Tri-Fold Paper Tab Method.
 
I papered the Fins, so they will sit in a Stack of Books for two Days to dry. I also went ahead an mounted the Exhaust Tube Assembly into the Body Tube. I guess next I can begin crafting the Thingies(TLPs Site calls them "Reciever Airials"), for the outside Edges of the Rear Fins. Then maybe drill out the Tip of the Nose Cone.
 
Last edited:
Made my Paper Hat Cone Tip Piece and sanded off the Tip of the Plastic Cone to the point that there is a 1/4" Hole in the Tip for the Epoxy to go through. The Clay Weight included in the Kit weighs in at .95oz. I'll try to achieve close to that with Epoxy and a tiny bit of #8 Lead Shot.
It's gonna' be sweet to have a Rocket this size that will safely fly on a D-12 Motor.

This is a lot of Rocket for $26.99, and you could probably find it even cheaper if you look around.:) TLP is Awesome.

 
I was on a Roll, so I went ahead and mixed up some more Epoxy and secured the Paper Cone to the Plastic Cone. In the Morning it will be dry, then I'll weigh it and add what is necessary to get it to it's target weight.
I weighed eveything before starting and wrote the Figures right on the Nose Cone Shoulder, so as to not misplace them.:)
I'll need to get/make some sort of "Safety Cover" for the Point, as I accidentally stabbed myself in the Hand last time I made a Paper Cone this sharp.
 
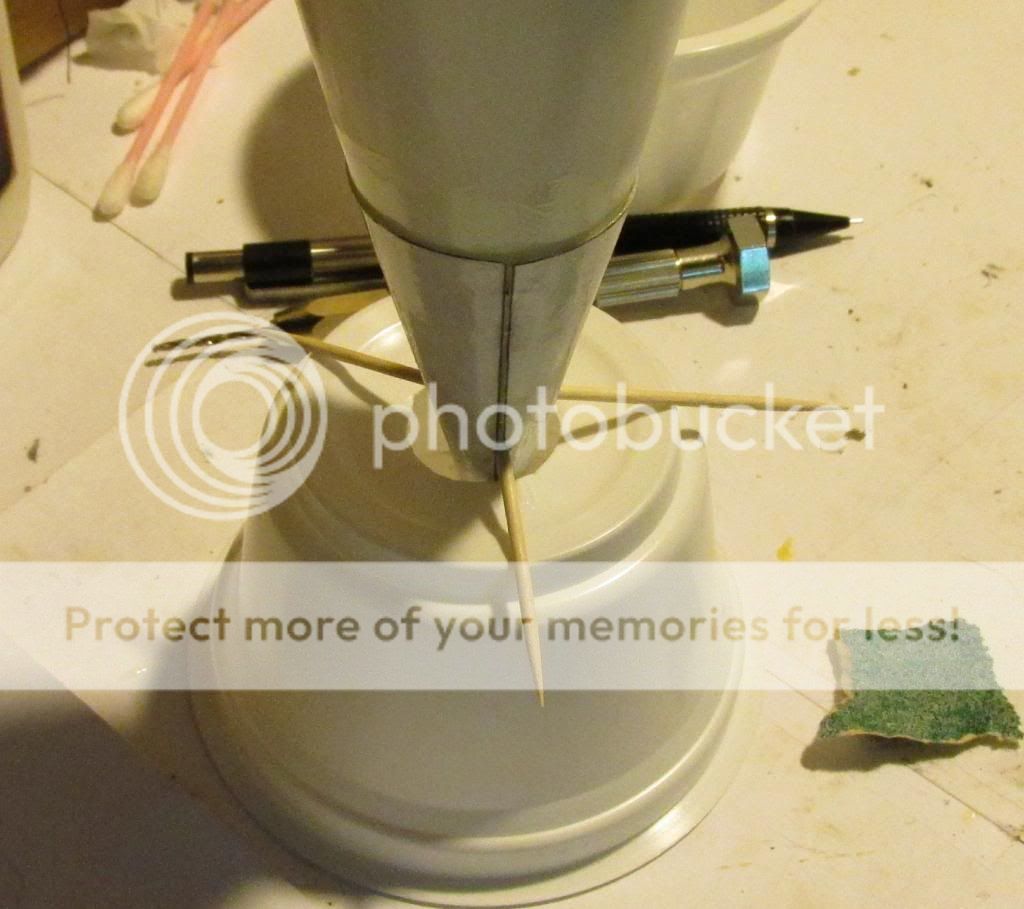
I used a Bamboo Skewer to measure to the right Depth, then made three marks for where to drill three tiny Holes. I drilled the Holes. I mixed up my Epoxy with Lead Shot, then poured it into the Nose Cone. As the Epoxy started to flow out of the three tiny Holes, I drove Toothpicks into each one as Mechanical Retention for the Nose Weight. When the Epoxy has cured, I will cut the excess off and sand them smooth as I do the rest of the filling and sanding.

 
Last edited:
Tonight, I'll try to get the Airials made for the Rear Fins, and maybe get the front Fins cut out and Papered.
 
I made the Airials. The Directions tell you what they should look like dimension wise when complete. You must take into account however that you will get to these Dimensions after sanding down the Tips of each Dowel Section. The Dowel thusly needs to be cut into 4, 4.5" sections, that after sanding/rounding down the Tips with come in at about 4.25.
 
Back
Top