


Nathan
☢
- Joined
- Apr 19, 2012
- Messages
- 2,230
- Reaction score
- 755
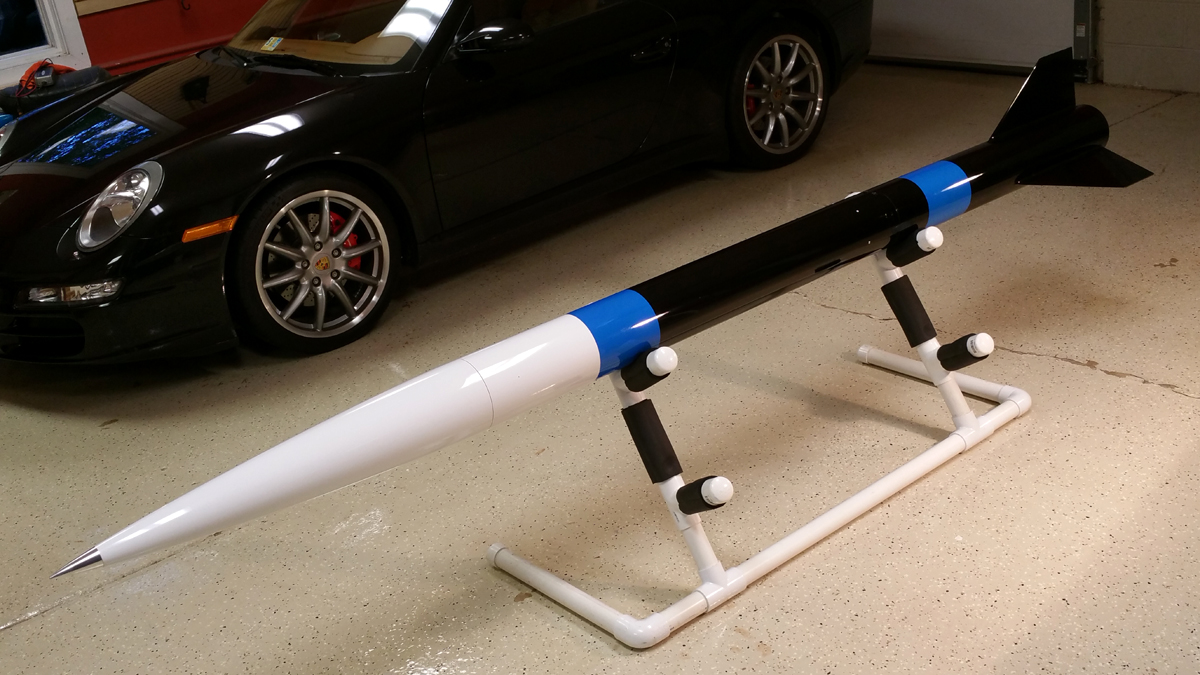
It has been almost 3 years since I did detailed a thread about rocket finishing and my techniques have evolved a lot since then, so it's time for a new one. This rocket is a Rocketry Warehouse Formula 150 that has been stretched an additional two feet to make it almost ten feet tall. I built this rocket over the winter and then did the painting and finishing this spring after it got warm enough to paint in the garage. The work shown in this thread was done over a period of about 2 months.
Here is the 3 color paint design that I did in OpenRocket. The blue stripes are Ford Mustang Grabber Blue.
But before we get started, a couple of things about spray paint safety. . .
You need to make sure that you are adequately protected. Use a paint mask with organic vapor cartridges. I always wear a full face respirator and nitrile gloves while spraying. If you paint in a garage or shed, keep a door open and a fan running. This is good enough for spraying normal enamel or lacquer but not for spraying catalyzed urethane enamel, which is spray paint that requires mixing in a hardener. All modern car paint is catalyzed urethane, but the hardener contains compounds that can do serious damage if it gets in your lungs. It can also be absorbed directly through any exposed skin and cause health problems. Spraying catalyzed urethane paint requires a full body suit and a supplied fresh air source.
Okay enough with the safety lecture.
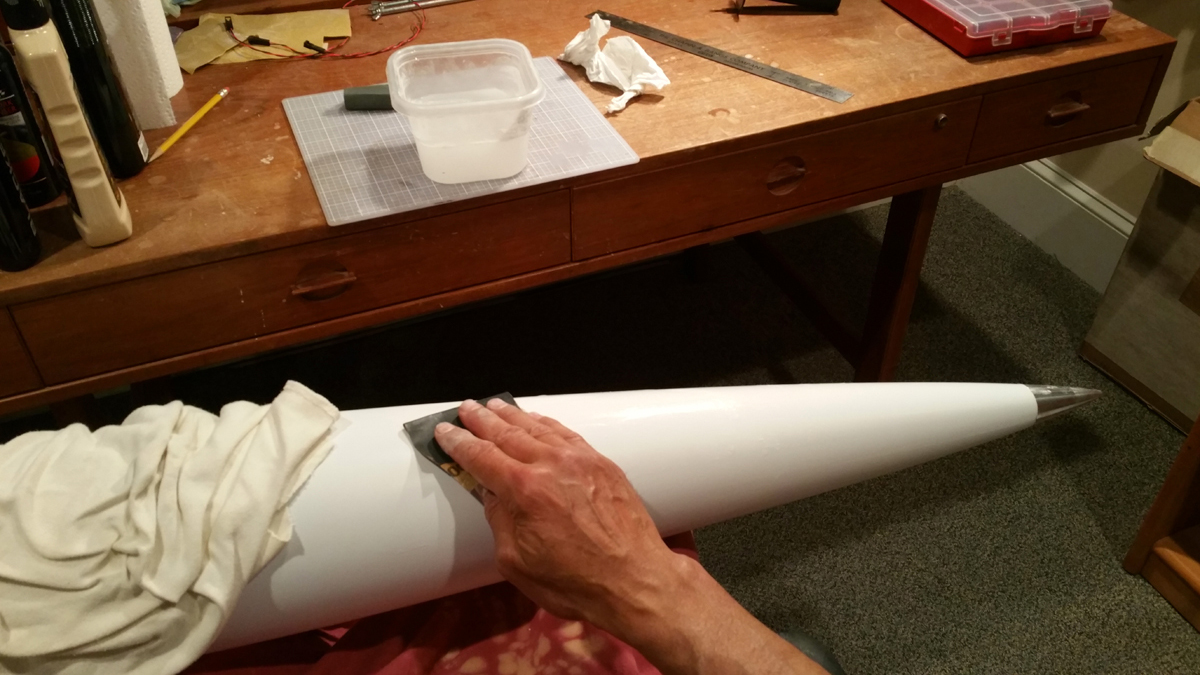
I'll start at the point where I have finished the build and am ready to start painting. The first step is masking areas where I don't want any paint, like on the couplers, motor retainer, nosecone shoulder, or aluminum nosecone tip. I also mask the insides of the ends of the airframe and motor tubes. You can also see in this pic the extra two foot section of black airframe tube that I added to the payload section to stretch the rocket to ten feet tall.
I'll be painting with an HVLP gun and compressor, but for primer I still use Duplicolor filler primer in rattlecans. No special reason other that that's the primer that I've always used and it's always worked well for me. Since this is a fiberglass rocket there are no spirals or woodgrain to fill so filler primer really isn't necessary; ordinary primer would work fine. It took all 3 cans of primer to do 2 good coats on this rocket.
After painting is done, the rail buttons will be screwed into locknuts that are attached to the inside of the airframe tube. I plugged the rail button holes with tissue paper to prevent getting paint in the threads.
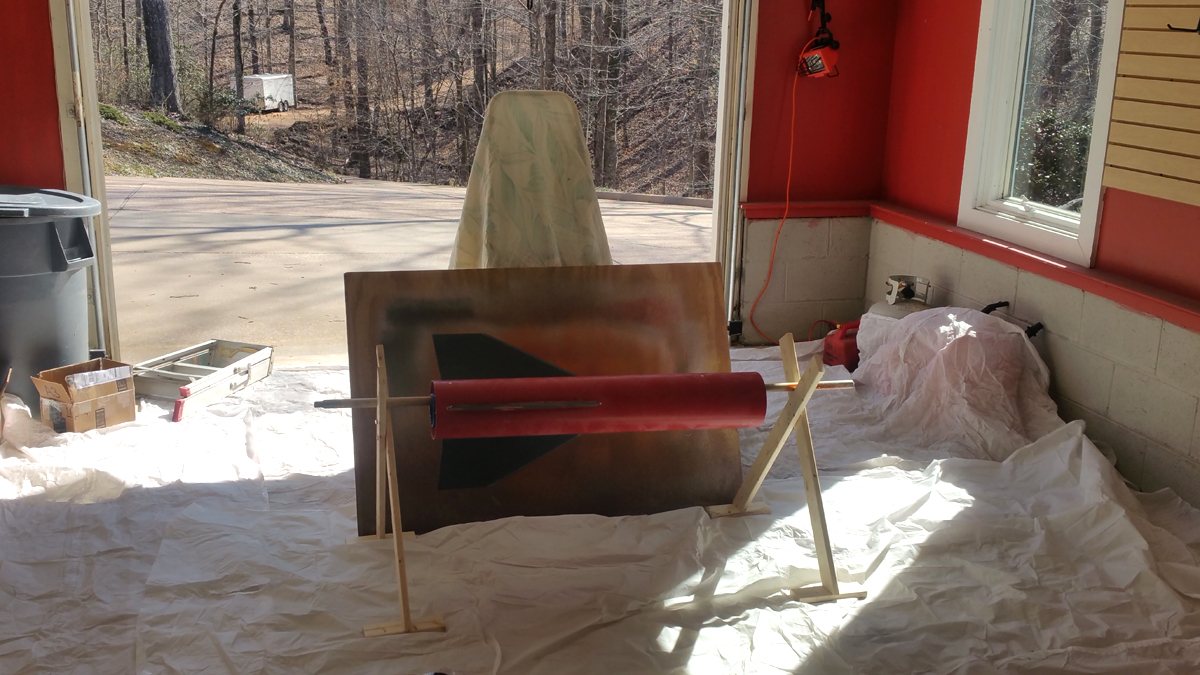
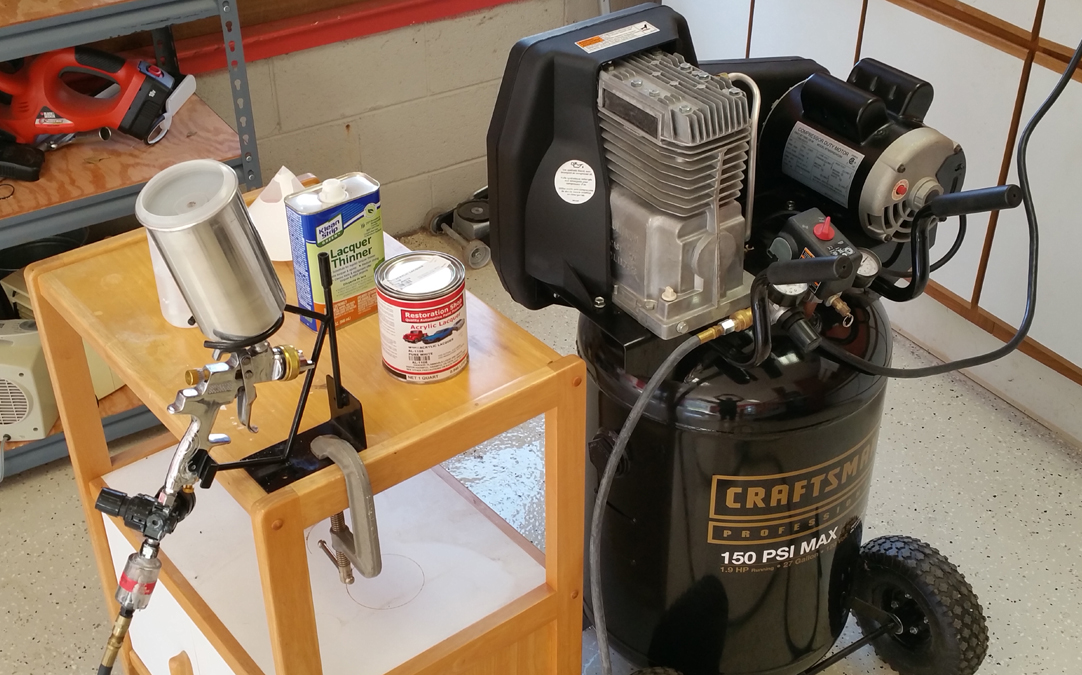
Here is the paint set up in my garage. In the background is part of my 240 yard long driveway. Shoveling that in the winter isn't fun.
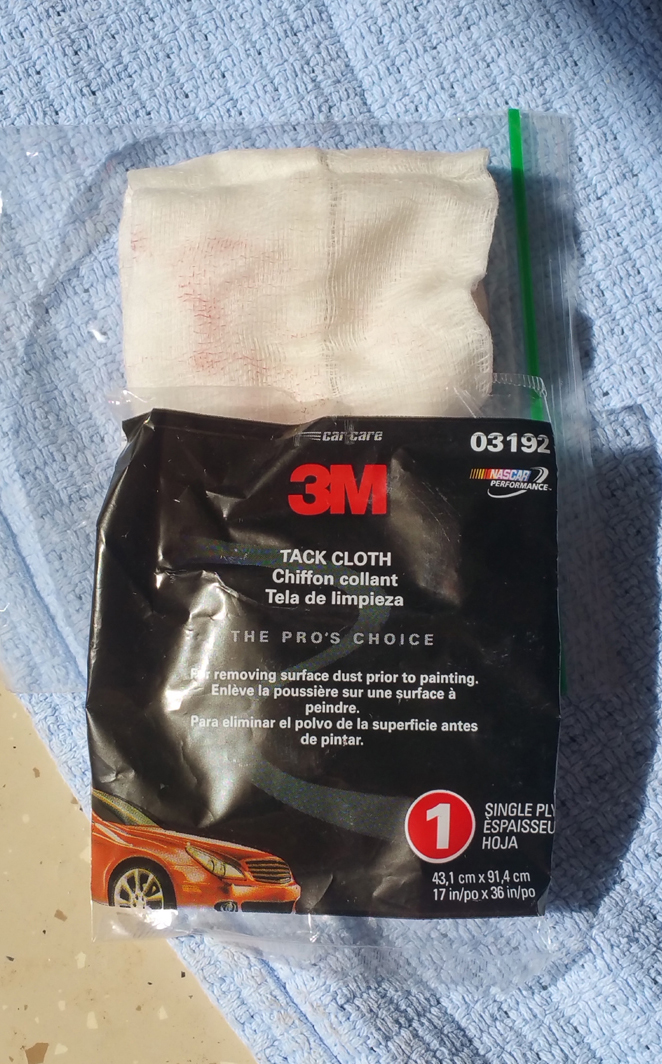
The last step before spraying is to wipe down with a tack cloth.
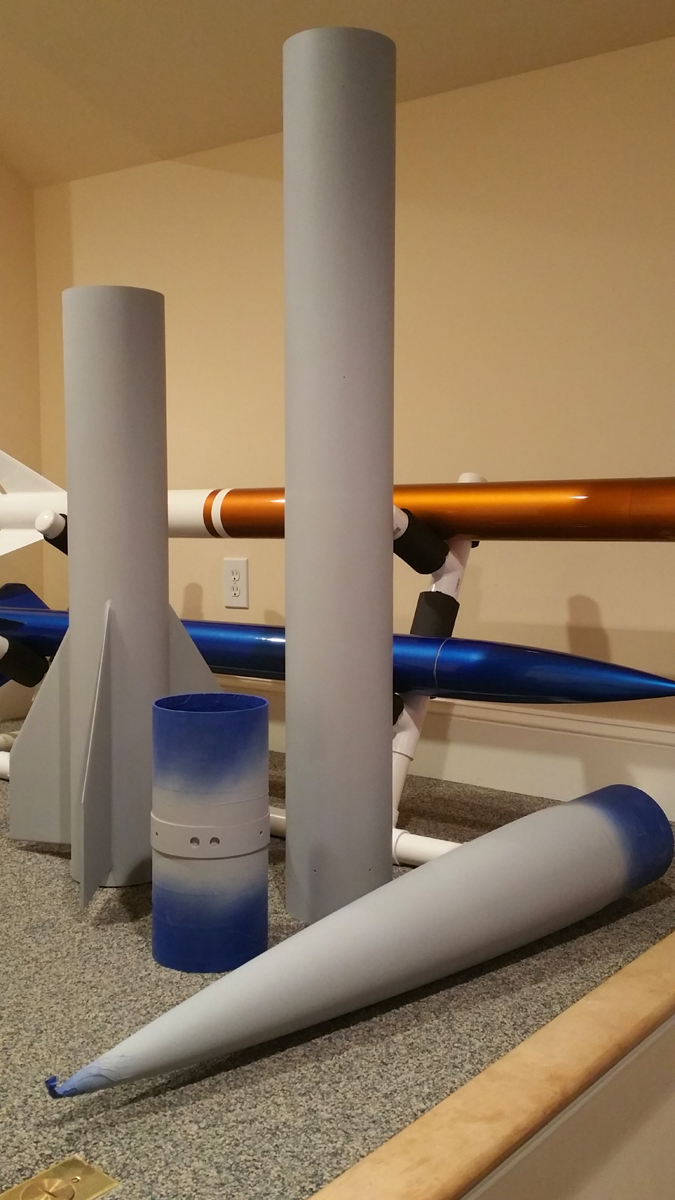
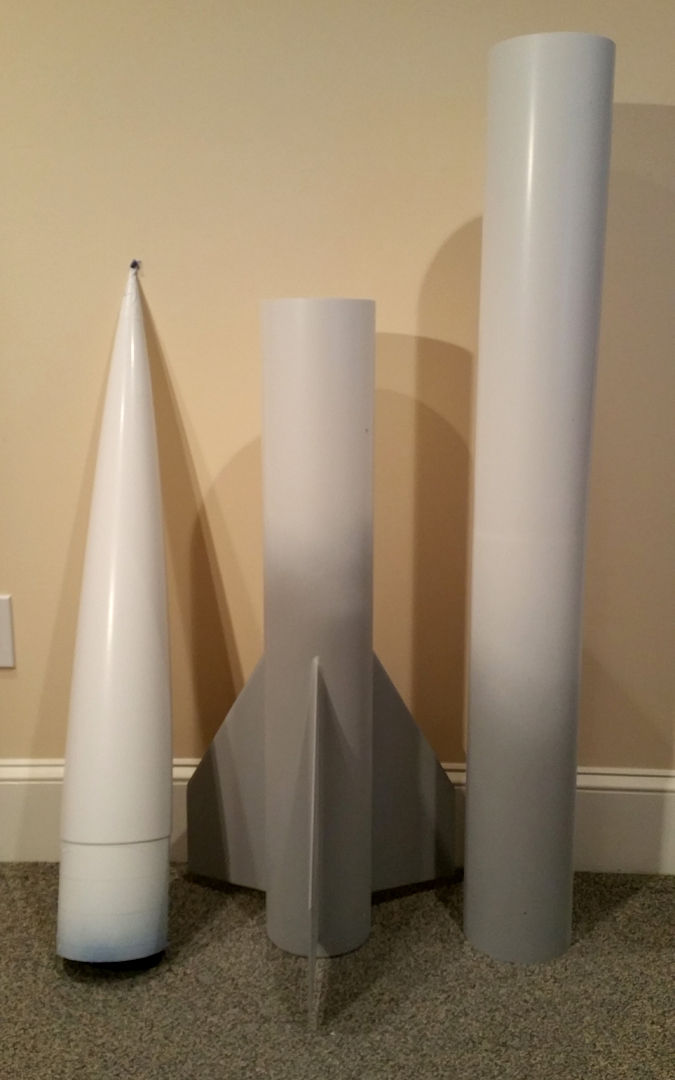
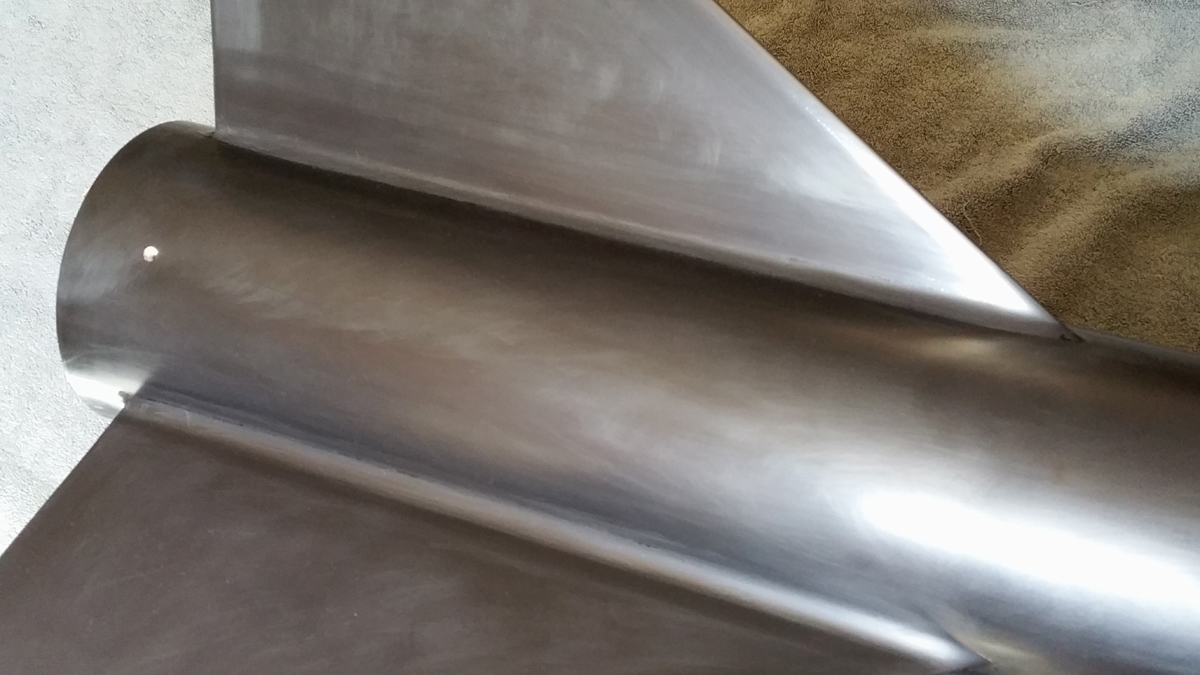
Here are all the parts after the first primer coat.
Sometimes spraying primer makes it easier to see imperfections that weren't noticeable before. On this rocket after spraying primer I could see some areas of the fillets that weren't quite smooth and needed more work.
So I spread some Bondo Glazing and Spot putty on the fillets and then sanded them again. Yes it's perfectly okay to put Bondo putty on top of primer.
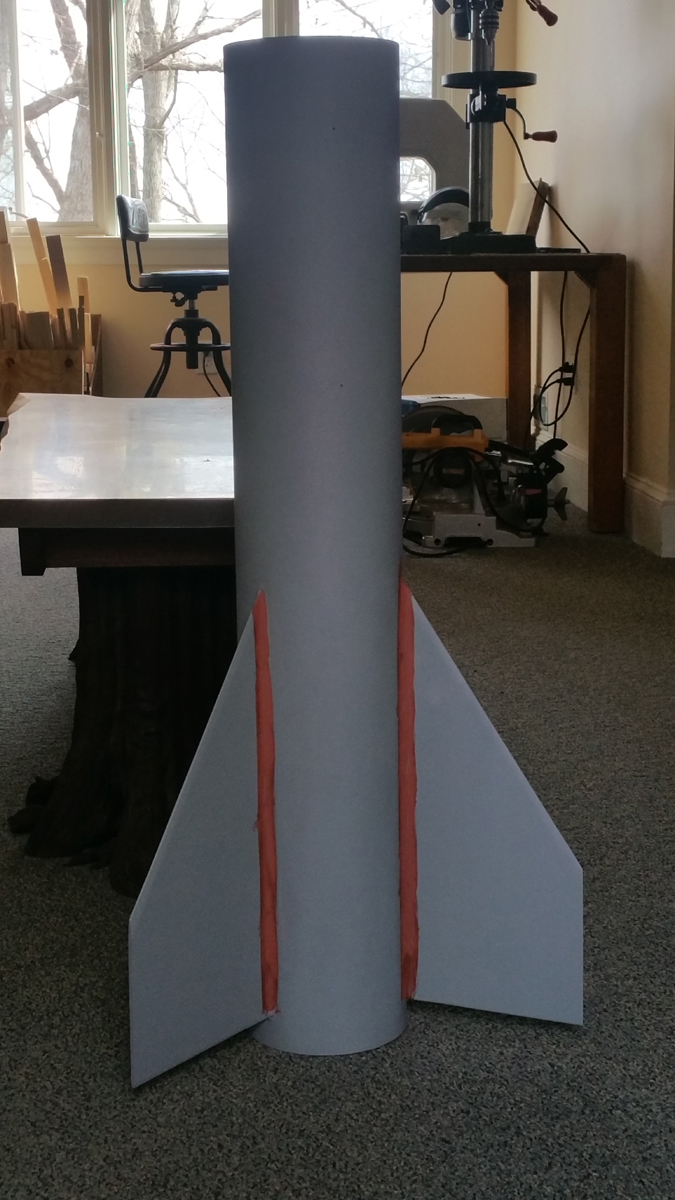
After sanding the Bondo the fillets now look perfect.
I sanded the first coat of primer with 400 grit sandpaper, then sprayed a second coat of filler primer and sanded it again with 400 grit. 400 grit is as fine as you need to go when sanding primer. Using finer sandpaper to sand the primer wouldn't make any difference because the color coat layer will be about 10 times thicker than the 400 grit scratch marks in the primer.
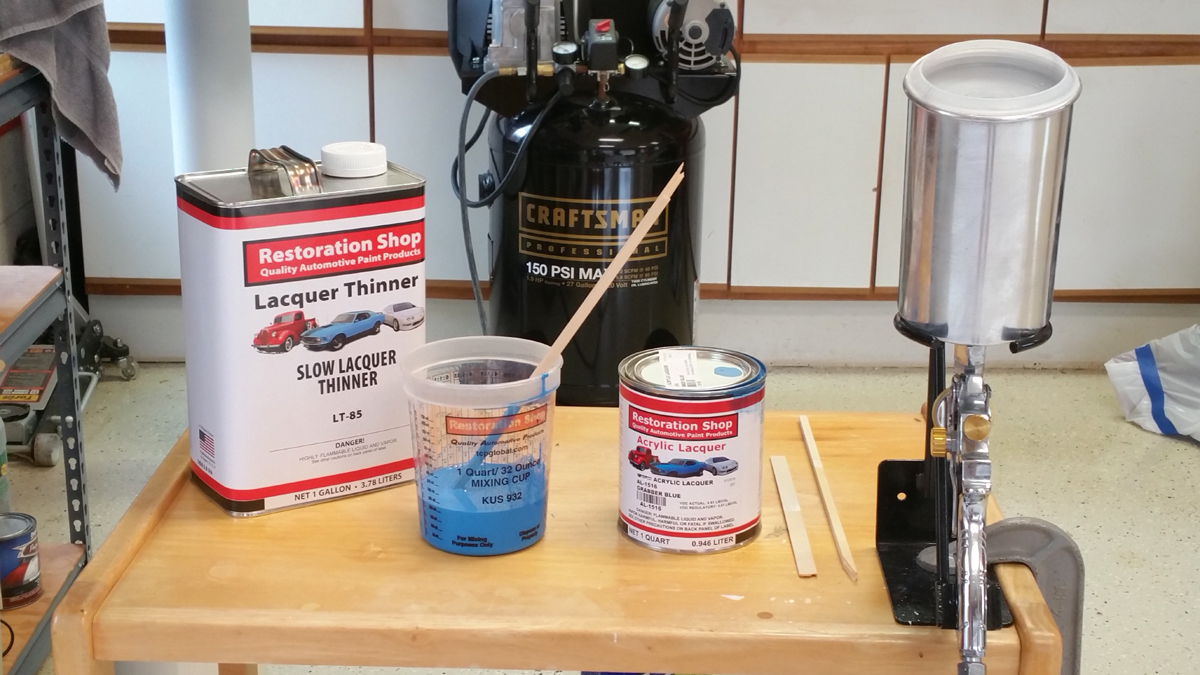
The paint that I will be using for this rocket is Restoration Shop automotive acrylic lacquer, which is sold by TPC Global.

I will be spraying using an air compressor and an HVLP gun with 1.3 mm tip. When using a paint gun and compressor you should have a water separator attached to the gun. Water in the air tank should also be drained after every use using the condensate valve at the bottom of the tank.
Some paint (like Duplicolor for example) comes ready to spray, but most automotive paint has to be thinned before spraying. This Restoration Shop lacquer must be mixed 1:1 with lacquer thinner before spraying. Different thinners are used depending on the temperature where you will be working. Fast thinner is for cold days and slow thinner is for warm days. This pic is actually from when I was mixing the blue, which was a warm day so I used slow thinner.
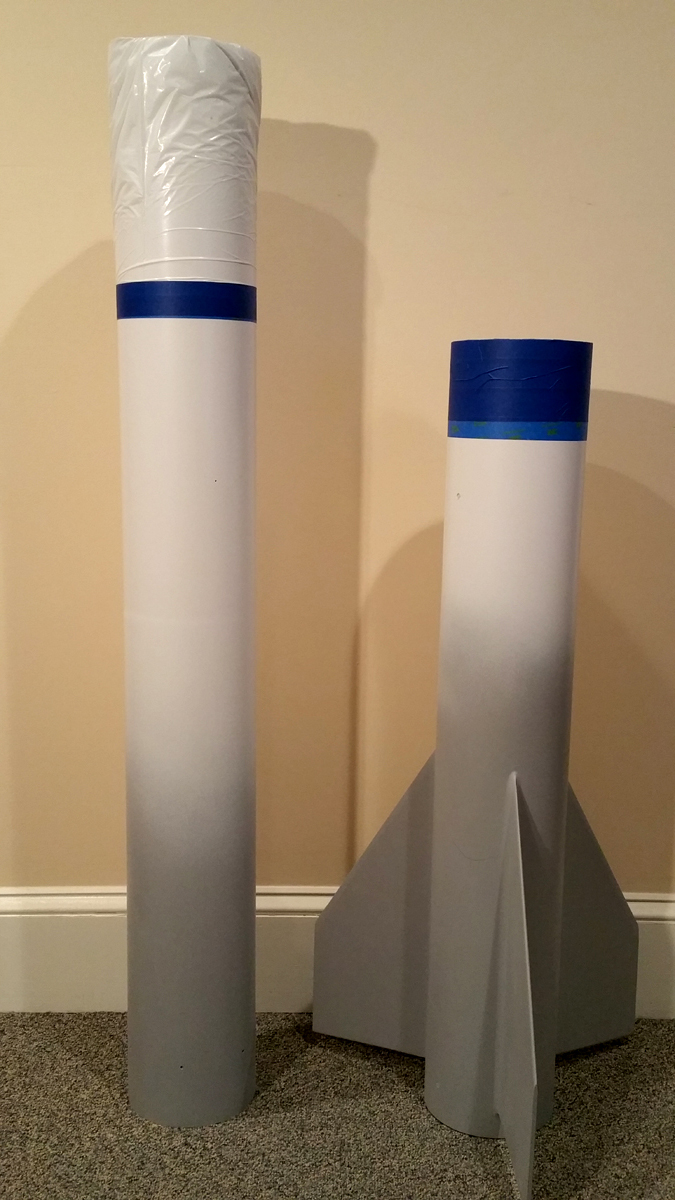
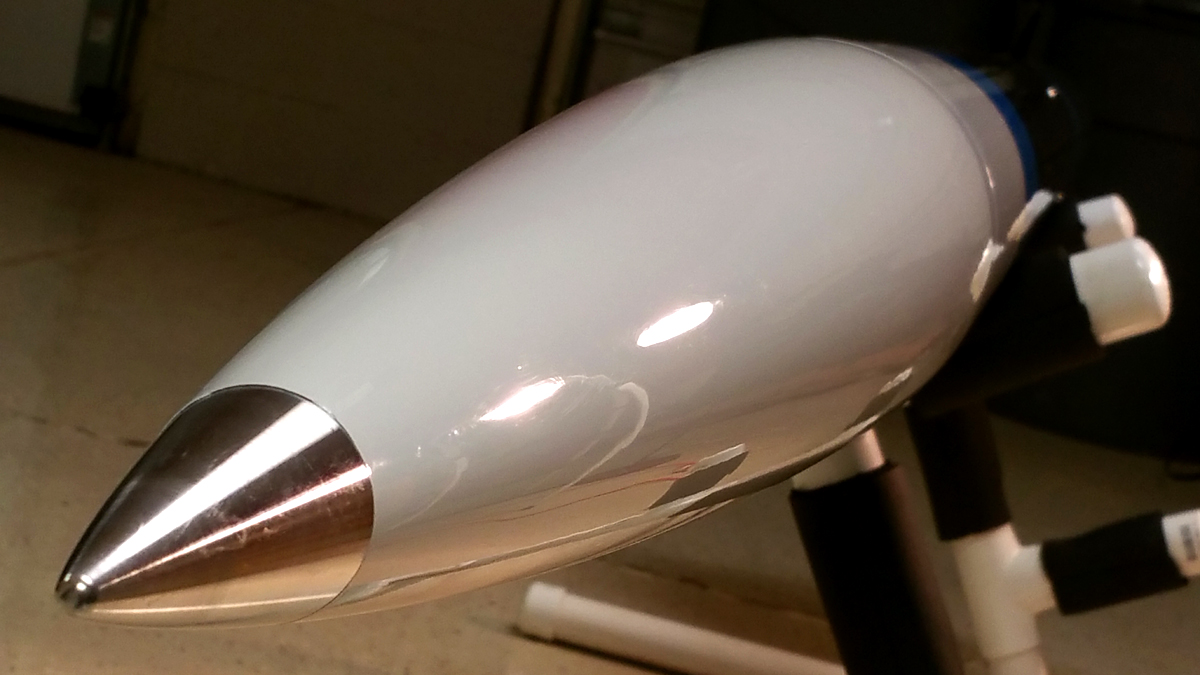
It's best to start with the lighter colors when possible so the white will go down first. The nose cone and the top of the payload tube will be white. And the two blue stripes will also need a white base coat so I will also spray white on the areas where the blue stripes will be. I'm not masking the white base coat for the blue stripes because that would just create unnecessary paint ridges that would require sanding.
To spray the nose cone, I hang it from the garage door opener and hope nobody pushes the button while I'm painting.

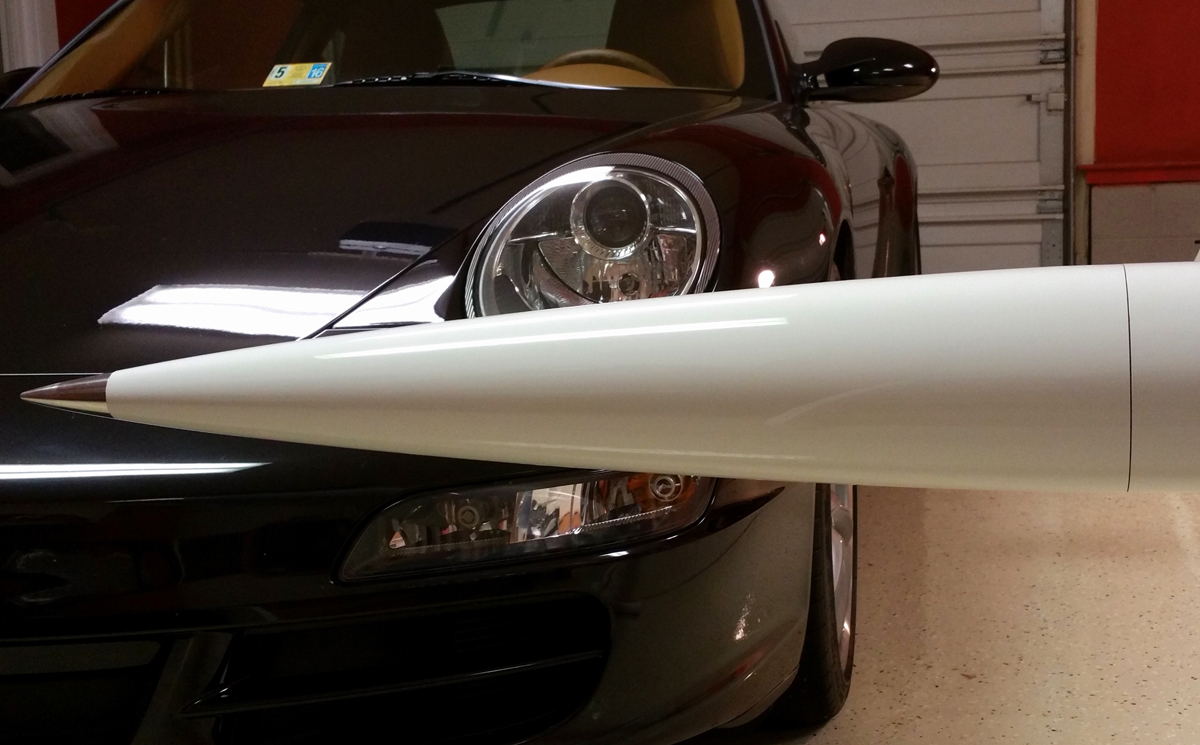
One nice thing about lacquer is that it dries fast and there is a short wait time between coat. I sprayed 3 coats of white, about 10 minutes apart. The first coat is always a light coat, followed by thicker wet coats.
The trick to minimizing orange peel is to make sure that the spray gun is adjusted properly. You want the final color coat to be as wet as possible without causing any runs or sags. I make some test spray passes on my big sheet of plywood first to be sure that the air pressure, spray pattern, and paint volume are just right. Then while spraying, keep the gun moving at a constant steady speed and constant distance.
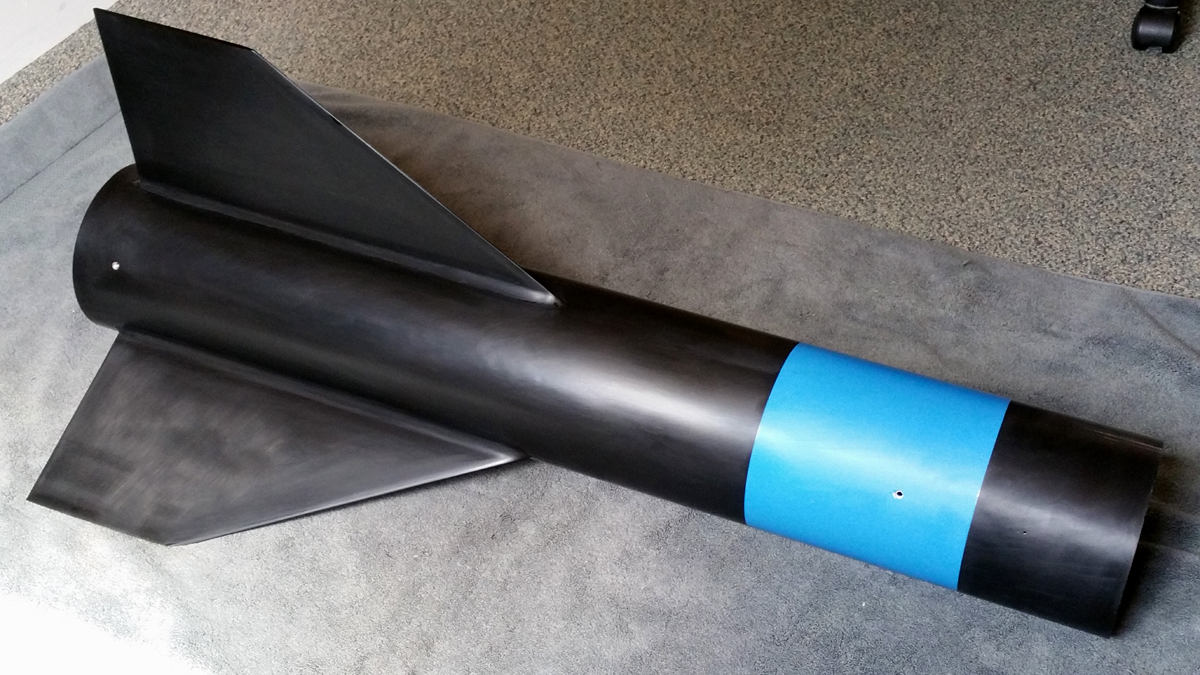
I waited until the next day and then masked for the blue stripes.
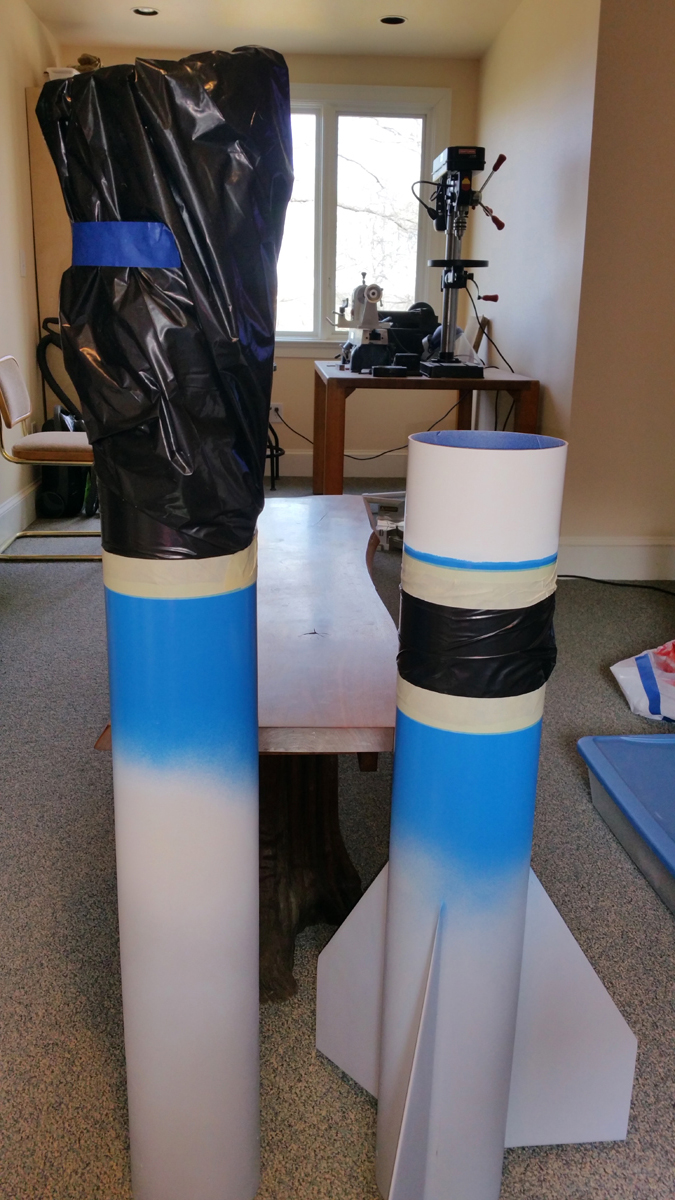
Here it is masked and ready for spraying the blue.
While spraying blue.
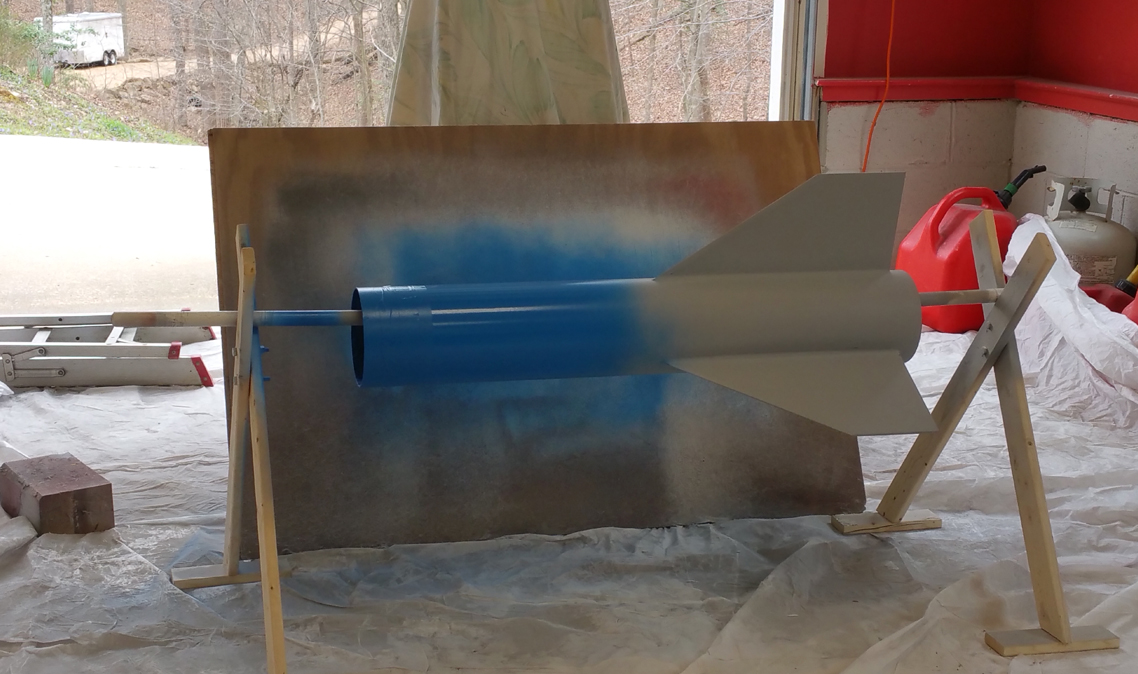
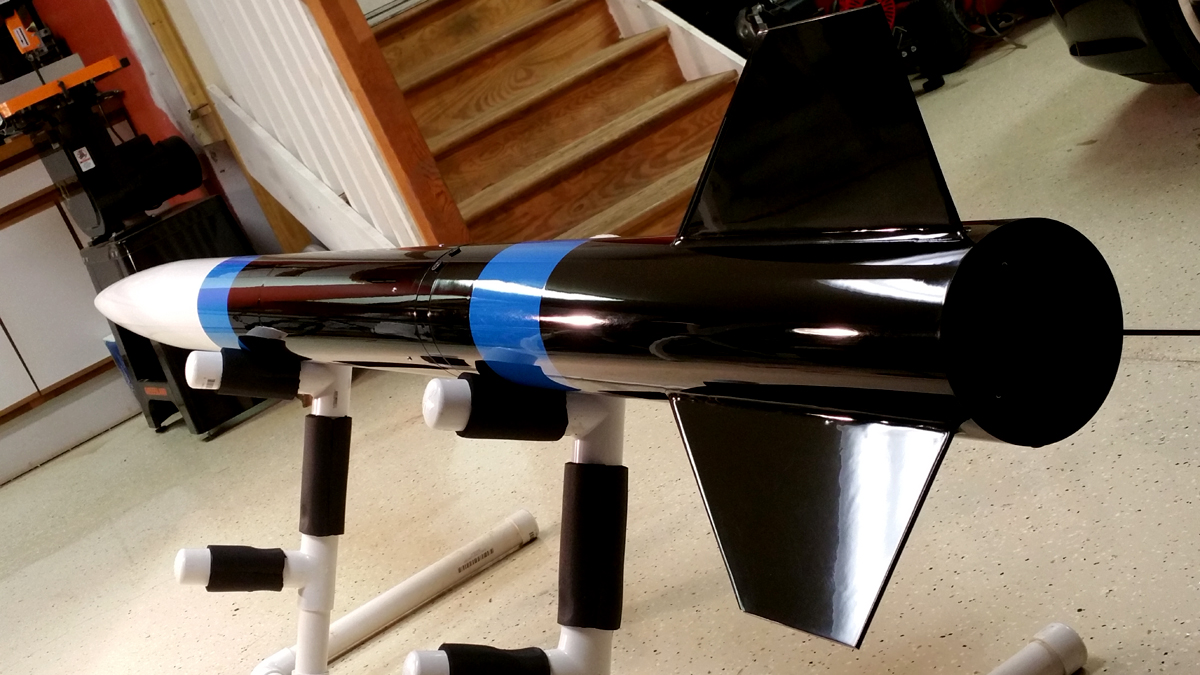
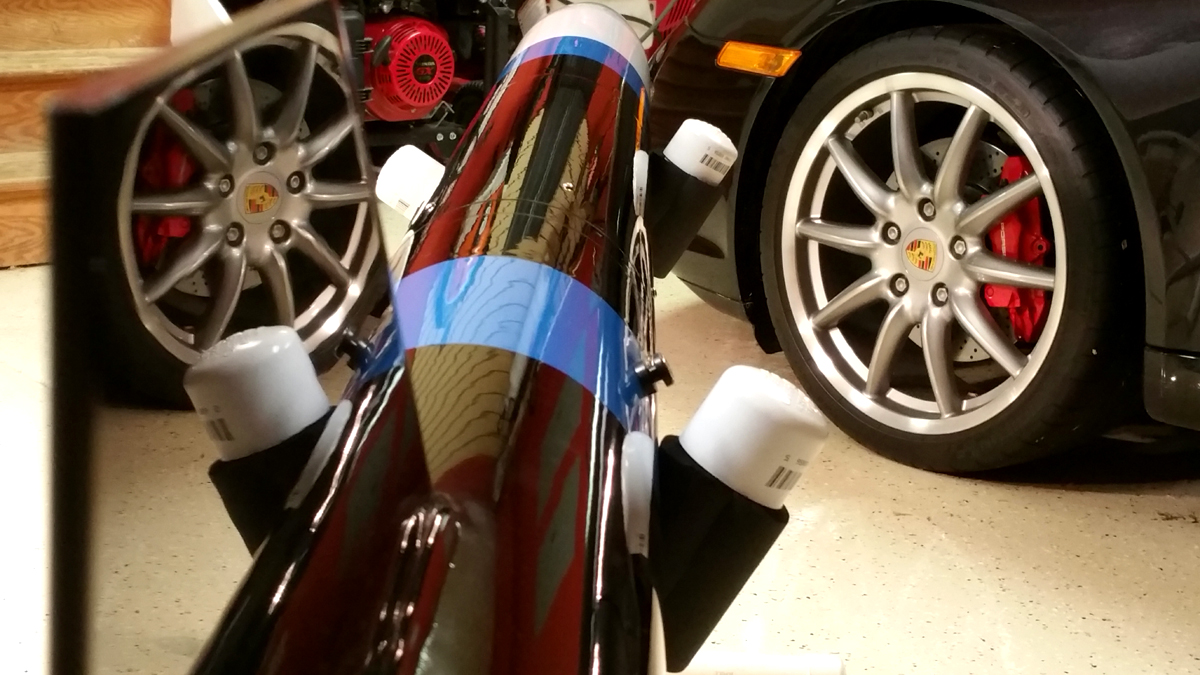
After spraying 3 coats of blue about 10 minutes apart.
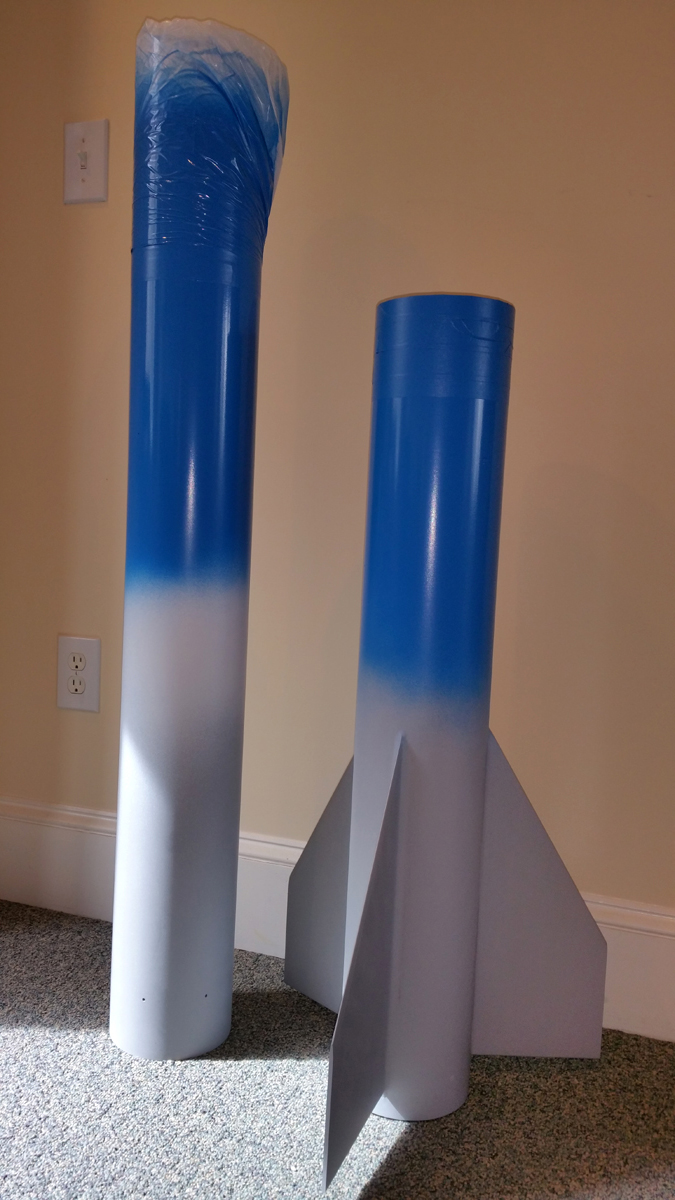
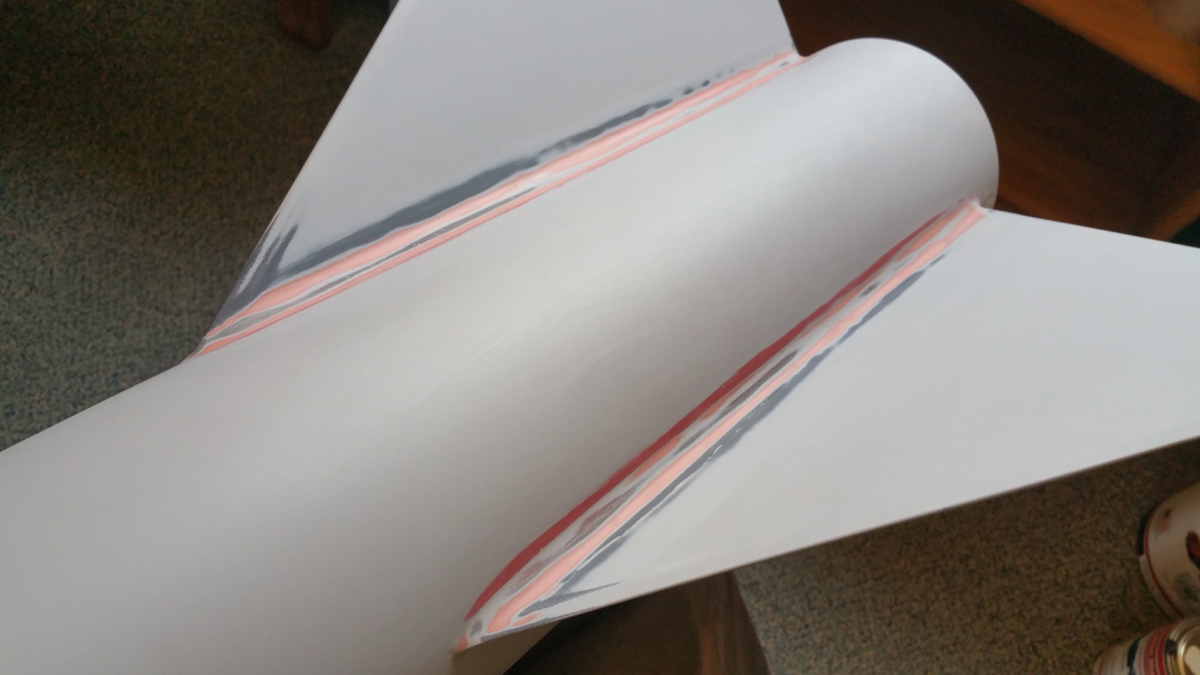
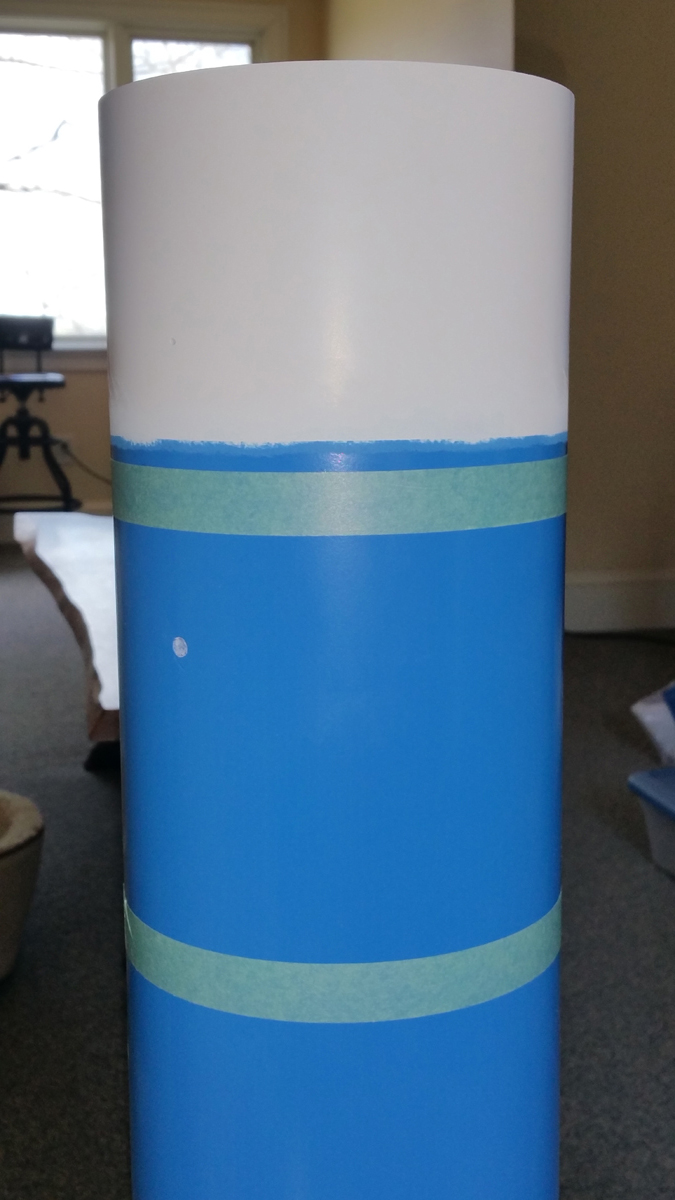
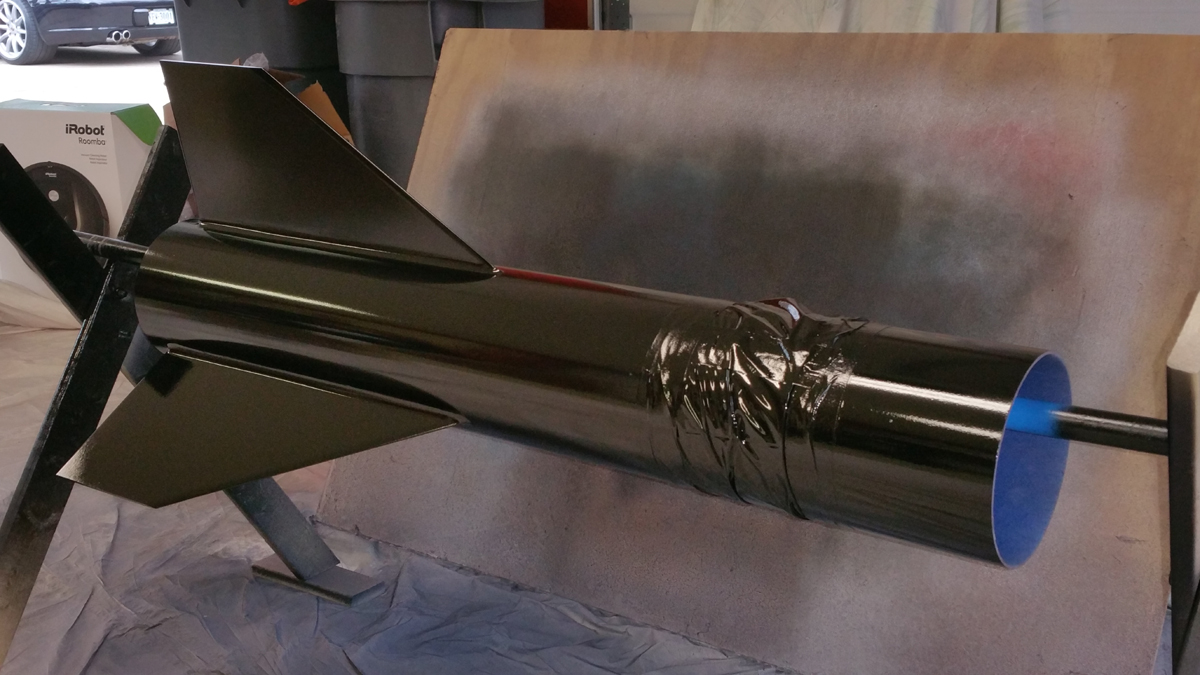
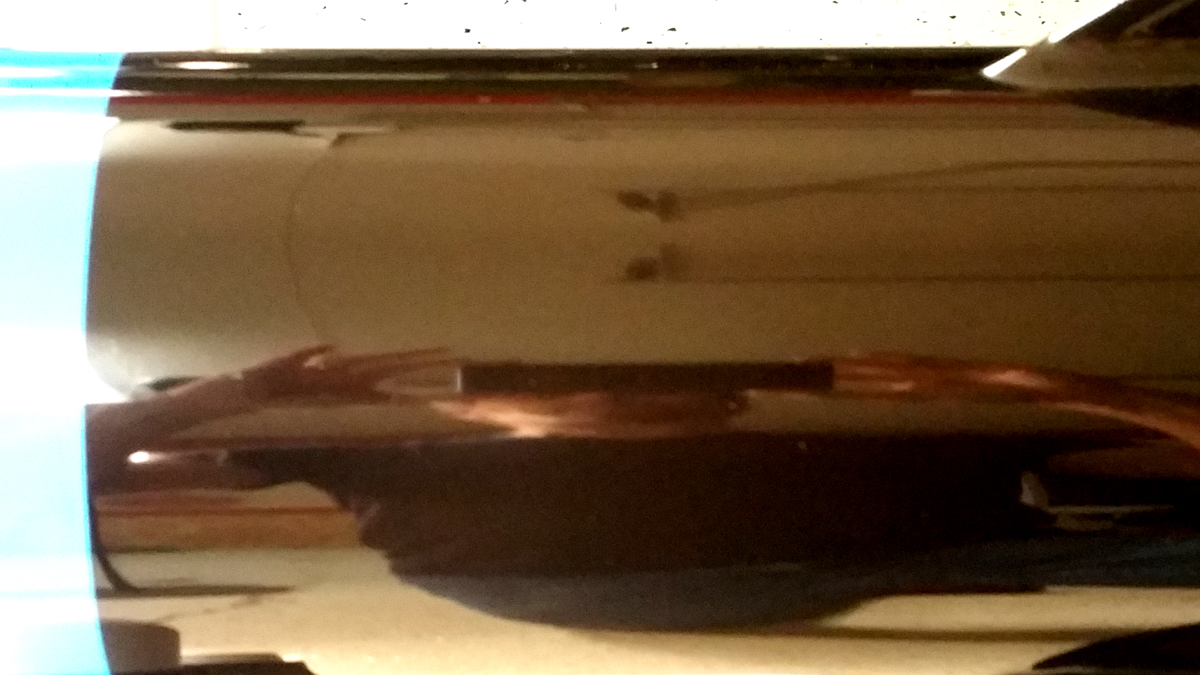
At this point I realized that I made a small mistake. I should not have masked the booster section at all before spraying blue. Since it will be black above and below the lower blue stripe, the lower section should not have been masked until spraying the black. Now I have a paint edge that needs to be sanded down before I continue, otherwise the ridge will be visible under the black paint. Here it is after sanding, problem fixed.

Here is the 3 color paint design that I did in OpenRocket. The blue stripes are Ford Mustang Grabber Blue.
But before we get started, a couple of things about spray paint safety. . .
You need to make sure that you are adequately protected. Use a paint mask with organic vapor cartridges. I always wear a full face respirator and nitrile gloves while spraying. If you paint in a garage or shed, keep a door open and a fan running. This is good enough for spraying normal enamel or lacquer but not for spraying catalyzed urethane enamel, which is spray paint that requires mixing in a hardener. All modern car paint is catalyzed urethane, but the hardener contains compounds that can do serious damage if it gets in your lungs. It can also be absorbed directly through any exposed skin and cause health problems. Spraying catalyzed urethane paint requires a full body suit and a supplied fresh air source.
Okay enough with the safety lecture.
I'll start at the point where I have finished the build and am ready to start painting. The first step is masking areas where I don't want any paint, like on the couplers, motor retainer, nosecone shoulder, or aluminum nosecone tip. I also mask the insides of the ends of the airframe and motor tubes. You can also see in this pic the extra two foot section of black airframe tube that I added to the payload section to stretch the rocket to ten feet tall.
I'll be painting with an HVLP gun and compressor, but for primer I still use Duplicolor filler primer in rattlecans. No special reason other that that's the primer that I've always used and it's always worked well for me. Since this is a fiberglass rocket there are no spirals or woodgrain to fill so filler primer really isn't necessary; ordinary primer would work fine. It took all 3 cans of primer to do 2 good coats on this rocket.
After painting is done, the rail buttons will be screwed into locknuts that are attached to the inside of the airframe tube. I plugged the rail button holes with tissue paper to prevent getting paint in the threads.
Here is the paint set up in my garage. In the background is part of my 240 yard long driveway. Shoveling that in the winter isn't fun.
The last step before spraying is to wipe down with a tack cloth.
Here are all the parts after the first primer coat.
Sometimes spraying primer makes it easier to see imperfections that weren't noticeable before. On this rocket after spraying primer I could see some areas of the fillets that weren't quite smooth and needed more work.
So I spread some Bondo Glazing and Spot putty on the fillets and then sanded them again. Yes it's perfectly okay to put Bondo putty on top of primer.
After sanding the Bondo the fillets now look perfect.
I sanded the first coat of primer with 400 grit sandpaper, then sprayed a second coat of filler primer and sanded it again with 400 grit. 400 grit is as fine as you need to go when sanding primer. Using finer sandpaper to sand the primer wouldn't make any difference because the color coat layer will be about 10 times thicker than the 400 grit scratch marks in the primer.
The paint that I will be using for this rocket is Restoration Shop automotive acrylic lacquer, which is sold by TPC Global.
I will be spraying using an air compressor and an HVLP gun with 1.3 mm tip. When using a paint gun and compressor you should have a water separator attached to the gun. Water in the air tank should also be drained after every use using the condensate valve at the bottom of the tank.
Some paint (like Duplicolor for example) comes ready to spray, but most automotive paint has to be thinned before spraying. This Restoration Shop lacquer must be mixed 1:1 with lacquer thinner before spraying. Different thinners are used depending on the temperature where you will be working. Fast thinner is for cold days and slow thinner is for warm days. This pic is actually from when I was mixing the blue, which was a warm day so I used slow thinner.
It's best to start with the lighter colors when possible so the white will go down first. The nose cone and the top of the payload tube will be white. And the two blue stripes will also need a white base coat so I will also spray white on the areas where the blue stripes will be. I'm not masking the white base coat for the blue stripes because that would just create unnecessary paint ridges that would require sanding.
To spray the nose cone, I hang it from the garage door opener and hope nobody pushes the button while I'm painting.
One nice thing about lacquer is that it dries fast and there is a short wait time between coat. I sprayed 3 coats of white, about 10 minutes apart. The first coat is always a light coat, followed by thicker wet coats.
The trick to minimizing orange peel is to make sure that the spray gun is adjusted properly. You want the final color coat to be as wet as possible without causing any runs or sags. I make some test spray passes on my big sheet of plywood first to be sure that the air pressure, spray pattern, and paint volume are just right. Then while spraying, keep the gun moving at a constant steady speed and constant distance.
I waited until the next day and then masked for the blue stripes.
Here it is masked and ready for spraying the blue.
While spraying blue.
After spraying 3 coats of blue about 10 minutes apart.
At this point I realized that I made a small mistake. I should not have masked the booster section at all before spraying blue. Since it will be black above and below the lower blue stripe, the lower section should not have been masked until spraying the black. Now I have a paint edge that needs to be sanded down before I continue, otherwise the ridge will be visible under the black paint. Here it is after sanding, problem fixed.
Last edited:

")
 Kurt
Kurt