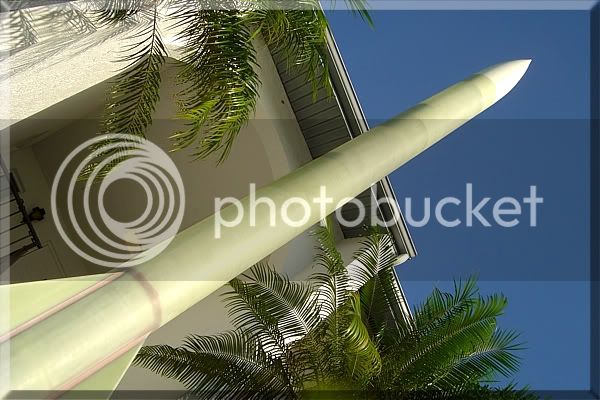
Ok, on to the nose!
After weighing each and every component, I input all of the measurements into Rocksim to come up with a very accurate representation of the nearly completed rocket.
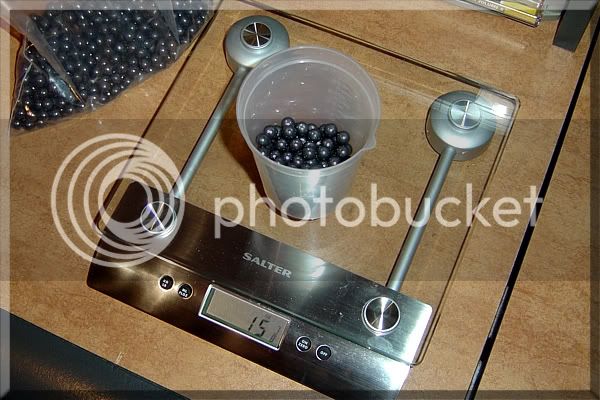
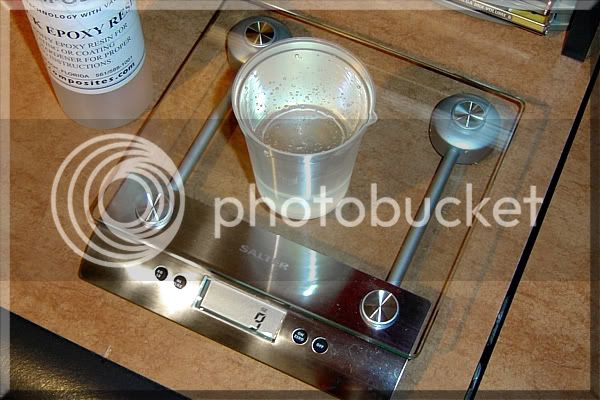
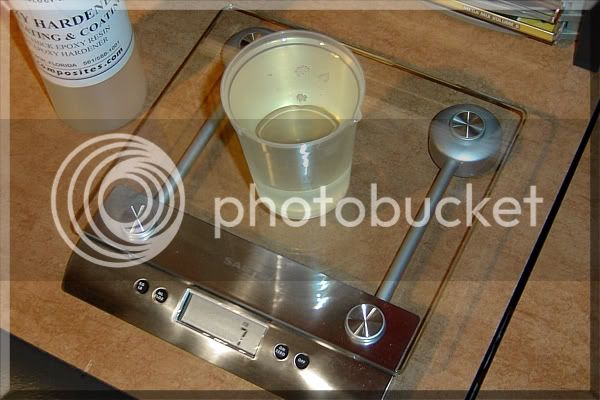
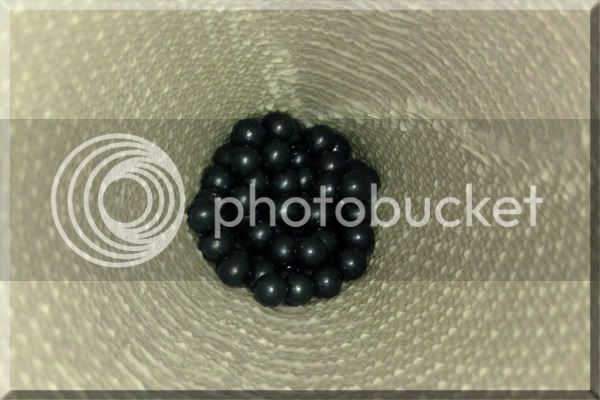
According to Rocksim, 2lbs (32oz) of noseweight will allow me to use any 98mm motor available, and still have a stable CP to CG ratio. For the additional weight, I decided to use 16oz. of lead shot, held in place with 16oz. of epoxy.
First, I measured out the lead shot and epoxy resin using my fiance's digital kitchen scale!
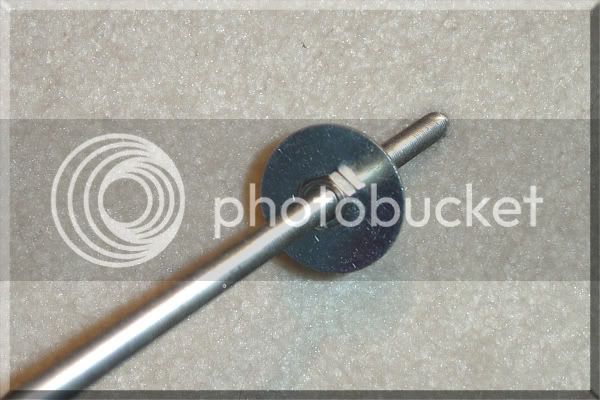
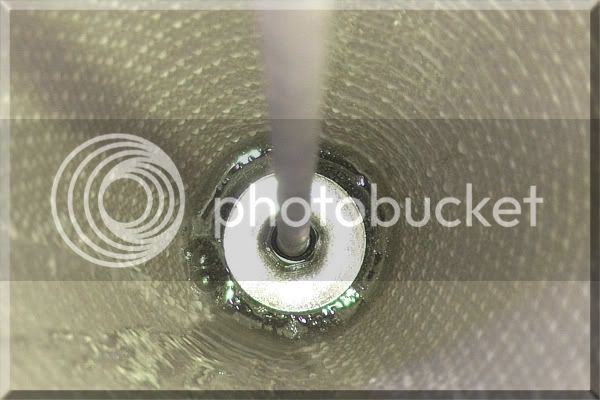
Next, I attached a large carriage washer to a piece of 5/16" all-thread. This end of the all-thread will get imbedded in the lead shot / epoxy resin mixture to anchor it securely into the tip of the nosecone:
I poured about half of the lead shot into the tip, followed by about half of the epoxy mixture...
Then the threaded rod went in...
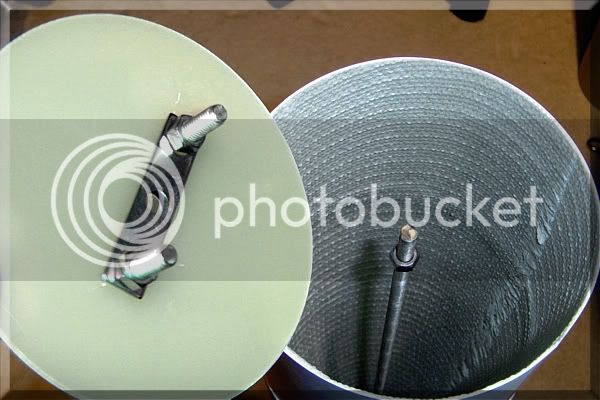
I followed this up by adding the rest of the lead shot and epoxy on top of the washer. The inside of the nosecone is extremely rough, with many hardened pieces of fiberglass strand poking about. This will offer an excellent surface to which the epoxy can bond.
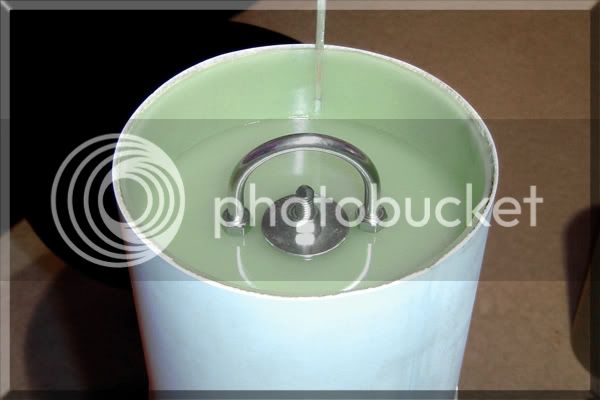
Next, I mounted a stainless steel u-bolt to the G10 nosecone bulkplate. A hole was drilled through the u-bolt's stainless steel backplate as well as the G10 bulkplate, to accomodate the threaded rod:
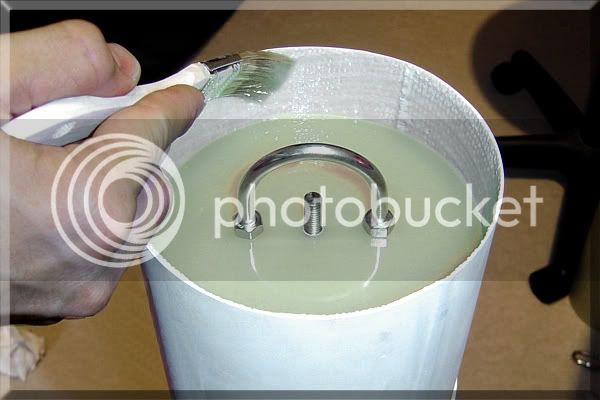
With the bulkplate set in pace, I brushed a layer of epoxy onto the inside edge of the nose cone's shoulder:
Last, I pressed one of my homemade retainer rings into place to further secure the bulkplate. A small wood shim was inserted to help apply pressure against the inside of the nosecone shoulder:
This marks the end of the construction phase...Woohoo!!! It was fun, and a great challenge, but living in an upstairs condo I am sure glad its over =)
Now I just have to drill a couple of pressure equalization vents, and a few holes for shear pins, and its on to painting =)


")