Any issues with priming/painting LOC nosecones?

The Rocketry Forum

Help Support The Rocketry Forum:

This site may earn a commission from merchant affiliate links, including eBay, Amazon, and others.

Bill S

Well-Known Member
Joined
Aug 6, 2019
Messages
1,720
Reaction score
1,435
I wanted to check in with you guys and ask if anyone has had problems priming/painting LOC nosecones? I was under the impression that polyethylene was hard to prime+paint.
 
Some of them can have some very intense mold markings and grooves. I've done several with good results. I use a long process but get very good results others may have better ways but to date I've had no cracking or peeling.

1. Wash thoroughly with soap and hot water.
2. Sand it down with 220 grit paper followed by a sanding of 320 grit paper.
3. Use the Bondo glazing putty to fill in any deep mold marks and grooves.
4. Sand down again with 320 grit paper.
5. Wipe the cone off using a tack cloth.
6. Give the cone a good coat of Bulldog Adhesion Promoter (Let Dry)
7. First coat of primer (Let Dry)
8. Sand with 320 grit paper and wipe with tack cloth.
9. Second coat of primer (Let Dry)
10. Sand 2nd coat with 320 or 400 grit paper and wipe with tack cloth.

By now it should be nice and smooth ready for it's first color coat.
 
Most discussions on this topic tend to cover:
  • cleaning
  • sanding
  • flame treatment
  • adhesion promoter
 
Last edited:
This is the adhesion promoter I have. Rustoleum makes one as well. I haven't used it yet, but intend to on my paint jobs this summer. It's a clear primer, so I would use it as a first coat and then follow up with my normal Rustoleum gray filler primer. I will often wet sane the filler primer to get a really smooth surface for the top coat(s).

1649367828633.png
 
220 paper, Rustoleum 2x primer and paint. No problems.
 
Thanks guys. I haven't had much luck finding the nosecone and tubing I need, so I am redesigning the rocket back to Estes BT-80s and their matching nosecone. :(
 
The trick to painting on some of these plastics is too not use too fine of sandpaper first on the nose cone. You want to rough it up good so that the primer has something to stick to. Then after a coat/coats of good primer, you sand the actual primer down to an acceptable smoothness. This will allow your top coats to stick very well to the primer which is now stuck well to the plastic.
 
I do it like this:

1. Wash
2. Scuff with 320
3. Spray with adhesion promoter
4. Spray with filler primer 2-3 coats
5. Sand with 400 to removed any fuzz from #2
6. Fill any depressions with spot glazing putty
7. Wet sand spot putty 400
8. Spray with filler primer 2 coats
9. Wet sand 600
10. Color coat paint

Since I started doing it that way, never had any chipping at all, even with some VERY hard landings.
 
I scuffed up the nosecone, then sanded it with 220, then 320 to get something resembling a modestly smooth surface, albiet with a lot of deep scratches/marks, etc. The quality of the plastic nosecone is not good, IMHO.

I then used some Duplicolor adhesion promoter, then primed it 2 coats of Duplicolor filler primer. Now it looks like this - YUCK:

NhjYjyq.jpg


I see a LOT of sanding in my future before I can even putty it up.

Would sanding with some 320 and then 400 grit be the way to go, or do something else? Or putty first, then sand?
 
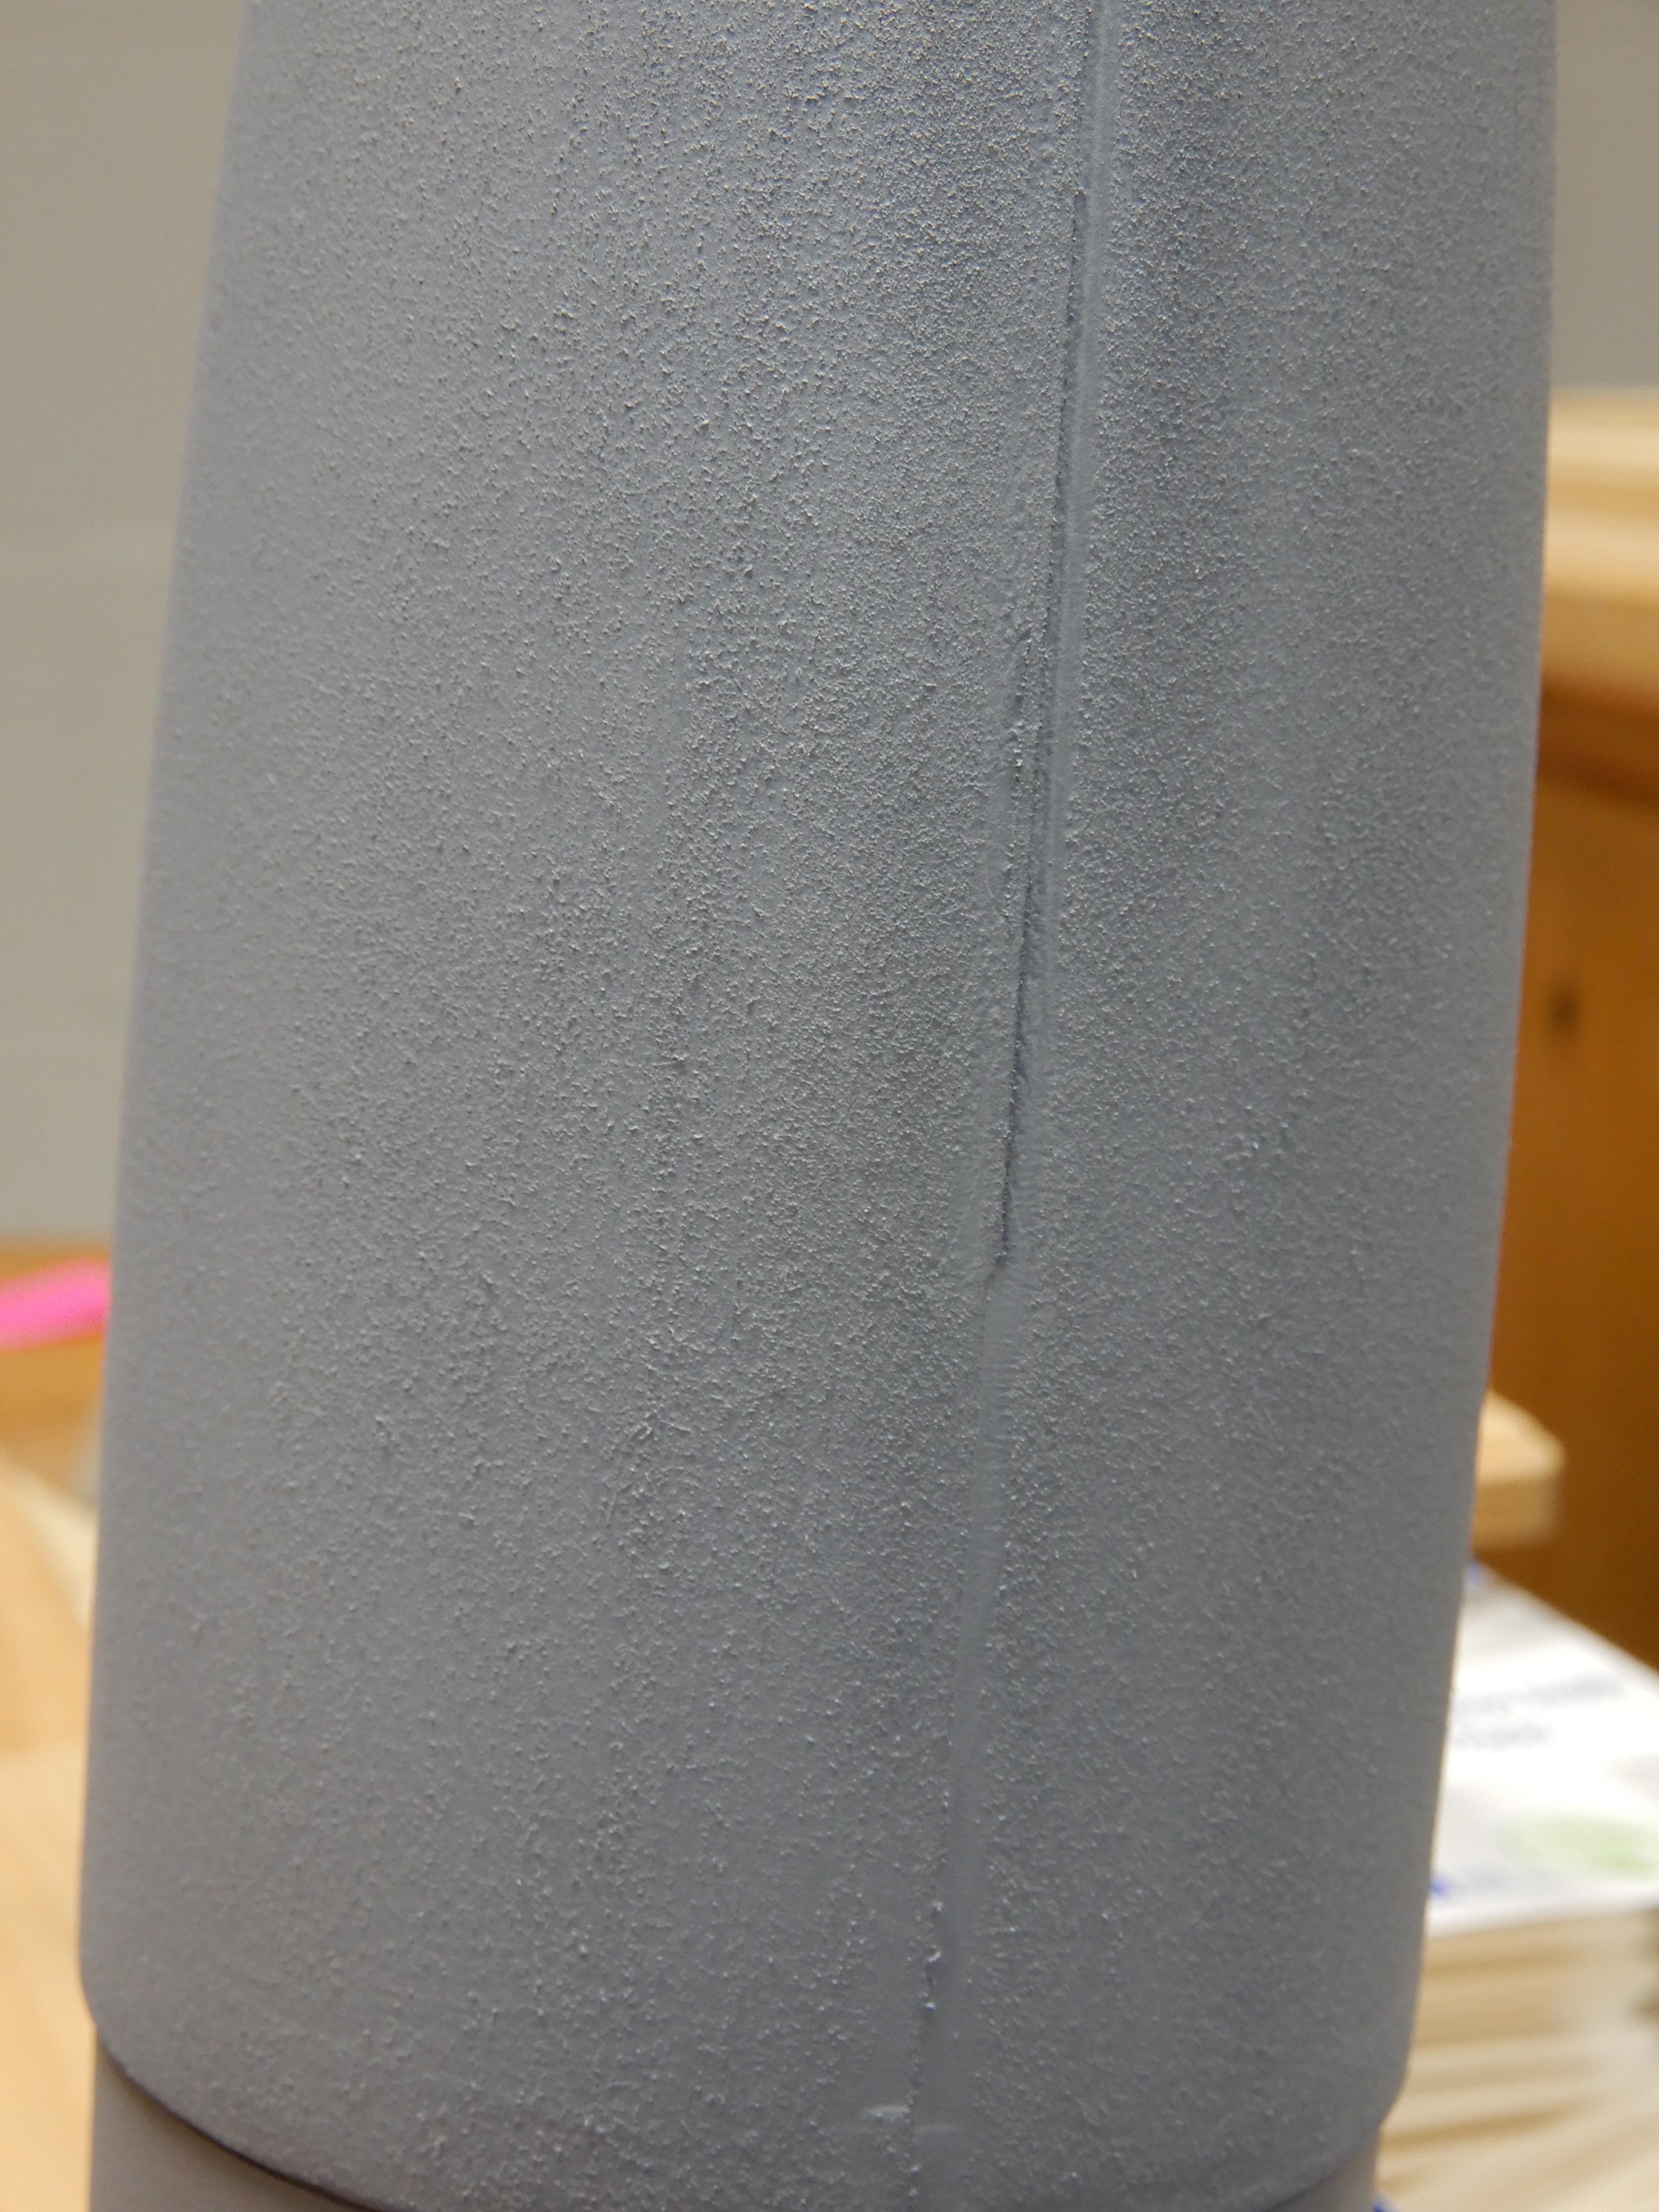
Yep, that is what my LOC nose cones look like after first coat. 220 grit smooths this out pretty quick.
Next is coat of primer, then sand with 200. Next spot putty, sand with 220. More putty if needed.
Another coat of primer, now sand with 320 more primer and sand with 400.
Finally start top coats and no more sanding unless I mess up.
 
Back
Top