Estes Space Eagle Build

The Rocketry Forum

Help Support The Rocketry Forum:

This site may earn a commission from merchant affiliate links, including eBay, Amazon, and others.

Leo

Well-Known Member
Joined
Aug 19, 2009
Messages
2,005
Reaction score
418
Location
Germany
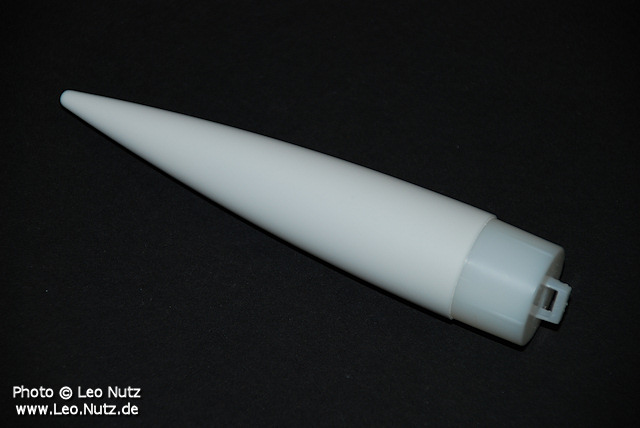
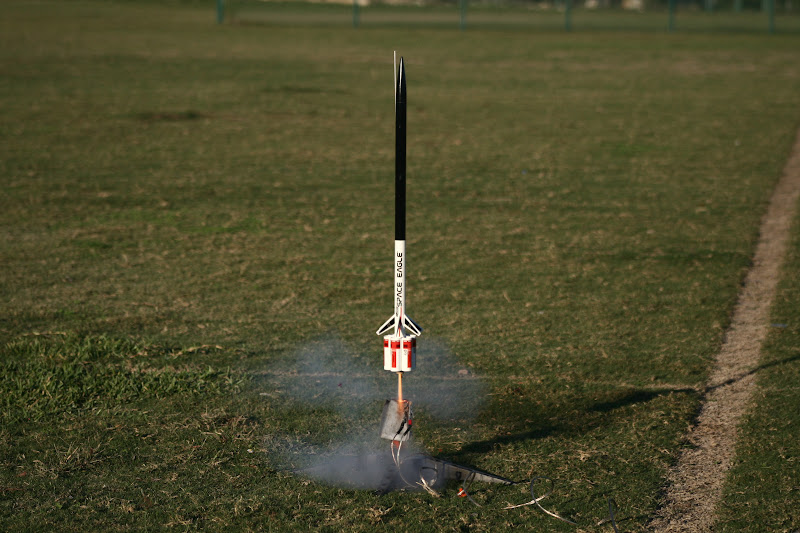
I've always liked the looks of this kit when it came out.

It cries to be made as a 2 stager however for this build I'm sticking with single stage.

I finally decided to open it and will document the build here.

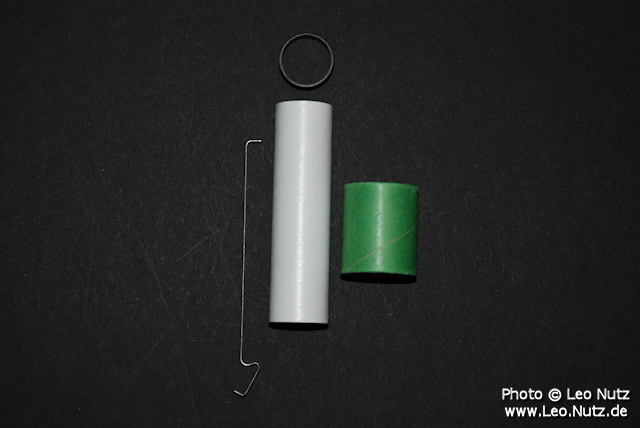
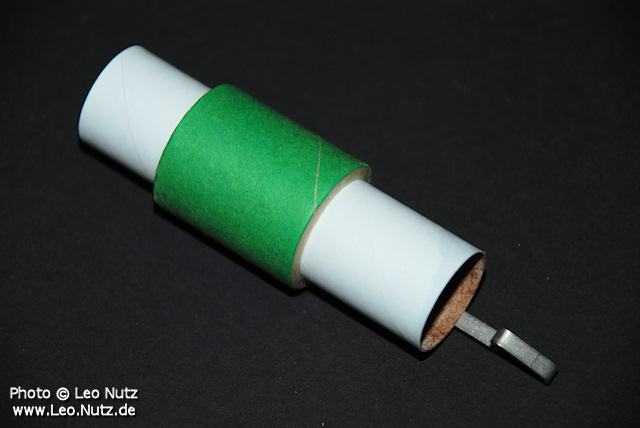
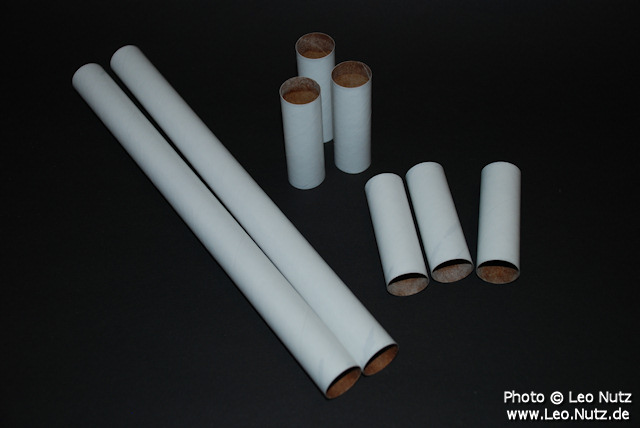
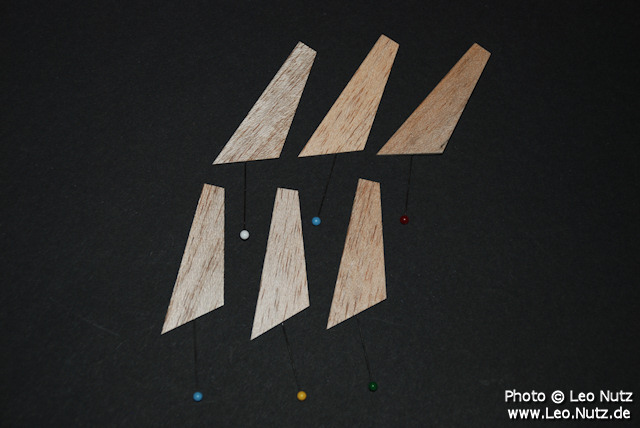
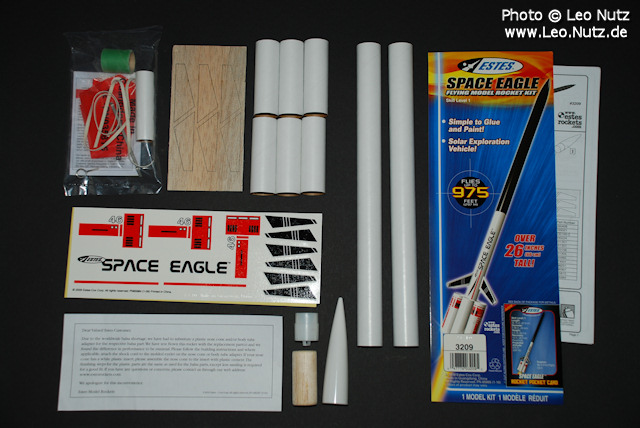
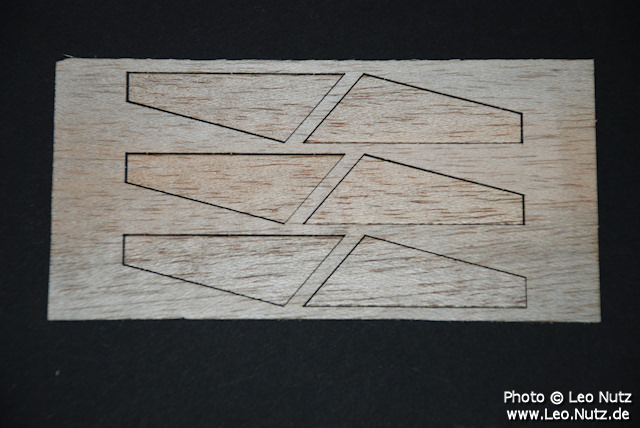
Here the layout of all contents:
estes_space_eagle_01.jpg
 
I built mine as a two stage rocket, providing my own OEM section of BT-50 for the booster, rather than cutting the supplied tubes. This keeps the sustainer from being shorter thus reducing the space for wadding and chute as well as decreasing its stability.

The problems with this kit as a two stage rocket are; 1: The booster, with its tube fins, drops like a rock albeit a light one, with no spin, no flutter and no tumble. 2: The sustainer now has six thin delicate fins hanging well below the body tube making them prone to damage. Though this hasn’t occurred on any of my flights as of yet.
 
Leo ,

I`m glad you are doing a build thread of this kit ,as I have been thinking of getting one for some time now.

Please inspire me and post plenty of pictures and detail please !

Thankyou sir !


Paul T
 
I built mine as a two stage rocket, providing my own OEM section of BT-50 for the booster, rather than cutting the supplied tubes. This keeps the sustainer from being shorter thus reducing the space for wadding and chute as well as decreasing its stability.

The problems with this kit as a two stage rocket are; 1: The booster, with its tube fins, drops like a rock albeit a light one, with no spin, no flutter and no tumble. 2: The sustainer now has six thin delicate fins hanging well below the body tube making them prone to damage. Though this hasn’t occurred on any of my flights as of yet.

Thanks for this info :)
 
Leo ,

I`m glad you are doing a build thread of this kit ,as I have been thinking of getting one for some time now.

Please inspire me and post plenty of pictures and detail please !

Thankyou sir !


Paul T

Paul, I'll do a step by step in every detail :)

Let's start of with the easiest part, the nose cone.

First I lightly sanded the bottom end of the cone to make it flat and even.
Then I sanded both pieces where the glue will get in contact.
After the glue dried I sanded the whole cone with 400 grit sandpaper.

The finished nose cone:
estes_space_eagle_02.jpg
 
Here is the parts layout of the engine mount assembly:
estes_space_eagle_03.jpg


Before I started putting it together I took the engine tube and applied CA glue to the inside bottom end to give it more strength.
After the CA had dried I sanded the inside smooth and sanded the bottom end even.
The rest was done according to instructions.

Pictured the finished engine mount assemlby:
estes_space_eagle_04.jpg
 
Now to prepare the body tubes.

Firstly I sand the inside ends of every body tube. Then I soak the ends with CA glue. I then sand the inside ends again so everything comes out smooth.

All tubes done:
estes_space_eagle_05.jpg


Crisp, sharp and even :cool: (close-up):
estes_space_eagle_06.jpg
 
Last edited:
My kit came with some real tough balsa wood which is nice because it can be sanded more precisely.

After sanding the whole sheet with 320 grit sandpaper I stacked them together and sanded all edges flat. Then I sanded the leading edges round.

All fins ready to be applied to the body tube:
estes_space_eagle_07.jpg
 
Leo ,I`ve noticed that also with the Estes kits I have built lately ,that the Balsa fin stock is of good hard,dense nature.

Sanding and filling Balsa makes things go a lot easier ,and no need to worry about fingernail "half moon" when you touch it LOL

Are there two sheets of decals ?Nice photographs by the way.


Paul T
 
...
Are there two sheets of decals ?
...

Paul T

Paul, that's the first thing I checked. Unfortunately the kit comes with only 1 decal sheet. This means not all fins will have a decal on them :sad:

However, the decals in this kit are very nice compaired to the ones Estes has in the newer its.
 
Paul, that's the first thing I checked. Unfortunately the kit comes with only 1 decal sheet. This means not all fins will have a decal on them :sad:

However, the decals in this kit are very nice compaired to the ones Estes has in the newer its.

That`s what I was wondering ,as i saw the six sets of fins but only enough decals to do 3 sets.Could this be a mistake you think ?

When I built the QCC Explorer ,the decals for the intakes were all alike ,instead of being mirror images of themselves ,they you basically had decals for right hand intakes only.I had to re-cut them all to have the proper angles and make all the same length.

But they were nice to work with.

Cheers

Paul T
 
Space Eagle is a cool little rocket:cool: I have built one..Flies nicely too on Estes C6-5's..For some reason mine didn't like the Quest C6-5 I put in it for it's 2nd flight tho:confused2:
 
Looks good Leo. I've been thinking of doing the 2 stage version with mine..........
 
I scanned the decals,made a duplicate sheet (with flipped fin decals), and made it a 2-stager to end up with this:

IMG_3196.JPG


Looks a lot better with symmetrical decals.

FC
 
Last edited:
Beautiful FC!

I might go the same route with the decals.

Maybe John Boren can chime in as to why Estes only made them one-sided even though the face card shows them on both sides.
 
Indeed gentlemen ,it looks silly without all the fins not having them.

Paul T
 
It would be rather difficult to sand them smooth when glued to the body tube. So I decided to add the sanding sealer first.

Here is the way I prepared the 6 small fins.

Pictured each fin "pinned":
estes_space_eagle_08.jpg


I then added one coat of sanding sealer with a soft brush. You could also submerge them in the bottle.

After all was dry I placed them in the balsa die cut sheet and using a block with 400 grit sandpaper sanded them smooth.

estes_space_eagle_09.jpg


I repeated the step one more time.

After that they came out silky smooth ready to be glue to the body tube.

estes_space_eagle_10.jpg


Can't be done any easier me thinks.

Ummm...That is a great idea. I've always kept the "tree", but never really used it. Now I feel like such a tard. Thank for that tip.
 
Ummm...That is a great idea. I've always kept the "tree", but never really used it. Now I feel like such a tard. Thank for that tip.

I`ve always sealed and sanded fins before gluing to the body tube ,but never thought of putting them back into the cut sheet and sanding....good idea !

Leo ,is the Balsa hard or soft ?


Paul T
 
humm, this is kinda a neat kit. They sure have made a lot of neat kits lately.


TA
 
Ummm...That is a great idea. I've always kept the "tree", but never really used it. Now I feel like such a tard. Thank for that tip.

Actually, I seal the fins before I cut them out of the sheet. Using a sanding block makes it fast and easy. Then after cutting them out, you can seal and sand the edges separately. Technique only...

FC
 
I tried that and it didn't work so well for me. The sealer gets into the gap and is harder than the wood. It was a pain to get the fins of the sheet afterwards.
 
I just realized, I use Elmer's FnF, so it doesn't have that issue...but it technically doesn't 'seal' the fins either.

FC
 
I just did a search and found this: 2 Stage Space Eagle


That would be mine; though it has since crashed and crunched the forward section of the sustainer stage.

I rebuilt it; “Space Eagle II. Mk. 1 Md. 2” with an expanded (BT-55) mid section, for the upper stage, giving more room for chute/wadding. It then reduces back to a BT-50 with a new balsa nosecone.

Never thought I’d see a low power rocket crash that could crack a plastic nosecone.
 
Back
Top