You are using an out of date browser. It may not display this or other websites correctly.
You should upgrade or use an alternative browser.
You should upgrade or use an alternative browser.
Estes-Shuttle: Build
- Thread starter BSNW
- Start date
-
- Tags
- estes shuttle


Help Support The Rocketry Forum:
This site may earn a commission from merchant affiliate
links, including eBay, Amazon, and others.
GlenP
Well-Known Member
- Joined
- Oct 3, 2014
- Messages
- 3,066
- Reaction score
- 1,580
Those large fins on the main tank are probably sized big enough to keep this flying straight. Without the extra drag opposite the glider, it may have a curved flight path biased towards the orbiter but still be stable. The Dr. Zooch shuttle uses modest sized flame fins, and has an asymmetric frontal drag profile, it tends to arc over a little belly up towards the orbiter side, though it has an off-center weight in the nose to compensate. But, that's pretty much the flight profile of the NASA Space Shuttle for orbital insertion anyway, so this will probably be more realistic!
Nytrunner
Pop lugs, not drugs
Hey, you painted a Buran!
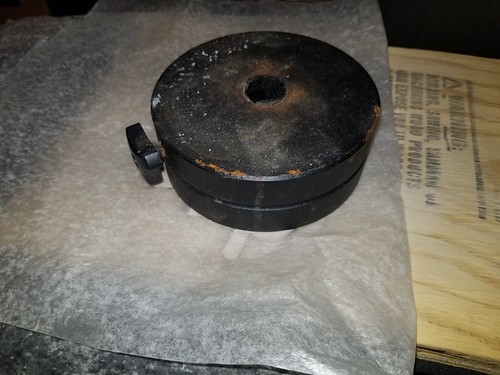
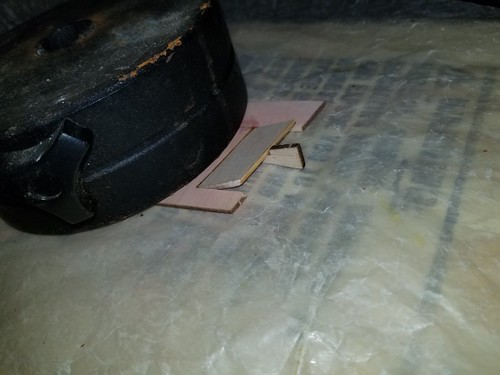
BSNW, where did you get the flat Kevlar from? I've looking for some.Instead of using the Estes shock cord mount...I like to use a small Kevlar lanyard that is glued to the inside of the rocket. It enables me to change out the shock cord and it lasts a whole lot longer than the rubber band!! Below is how I do it....pretty straight forward. If I had a smaller diameter piece....I would have attached it to the fore centering ring. BUT for this size rocket, it is "Tomato--Tomata" Either way...it works.
View attachment 405111
View attachment 405113
BSNW
Well-Known Member
- Joined
- Jan 2, 2017
- Messages
- 982
- Reaction score
- 634
BSNW, where did you get the flat Kevlar from? I've looking for some.
I got the stuff I currently have from a friend. But you can get it from Top Flight Recovery or from Sirius Rocketry.
Thanks
Andrew
- Joined
- Aug 27, 2011
- Messages
- 11,618
- Reaction score
- 6,258

Don't expect any long flat glides with this puppy.
More like a controlled fall. Steep glide angle.
.
I think the term you are looking for is
“Falling with Style!”
Spectacular finish on this bird! fly it once (on a windless day in a big grassy field!) and then make it a hanger queen.
If it flies well, build another with a 10 foot finish and fly THAT one until the wings fall off.
- Joined
- Jun 4, 2019
- Messages
- 275
- Reaction score
- 59
Thanks for your build thread. I just started one of these yesterday.
One thing I found right away, while building the glider part, is the first and smallest formers is extremely fragile. I strongly suggest make sure the center hole is cut out and sanded for a good fit to the body tube BEFORE removing it from the balsa plank! Also dont sand it or the slots until after it has been glued to the body tube.
I did not and spent a lot of time trying to glue the darn thing back together.
if it doesn't it sure will look great trying! WOW nice build ...makes me want to tackle building one! Thanks for sharing
BSNW
Well-Known Member
- Joined
- Jan 2, 2017
- Messages
- 982
- Reaction score
- 634
Thanks for your build thread. I just started one of these yesterday.
One thing I found right away, while building the glider part, is the first and smallest formers is extremely fragile. I strongly suggest make sure the center hole is cut out and sanded for a good fit to the body tube BEFORE removing it from the balsa plank! Also dont sand it or the slots until after it has been glued to the body tube.
I did not and spent a lot of time trying to glue the darn thing back together.
Yea, I learned the same thing! Please feel free to post photos of your build to this thread if you want. It would be cool to see your build as well!! Thanks for your input!
Andrew.
BSNW
Well-Known Member
- Joined
- Jan 2, 2017
- Messages
- 982
- Reaction score
- 634
if it doesn't it sure will look great trying! WOW nice build ...makes me want to tackle building one! Thanks for sharing
Thank you for your kind reply. You will LOVE this kit. John B. from Estes told me that the glider does indeed glide well when trimmed properly. He has had some pretty long glides on his.
Andrew
- Joined
- Jun 4, 2019
- Messages
- 275
- Reaction score
- 59
Yea, I learned the same thing! Please feel free to post photos of your build to this thread if you want. It would be cool to see your build as well!! Thanks for your input!
Andrew.
Sure why not! Wont be any where near as nice as yours but I noticed you omitted some of the steps for the glider part. Since I am just getting started on it...
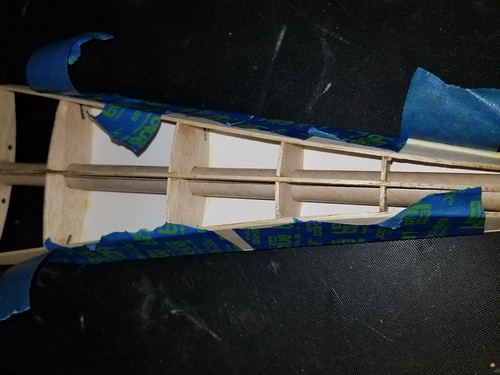
Glider framed out. Top and bottom stringers glued in place waiting for the glue to cure. I used wood glue so I had time to make sure everything lined up. Will probably use CA for the rest.
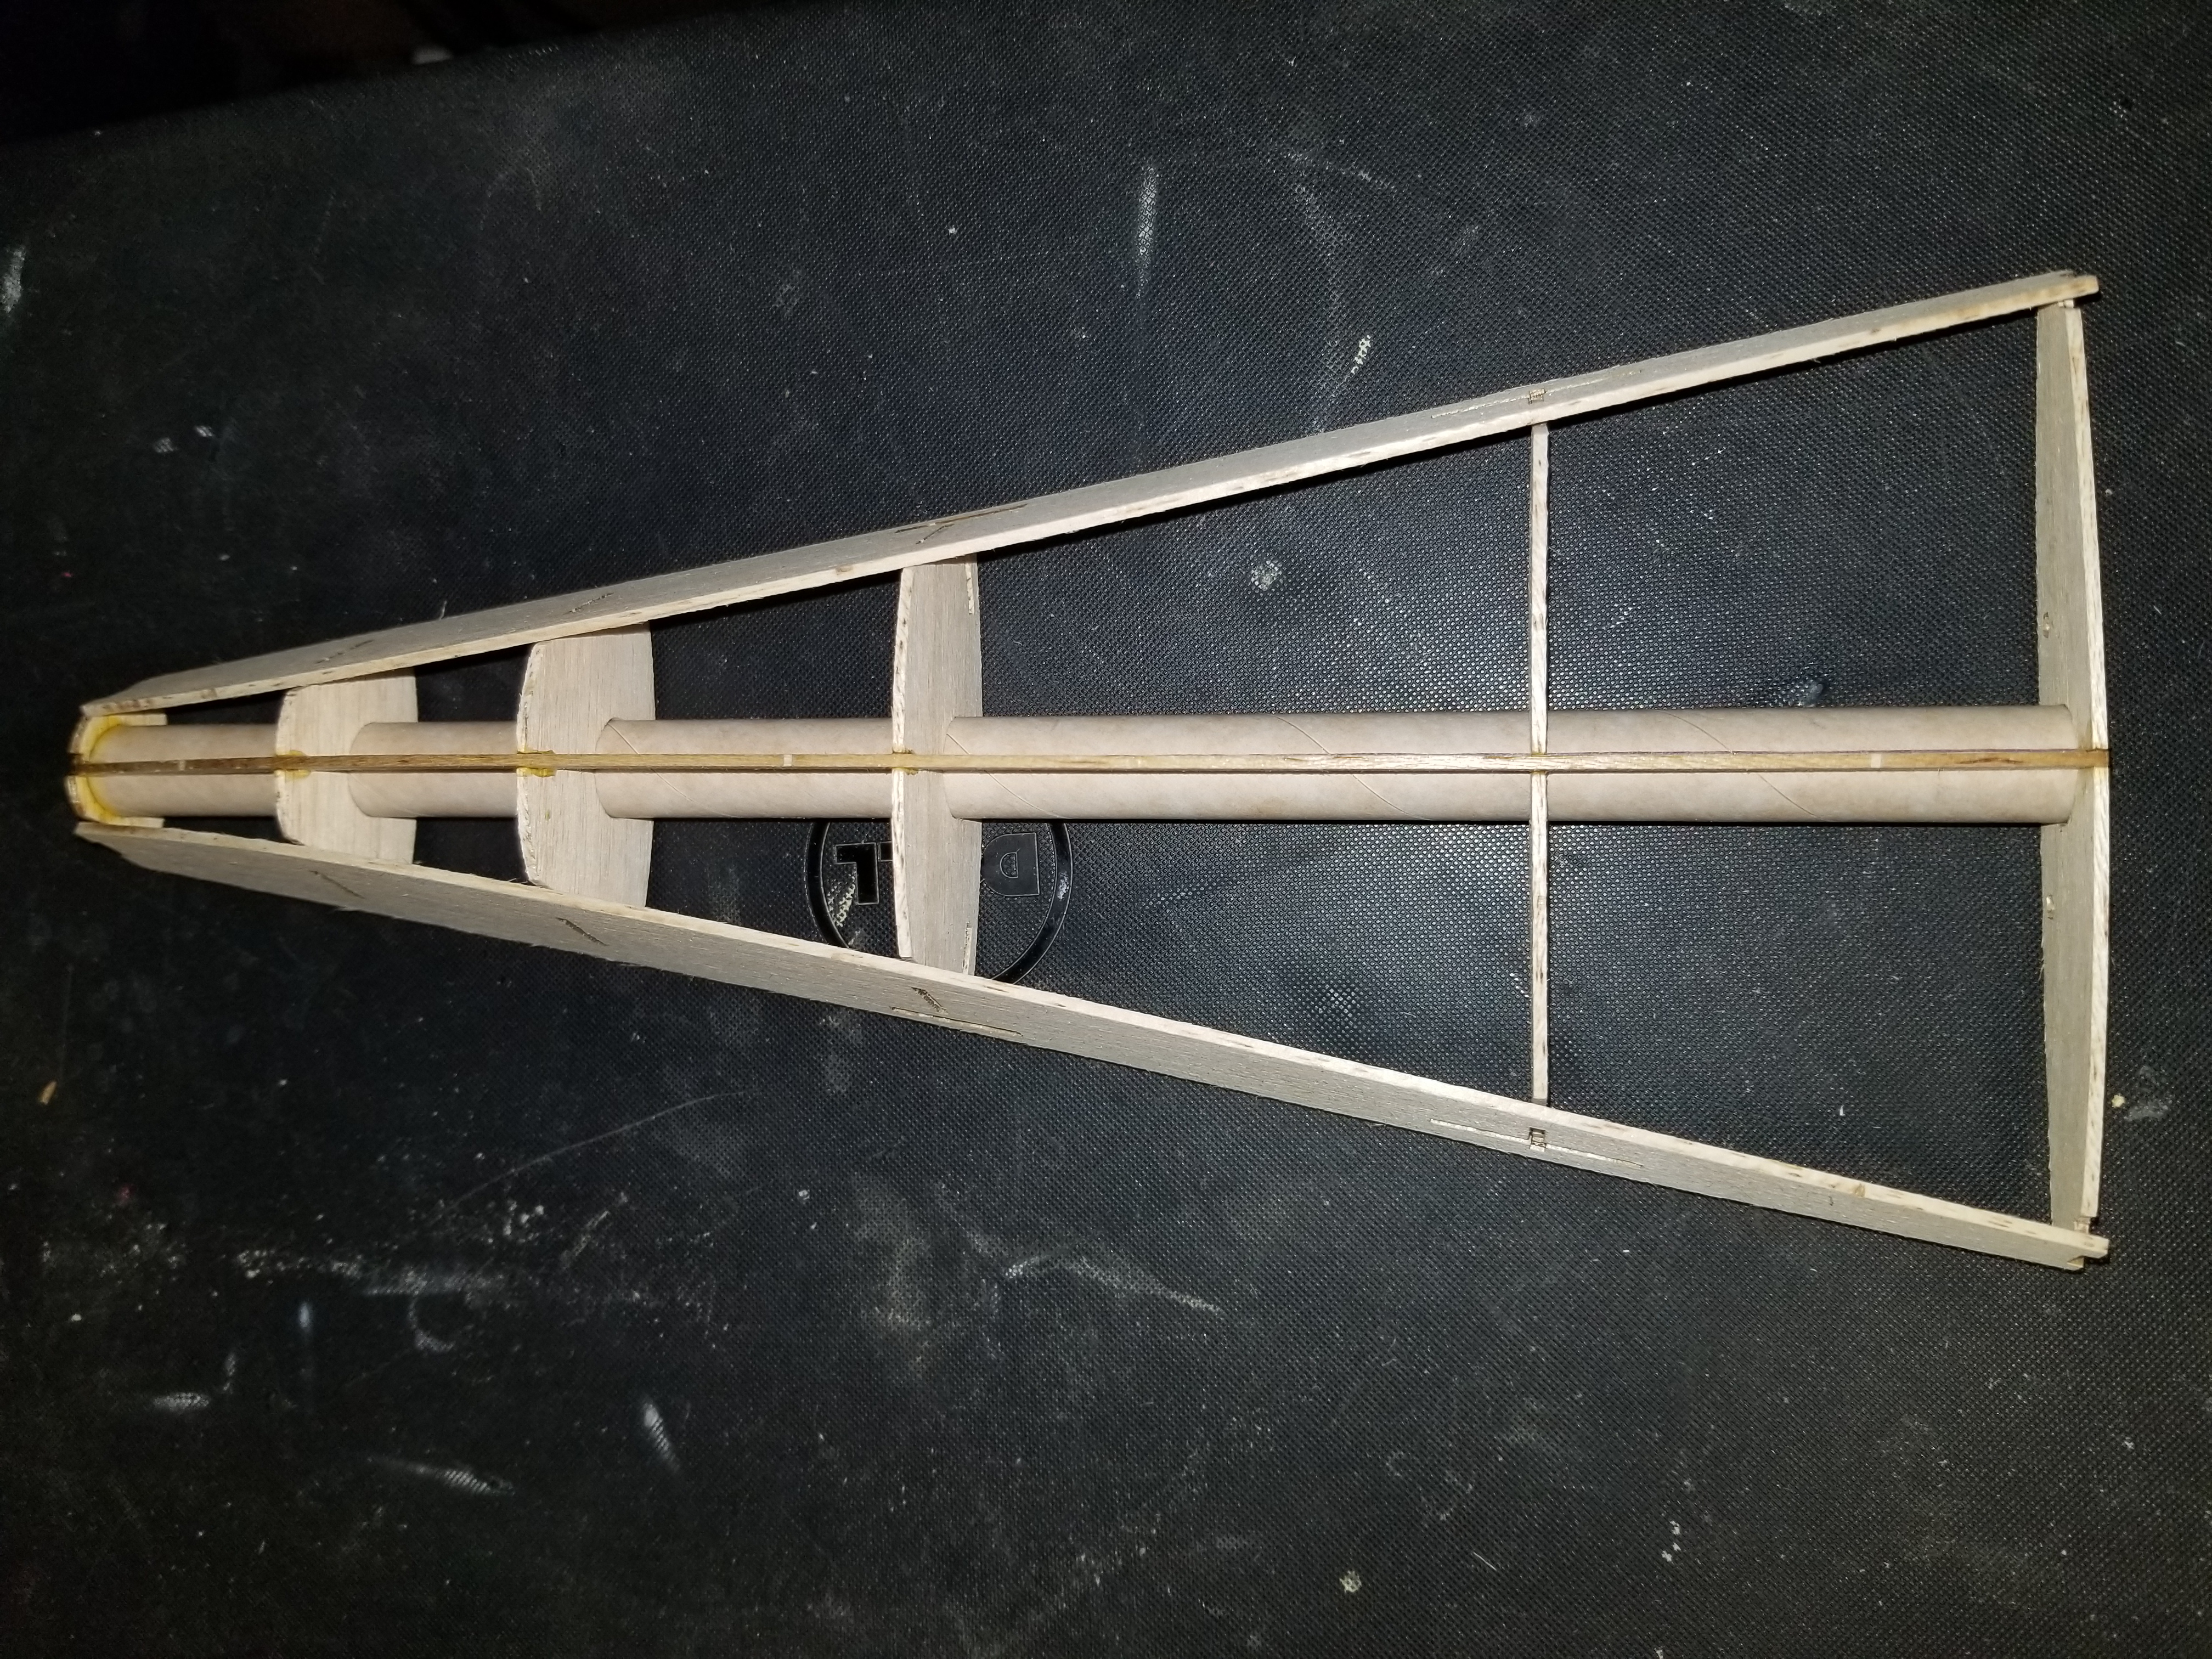 20200407_164711 by Tom Whit, on Flickr
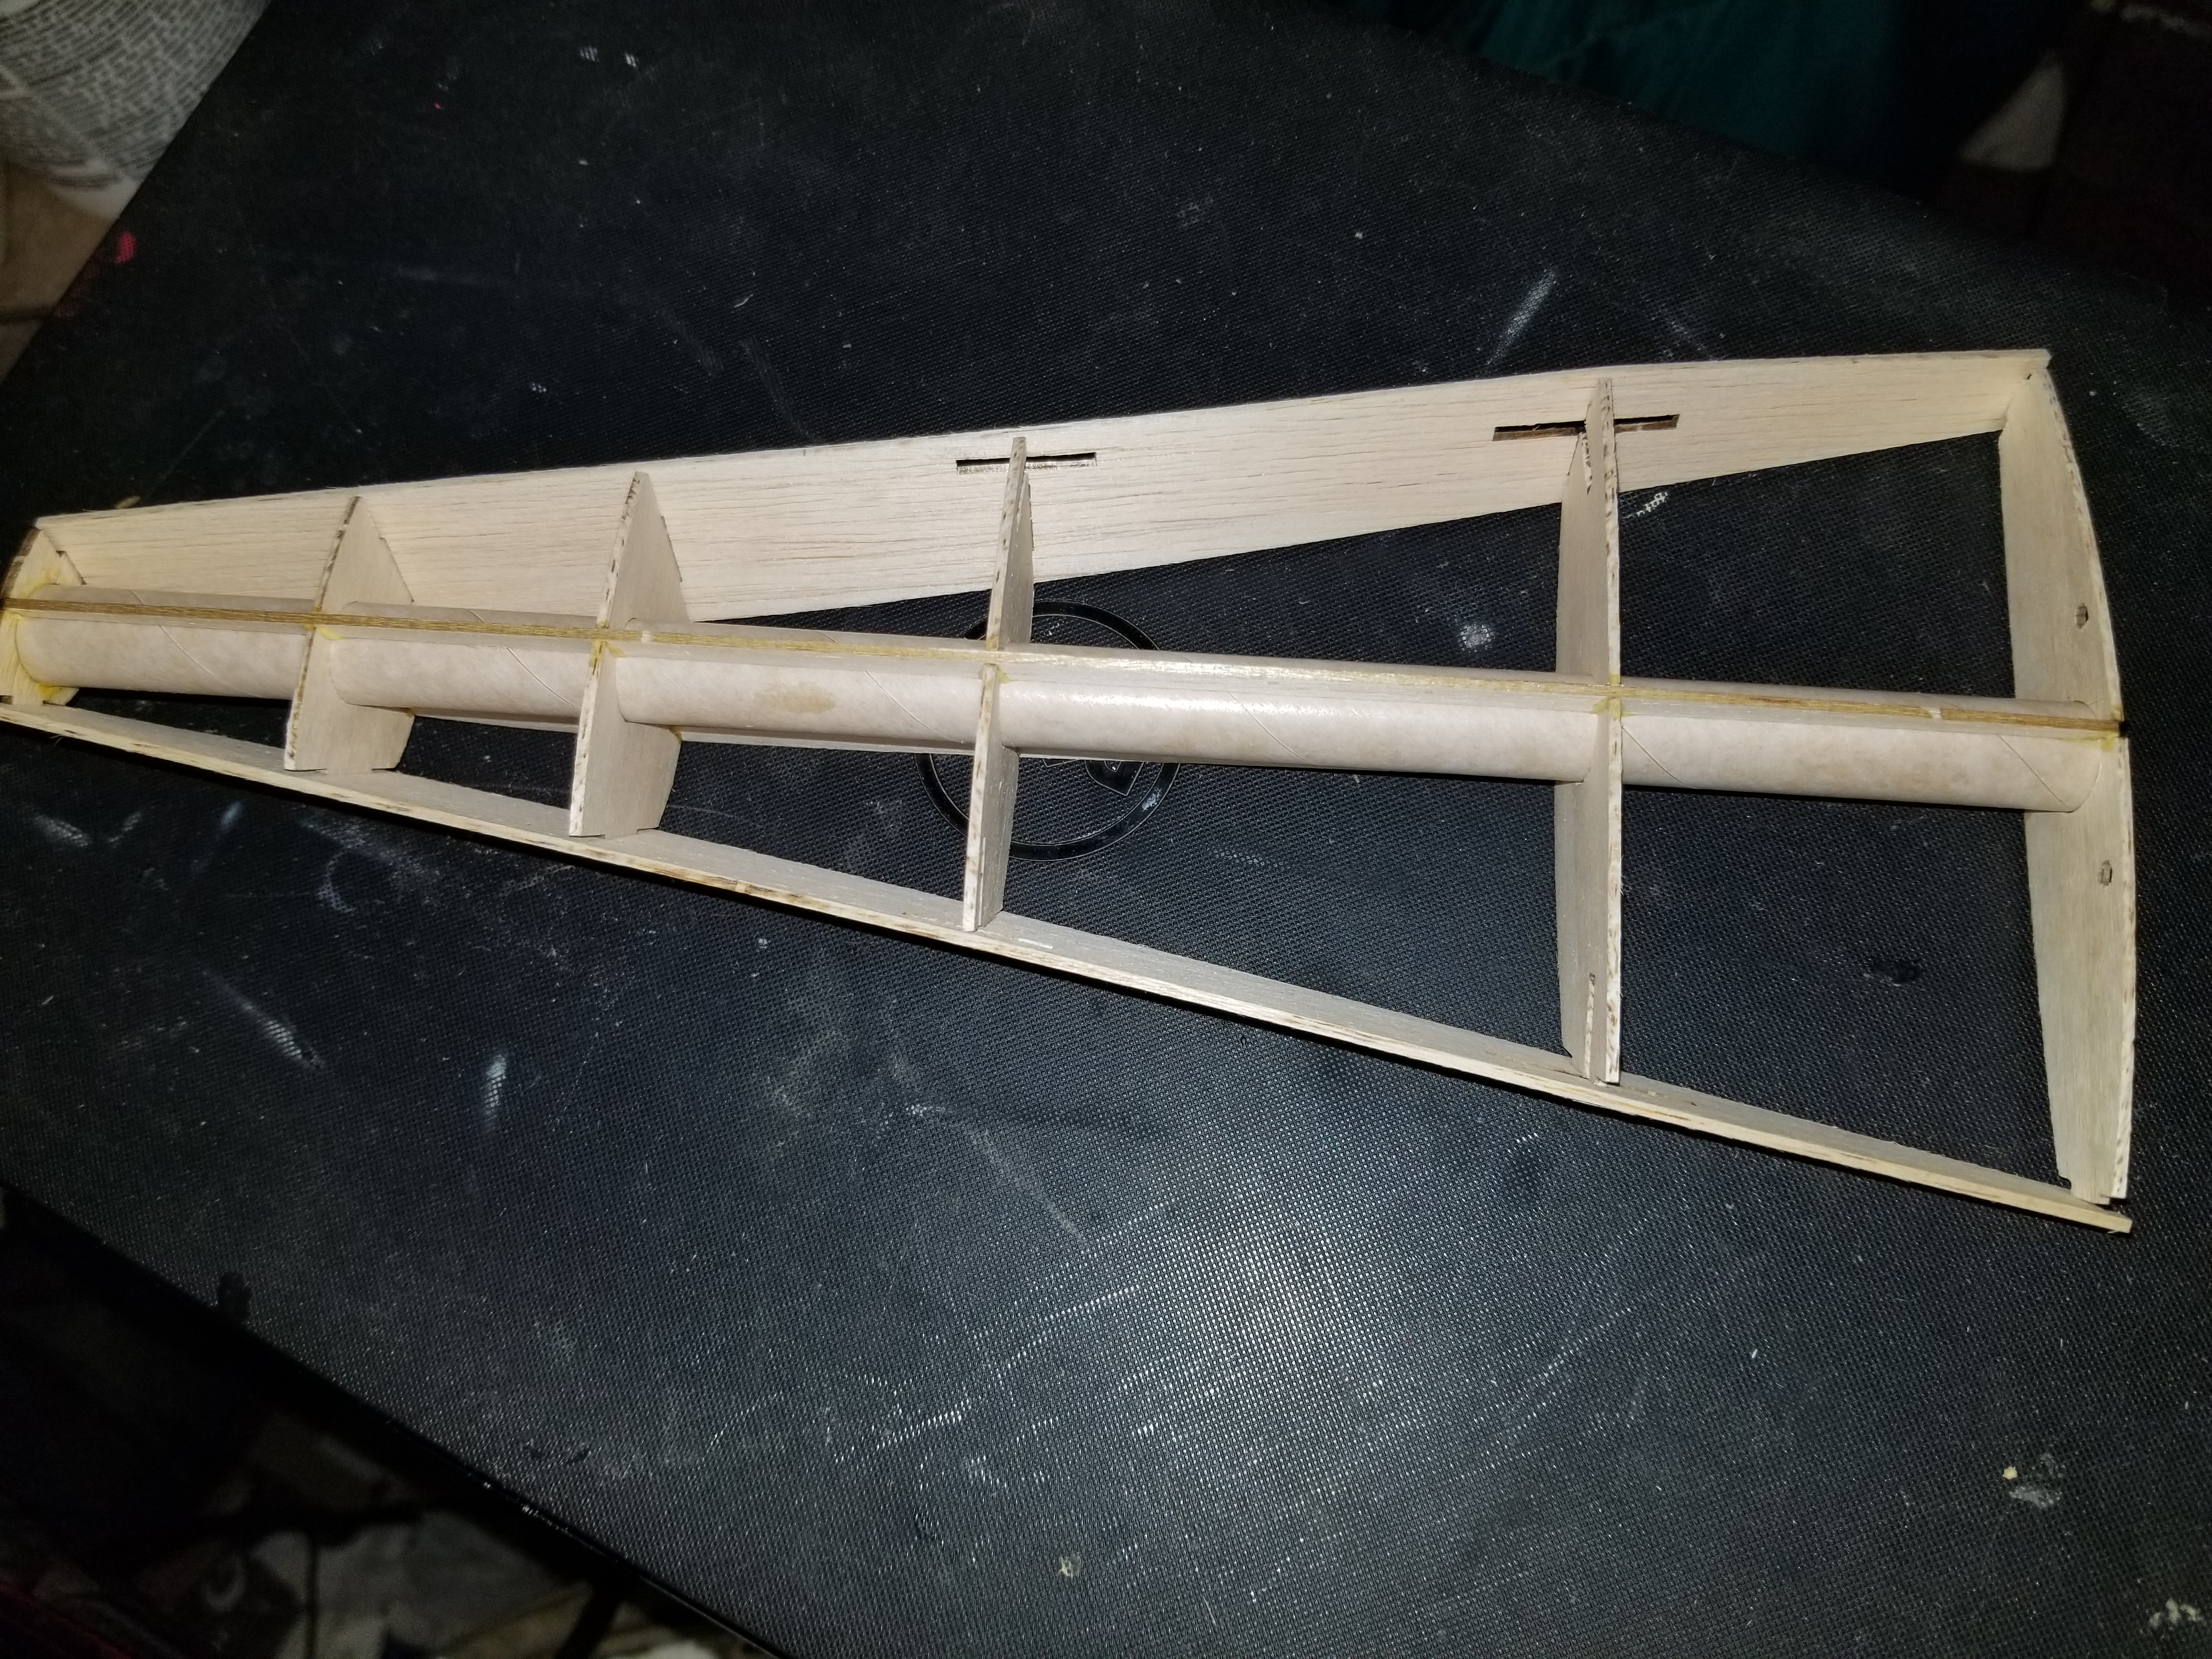 20200407_164724 by Tom Whit, on Flickr
- Joined
- Jun 4, 2019
- Messages
- 275
- Reaction score
- 59
Hrm not sure why those images don't show. Maybe need smaller...
Anyhow after gluing up the framework and sanding proceeded to apply the cardstock.
The cardstock is quite thick.
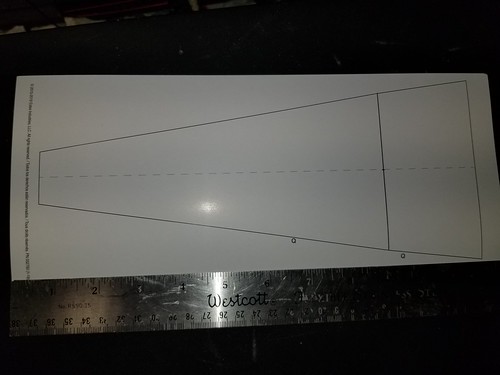 20200407_193224 by Tom Whit, on Flickr
I decided to pre 'curl' the cardstock. Curled it a bit by hand and then shoved it into a paper towel tube for 15 minutes or so.
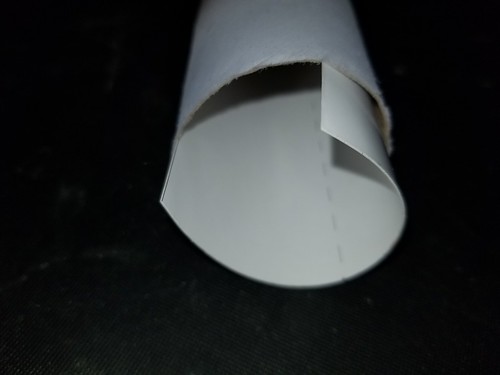 20200407_194010 by Tom Whit, on Flickr
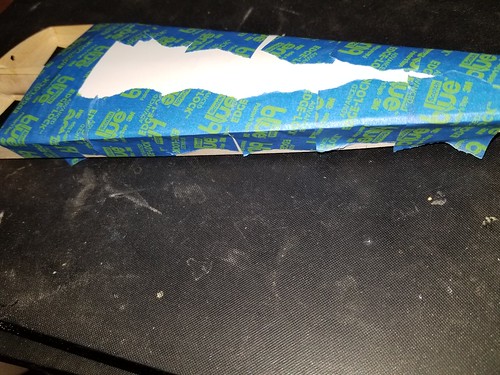
It needed to relax just a bit after that but it was not long before I was applying it to the framework. I used wood glue applied with a tooth pick
Once that was done, lots of tape
 20200407_201227 by Tom Whit, on Flickr
 20200407_201311 by Tom Whit, on Flickr
Insert Obligatory 'let dry' here.
Anyhow after gluing up the framework and sanding proceeded to apply the cardstock.
The cardstock is quite thick.
20200407_193224 by Tom Whit, on FlickrI decided to pre 'curl' the cardstock. Curled it a bit by hand and then shoved it into a paper towel tube for 15 minutes or so.
20200407_194010 by Tom Whit, on FlickrIt needed to relax just a bit after that but it was not long before I was applying it to the framework. I used wood glue applied with a tooth pick
Once that was done, lots of tape
20200407_201227 by Tom Whit, on Flickr
20200407_201311 by Tom Whit, on FlickrInsert Obligatory 'let dry' here.
- Joined
- Jun 4, 2019
- Messages
- 275
- Reaction score
- 59
Last bit for tonight...
Got the aft half of the bottom card stock in place after trimming and sanding the fore card stock. This part did not take much tape, in fact I dident use any tape at all
As you can see the card stock is slightly oversized which is a good thing. A little trimming and sanding and makes for a clean joint.
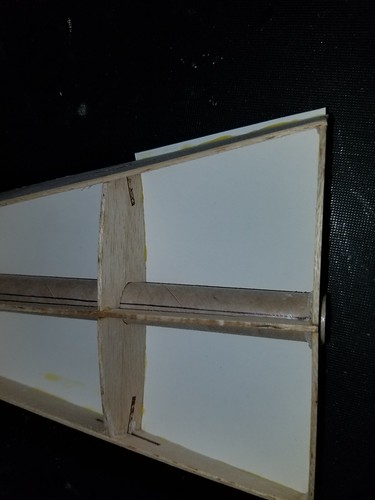 20200407_211716 by Tom Whit, on Flickr
Got the aft half of the bottom card stock in place after trimming and sanding the fore card stock. This part did not take much tape, in fact I dident use any tape at all
As you can see the card stock is slightly oversized which is a good thing. A little trimming and sanding and makes for a clean joint.
20200407_211716 by Tom Whit, on Flickr- Joined
- Jun 4, 2019
- Messages
- 275
- Reaction score
- 59
Thanks Andrew.
A little more progress on the shuttle part anyhow.
 20200410_201635 by Tom Whit, on Flickr
The card stock had a few convex areas so I decided on more for show than go and started adding putty. Wont really be that much added weight.
 20200412_153305 by Tom Whit, on Flickr
A shot showing how I glued those 12 pieces of balsa together to make the nose cone. One piece at a time till I had two 6 ply pieces then glued those together. I had already sanded it some, just put it back in the quick clamp for the picture You can also see I am still fussing with the putty.
 20200408_162706 by Tom Whit, on Flickr
Gluing the wing parts together. I put them on a nice flat piece of plywood and weighted them down with a telescope counterweight Keeps em nice and flat. The wax paper ensures it does not get glued to the plywood. One word or warning on the wings. Be very carefull when sanding the very tip / front of them. It's pretty fragile and easy to break.
 20200409_220708 by Tom Whit, on Flickr
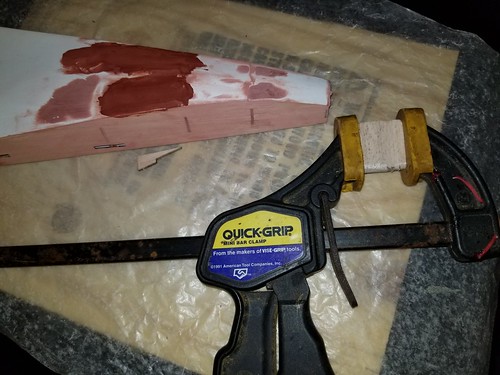
The 'elevons' being attached. Again held in place with the counterweight. The wing looks kinda pink from sanding off the putty I used to fill the gaps, joints.
A little more progress on the shuttle part anyhow.
20200410_201635 by Tom Whit, on FlickrThe card stock had a few convex areas so I decided on more for show than go and started adding putty. Wont really be that much added weight.
20200412_153305 by Tom Whit, on FlickrA shot showing how I glued those 12 pieces of balsa together to make the nose cone. One piece at a time till I had two 6 ply pieces then glued those together. I had already sanded it some, just put it back in the quick clamp for the picture
You can also see I am still fussing with the putty.
20200408_162706 by Tom Whit, on FlickrGluing the wing parts together. I put them on a nice flat piece of plywood and weighted them down with a telescope counterweight
Keeps em nice and flat. The wax paper ensures it does not get glued to the plywood. One word or warning on the wings. Be very carefull when sanding the very tip / front of them. It's pretty fragile and easy to break.
20200409_220708 by Tom Whit, on FlickrThe 'elevons' being attached. Again held in place with the counterweight. The wing looks kinda pink from sanding off the putty I used to fill the gaps, joints.
There are a lot of Estes kits with HUGE asymmetrical drag that launch just fine. See the Odyssey and Starship Nova with the large flat "intakes". Ther are more examples but the kit names are escaping me at the moment.
great build. I enjoyed watching it progress. I’m probably going to start on mine today. Do you think it would fly alright if I didn’t attach any of the extra boosters this has on it, and only attached the ones to the side like the real shuttle? Also do you think it could be converted so it could fly with two engines? One in each SRB? I could make a tube going from each one to the tank for the ejection gas. That was something I was thinking of, I also was thinking of doing something like that for my SR-71 Kit, but don’t want to ruin either one
BSNW
Well-Known Member
- Joined
- Jan 2, 2017
- Messages
- 982
- Reaction score
- 634
Rereading this awesome build thread because I’m gonna build mine soon. Andrew, did you ever get a chance to fly yours?
Yes, I did. It did not go well and it was my fault. It seems like the 3/16th rod was a bit tight. I went with a 1/8th (GO fever at work here). The rod was also too short (BAD BAD BAD!!!!). I thought with the motor I had it would be okay....NOPE. TOOO much thrust + a wobbly, too short rod = bad trajectory = crash = give away. The glider came away without a scratch. The booster drilled in and is now in kit form. YES....after all these years I should have known better. Call it age, the heat, or whatever you like. But I did not think this launch through and I crashed it "spektakoolarr". The glider has a new home and will fly again. I did have my fun building it. Wow, I really blew that one.
Like the designer of the kit said....LONG ROD (3/16th), little to no wind. I would use an E12-4 or D12-3 only no higher thrust composites......ahem
Similar threads
- Replies
- 25
- Views
- 1K
- Replies
- 5
- Views
- 546
- Replies
- 1
- Views
- 186