Min Eagle Claw Specs

The Rocketry Forum

Help Support The Rocketry Forum:

This site may earn a commission from merchant affiliate links, including eBay, Amazon, and others.
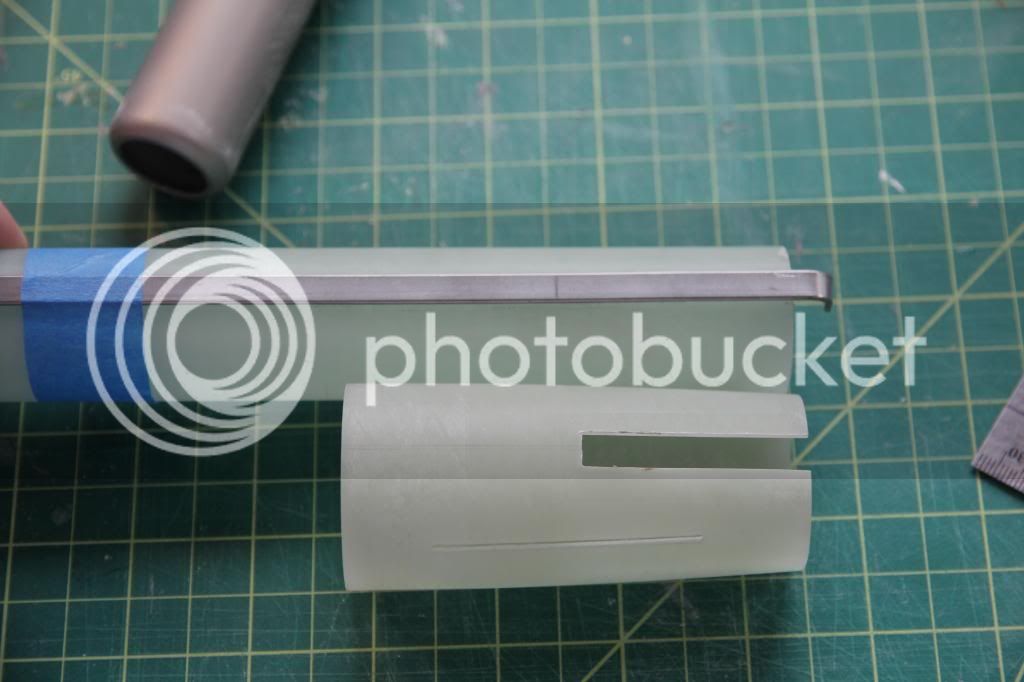
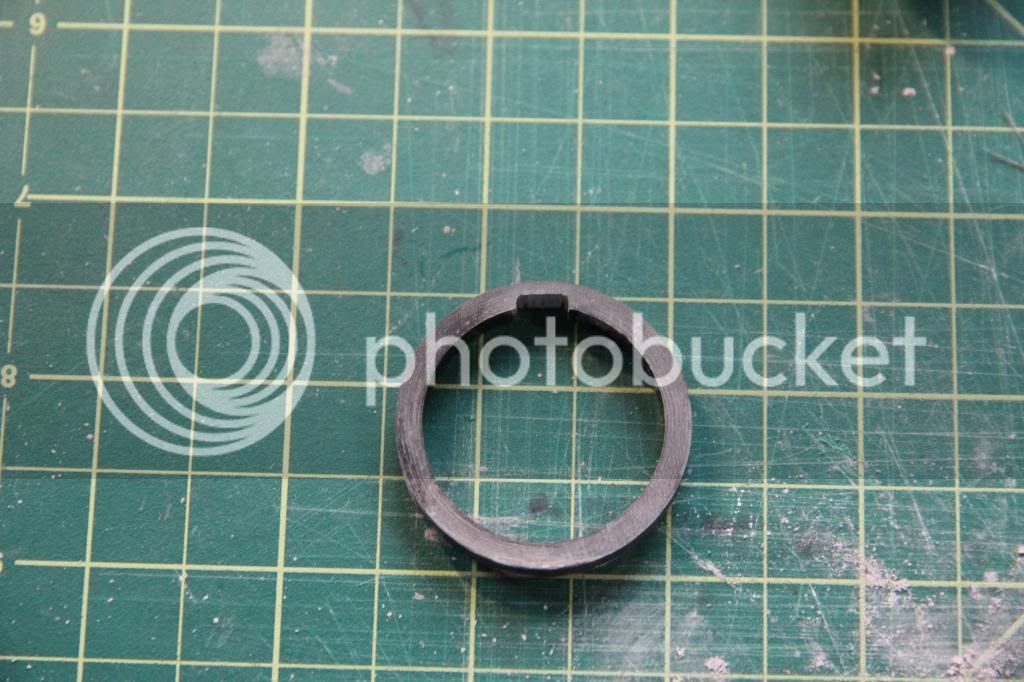
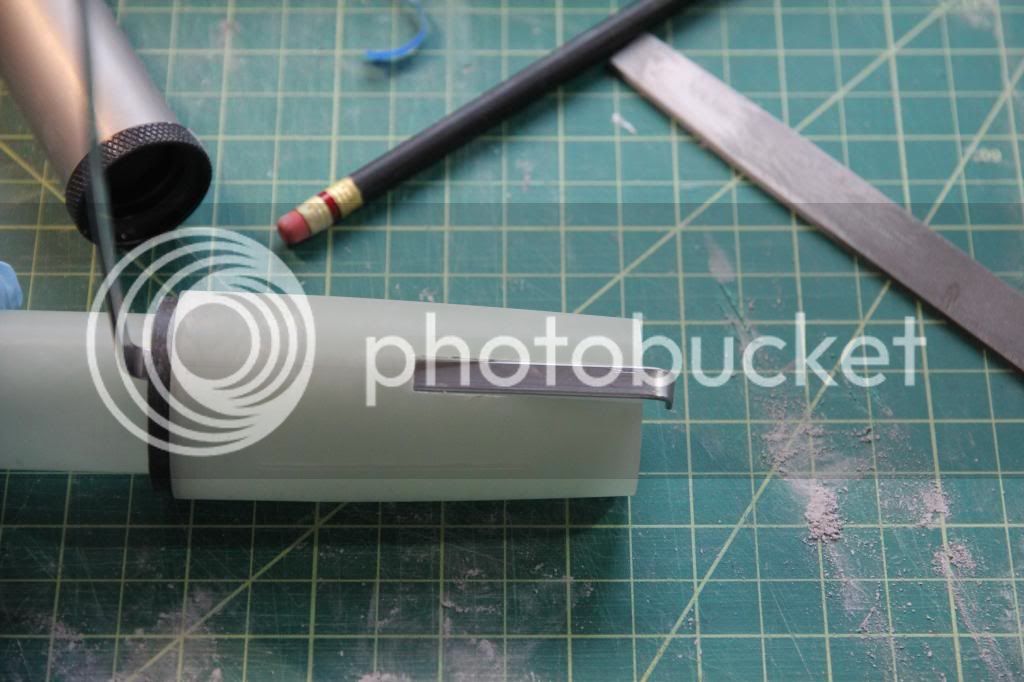
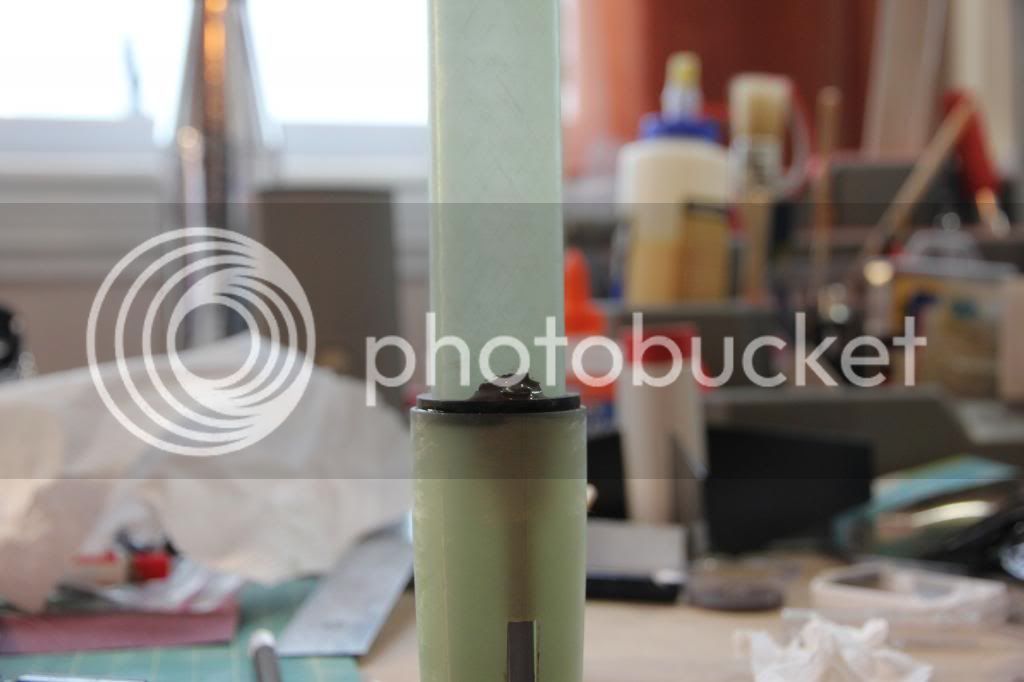
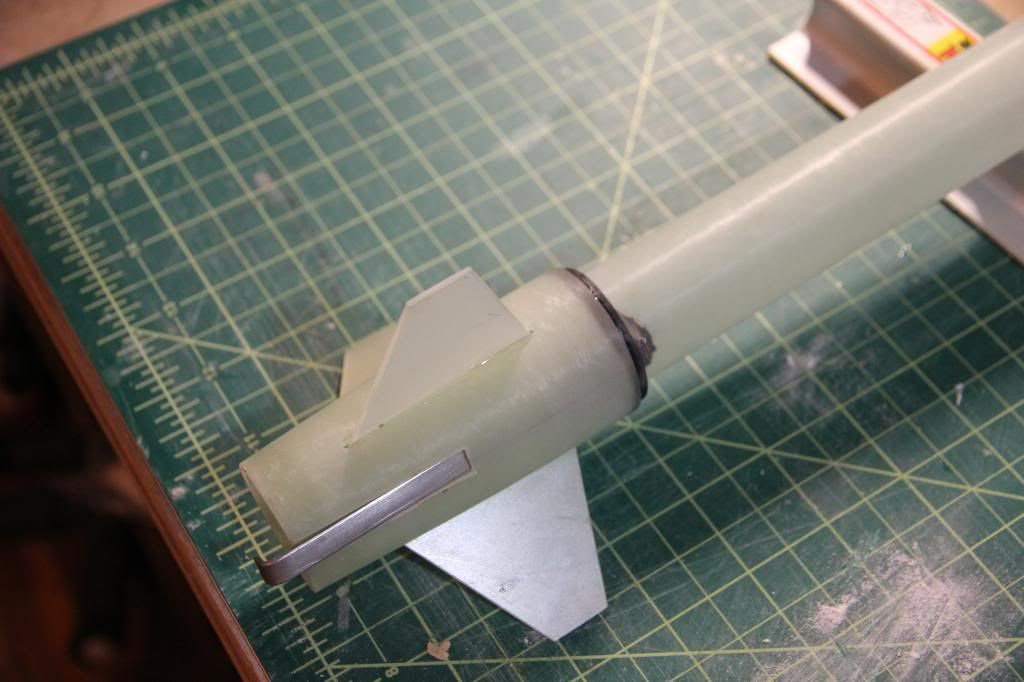
Here's my cheap and dirty motor retention. It's a 6-32 screw, a little epoxy, and a piece of wire. The motor tube was ground away to allow the wire to pass between the motor tube and tail cone, and hook onto the slightly modified screw. Works like a charm and preserves the integrity of the design.
<img src="https://www.rocketryforum.com/attachment.php?attachmentid=111087"/><img src="https://www.rocketryforum.com/attachment.php?attachmentid=111088"/><img src="https://www.rocketryforum.com/attachment.php?attachmentid=111089"/><img src="https://www.rocketryforum.com/attachment.php?attachmentid=111090"/><img src="https://www.rocketryforum.com/attachment.php?attachmentid=111091"/>


Clever idea Chad as usual. Is this yours or your sons? "Yours" meaning the rocket, not the idea
 
Last edited:
Clever idea Chad as usual. Is this yours or your sons? "Yours" meaning the rocket, not the idea

This has been brewing in my noggin for a while, implemented in Luke's rocket. I'm going to get myself one next weekend. He does a great job following kit instructions, that's been an issue with this one so I'm helping him out.
The nose cone was another issue, couldn't get a cord to stick to it the usual way - this is what we did. Heavily scored the inside with a Dremel cutoff wheel, peeled a piece of random heavy-walled tube to fit, used a piece of flat braided Kevlar instead of round, sandwiched it all together with 5min. BSI. We all took a turn playing tug-o-war with it last night, good to go.
PIC_3285.jpgPIC_3286.jpgPIC_3288.jpg

This also leaves the hollow of the cone available for ballast or other things.
 
As long as I'm on a roll here, I'll throw this one out there too. After the two upper rings were set on the motor tube, we laid out the fin locations. I then glued an igniter tube (from a copperhead) to either side of the slot location to keep the epoxy where it needs to be. When attaching the fins, we injected the epoxy through the slot, installed the fin, slid the guide on (payloadbay.com), let it cure. Seems to be rock-solid, need a couple flights to know for sure.
PIC_3282.jpgPIC_3283.jpg
 
I like that method of making epoxy dams out of igniter tubes and injecting through the fin slots. I'm going to remember that one, thanks for sharing the tips!
 
First flight was a G64, dam near out of site!
Flew like a champ!
Next up is a tracker and a H399 :dark:

REDCLAW1.jpg
 
First flight was a G64, dam near out of site!
Flew like a champ!
Next up is a tracker and a H399 :dark:

DLB, thanks for the update! I'm glad that you are happy with the rocket and it's first flight. I'm waiting as fast as I can for my son's first flight... :lol:
 
Got my daughters eagle claw up in the air over the weekend. First flight was beautiful on an E23T - I'd guess 300' or so and fairly straight after a little wiggle out of the gate. Second flight on an F52T had a cocked nozzle and spiraled up a bit, plus I drilled the delay a little much so the apogee event occurred only about a second or so after the thrust burn. Not a scratch of damage, though. You can get mighty lazy with these WM kits and walk away with no damage whatsoever!

[video=youtube_share;AYI4go4g-Sc]https://youtu.be/AYI4go4g-Sc[/video]

After we got home and got cleaned up she painted it Neon Green. The theme is going to be The Claw (from Toy Story), with little aliens on the fins.

Alien.jpg

Edit - we went with GLR slimline for motor retention. It's small enough that it doesn't completely spoil the look, and it sure makes motor loading easy.
 
Last edited:
My original plan was to open up the tailcone and drop the slimline into it. However, this did not work. I'd have to remove too much of the tail cone. Instead, I turned my drill into a lathe, and put a nice taper on the OD of the slimline. I then cut off about 1/2 inch off the tail cone, and attached the slimline externally. It sure does look neat with a silver tail! Since it has some pits in it though, I'll eventually paint it!

20130117_165350_LLS.jpg20130117_165135.jpg
 
I was able to fly my mini today on a G106 skid for a very nice noisy flight. Had a small wiggle maybe 60 feet out of the towerbut then fleew nice and straight about as high as id want to without a tracker. The blue chute was a horrible idea as i was able to see the small nomex square well before the "invisible" chute. I will save that chute for night flights and go to an orange one. I shaved 5 seconds off the delay and it was just about perfect in case anyone else plans to fly this motor. Im very glad I bought this kit. Now i just need to paint it.
 
I finally dragged out my kit and implemented my engine hook idea. I'm happy with the way it came out. For me it was the best mix of preserving the original design and adding positive motor retention. Reusing an AT engine hook didn't work – one bend in the opposite direction and it snapped. I ended up getting a piece of spring steel from McMaster-Carr (6511K211 Low Carbon Steel Round Edge Rectangular Bar, 1/16" Thick, 1/4" Wide, 1' Length).

First thing I did was bend the back end of the hook. Then I positioned it on the motor tube so I could rough out where I needed to cut the tail cone. Cut the tail cone with a Dremel.
20130725-IMG_9924_zps1a21d1e7.jpg
 
Next, I notched the rear coupling ring.
20130725-IMG_9927_zps00dbed64.jpg

I dry fit the pieces and bent the front end of the engine hook 90º.
20130725-IMG_9928_zpsb2db3a3b.jpg
 
I trimmed the engine hook and glued everything together with JB weld. I glued the first 3/4" of the hook down to the engine tube.
20130725-IMG_9929_zps8e9d5a90.jpg

Here it is with the fins in place. After this, I built the kit as instructed.
20130725-IMG_9932_zps02039d99.jpg
 
I posted this for someone else in another thread and figured I'd post it here as well.

Here's how I did the motor retention on my Mini Eagle Claw: https://www.rocketryforum.com/showthread.php?50497-Simple-Cheap-Moter-Retention-for-Mini-Eagle-Claw!

I have yet to test it, but think it will work pretty well. I'll probably still add a wrap of tape around the casing/motor tube &ndash; just to be sure &ndash; and also to protect the casings closure from possibly getting scratched by the hook. I'll let you guys know how well it works (maiden flight should be in about a month).
 
This may sound a little strange but my bottom rail button screw is my retainer. I kept trimming off the screw until the screw just made a little contact with the motor case. Than I wrapped motor case with some masking tape like a friction fit motor where rail button screw would make contact with motor case. I slid motor in snug up the screw and the motor is held in very nice. I pull on motor case and I could and it doesn't move. Best of all with 2 flights on it has never move back at all. And no mark on the case.
 
Back
Top