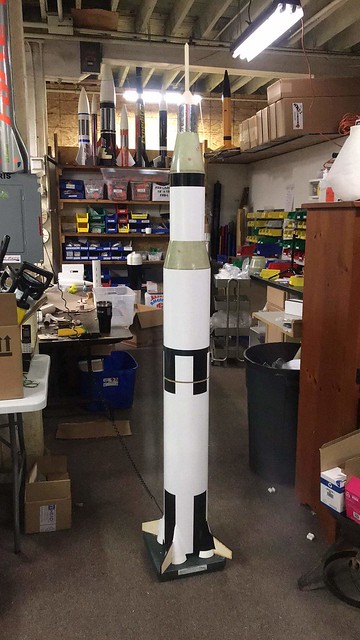
Fiberglass Parts
Summary of this Section: The following are some general notes on the care and feeding of the fiberglass parts included in the Loc Saturn V kit. For those accustomed to traditional Loc components, fiberglass is a bit of a departure from the norm; but nothing to be intimidated by!
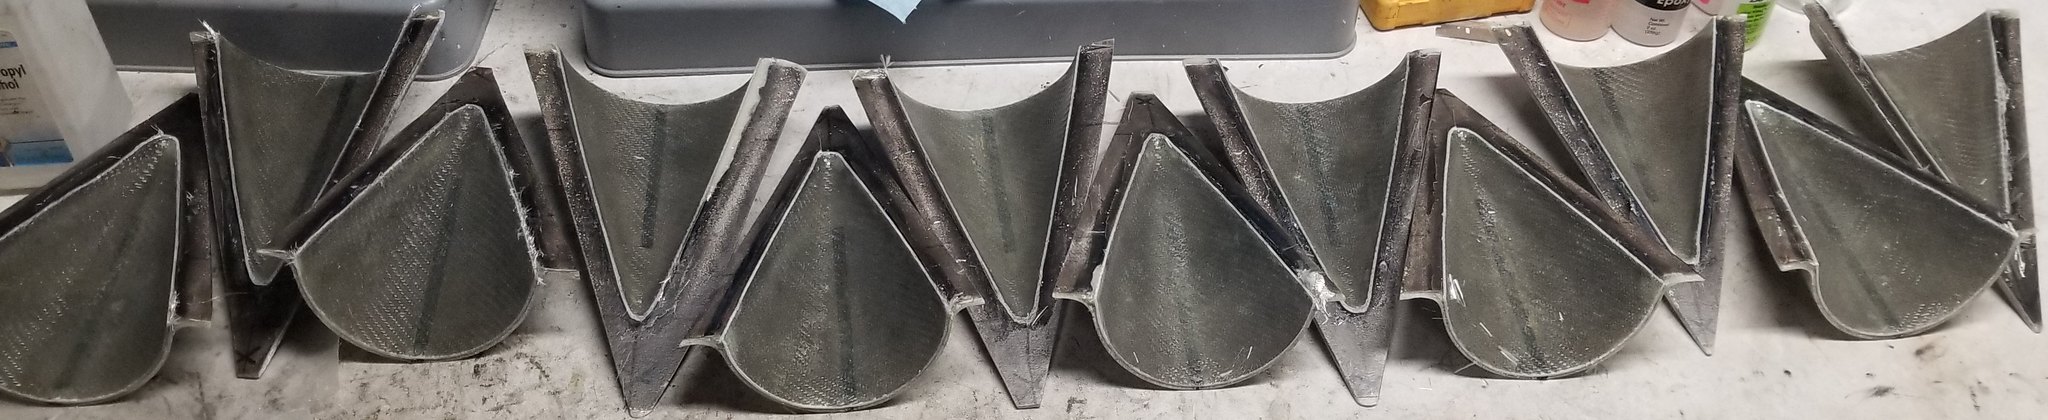
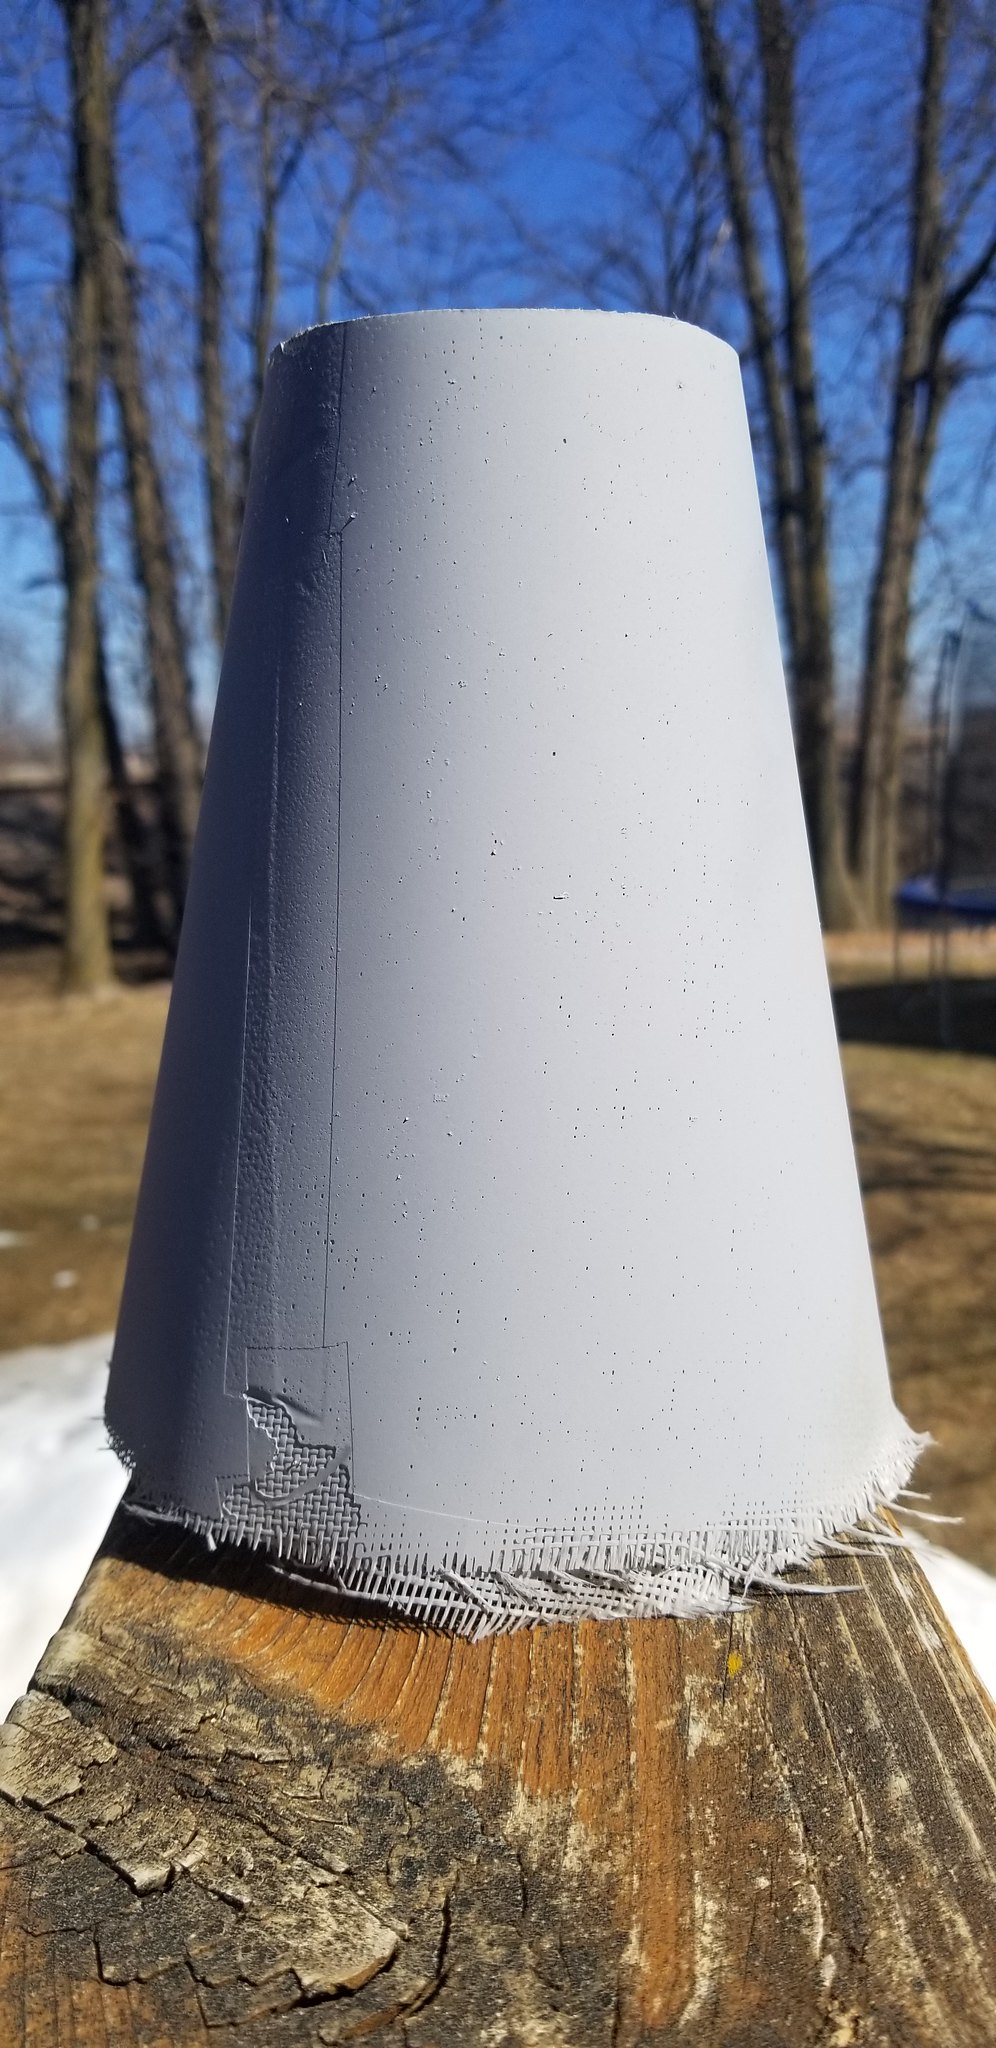
Each kit contains 6 fiberglass parts, custom molded for this kit. Four fin fairings a 7.675” to 5.54” transition, and a 5.54” to 3.10” transition.
 Fairings
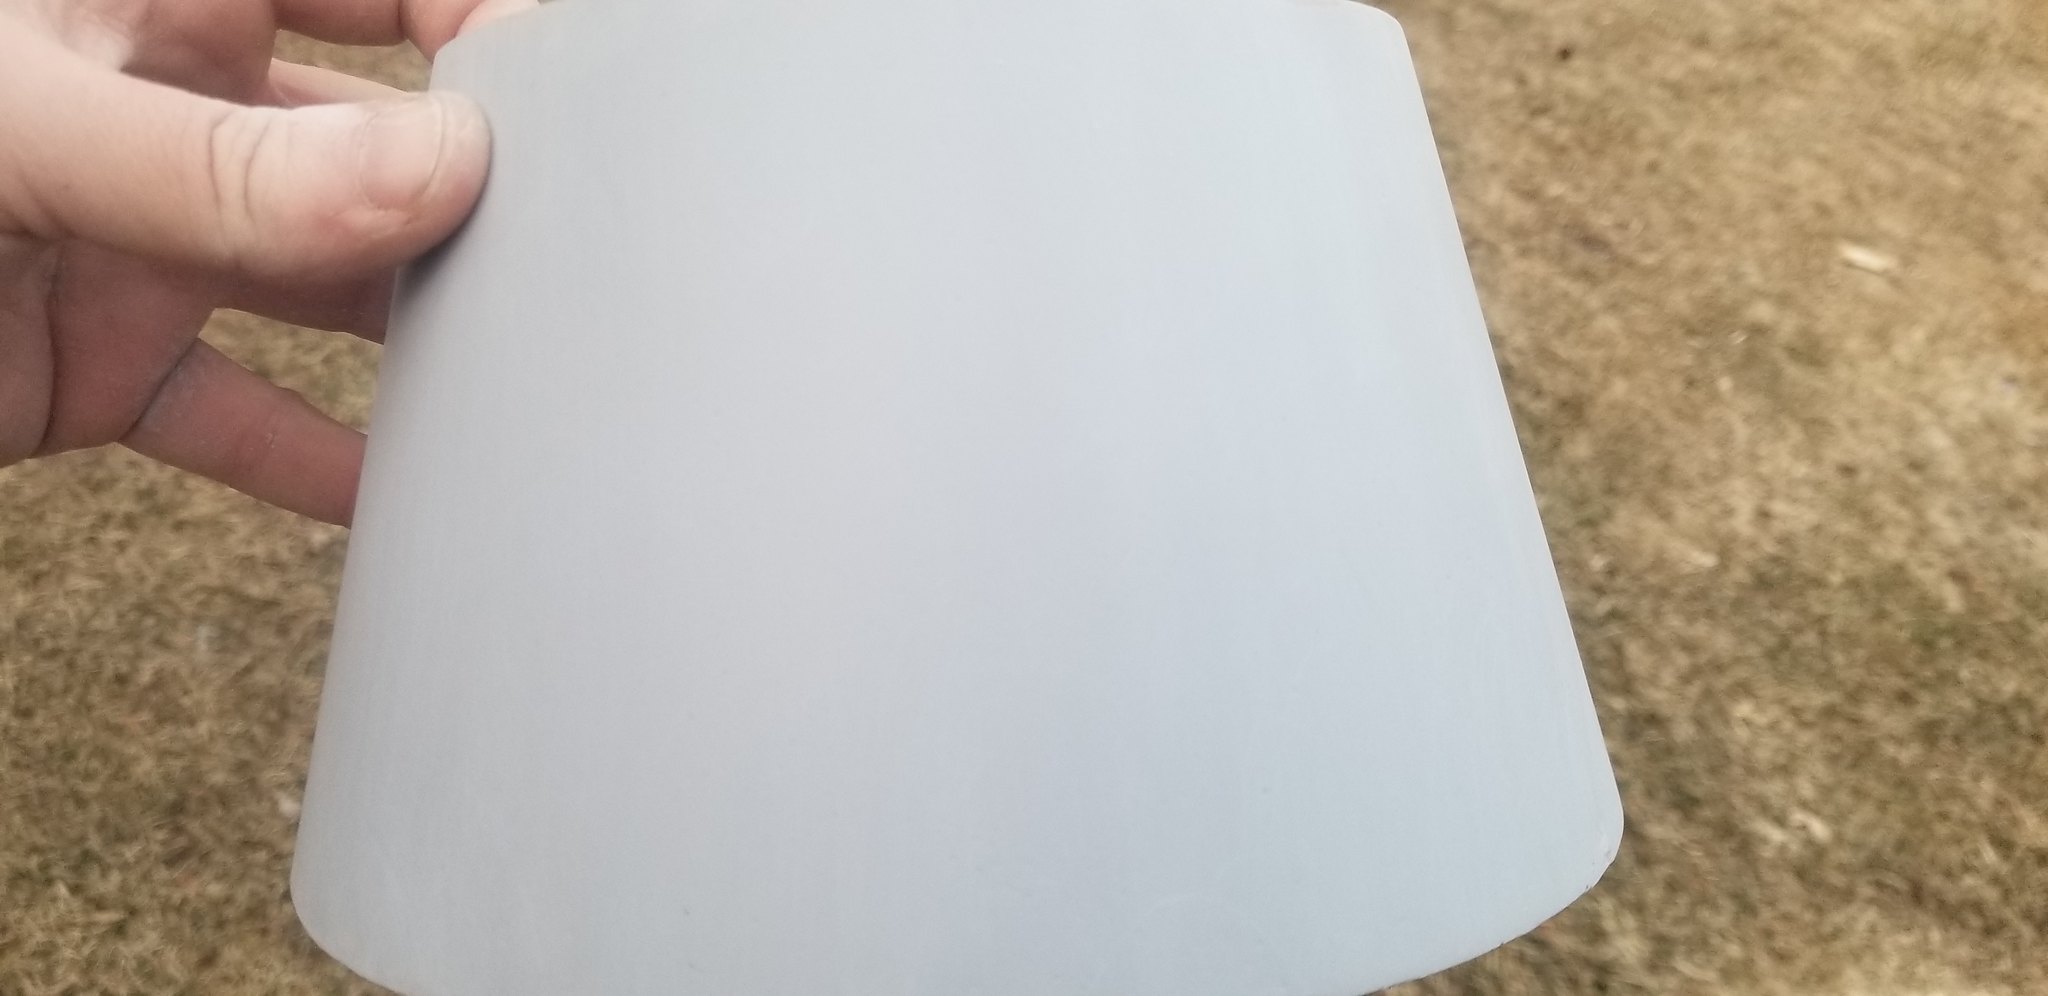
The Fin Fairings come to you fresh out of the molds…lots of molds! Clean the exterior of the fairings with warm soapy water, alcohol, or your other favorite solvent to remove any slippery stuff leftover from the molding process.
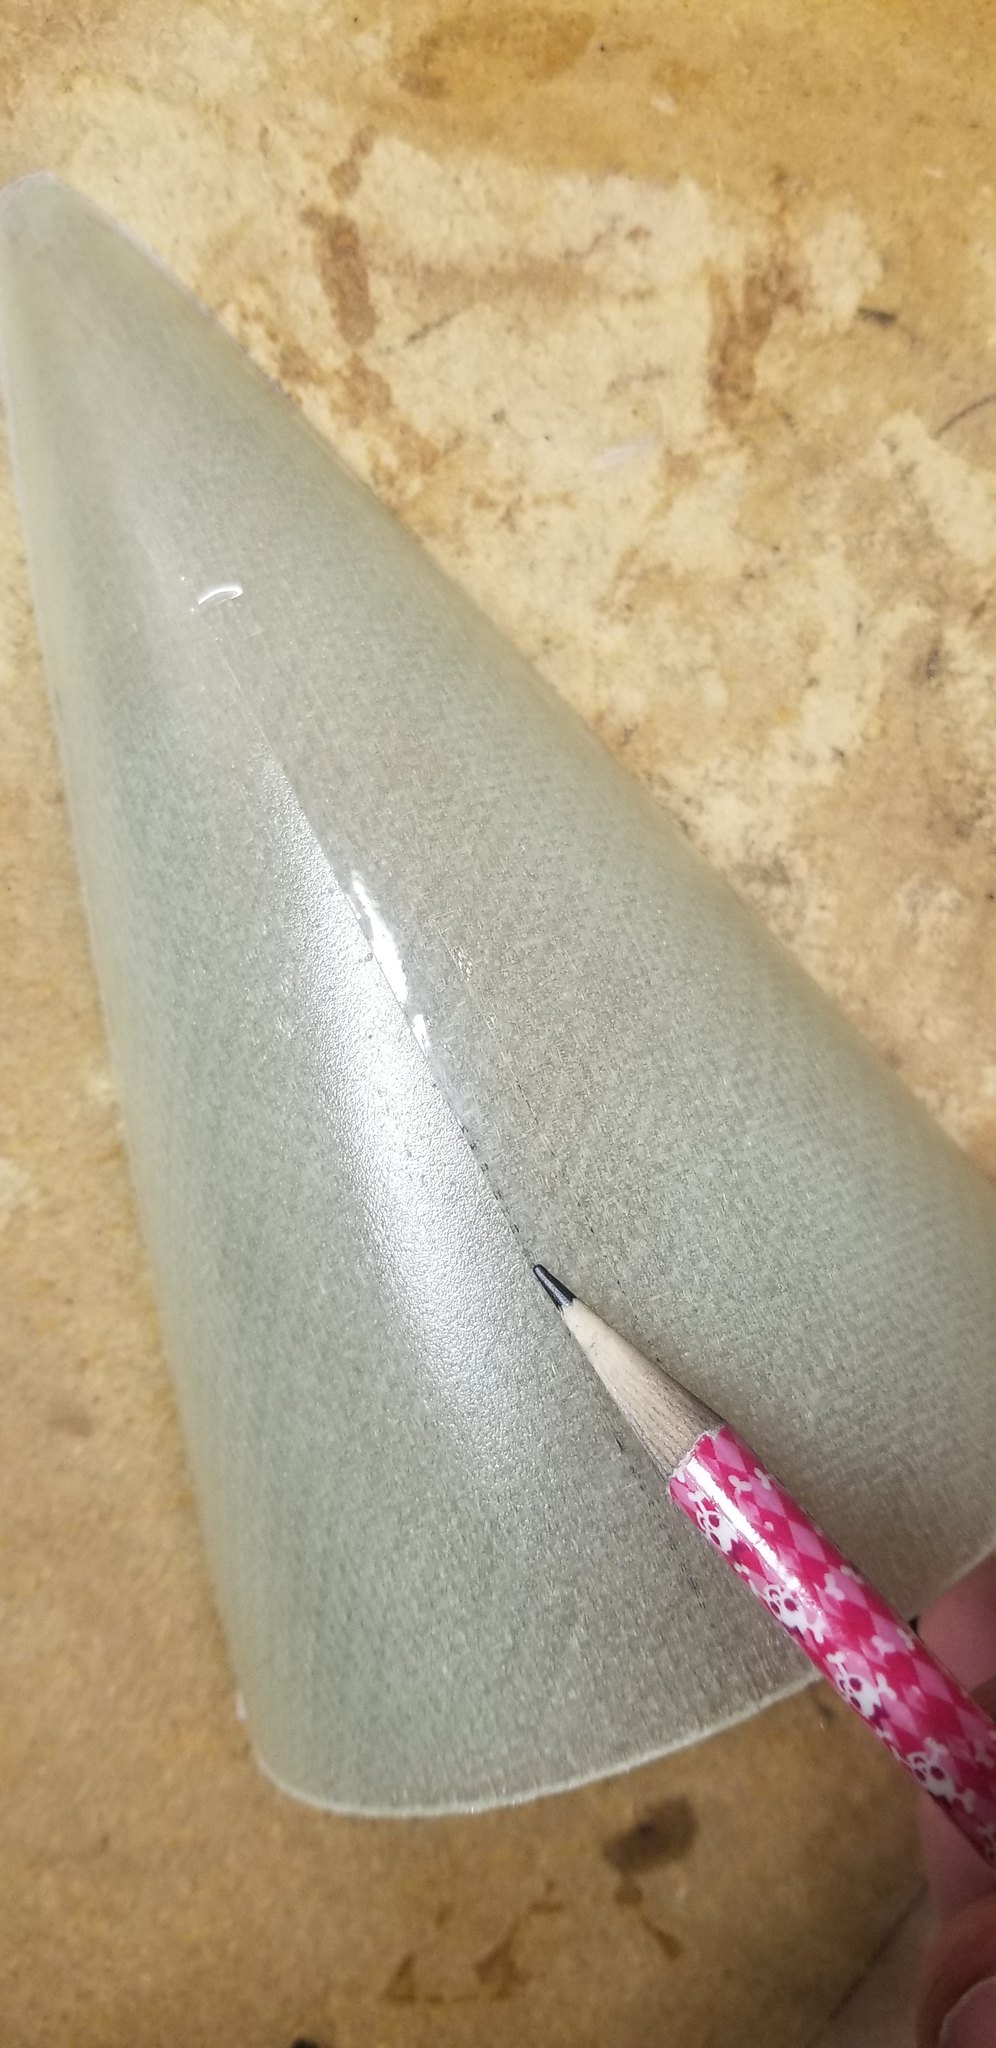
There is a slight indentation in each of the fairings where the fin is to reside. This is courtesy of ¼” wide tape in the molds.

This ¼” wide depression is easier to see if you take a pencil and rub along the ridge at the edge of the indentation.
Now that you can see where the fin needs to go, use a Dremel and a cutoff wheel to carefully trim along the inside edge of the indentation/pencil line. If you’re equipped, a bandsaw works well here too. If you’re ultra patient, even a utility knife or X-acto work fine with several passes. A perfect cut is great, but don’t worry if your cut is less than perfect. Any voids will be covered in a fillet later on; so no fears! If you choose to omit external fillets for scale purposes, no worries as the hollow nature of the glass fairings allow internal fillets if you prefer!
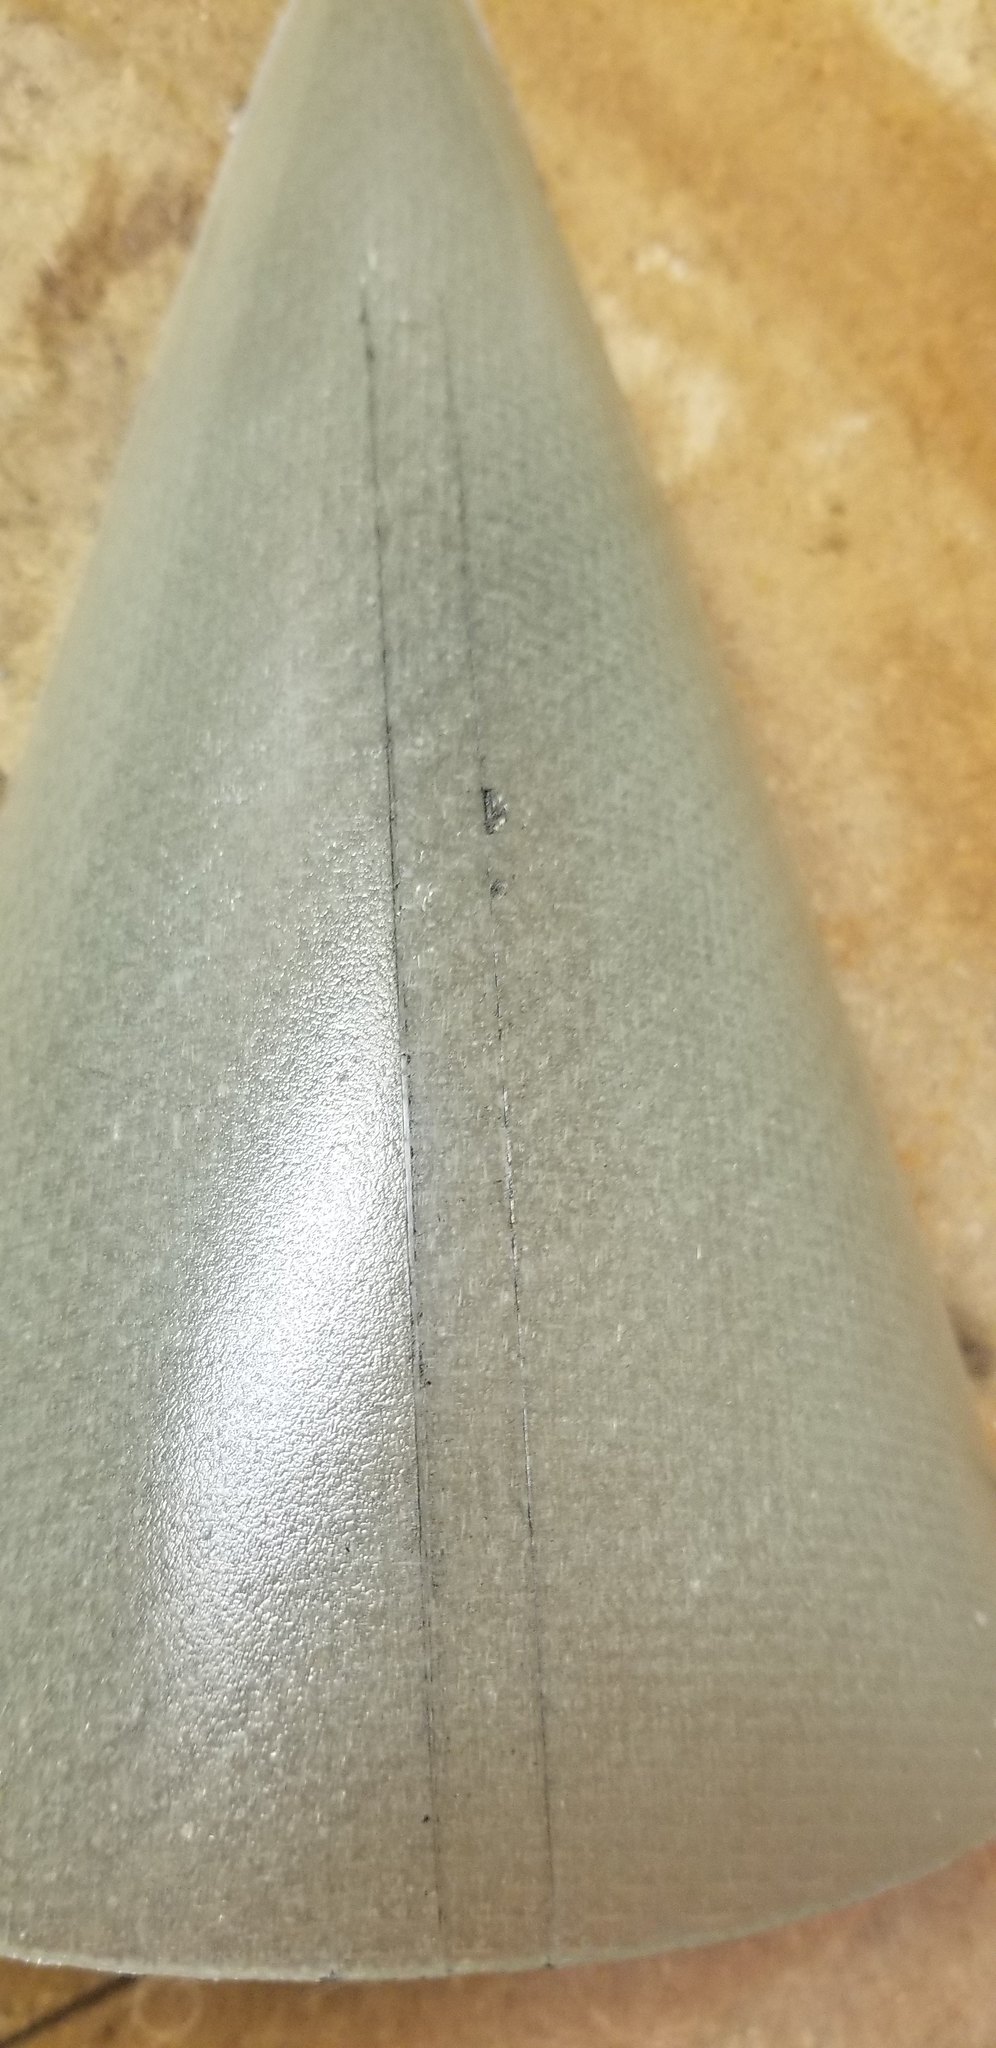
Reminder from an earlier post: This ¼” wide depression is roughly 4.5” long, measured along the fairing surface. Cutting the entire length of the slot places the fairings aft of the trailing edge of the fin in a scale location. The fairing may be more prone to landing damage in this positioning. Shorter slot=a more stout, less scale aft end. Longer slot= a more scale, but less durable aft end. The choice is up to the builder.
Tip: After determining where you prefer to position the fairing on the fin, lay the fairing with the outer surface down, against a drillable surface. Drill a ¼” hole at the forward end of your desired slot location. Then cut along the pencil lines to the hole to create the ¼” wide slot.
Final notes on Fairings:
As mentioned earlier, the fairings are come out of molds, thus are likely to have a bit of mold release residue left on them. Therefore, it is wise to clean them in warm, soapy water…or alcohol or other solvents if you like to “live dangerously” prior to bonding, priming, painting, or licking.
Bonding: it is a good idea to rough up the edges to be bonded. If you’re careful, a Dremel with a sanding drum works well; otherwise 150-220 grit sandpaper and elbow grease work just as well if you prefer. Always remove dust from surface prior to bonding using a tack cloth, alcoholic rag, or equivalent.
Transitions
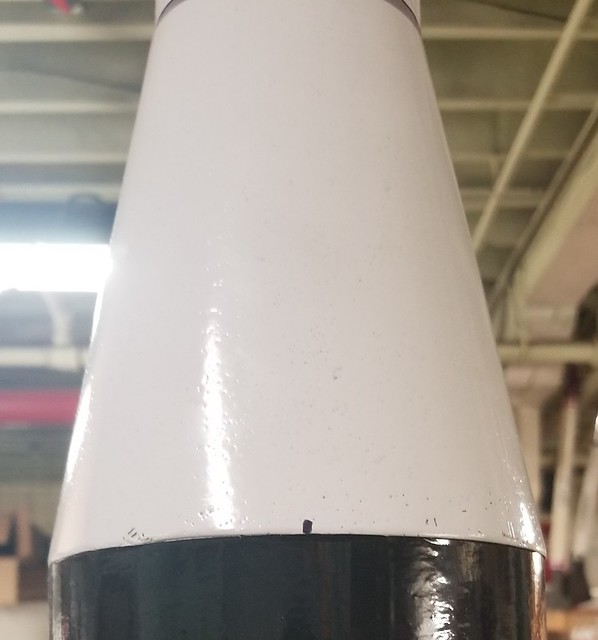
Unlike the fairings, the two transitions utilize a unique molding process that does not require mold release. The surface finish on the transitions are shiny and ready for primer. These two were pre-release test pieces without the ends trimmed properly.
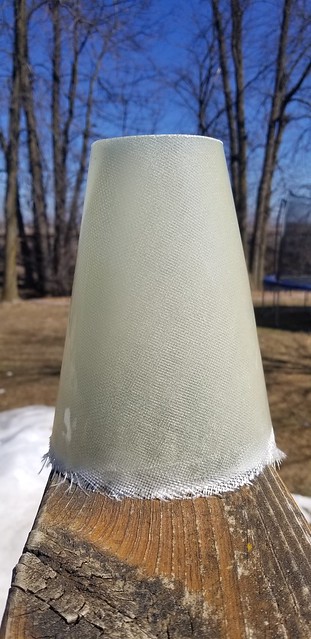
The builder may choose to scuff the surface lightly with 220 or 320 grit paper to knock off the sheen and provide more surface area for the primer and subsequent paint to stick to.
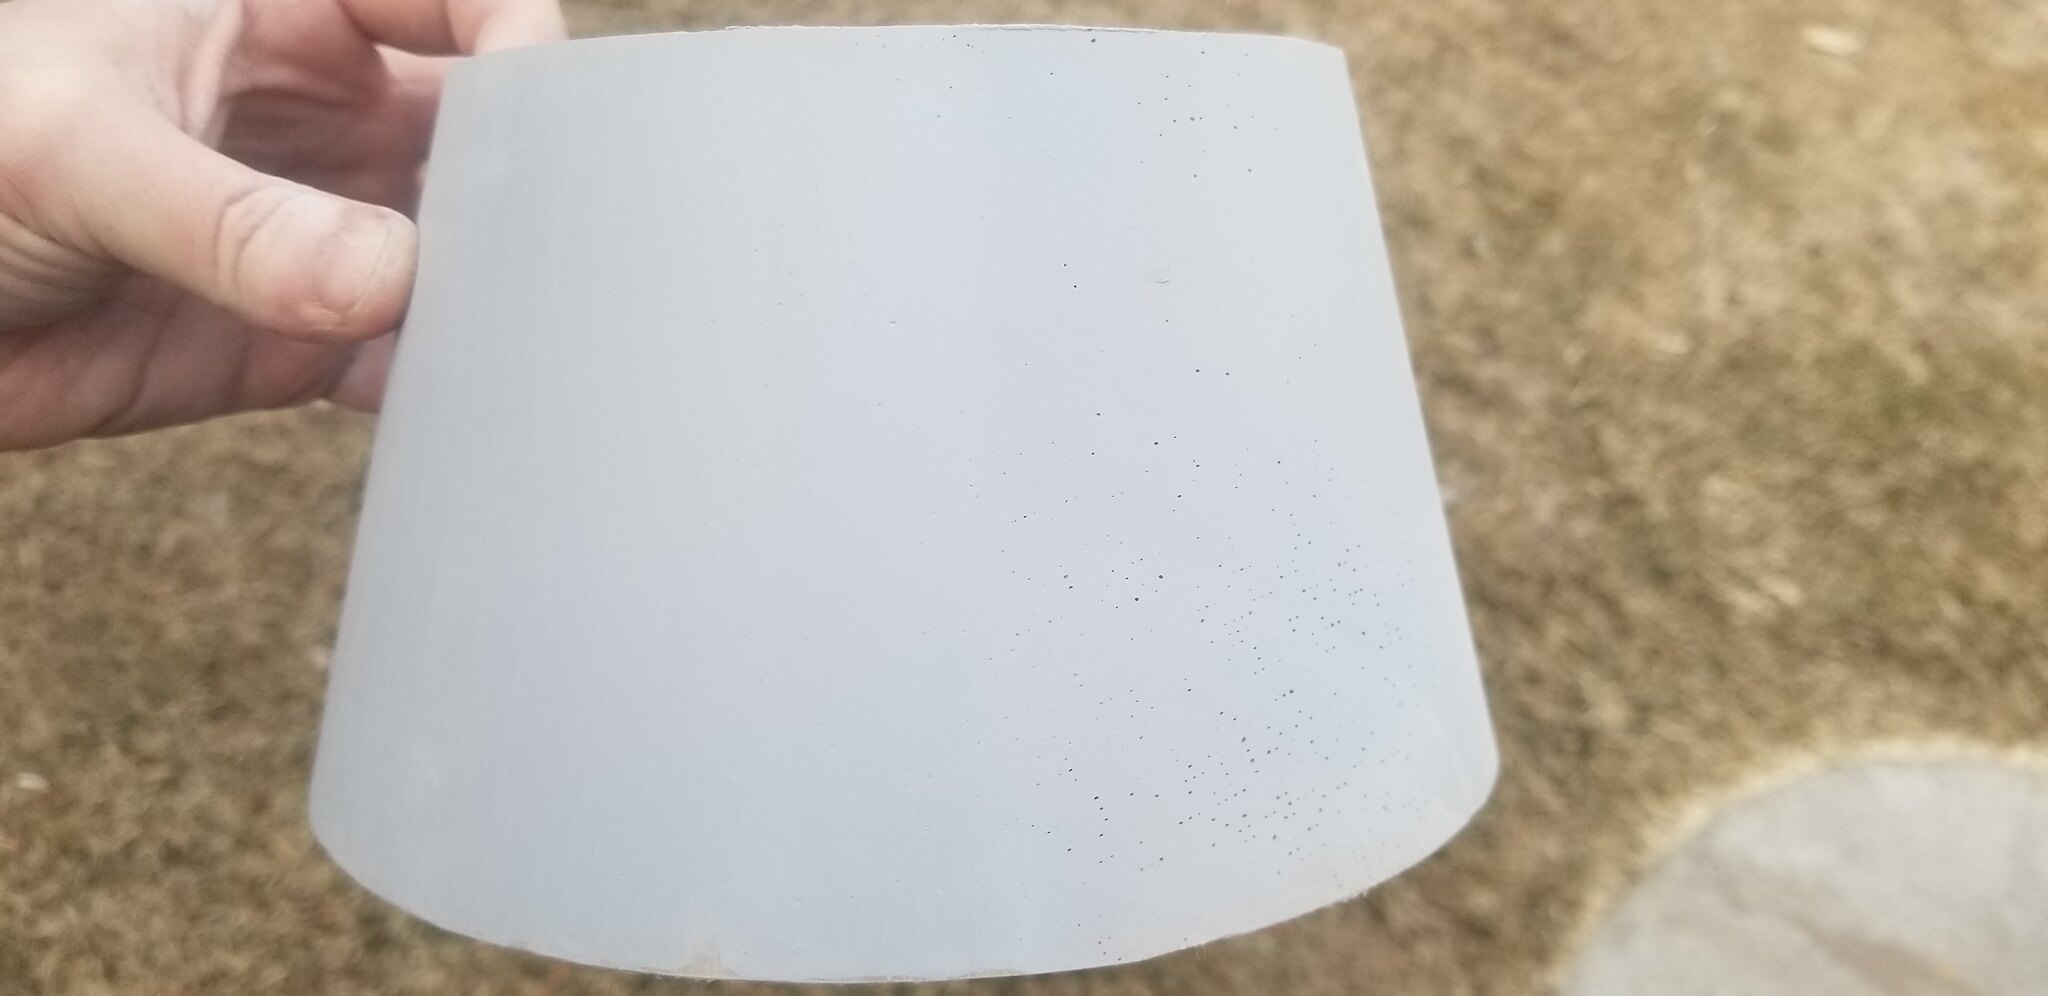
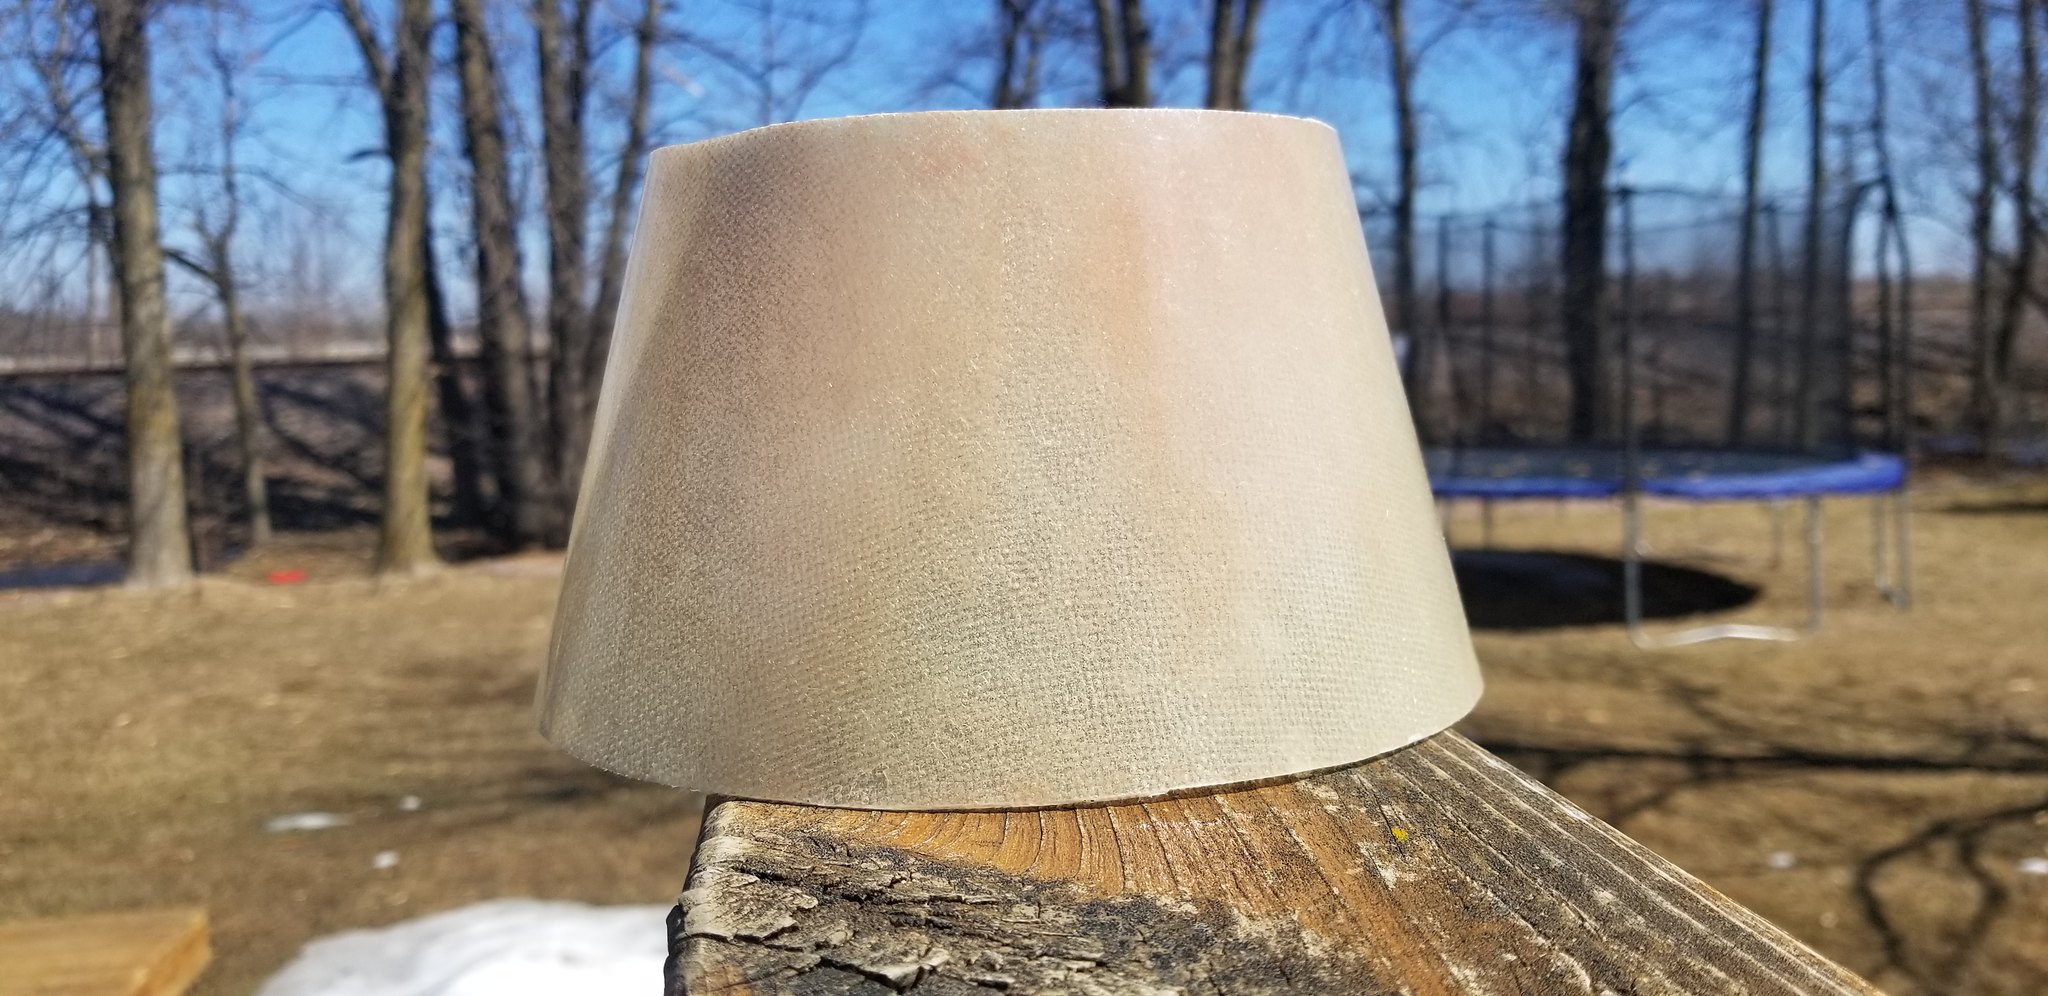
While we considered using a Gelcoat for the surface initially, the idea that a higher quality epoxy-glass part would be favorable to inferior polyester-based resin-glass won out. Long story short: a polyester based gelcoat would provide a nice surface finish but a heavier, lower strength, WAY SMELLIER part. The epoxy-glass transitions have a significantly higher strength-to-weight ratio, and therefore were chosen for the production run. Where am I going with this? Well, as with most or all non gelcoated glass parts, there are surface pinholes to fill. If you look closely at the photo above, the white specs are small voids in the surface that the builder may choose to fill. The voids become more apparent once you hit the piece with primer! (Remember...lower end is untrimmed yet on this one!)
More decisions for the builder! How do you plan to finish this monster? The prototype was completely covered in vinyl except for three pieces: the lower transition, upper transition, and capsule!
Due to time constraints, there was no filling and sanding on the prototype. Here’s what the upper transition looks like with no filling or sanding. Yes, the “pinholes” are slightly visible. It's about 8' away good, I'd say.
")
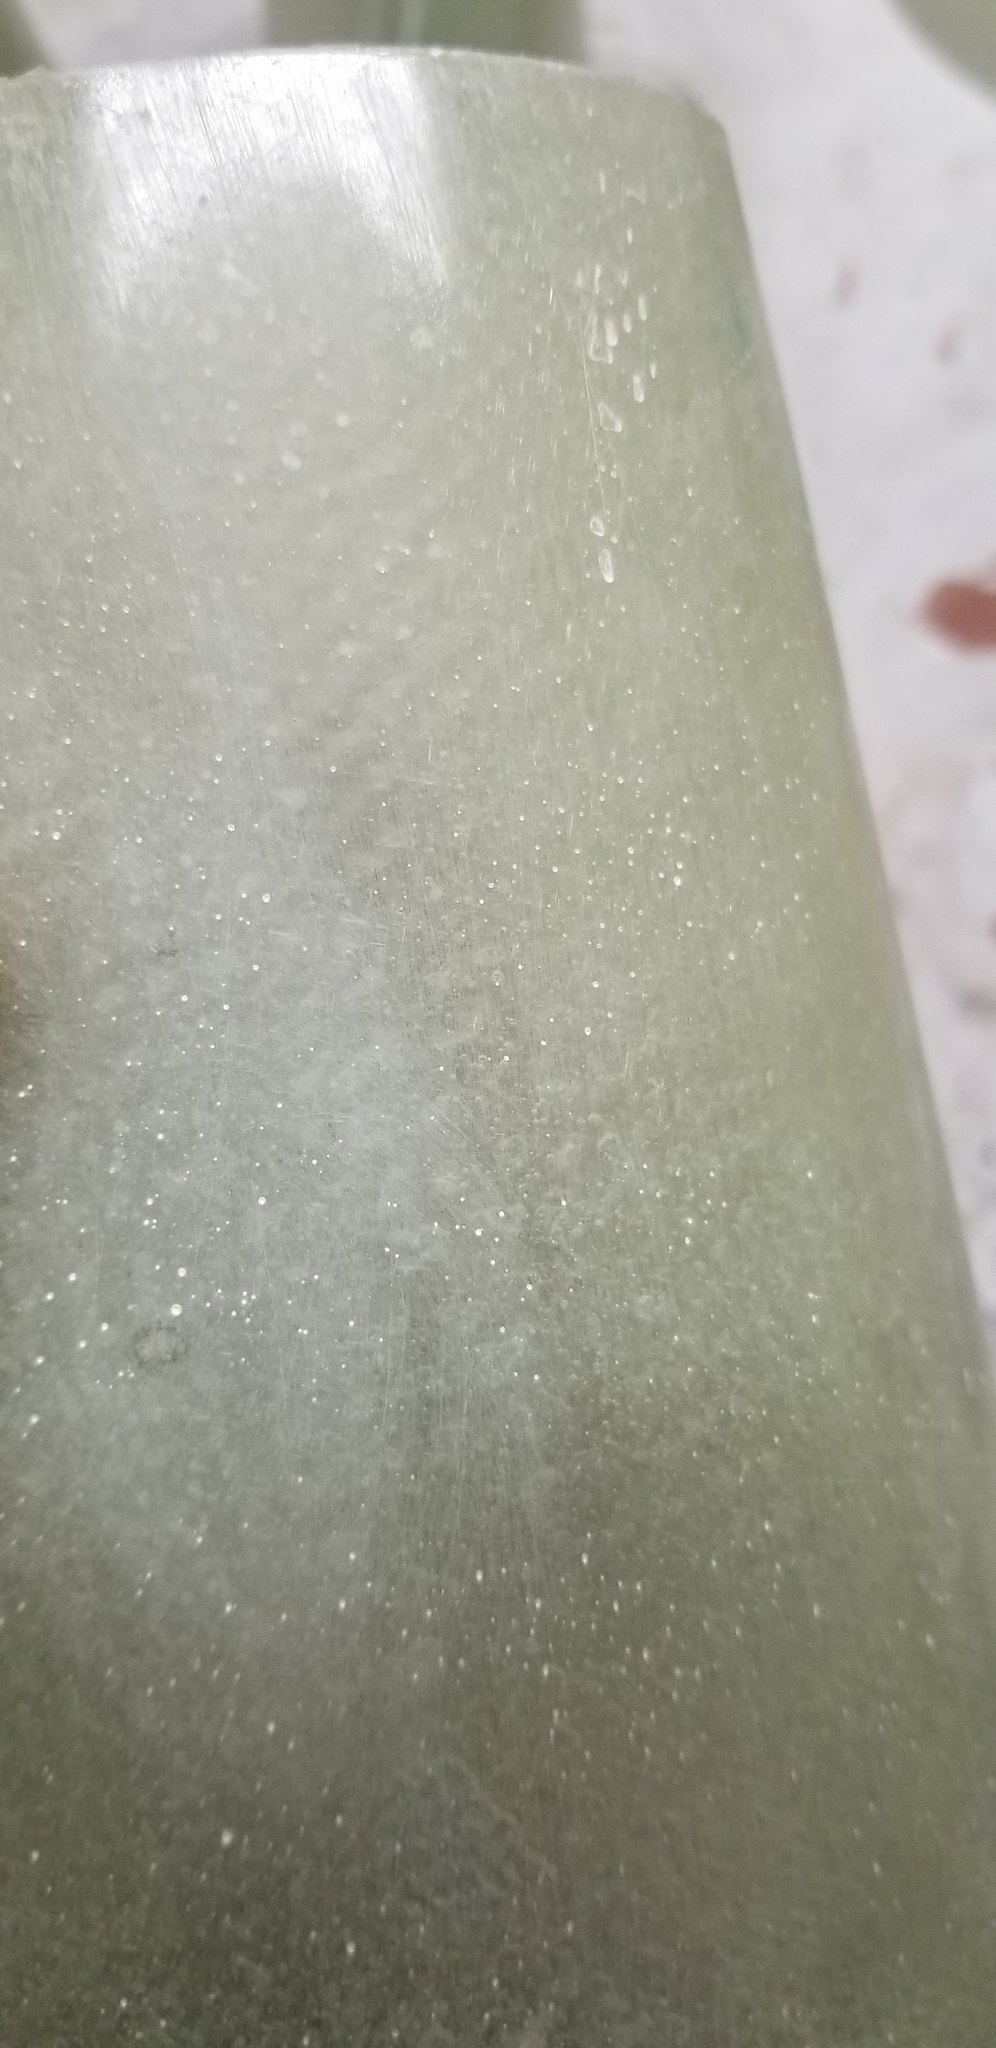
 T8
T8
For the OCD type (like me…most of the time!), there’s an easy solution to getting your transitions just right!
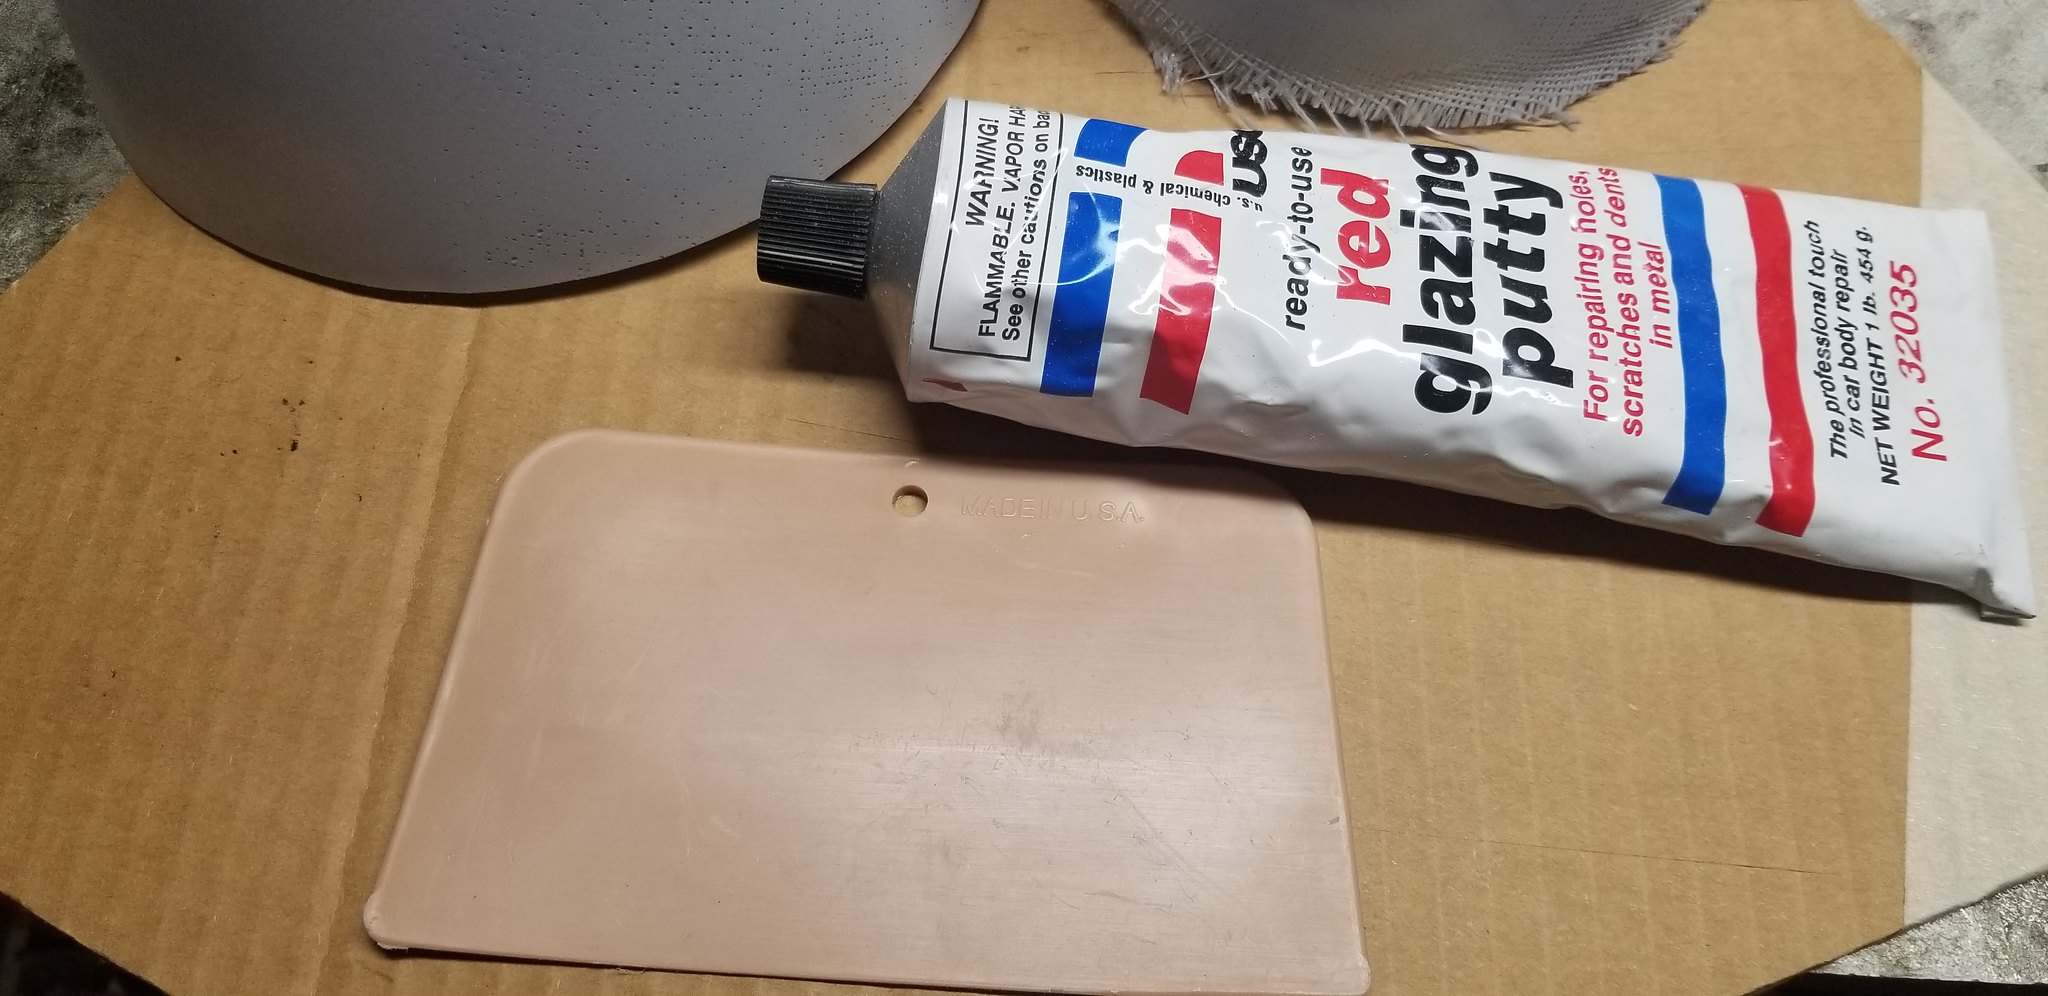
Add a very thin layer of glazing putty, spot putty, or equivalent to the surface. Unfortunately, I don’t have a photo of the area covered in putty…but I want to stress that less is more. All we’re trying to do is fill in the pinholes, not increase the wall thickness or outside diameter of the transition!!! Fill it, allow it to fully dry, and sand. A sanding sponge works well for the curved surface.
For the PPE conscious, a well ventilated area works well for application and drying (off-gassing). A respirator is helpful to keep the red nasties out of your respiratory system. Do not eat the red dust…it is not crushed red hot candy! Once you’re back down to the original glass surface, you should be good!
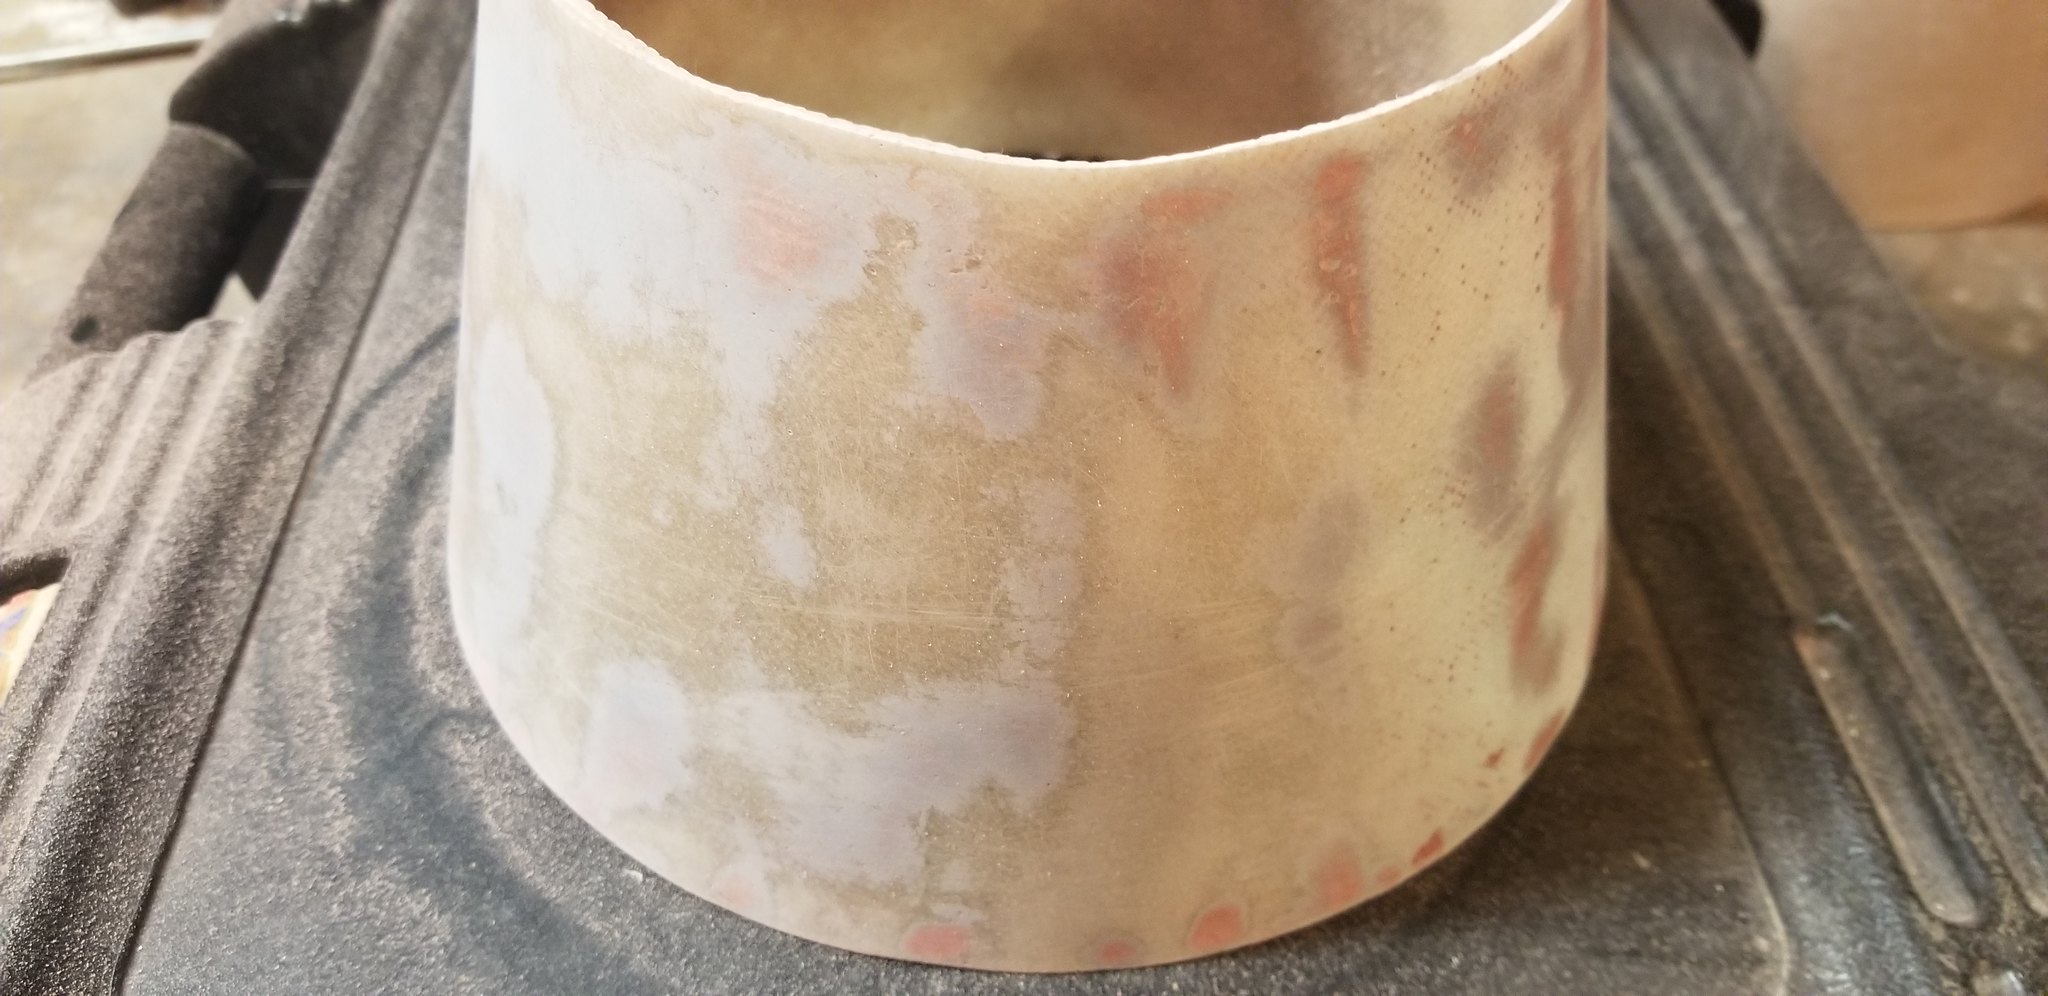
Hit it with another coat of primer to see!
One and done, I’m happy with it!
For comparision, I only filled and sanded the left half in the following photo. Left half filled, right half untouched. Both sides primed. Paint the good half!
Recovery section up next….