- Joined
- Nov 8, 2015
- Messages
- 1,401
- Reaction score
- 78
Ok, so I've been consuming all yall's information for months and talking here and there; however I realized I haven't captured my own build for my first Level 1 certification attempt. I've probably said somewhere before that I had an 11 year hiatus away from rocketry, and after my daughter built her Big Daddy, it all came back like a ton of bricks. I'd wanted to do Electronics way back when and never did. I'd done lots as a kid and then quite a bit when my oldest was back in grade school with many rockets leading up to the Apogee Saturn-V and a scratch build that launched a 12" GI Joe out on his own parachute. That was fun, but before I knew about NAR, etc; and while I used an H engine, not so sure it met the weight restrictions. Perfect flight though. Anyway, SO...11 years later (and a few months after I've already started) here's my build thread of my first Level 1 attempt: The Madcow Torrent bought at Apogee Rockets. I'd done tons of business with him way back and after watching numerous youtube videos back in august, immediately bought from him when I finally talked my wife into letting me attempt my bucket list! Level 1 and level 2. I immediately purchased a Torrent and a Level-2 rocket from Tim.
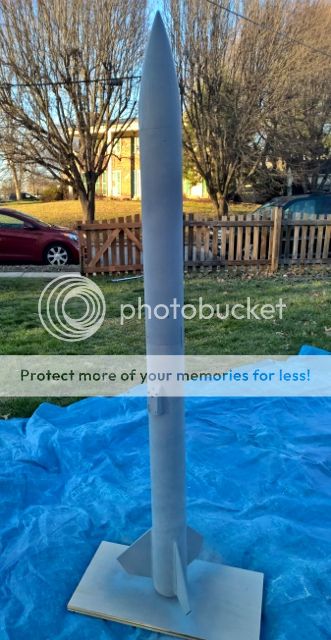
So here we go. Level 1: Madcow Torrent.
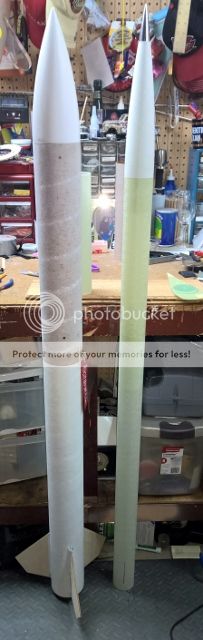
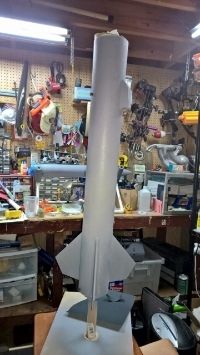
First, I love the kit. The upper payload area of the rocket was damaged upon arrival, but they squared that away. Instead of a 12" tube, they sent me a 19". Didn't want to cut that because it was "BIGGER".") I ran the sims through rocksim; it seemed stable, so I reached out to Tim and he assured me it would be stable with the new tube.
I ran the sims through rocksim; it seemed stable, so I reached out to Tim and he assured me it would be stable with the new tube.
So starting off, I began with the motor mount tube. As I began I was only familiar with Bob Smith Epoxy and Fix It epoxy. I'd not even found TRF yet. Here's the motor mount and a little grace on my abilities.
.jpg")
.jpg")
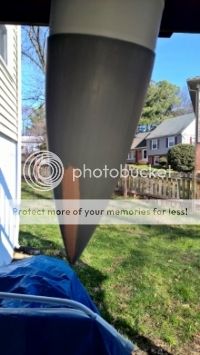
Test fitting with the 12" nosecone and the 19" in the background.
.jpg")
This was hoping I made a good fillet for the centering ring to hold in the 38mm motor tube. Also got the fins attached. I tried making a template, but didn't know about payloadbay.com at the time. So I used the old traditional arrow making method of sighting down the shaft.
.jpg")
.jpg")
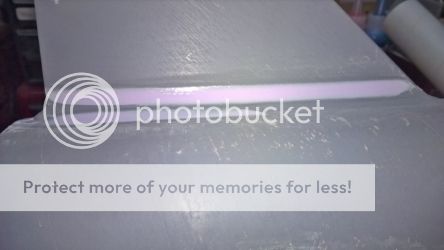
Next came making fillets for the fins. Ok, so it's been 11 years since I made fillets with Fix-it Epoxy. Sadly these showed. Since then you all have introduced me to RocketPoxy and taught me how to do it. My Tomach looks soo much nicer. Alas, these will hold for the Level 1.
.jpg")
.jpg")
.jpg")
I'll continue later....
So here we go. Level 1: Madcow Torrent.
First, I love the kit. The upper payload area of the rocket was damaged upon arrival, but they squared that away. Instead of a 12" tube, they sent me a 19". Didn't want to cut that because it was "BIGGER".
I ran the sims through rocksim; it seemed stable, so I reached out to Tim and he assured me it would be stable with the new tube.So starting off, I began with the motor mount tube. As I began I was only familiar with Bob Smith Epoxy and Fix It epoxy. I'd not even found TRF yet. Here's the motor mount and a little grace on my abilities.
Test fitting with the 12" nosecone and the 19" in the background.
This was hoping I made a good fillet for the centering ring to hold in the 38mm motor tube. Also got the fins attached. I tried making a template, but didn't know about payloadbay.com at the time. So I used the old traditional arrow making method of sighting down the shaft.
Next came making fillets for the fins. Ok, so it's been 11 years since I made fillets with Fix-it Epoxy. Sadly these showed. Since then you all have introduced me to RocketPoxy and taught me how to do it. My Tomach looks soo much nicer. Alas, these will hold for the Level 1.
I'll continue later....