watermelonman
Well-Known Member
- Joined
- Sep 22, 2014
- Messages
- 2,597
- Reaction score
- 10
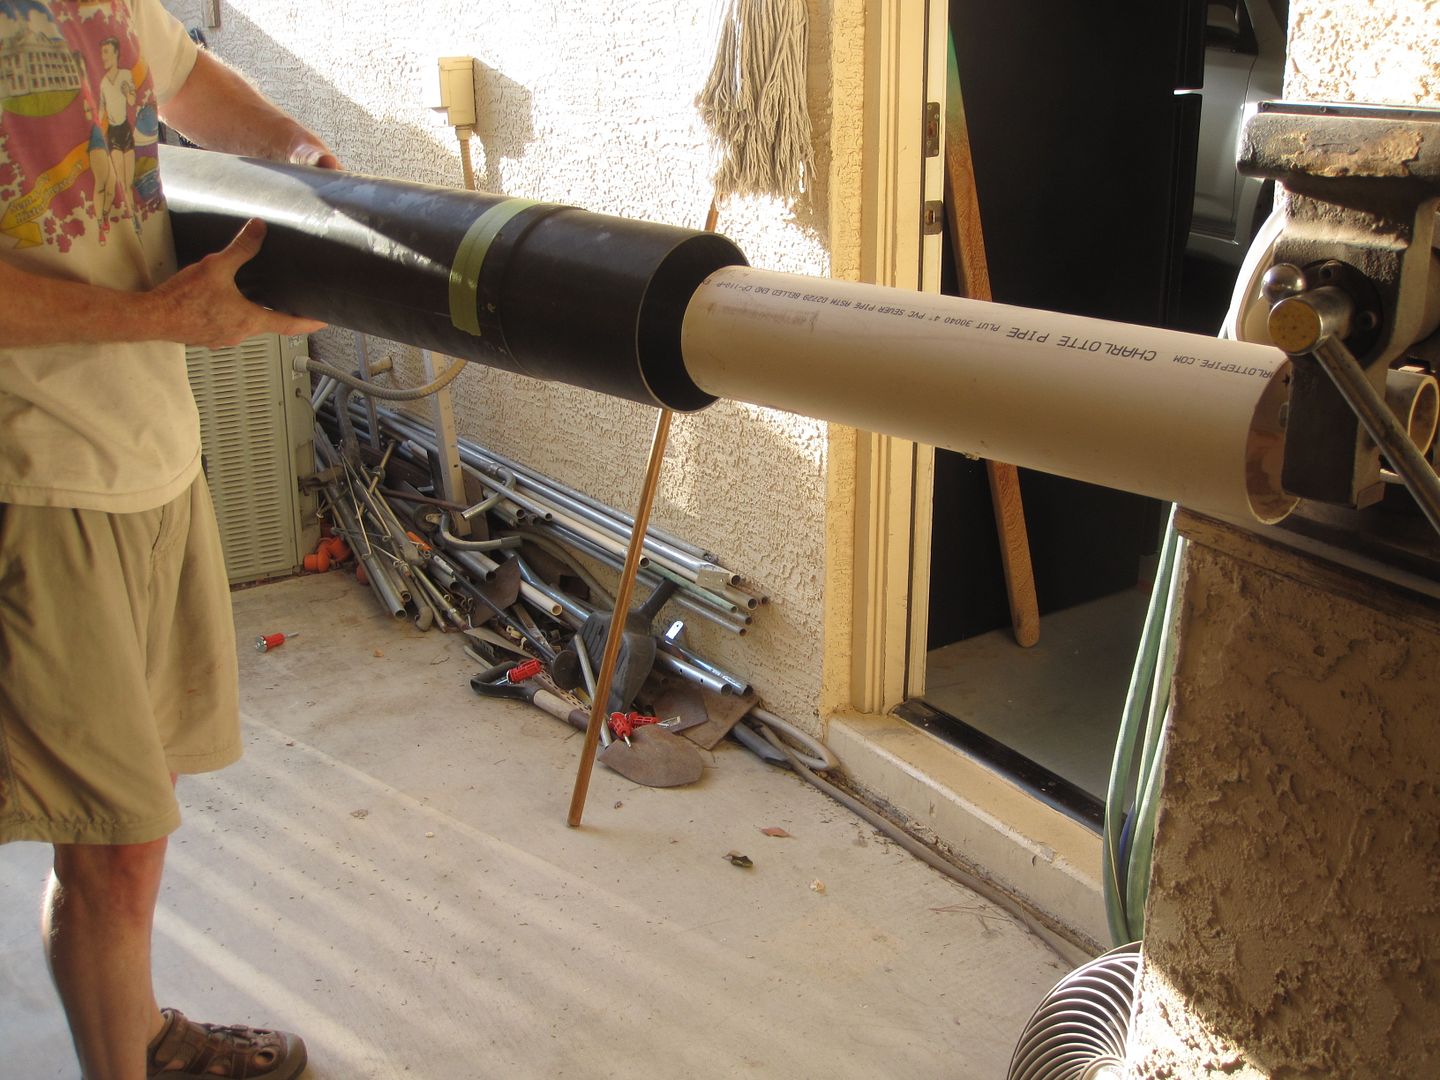
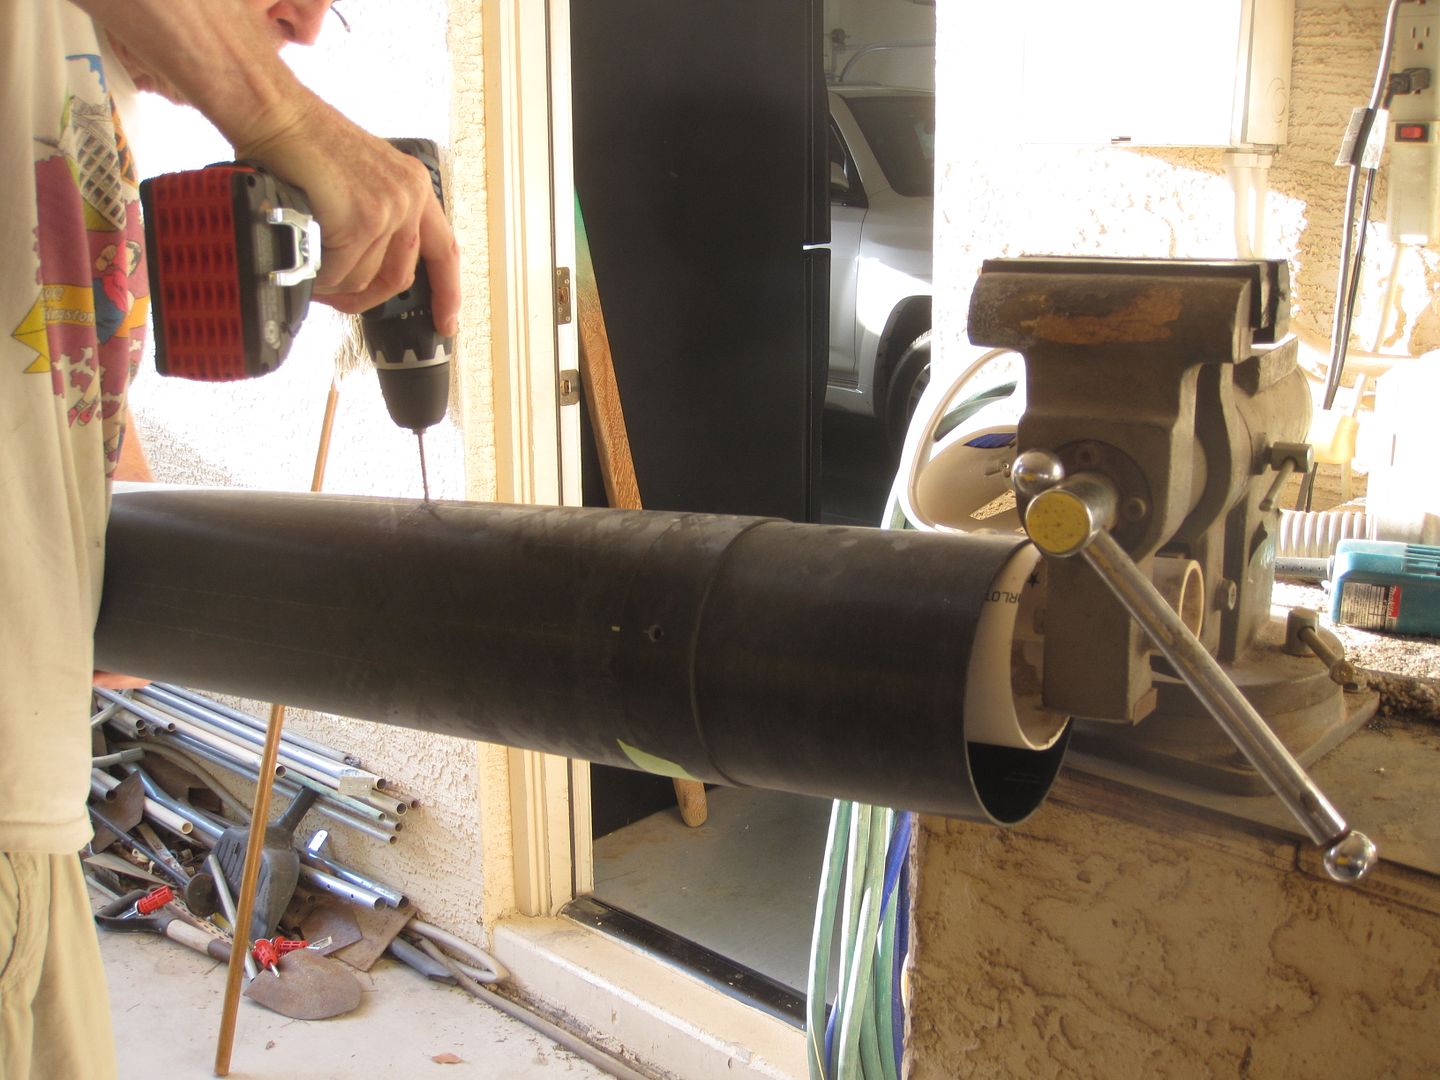
I brew my own beer, but that doesn't mix too well with building...or flying...
We bring beer out to Black Rock for consumption post flying. I need to get another batch together so I can bring my own!