


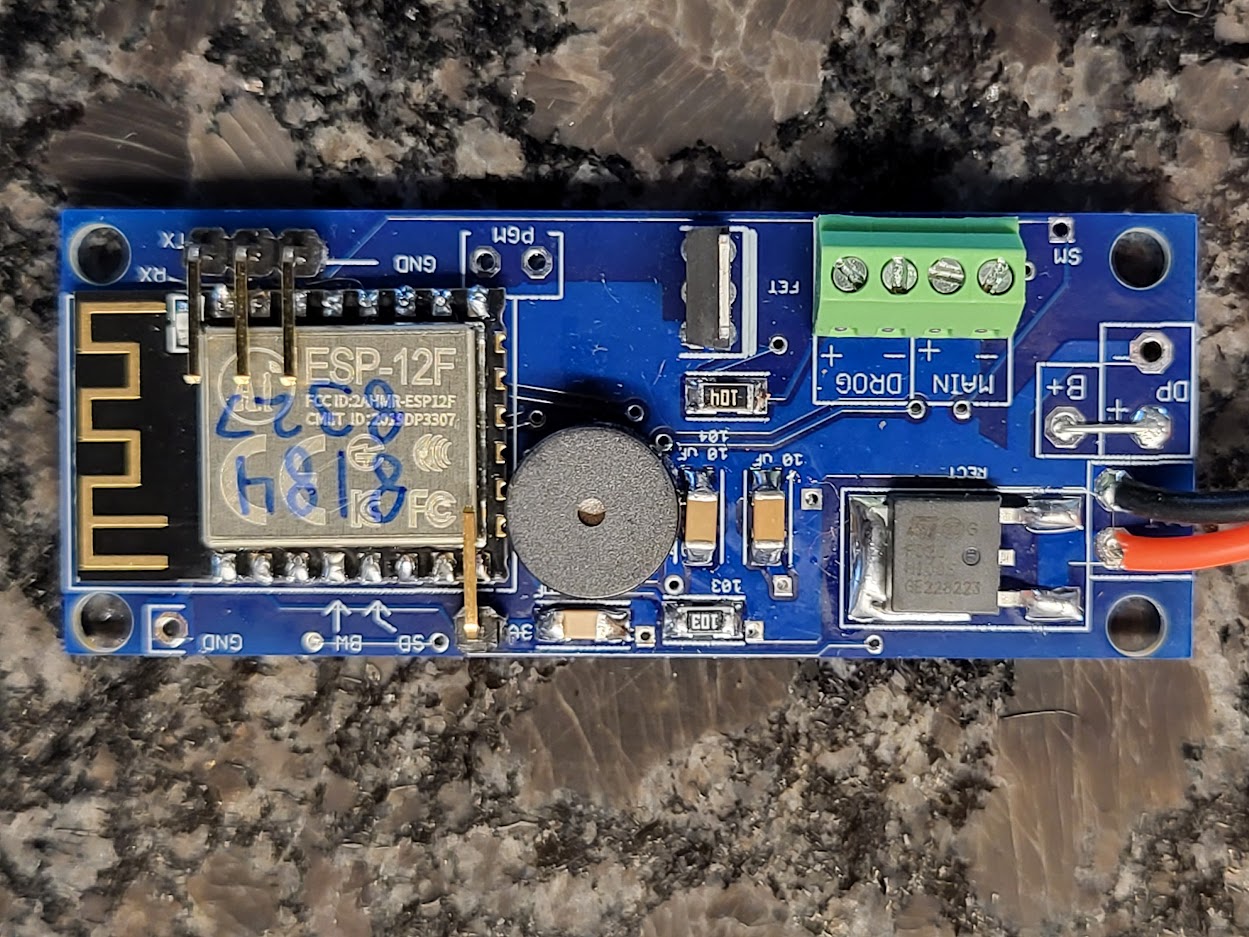
I'm very happy to report I had a successful ride-along of my just built Eggtimer Quantum. After some bad experiences with a different brand, I decided I'd explore the Eggfinder/Eggtimer family of products. I put a big order in and got a Quantum, Quasar, and the LCD system (with all the options).
I really enjoyed the build. I've done lots of soldering before, but not something with this many surface mounted components. Based on the recommendations I read here, I purchased an 8X illuminated magnifier from Amazon and this we definitely a game changer. This is the one I ordered (based on another thread here recommending the same one): https://www.amazon.com/gp/product/B09DTWH27W/ref=ppx_yo_dt_b_asin_title_o01_s00?ie=UTF8&psc=1 My eyesight used to be excellent close-up, but not so much anymore. This magnifier made a HUGE difference. Also, the instructions provided a lot of great tips and technique suggestions. I definitely learned from them.
This weekend, I stuffed the Quantum along with a 2-cell Lipo, wrapped in quilt batting into the payload bay of my Estes Ventris (properly vented and nosecone secured, of course) and sent it for a ride. I hooked up Christmas light bulbs to the outputs so that it would allow me to arm it. Again, this was just a ride-along so that I could look at the post-flight log and confirm everything looked good before I retrofit this onto another rocket for the real thing. It all worked perfectly!
I'm LOVING the wifi interface. I think this is a really great feature. I probably still will use a hard switch in-line just because I like to button up the av-bay and have things ready the night before.
Does anyone have any handy tips for making the on-phone process at the pad as efficient as possible? It is already very simple, but on the eventual final configuration I plan to run the Quasar as primary and the Quantum as secondary. The way I see it, the workflow is to access the wifi and select the first altimeter hotspot and arm, then go back to the wifi and select the second altimeter hotspot, arm, and then done.
Next up will be the Quasar and LCD receiver, once I get my 3d printed case in the mail from black aero.
Here is my Quantum: