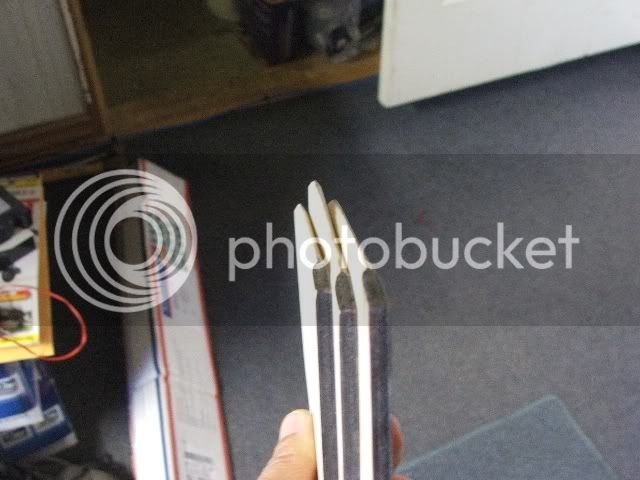
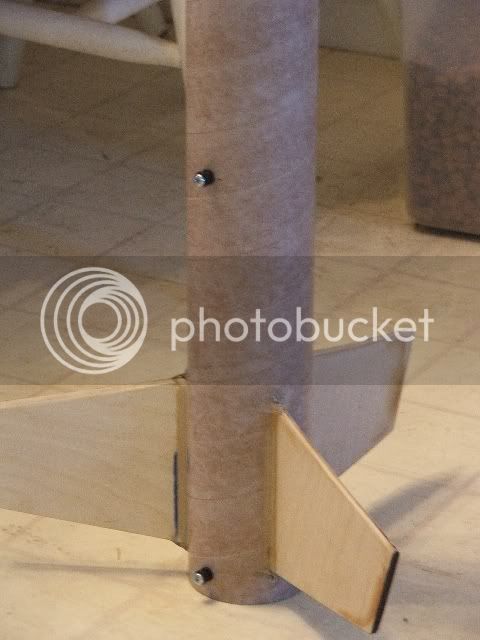
Thanks for the tip Scott! Will have to try that out on my next HPR build,,Where would one get the milled fiberglass? Is it available in that form? One thing I DID notice when I was mixing the epoxy batches, was that I was getting a TON of tiny air bubbles..Figured out I was mixing too vigorously, and when I slowed down the mixing of the resin/hardener the air bubbles weren't present..
Yeah, I am taking my time..On hold now til after Saturday so I can get some input from some other HP fliers on an altimeter of choice..After that, hot and heavy to get the e-bay done and then fill sand and paint
")
Hope to have the maiden flight on February 9th, and will make sure I get some pictures off to you for the website! I am really digging this build!