On my last build thread, I promised one more Mongoose build. I started out building rockets a few years ago when a buddy of mine called me in October to remind me about a 4x4 campout that he and a few others had been bringing model rockets to. It is an annual camping trip over New Years that we had been attending for many years. I kept forgetting to find and build a little rocket to join in the fun. Little did I know what this would grow into. :y:
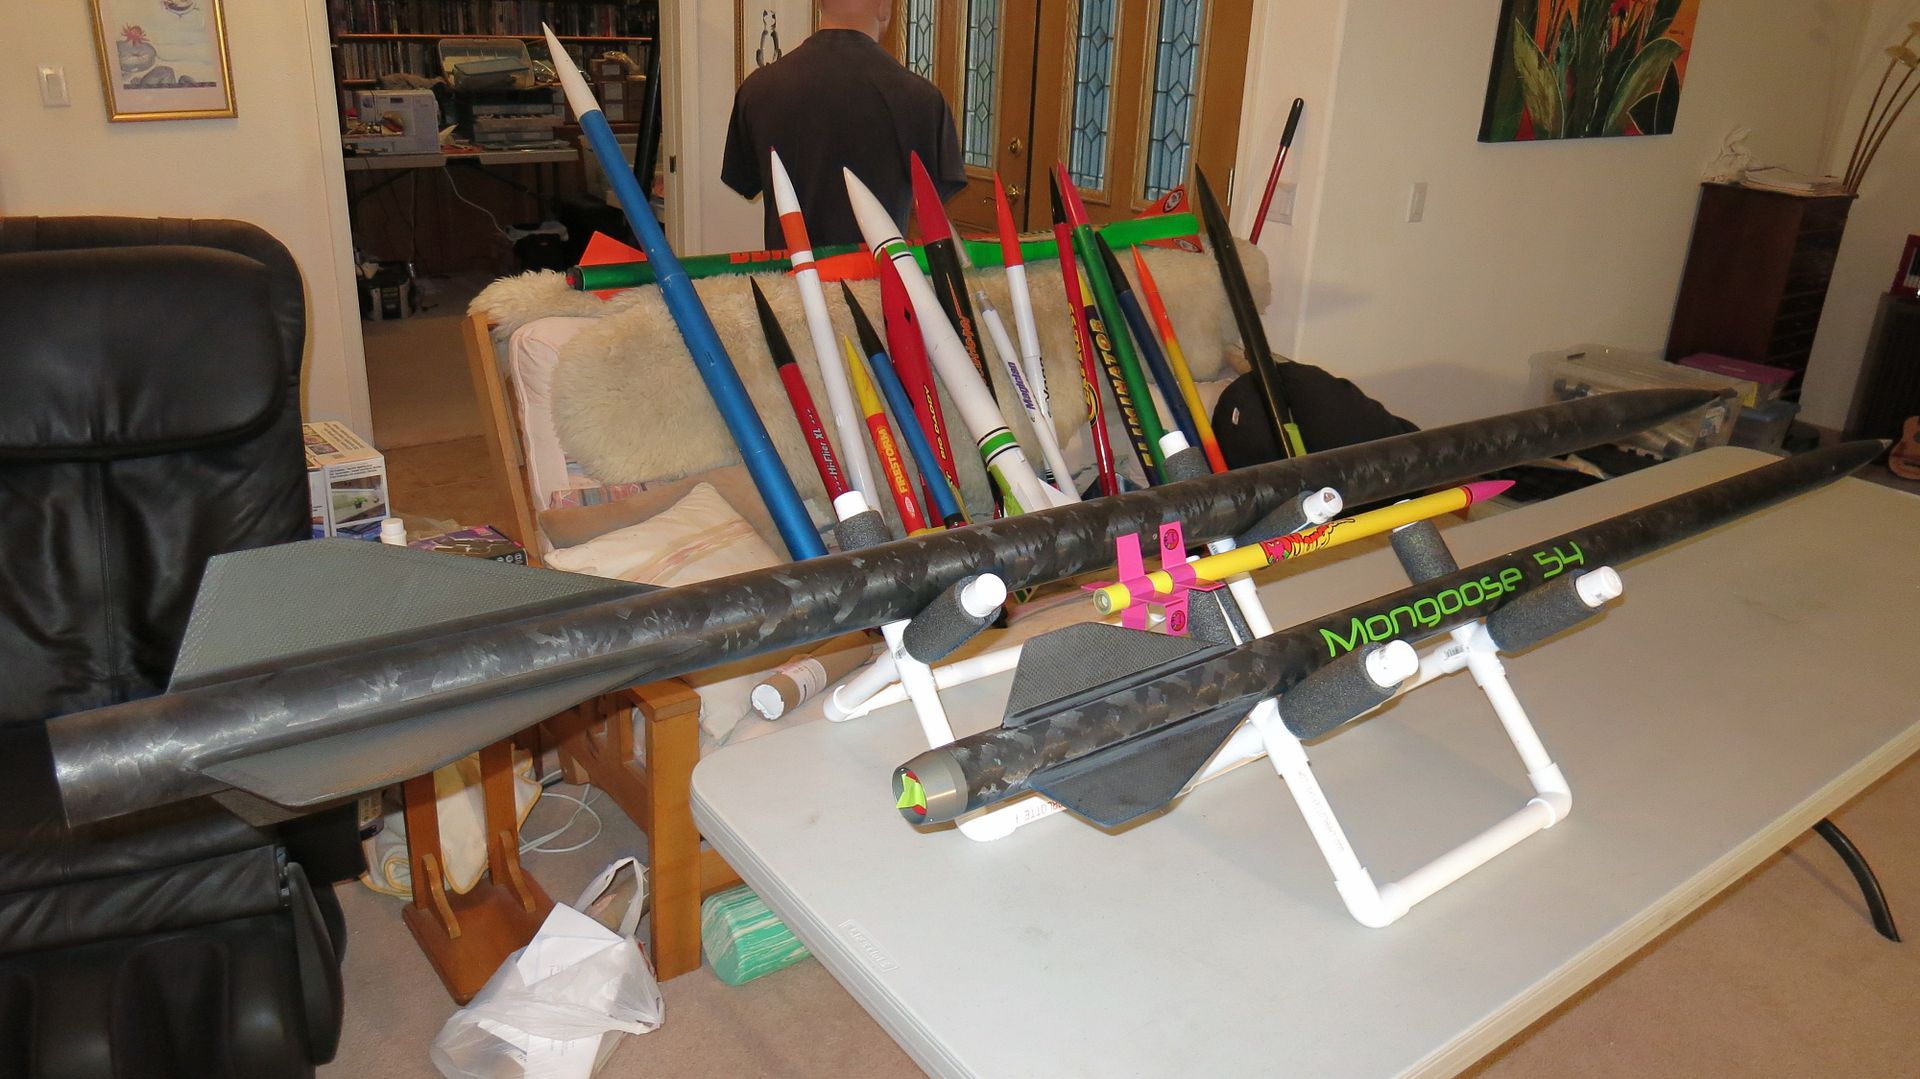
When I went into the hobby shop, I immediately looked for the kit that listed the highest altitude, my first clue that I would become an altitude junky. The kit that fit the bill was the Estes Mongoose. So here is the build I started with, and as expected, it will have several modifications that I determined were beneficial after many flights over the years.
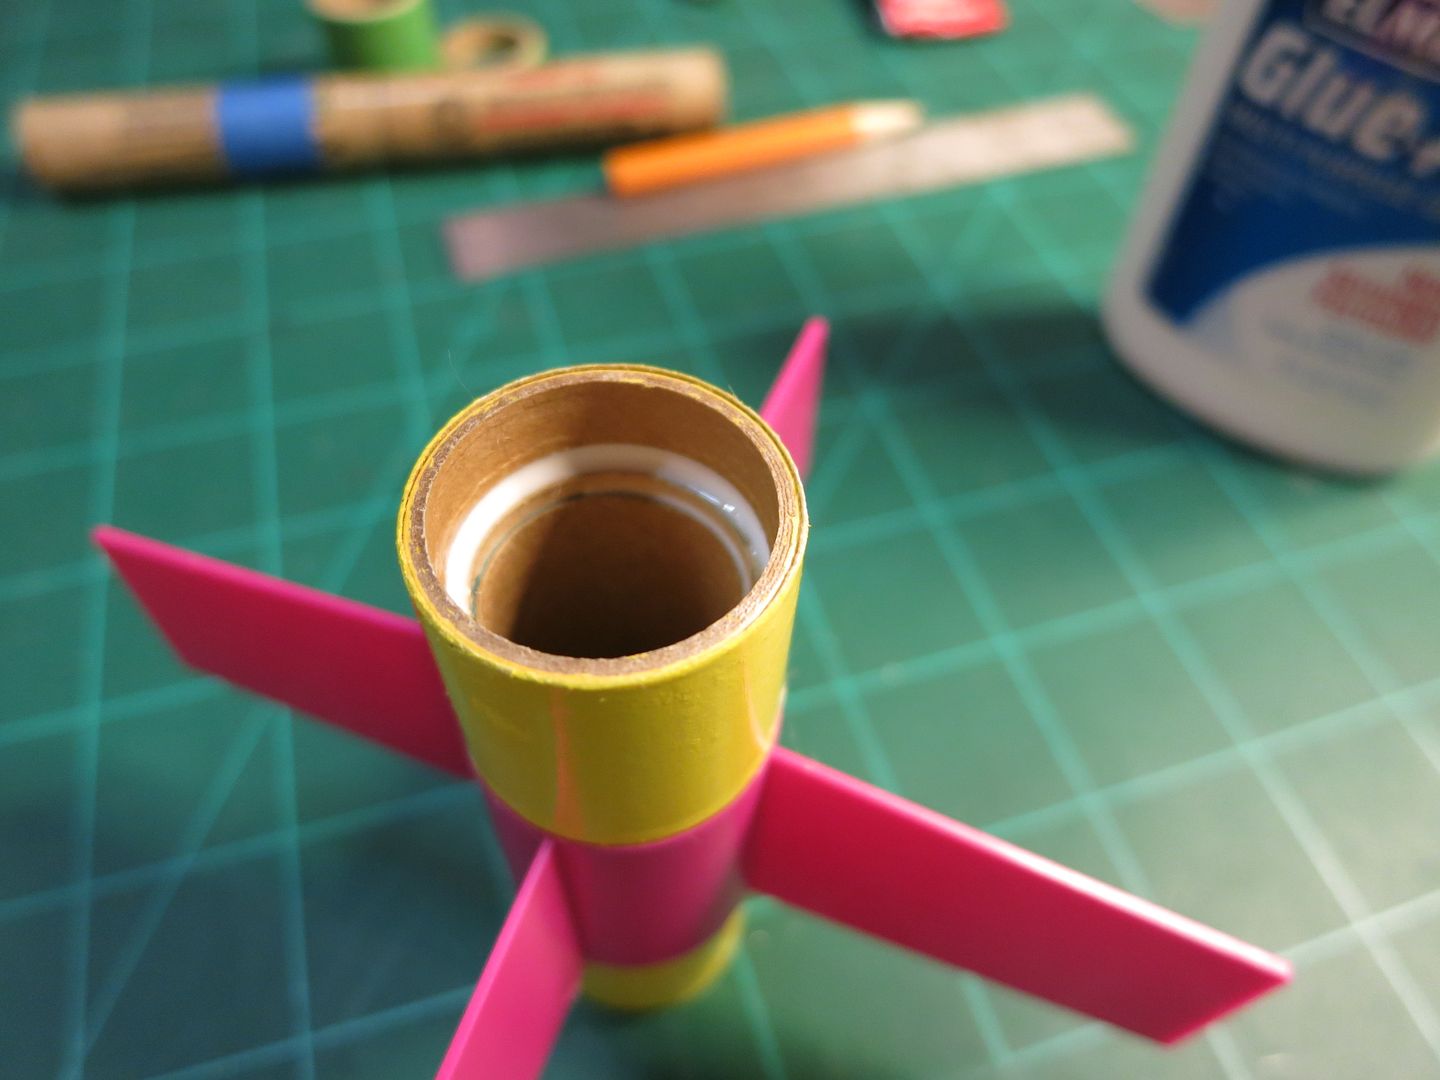
The old kits were yellow and pink, and thanks to my loving wife Sharon, this build will be using an old kit she found on ebay:
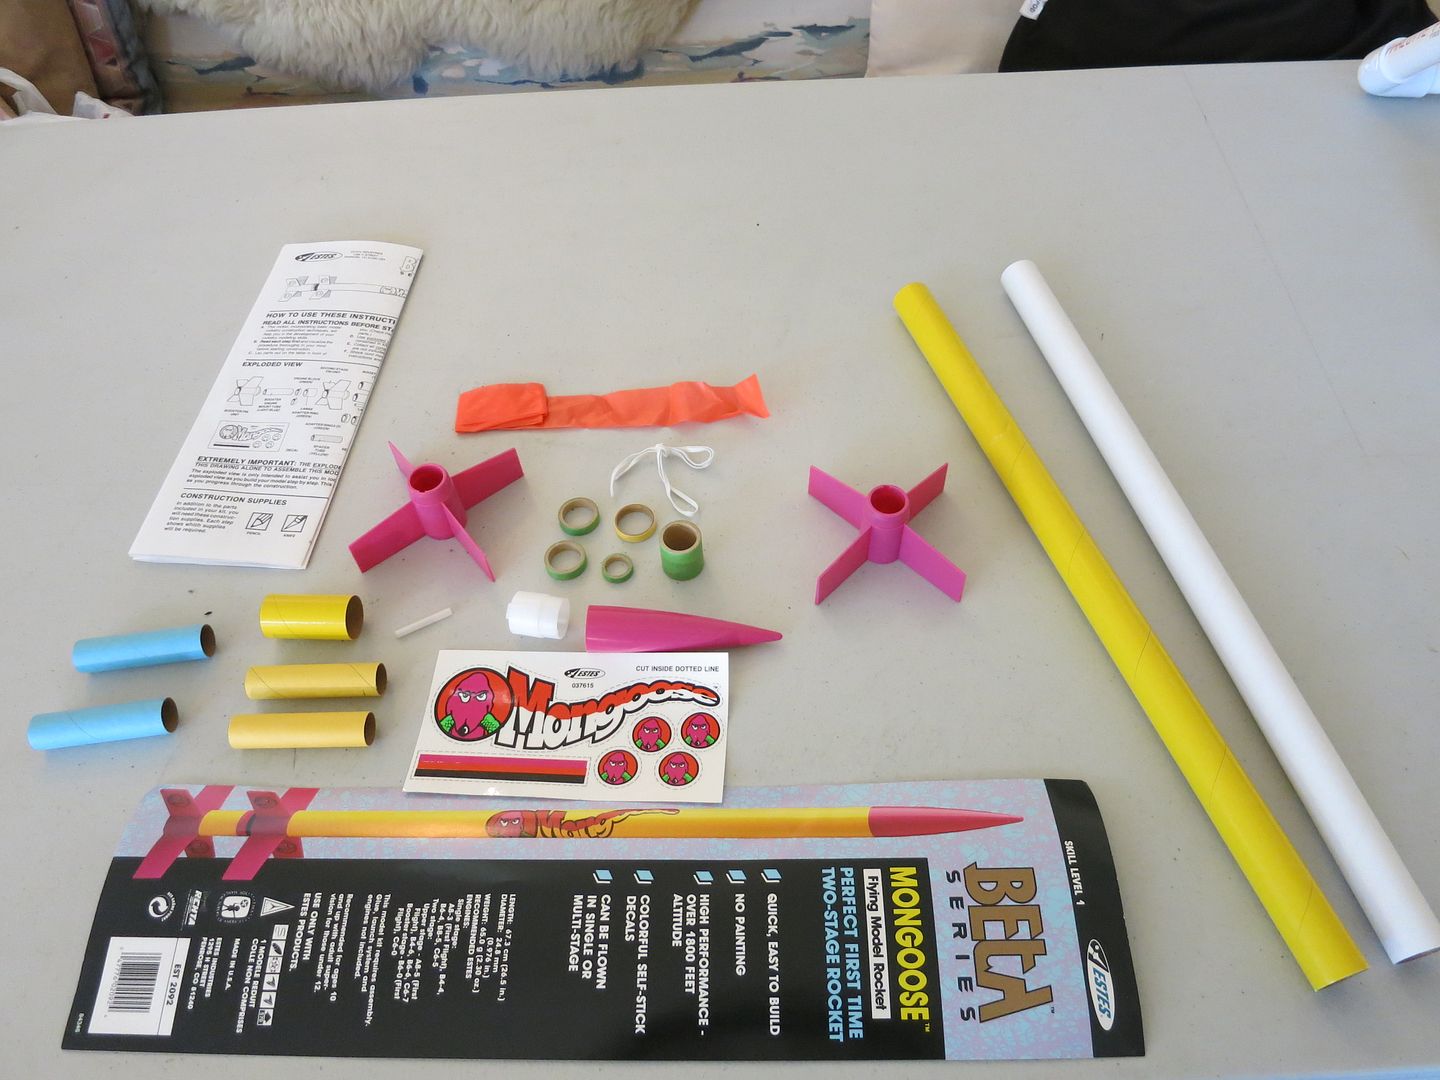
As you might notice, there are two body tubes in this pic, the yellow one that came with the kit has a ding in it, so I'm using another BT-50 tube that I took outside and painted Rustoleum "John Deere" yellow.
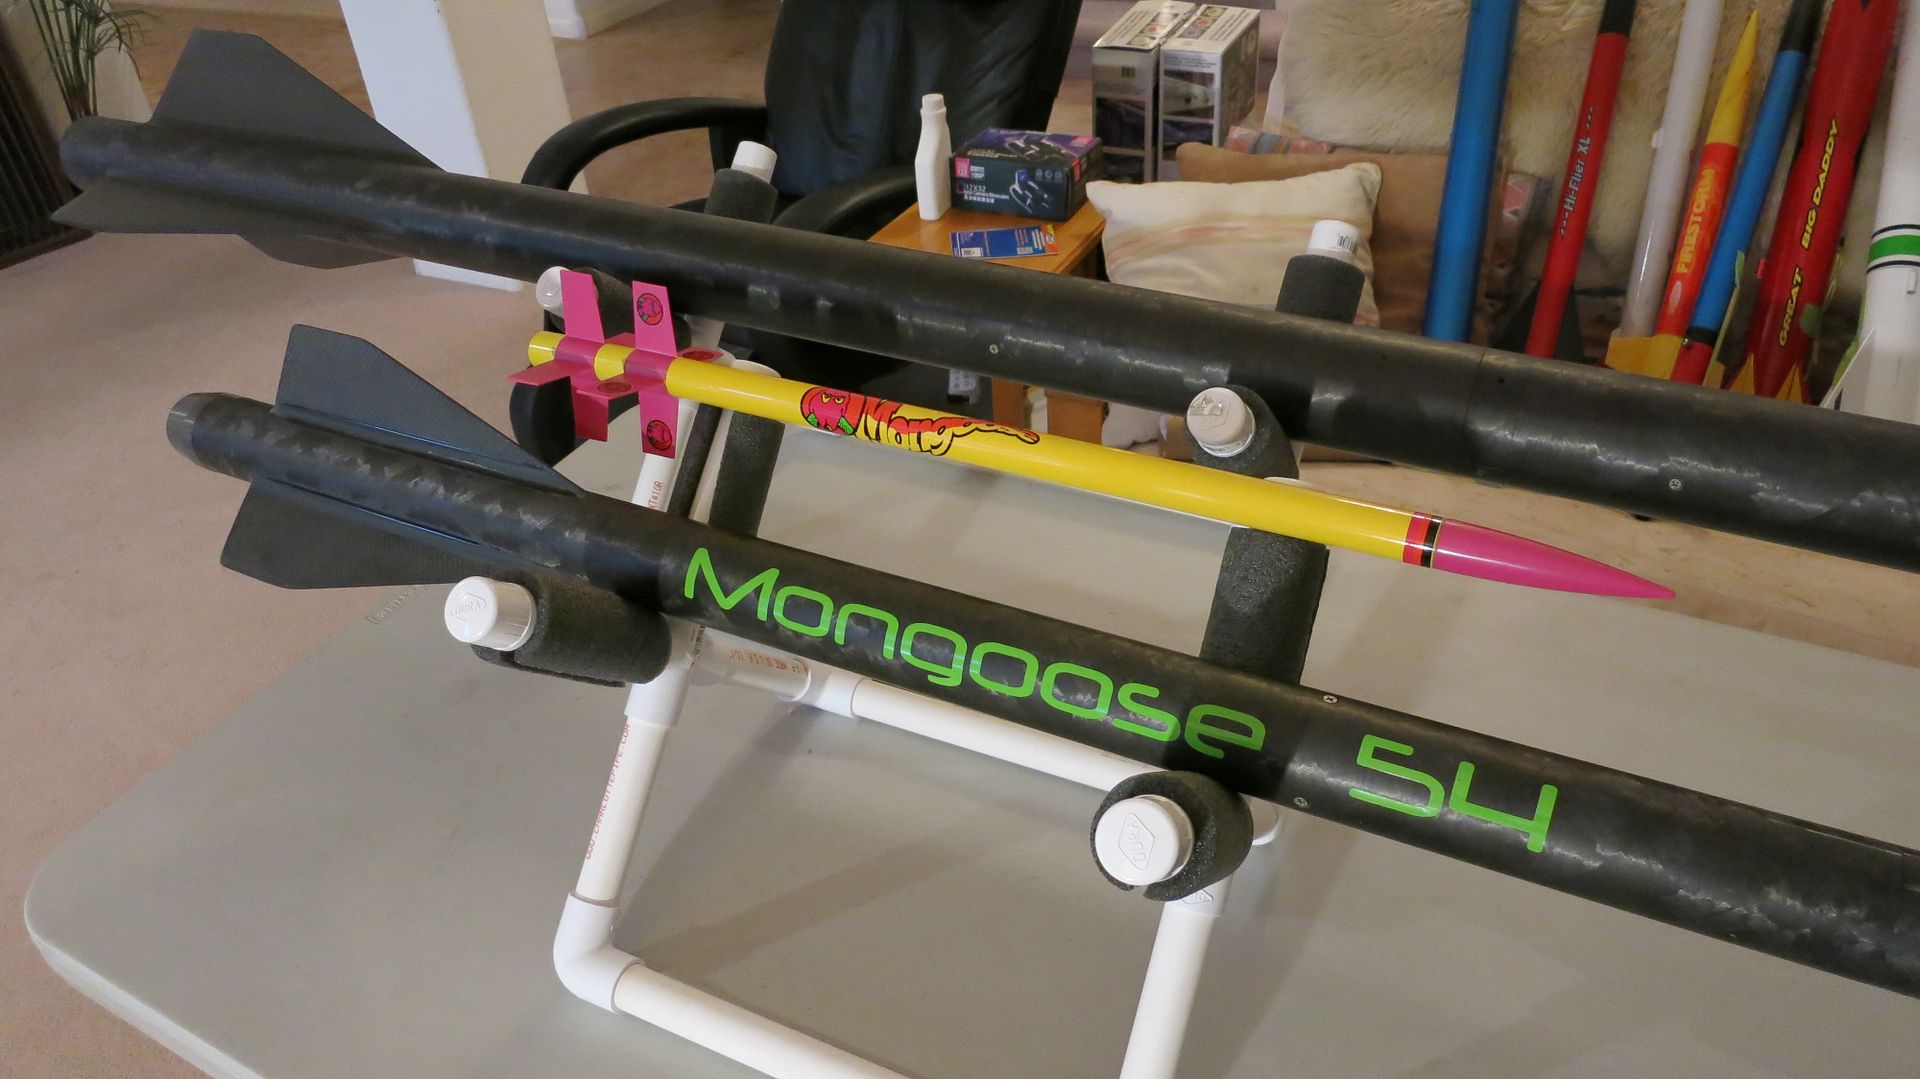
One of the first problems I ran into with my first launches of this model is that the booster always came in ballistic and crumpled the body tube in front of the fins. It took me a few years to figure out how to solve this problem, since I was only launching once a year at the annual campout. To make the booster tumble, the fins have to be in the middle of the tube. Here is a picture of several boosters I have built:
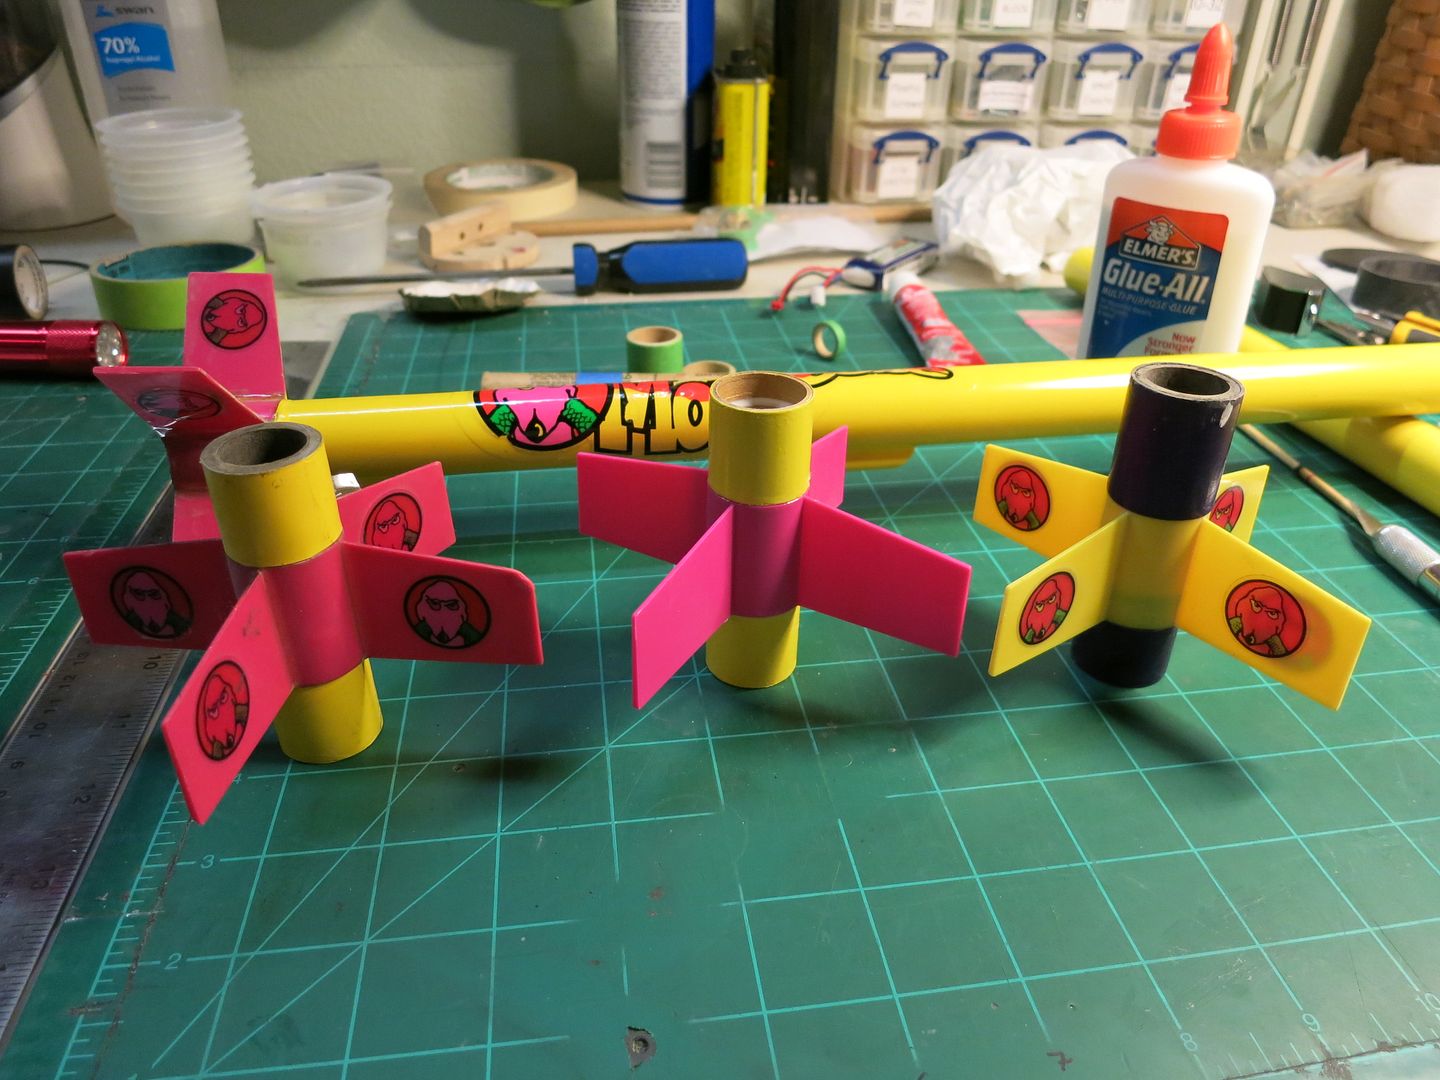
The one on the left is from my first rocket, with the sustainer in the background. It's been retired for a couple of years due to the fins being so brittle, every flight caused one or more fins to break off. The one in the middle is the current build, and the one on the right is from a later model that was recovered but the sustainer was lost. As you can see, the booster body tube has to be cut in half, and you will need a couple of extra 18/24mm centering rings to do this mod.
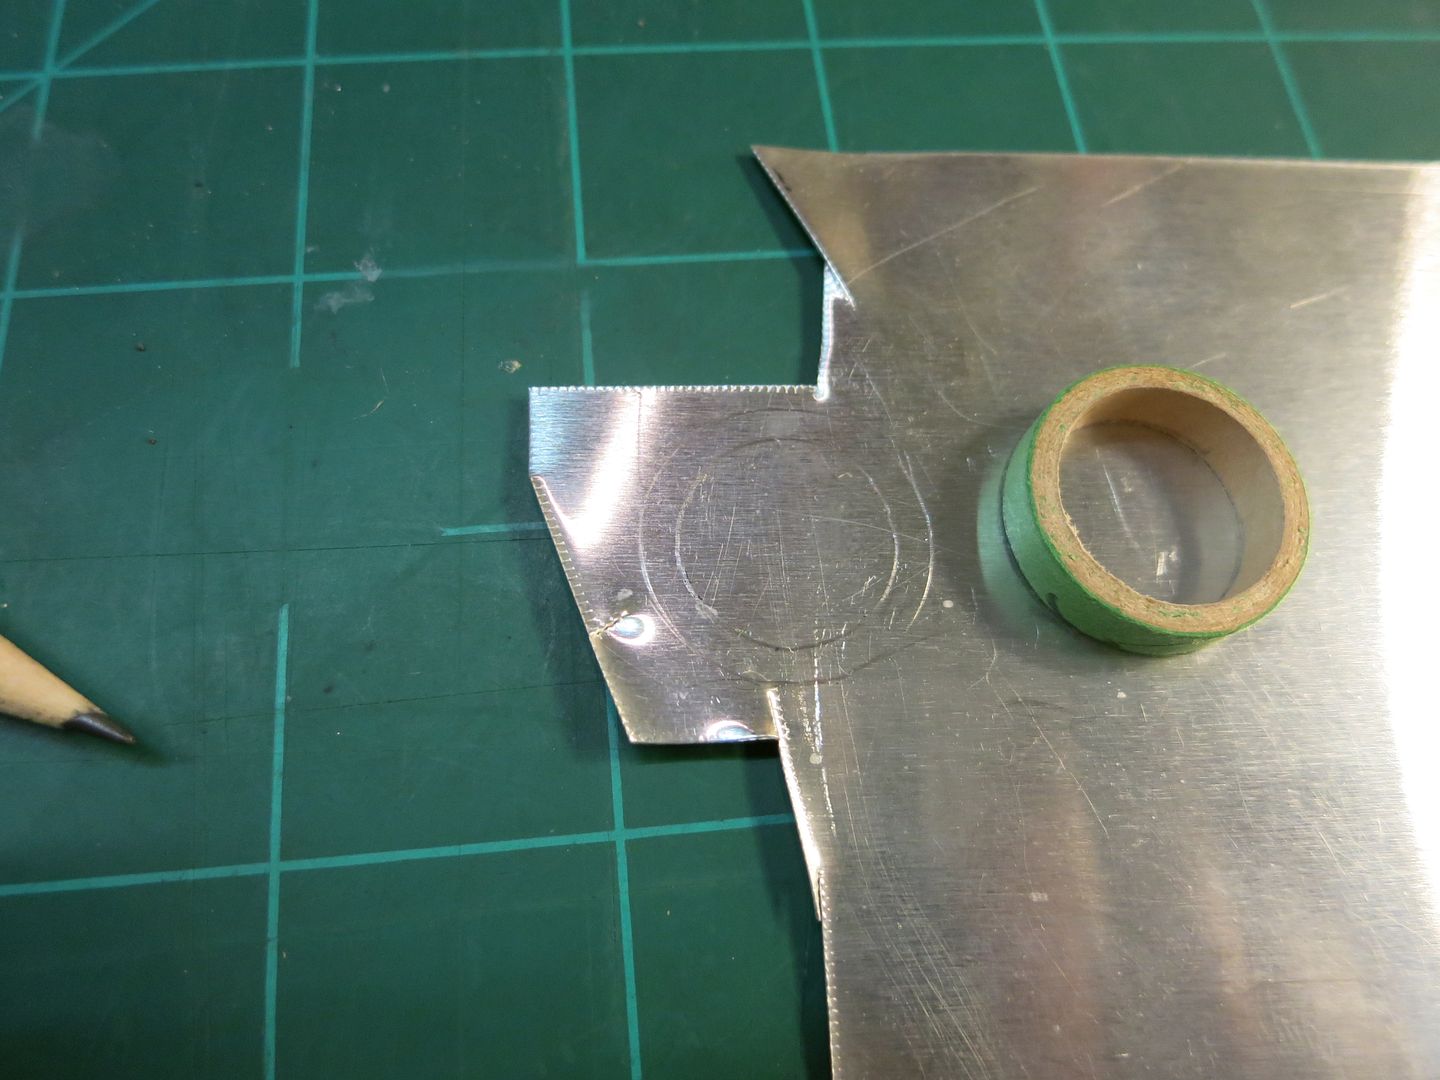
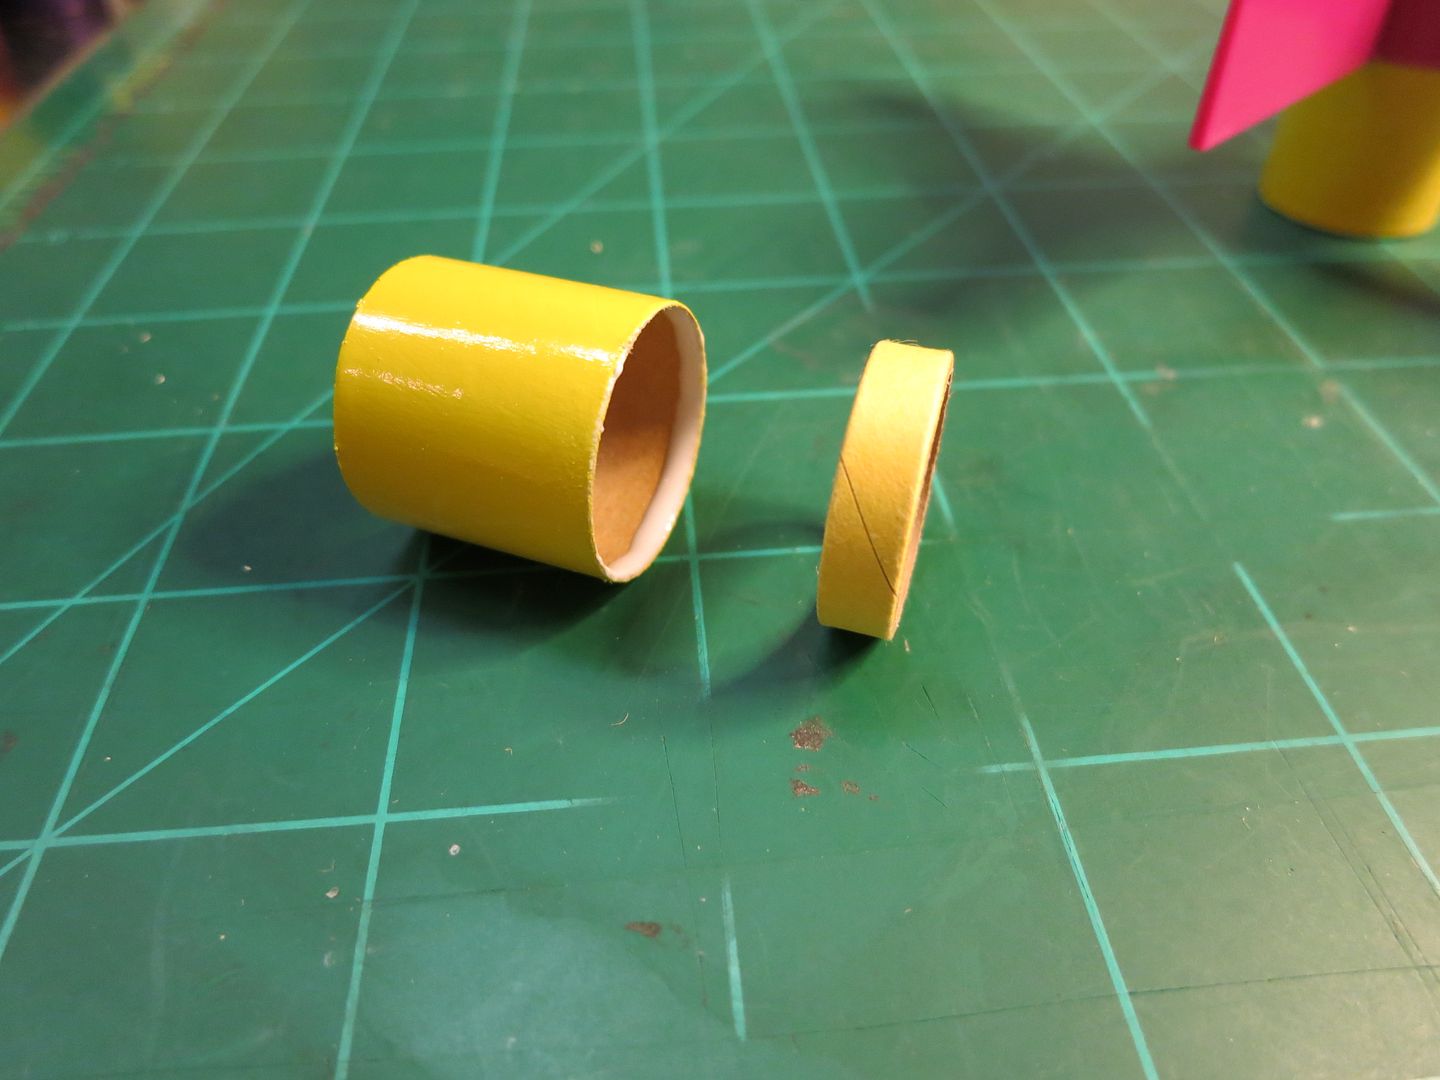
The booster body tube is just under 2" long, so mark it in the middle:
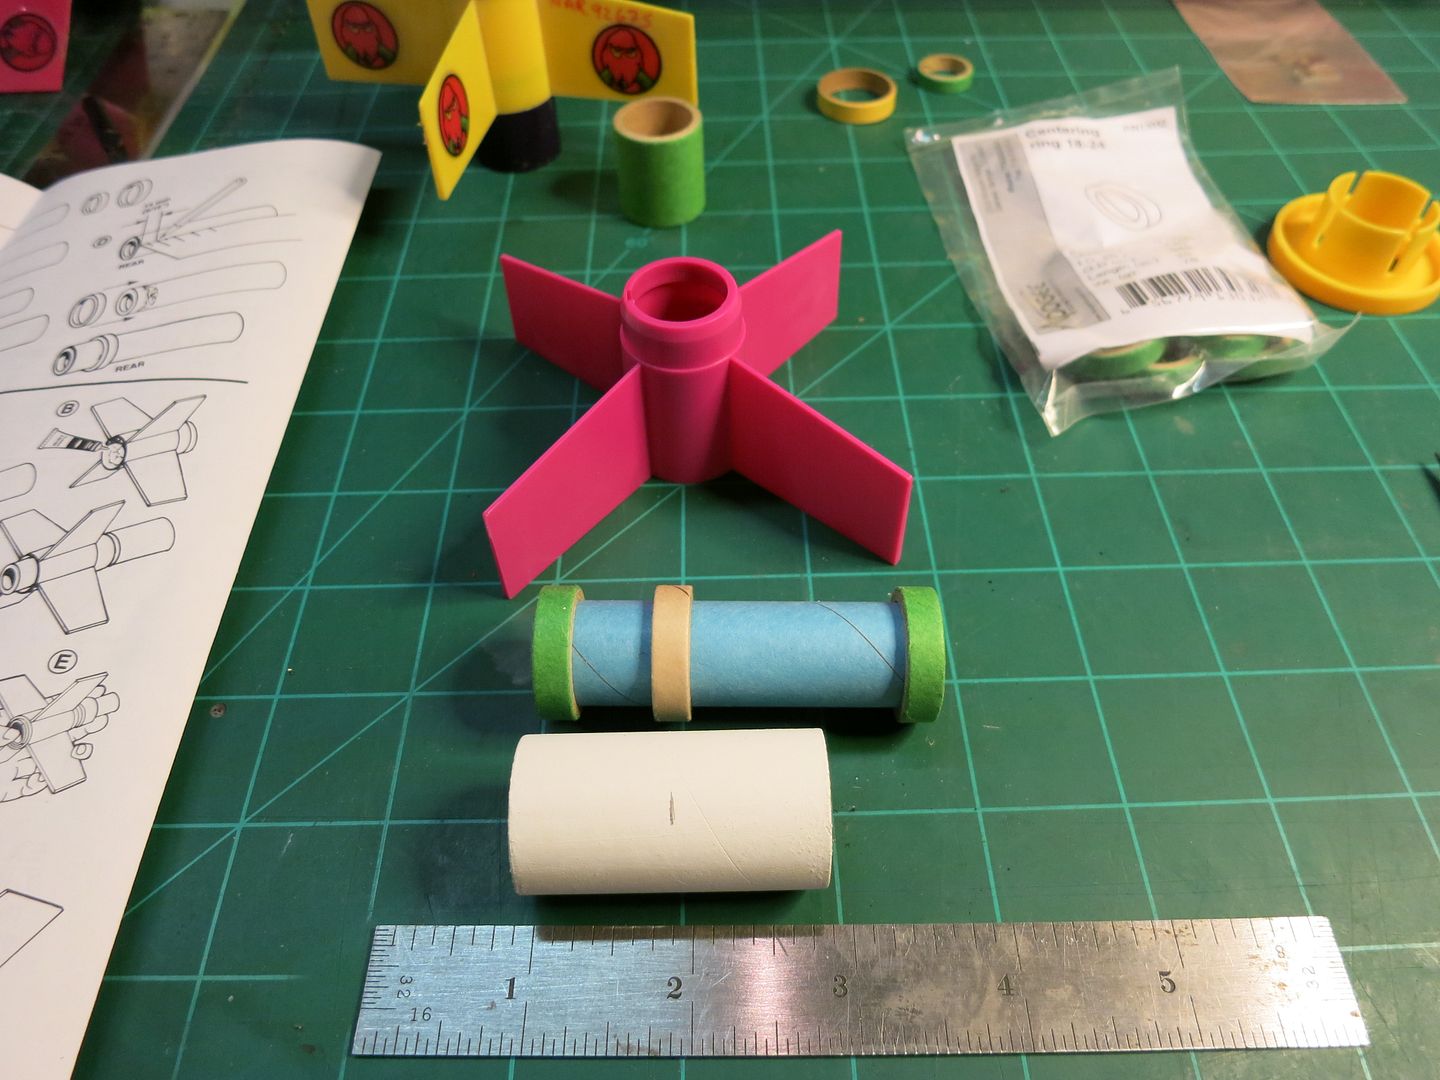
Cut it with an x-acto knife and the Estes tool, or wrap it with a piece of tape if you don't have the tool:
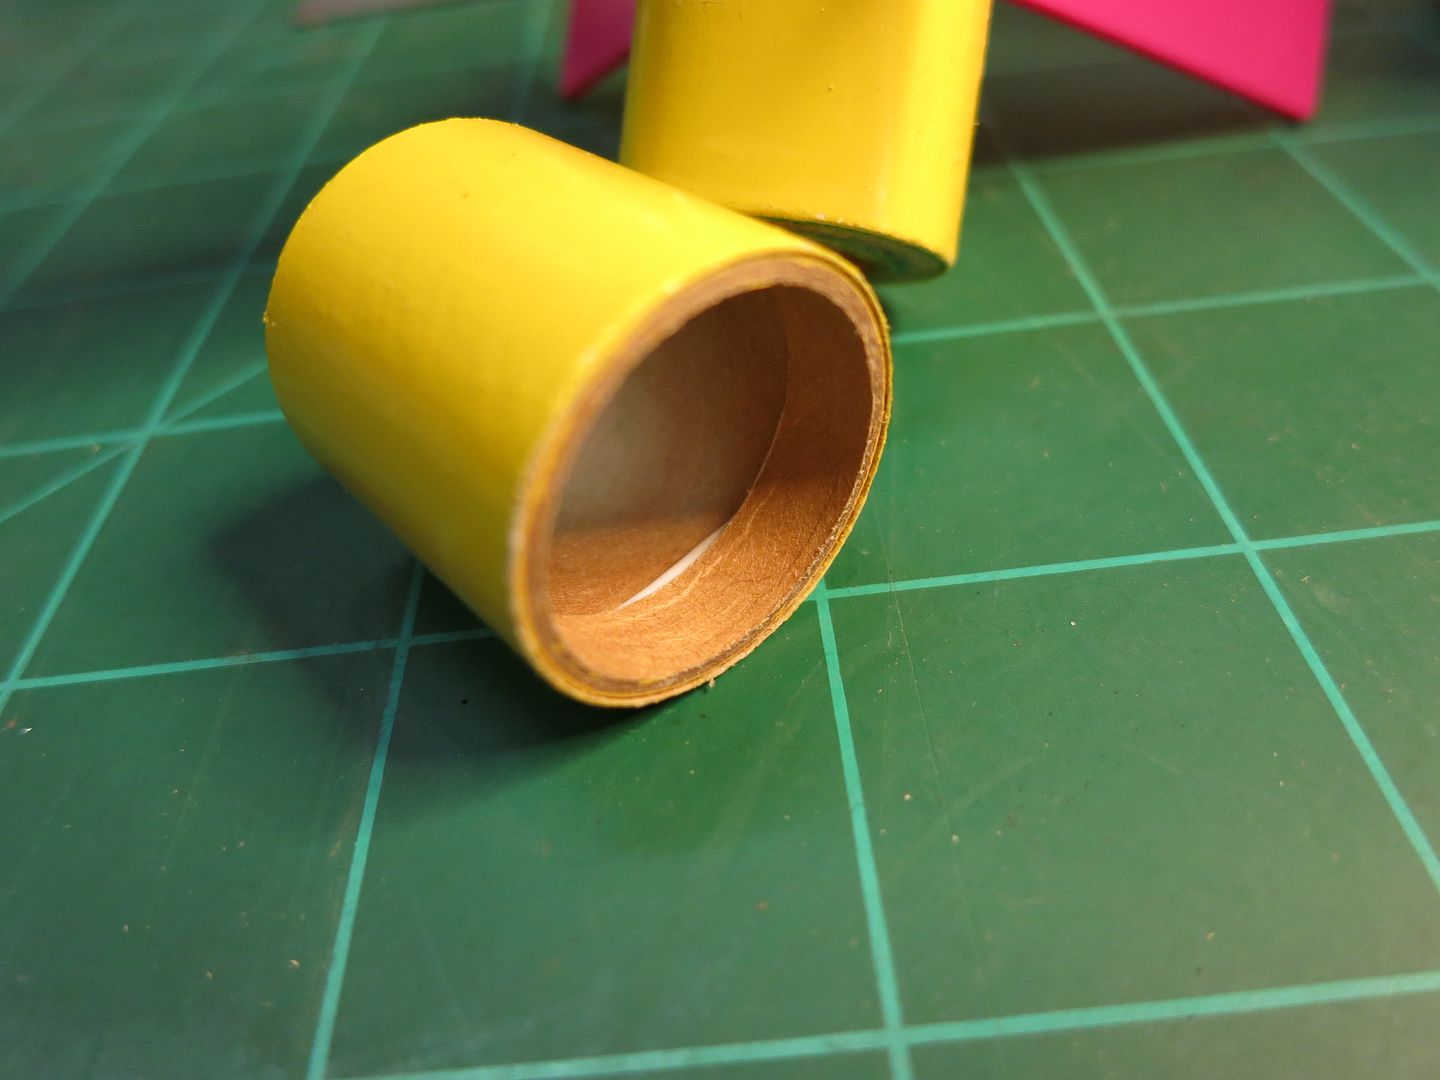
Most of the glue for this build will be Elmers, with a couple of exceptions, which I will note as we go. The blue MMT will start with three CR's, two will be 18/24 and one small 18 at the aft end of the tube. In the above pic, the two rings on the left are glued on with the green one at the bottom of the tube, and the brown one positioned so the upper half is exposed with the body tube in position.
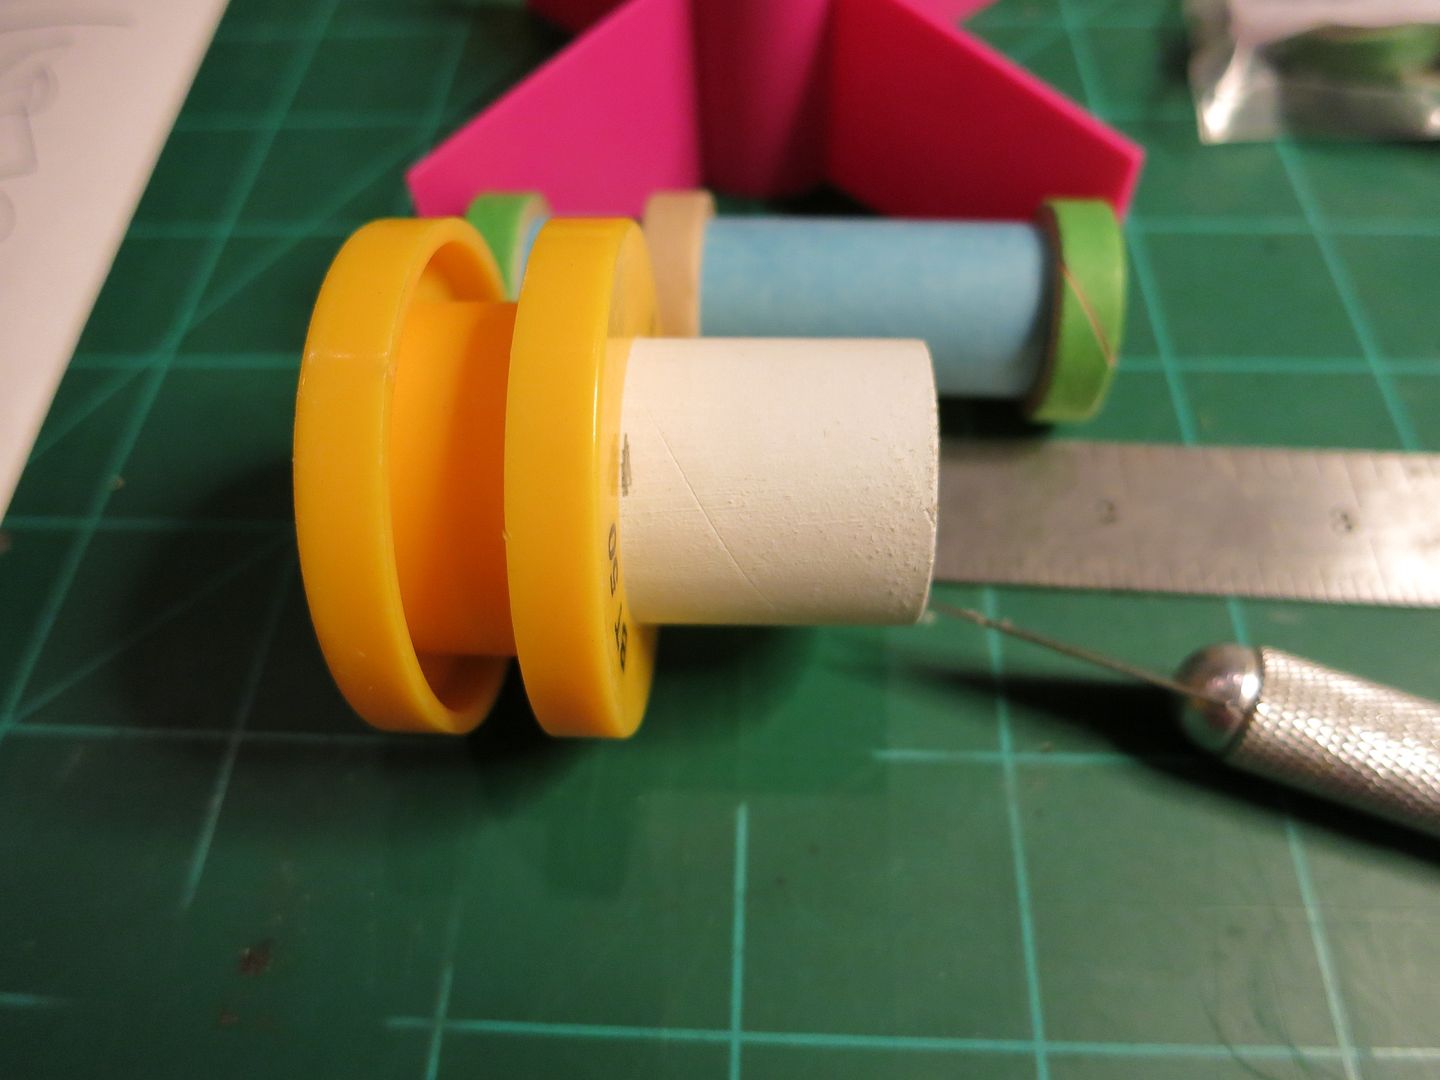
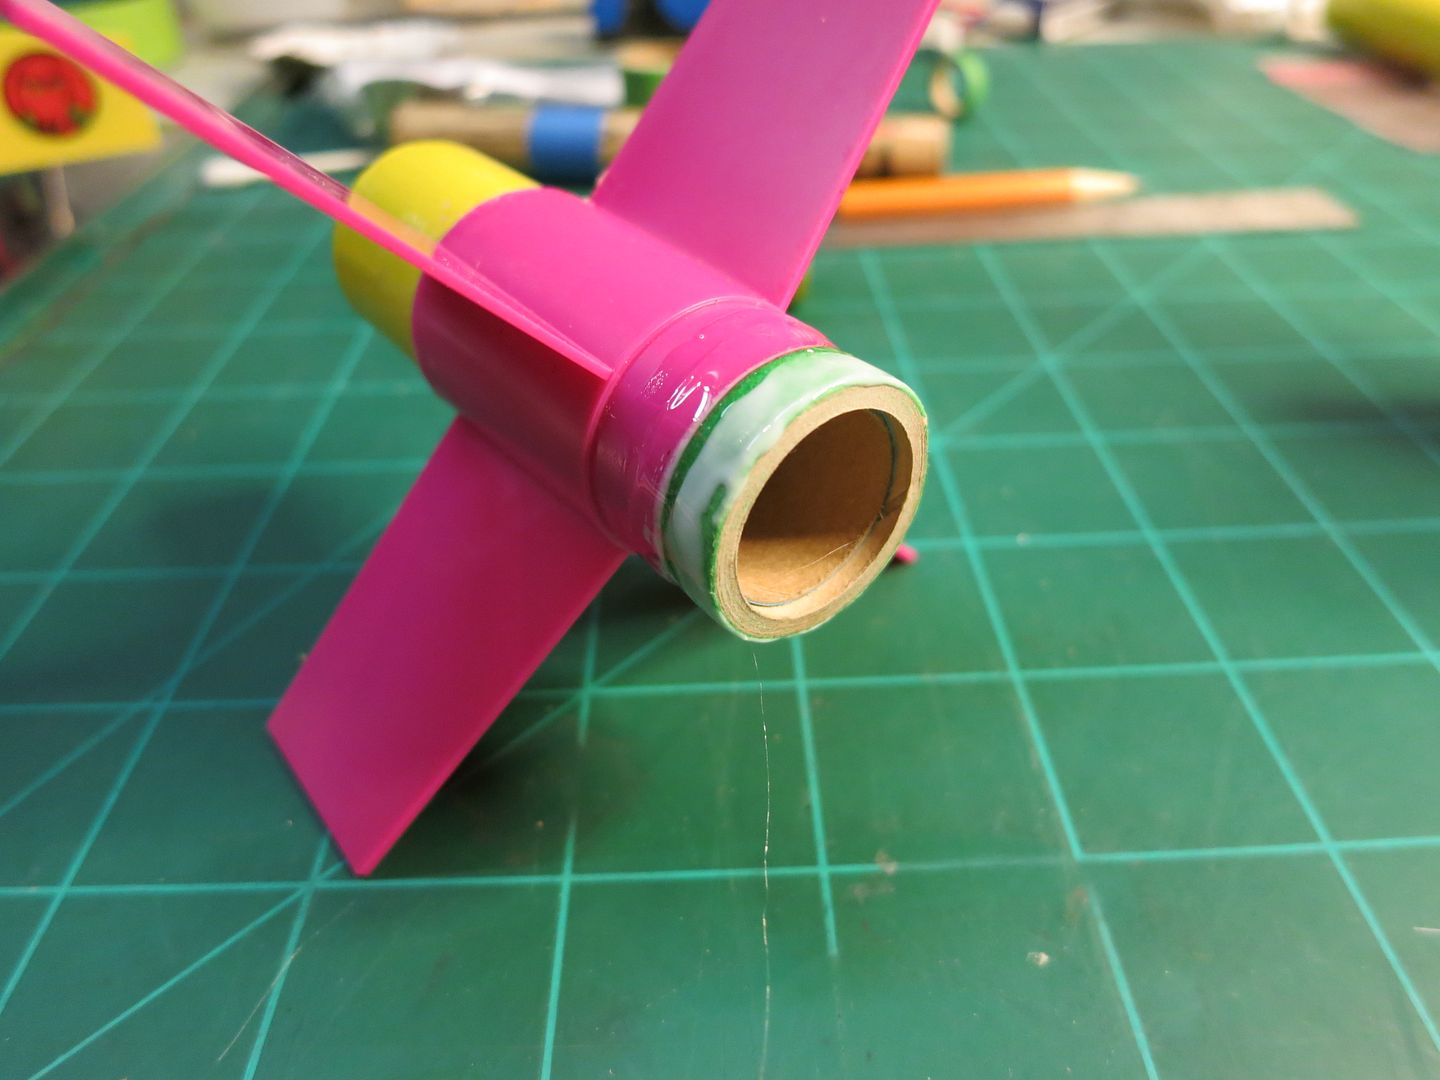
Also glue the smaller green ring inside the bottom of the MMT. I used Testors plastic glue to attach the brown ring to the plastic fin can. Slide the MMT into the bottom of the fincan and clean off any excess, wiping the plastic glue away from the pink plastic.
Next dig out the yellow centering ring and glue it into the forward edge of the upper half of the body tube:
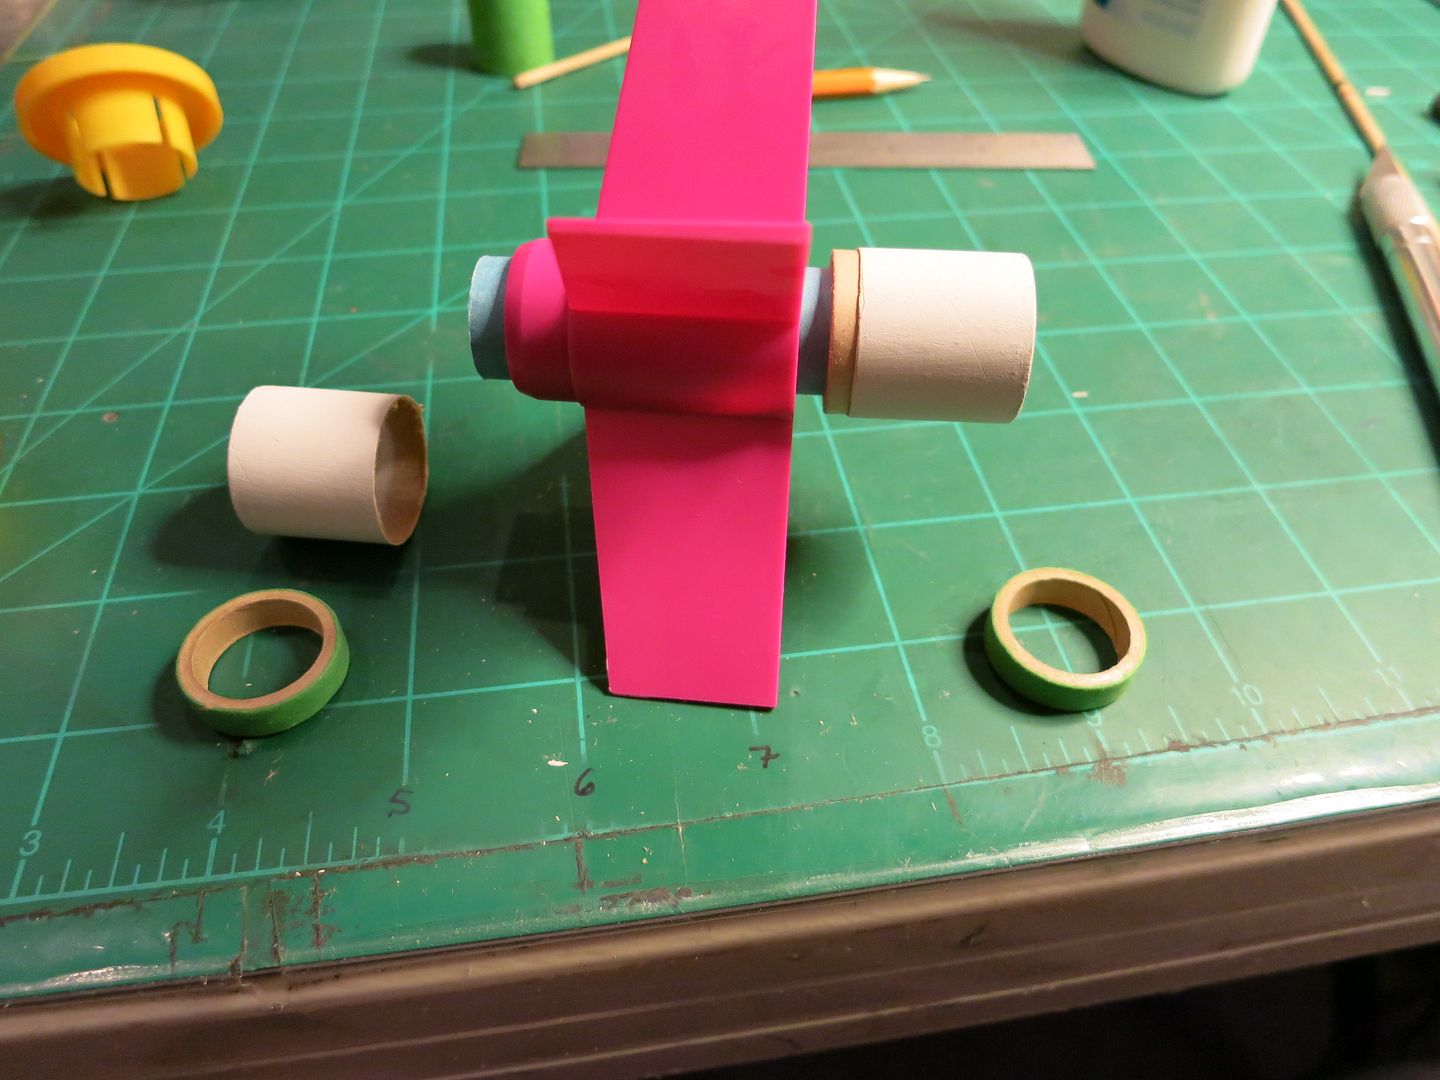
Now glue another green 18/24 CR at the top of the blue MMT:
As you can see, I have added some Elmers glue to the paper CR, and some plastic glue to the top of the fincan. Now you can slide the top half of the booster body tube on:
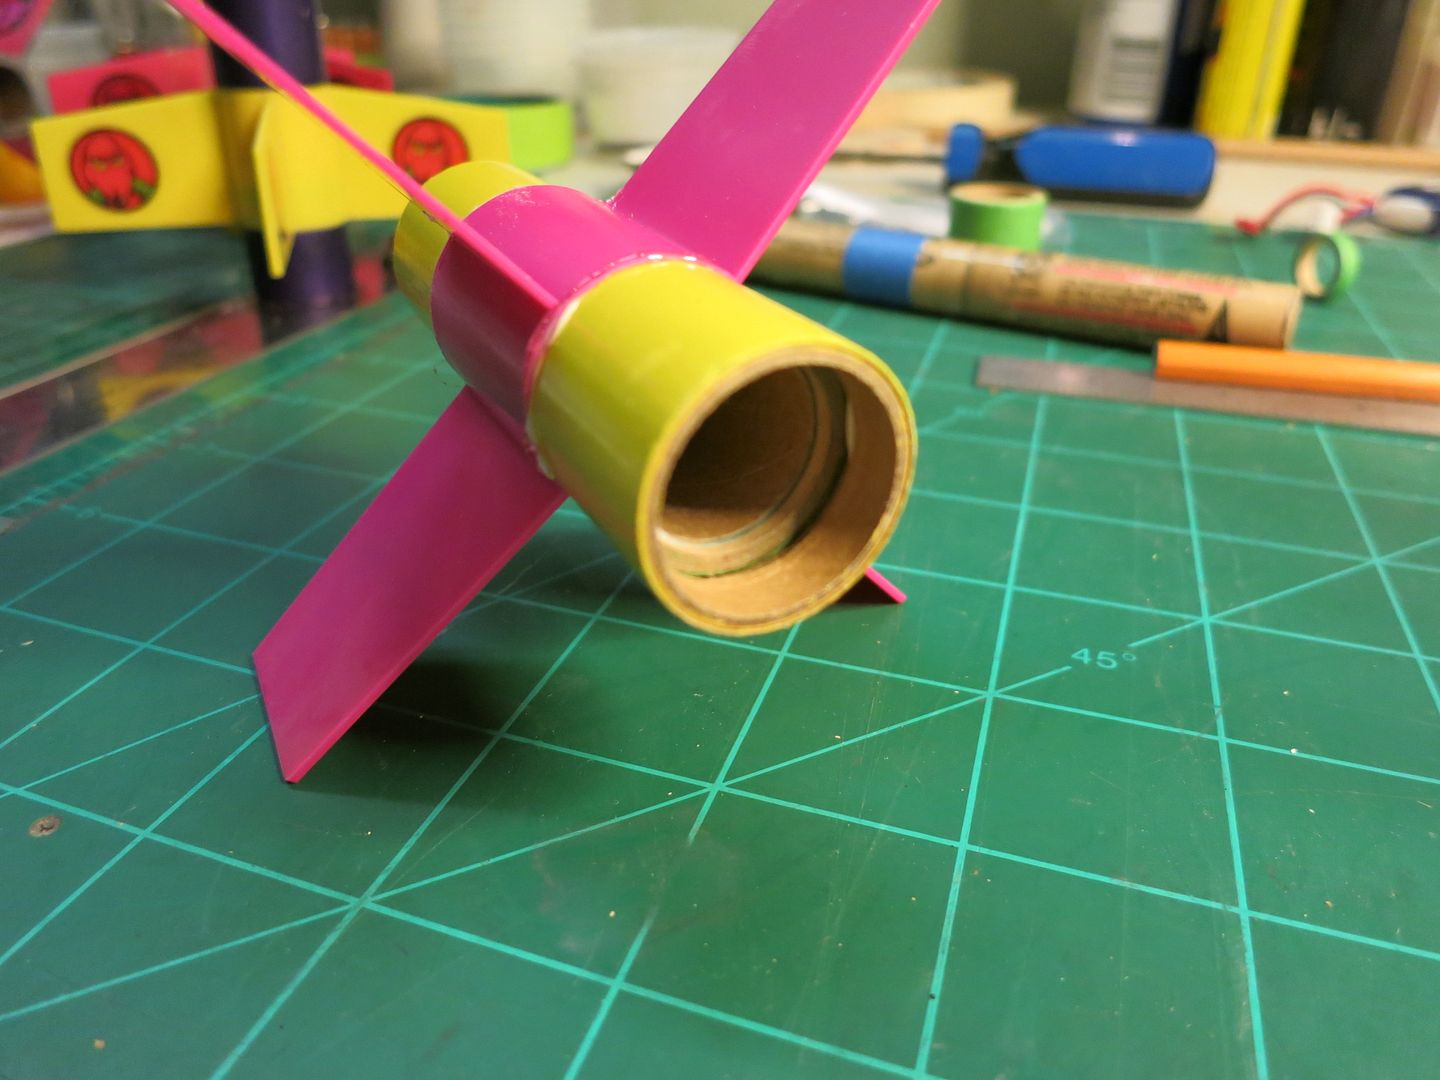
Clean of the excess plastic glue. I also add a little more Elmers to the gap between the yellow ring and the upper green ring inside the MMT:
This makes the booster much less likely to get crunched when it tumbles down to the ground.
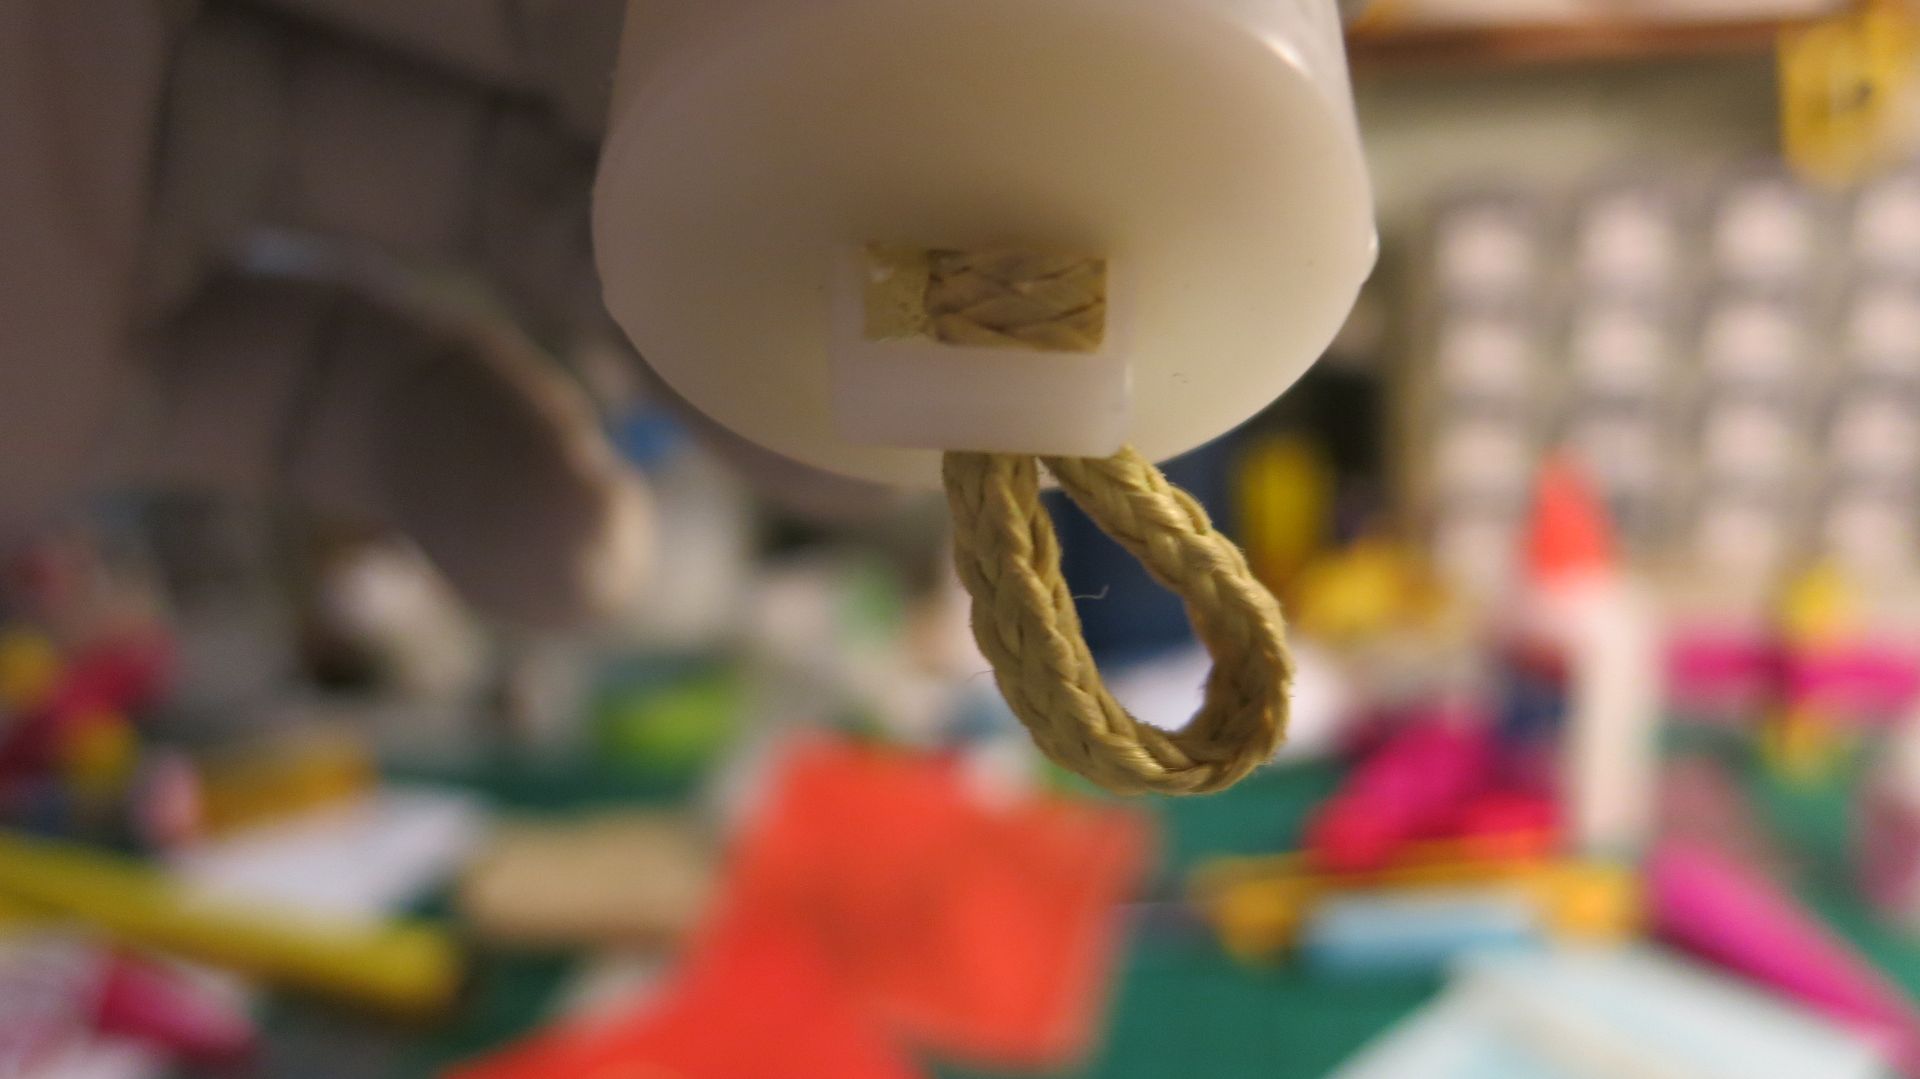
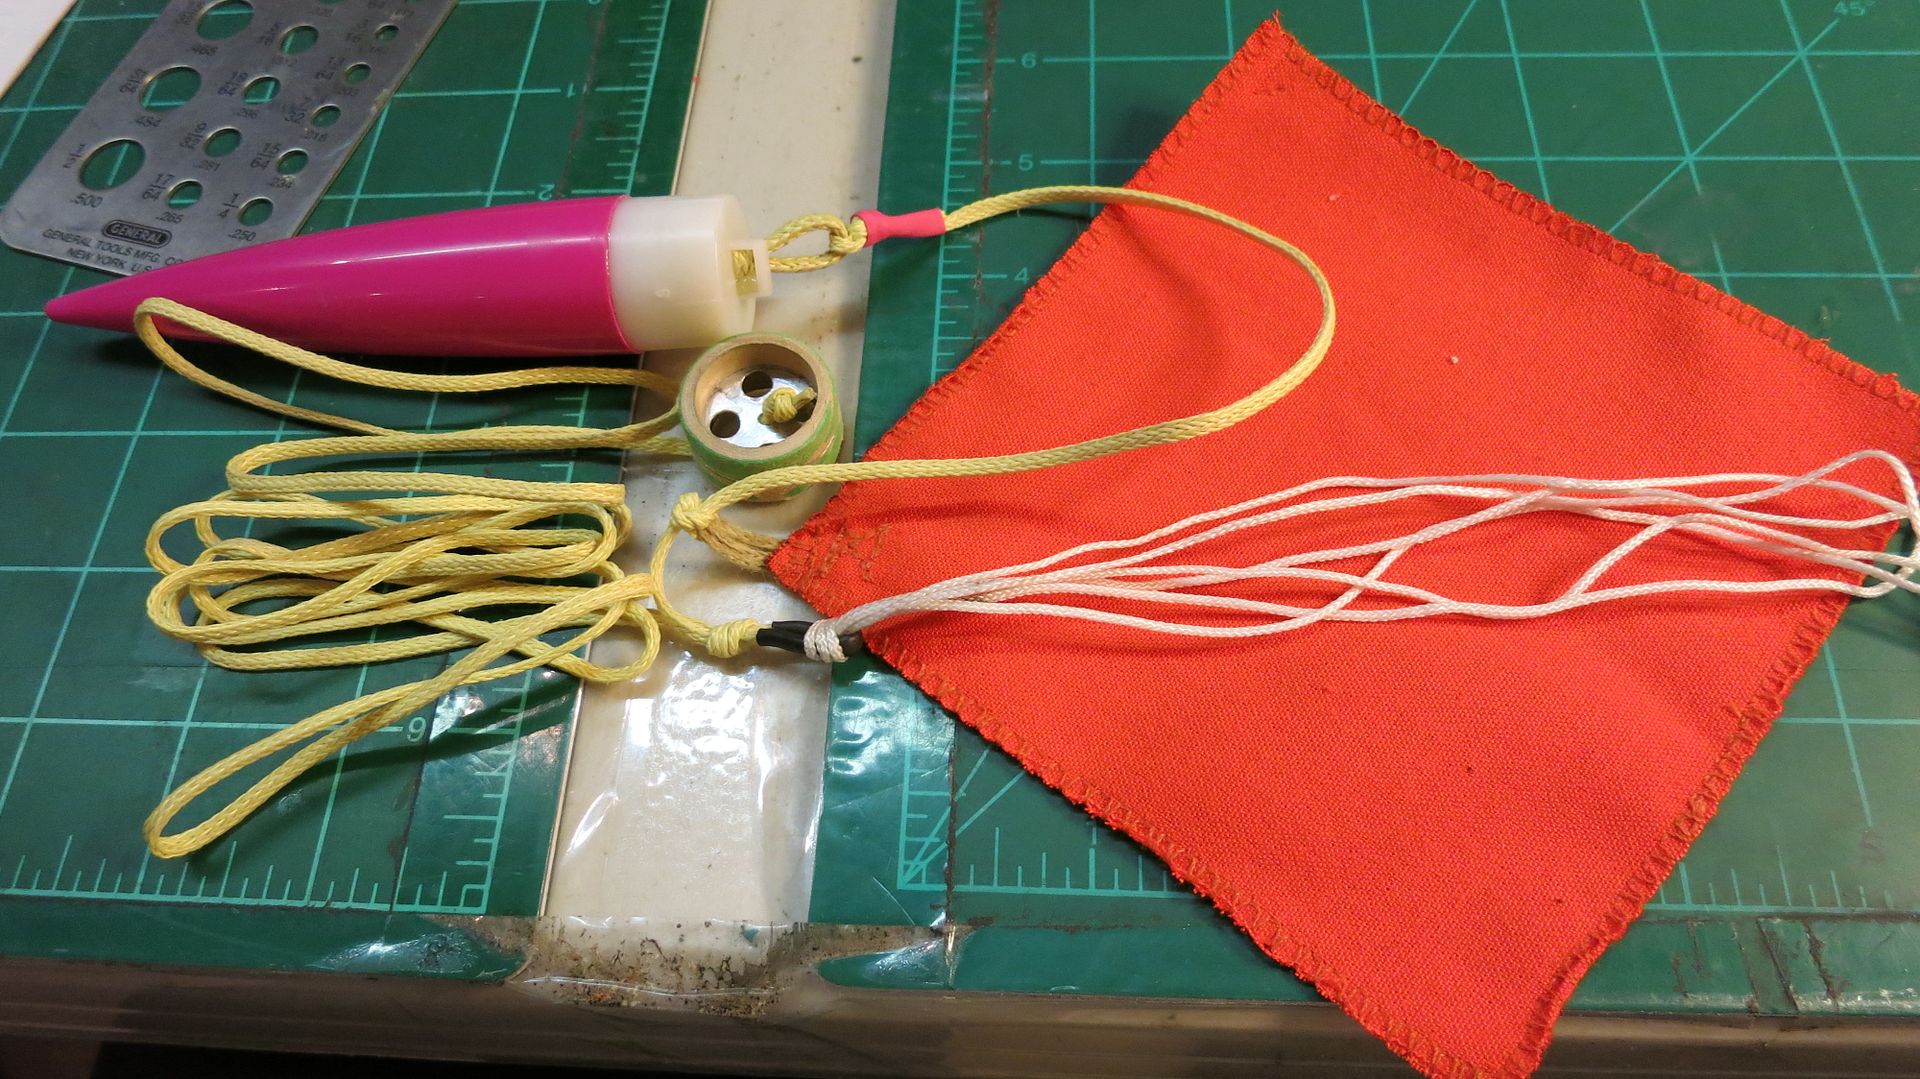
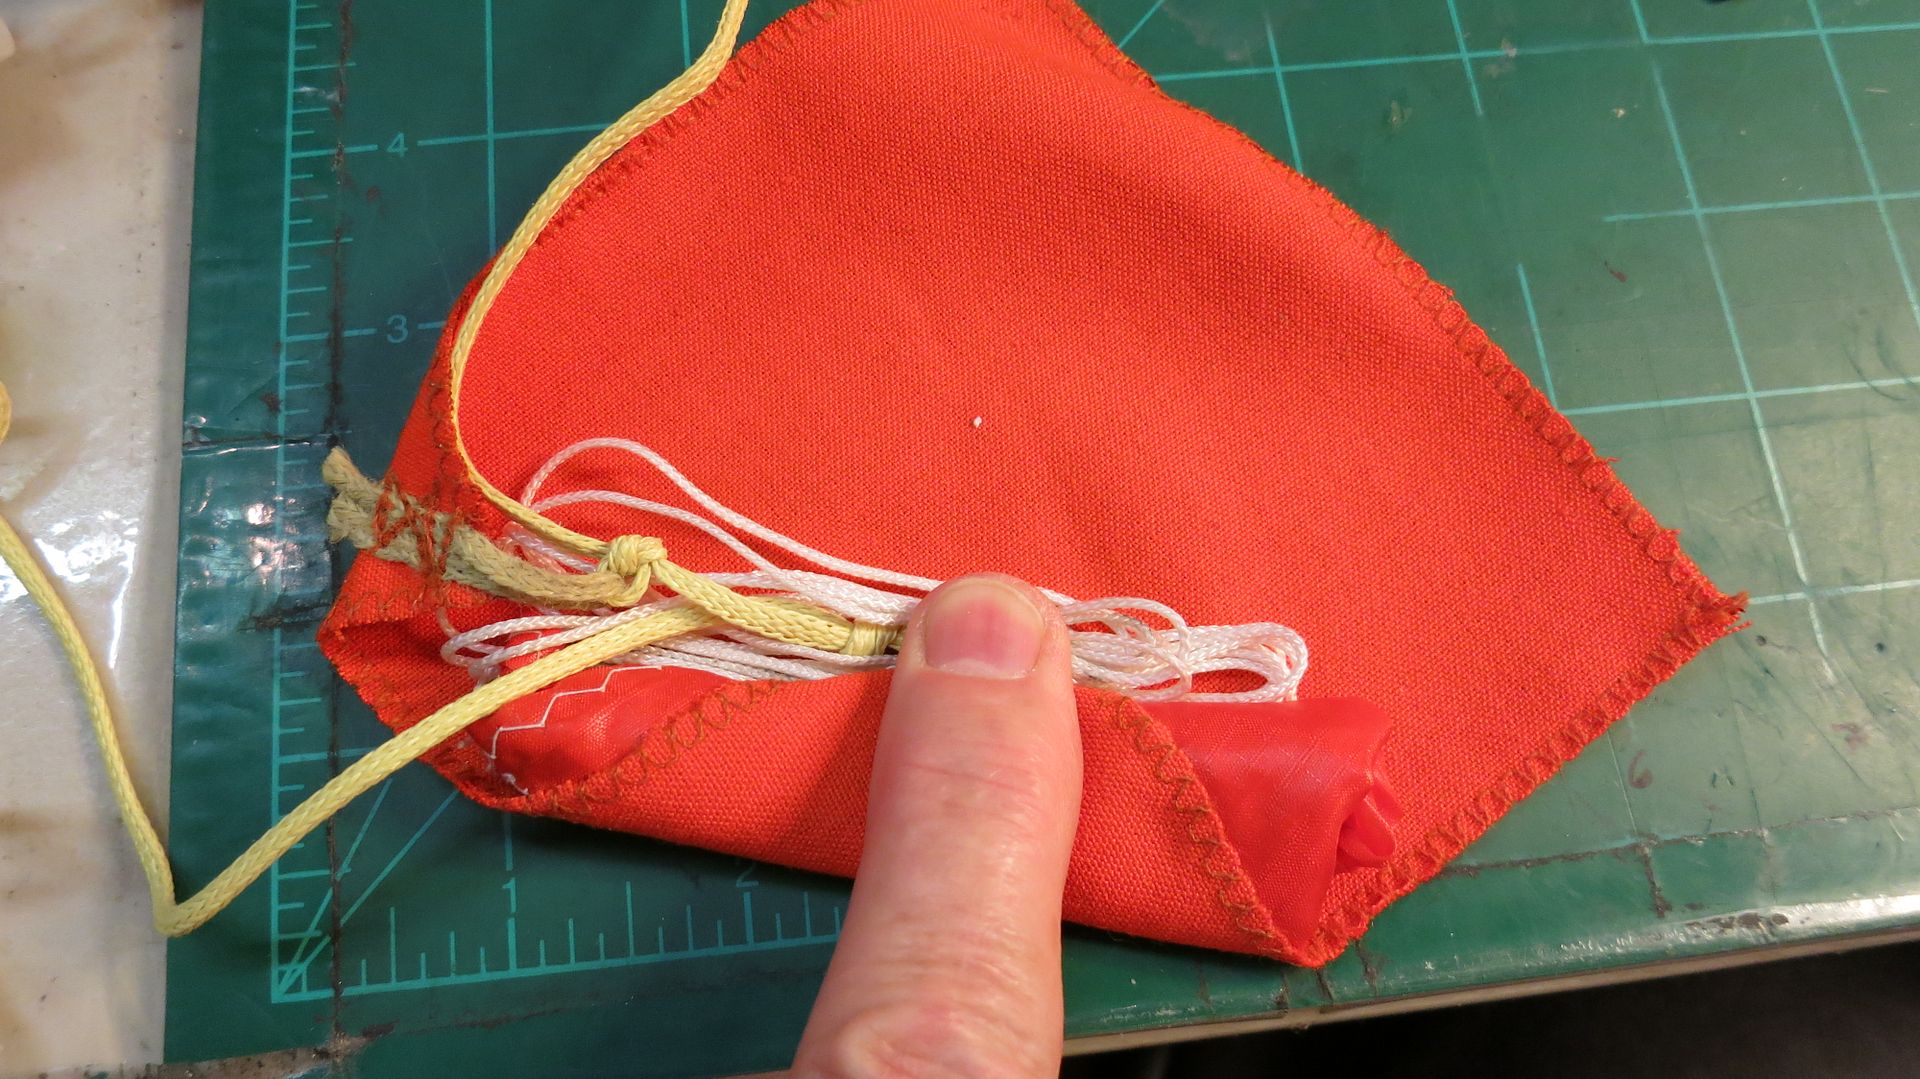
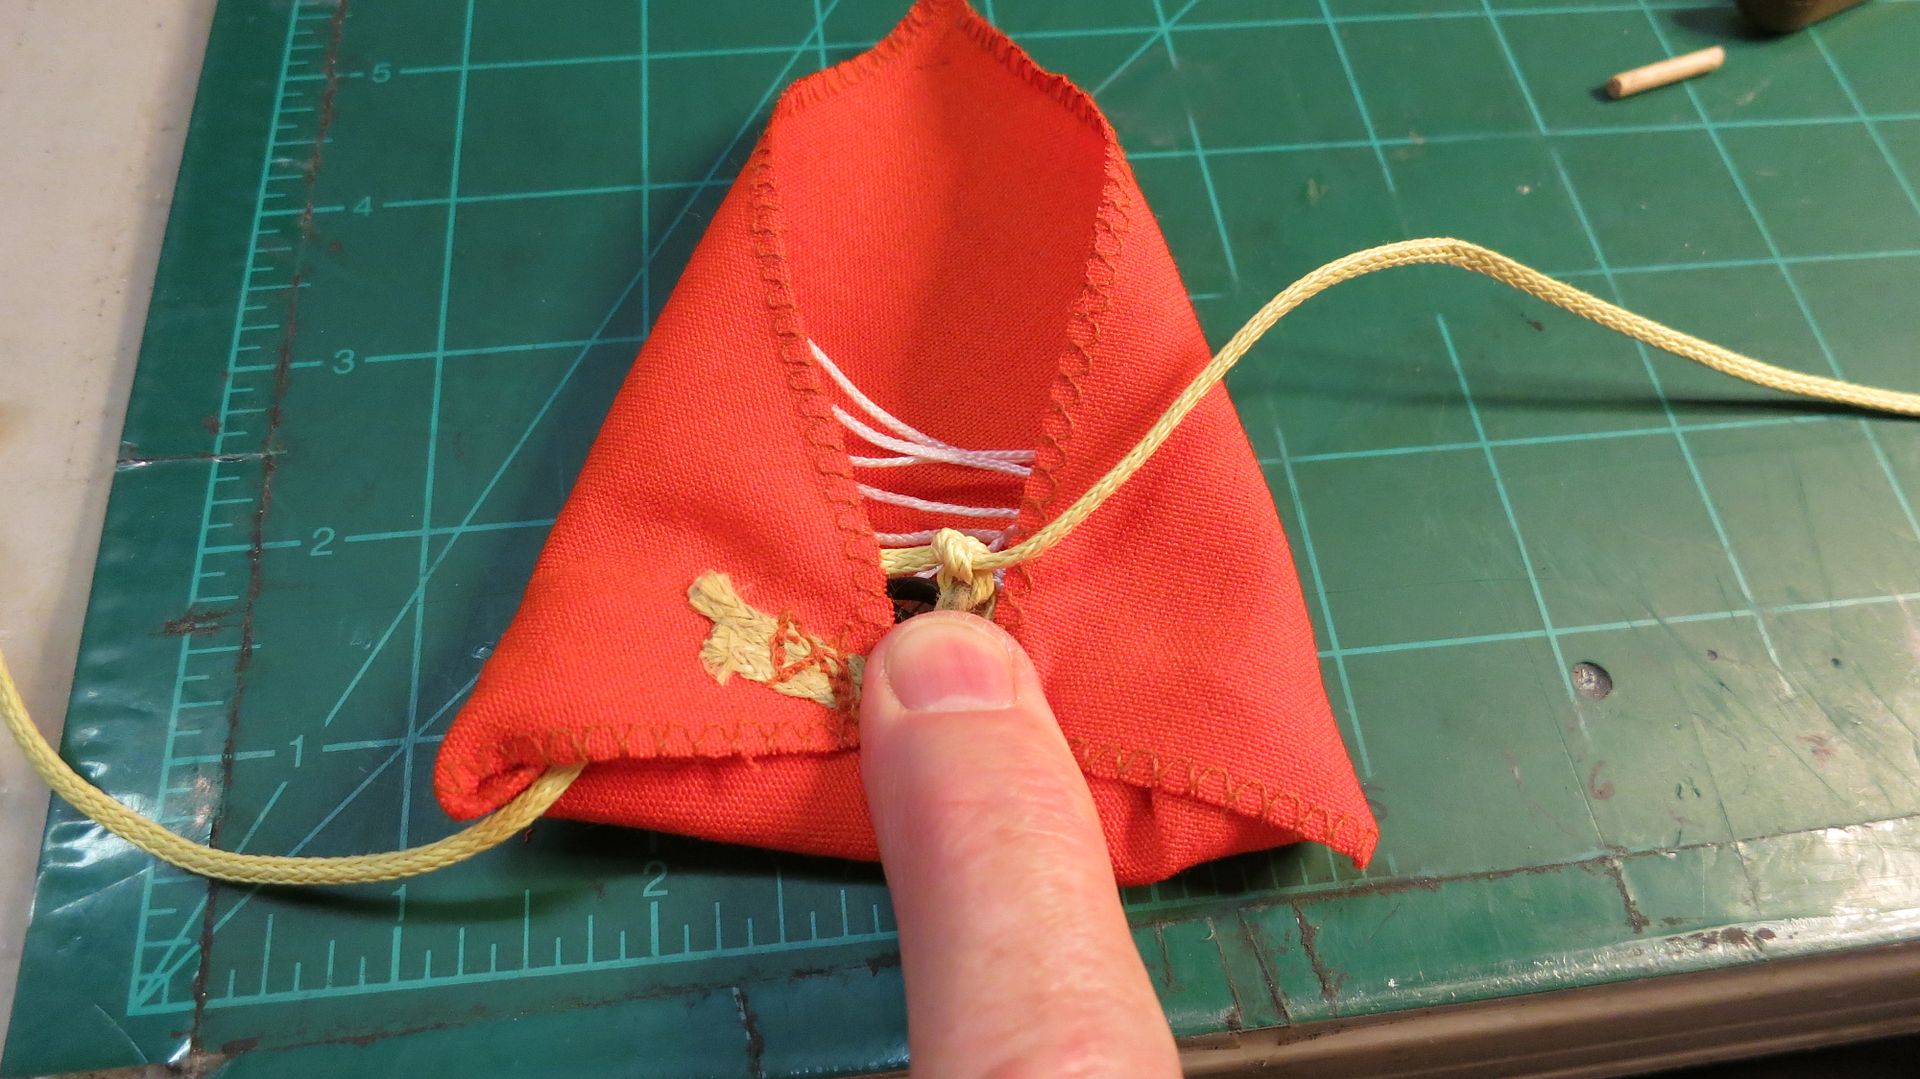
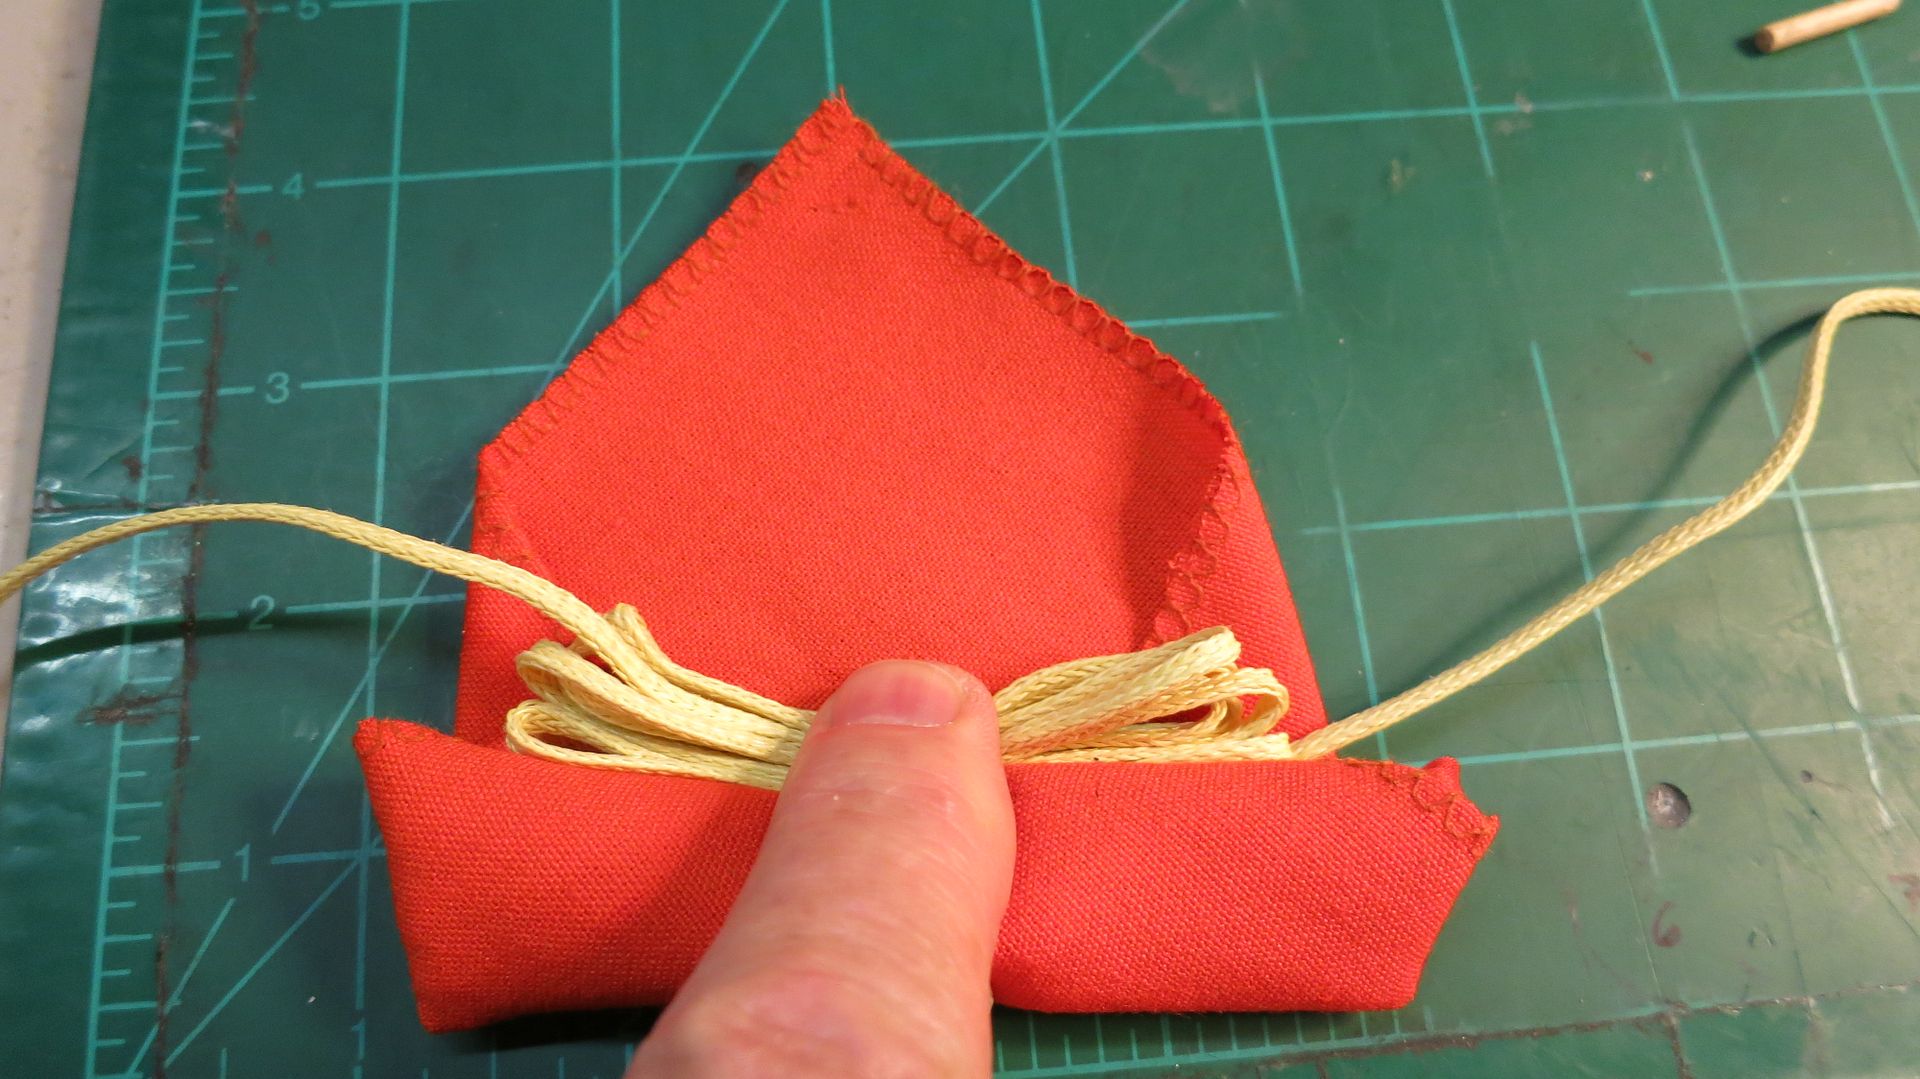
My next post will address the anchor points and mod's to the recovery system.
When I went into the hobby shop, I immediately looked for the kit that listed the highest altitude, my first clue that I would become an altitude junky. The kit that fit the bill was the Estes Mongoose. So here is the build I started with, and as expected, it will have several modifications that I determined were beneficial after many flights over the years.
The old kits were yellow and pink, and thanks to my loving wife Sharon, this build will be using an old kit she found on ebay:
As you might notice, there are two body tubes in this pic, the yellow one that came with the kit has a ding in it, so I'm using another BT-50 tube that I took outside and painted Rustoleum "John Deere" yellow.
One of the first problems I ran into with my first launches of this model is that the booster always came in ballistic and crumpled the body tube in front of the fins. It took me a few years to figure out how to solve this problem, since I was only launching once a year at the annual campout. To make the booster tumble, the fins have to be in the middle of the tube. Here is a picture of several boosters I have built:
The one on the left is from my first rocket, with the sustainer in the background. It's been retired for a couple of years due to the fins being so brittle, every flight caused one or more fins to break off. The one in the middle is the current build, and the one on the right is from a later model that was recovered but the sustainer was lost. As you can see, the booster body tube has to be cut in half, and you will need a couple of extra 18/24mm centering rings to do this mod.
The booster body tube is just under 2" long, so mark it in the middle:
Cut it with an x-acto knife and the Estes tool, or wrap it with a piece of tape if you don't have the tool:
Most of the glue for this build will be Elmers, with a couple of exceptions, which I will note as we go. The blue MMT will start with three CR's, two will be 18/24 and one small 18 at the aft end of the tube. In the above pic, the two rings on the left are glued on with the green one at the bottom of the tube, and the brown one positioned so the upper half is exposed with the body tube in position.
Also glue the smaller green ring inside the bottom of the MMT. I used Testors plastic glue to attach the brown ring to the plastic fin can. Slide the MMT into the bottom of the fincan and clean off any excess, wiping the plastic glue away from the pink plastic.
Next dig out the yellow centering ring and glue it into the forward edge of the upper half of the body tube:
Now glue another green 18/24 CR at the top of the blue MMT:
As you can see, I have added some Elmers glue to the paper CR, and some plastic glue to the top of the fincan. Now you can slide the top half of the booster body tube on:
Clean of the excess plastic glue. I also add a little more Elmers to the gap between the yellow ring and the upper green ring inside the MMT:
This makes the booster much less likely to get crunched when it tumbles down to the ground.
My next post will address the anchor points and mod's to the recovery system.