peter_stanley
Well-Known Member
- Joined
- Apr 11, 2009
- Messages
- 222
- Reaction score
- 1
I've been working on the 3" diameter Loc Isis (which is really a 1/4 size sport scale Iris) for the July launch in Orangeburg. I only have a 1.5 weeks to finish it, but think it will be done. So far I've built everthing stock, except I converted the payload coupler to an altimeter bay. I installed t-nuts in the rear centering ring for motor retention clips. Also replaced the elastic shock cord with tubular nylon. I would like to have replaced the screw-eyes with forged eye bolts, but I don't know where to get those. Also, looked for u-bolts, but didn't see any small enough. Everyone says don't use those standard eye-bolts. So far I have never had an issue. I'll accept the risk.
The altimeter bay probably has taken the most time, but I'm very pleased with how it turned out. I performed a ground test with the perfect flite altimeter last night by sucking air out of the static port to create a vacuum and simulate a pressure change. Everything worked great.
The only things left to do are fillet two more fins, install rail buttons and attach forward section to altimeter bay. I'm not as concerned with finishing before the launch, but would like to at least get a good coat of primer on it.
I should have been posting this all along, but have been more busy building than writing. I did cross-post this on my blog, with a few changes.
Here's a pic after opening the box. The fins and centering rings appear to be high quality 1/8" 5 ply birch. The bulk plate is 5 ply 1/4" birch. Everything looked great, but the pre-slotted slots were not precisely made perfect from one another. I worked around that.
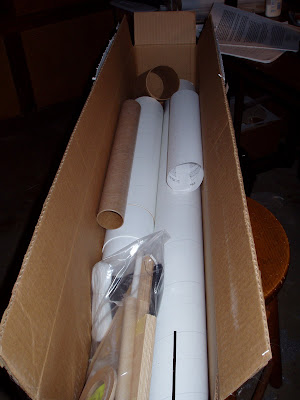
38mm motor mount tube.
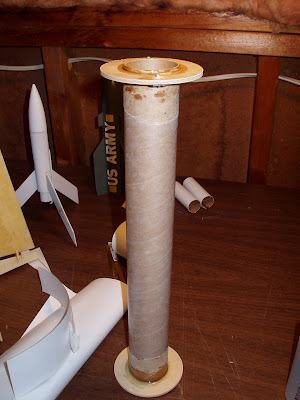
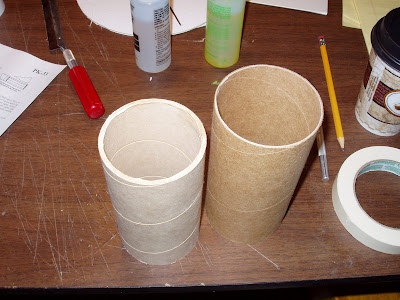
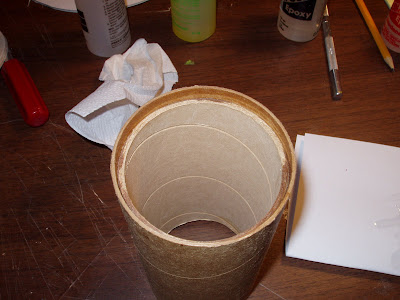
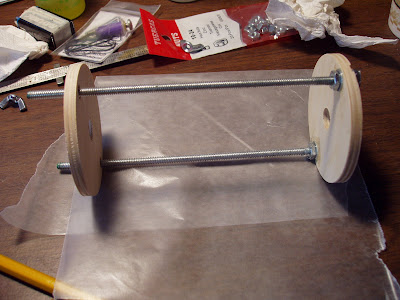
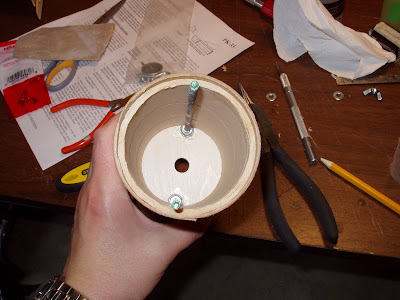
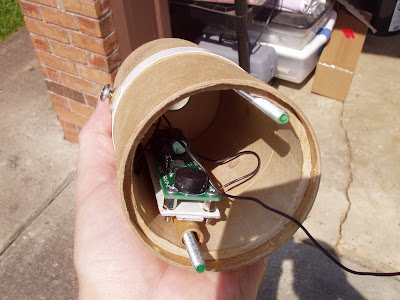
I used a tube stiffener in the coupler, and left enough room on the ends for the bulk plates. These were held together with all-thread. The altimeter is mounted on a piece of stiff board glued to a 1/4" tube which slides up one of the all-thread rods. I cut 3/4" of the bottom body tube section and glued in the center of the e-bay. This provided a good place for the static port and a permanently mounted switch. I used a Newton's 3rd Rocketry screw-in switch.
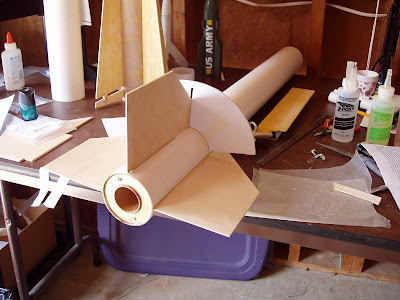
I made an alignment template for the fins. I did notice that the slots were not perfectly spaced from each other. This prevented me from using the entire alignment guide. I cut it in half and used it for one fin at a time. I'm using 30 minute epoxy to fillet the fins. So far two sets are done.

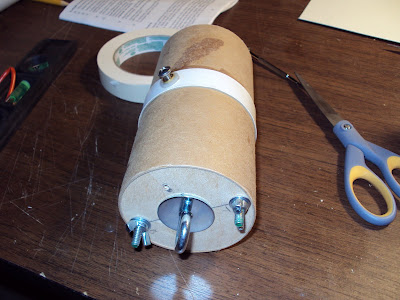
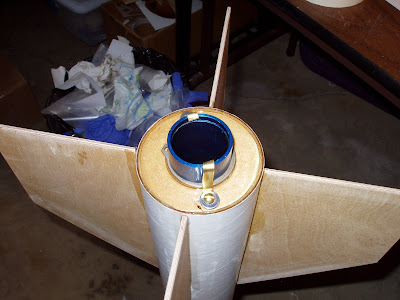
Here are my motor retention clips.
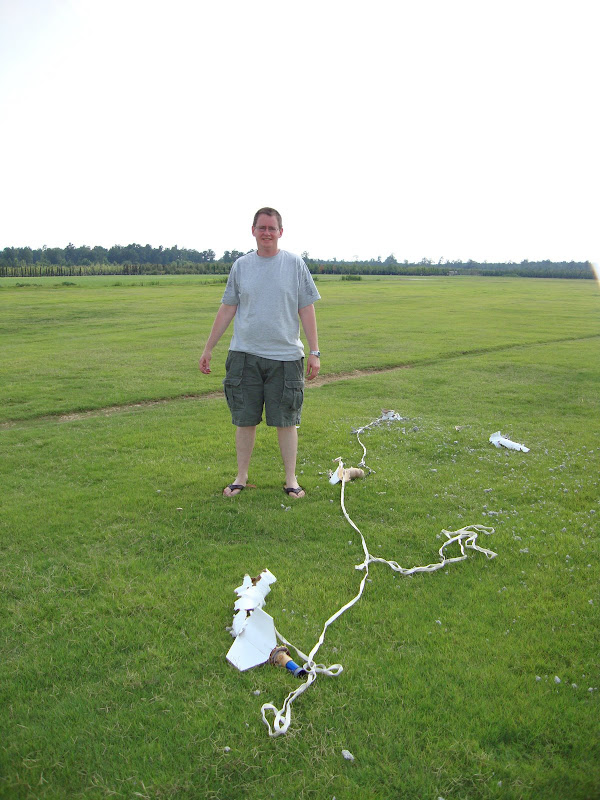
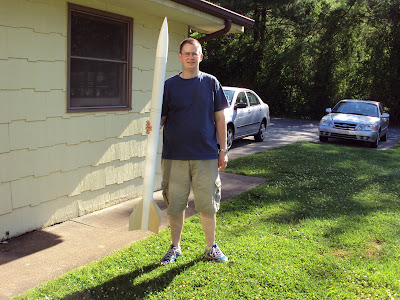
and me...
The altimeter bay probably has taken the most time, but I'm very pleased with how it turned out. I performed a ground test with the perfect flite altimeter last night by sucking air out of the static port to create a vacuum and simulate a pressure change. Everything worked great.
The only things left to do are fillet two more fins, install rail buttons and attach forward section to altimeter bay. I'm not as concerned with finishing before the launch, but would like to at least get a good coat of primer on it.
I should have been posting this all along, but have been more busy building than writing. I did cross-post this on my blog, with a few changes.
Here's a pic after opening the box. The fins and centering rings appear to be high quality 1/8" 5 ply birch. The bulk plate is 5 ply 1/4" birch. Everything looked great, but the pre-slotted slots were not precisely made perfect from one another. I worked around that.
38mm motor mount tube.
I used a tube stiffener in the coupler, and left enough room on the ends for the bulk plates. These were held together with all-thread. The altimeter is mounted on a piece of stiff board glued to a 1/4" tube which slides up one of the all-thread rods. I cut 3/4" of the bottom body tube section and glued in the center of the e-bay. This provided a good place for the static port and a permanently mounted switch. I used a Newton's 3rd Rocketry screw-in switch.
I made an alignment template for the fins. I did notice that the slots were not perfectly spaced from each other. This prevented me from using the entire alignment guide. I cut it in half and used it for one fin at a time. I'm using 30 minute epoxy to fillet the fins. So far two sets are done.
Here are my motor retention clips.
and me...
Last edited:
")