


jus_rockets
Well-Known Member
- Joined
- Jan 9, 2012
- Messages
- 1,218
- Reaction score
- 12
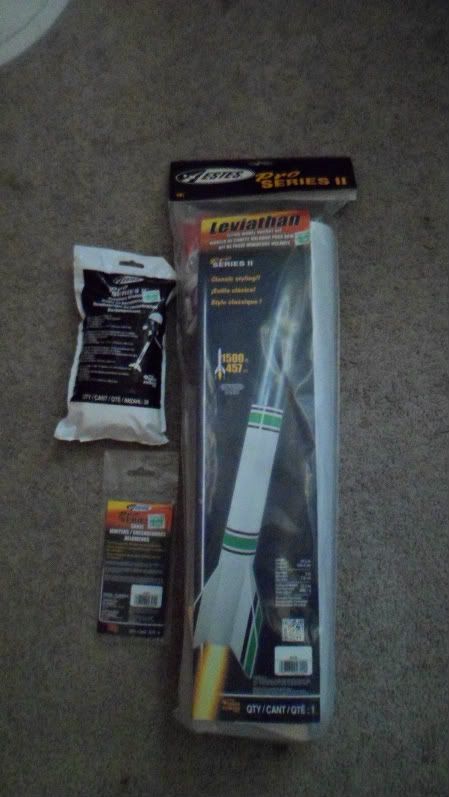
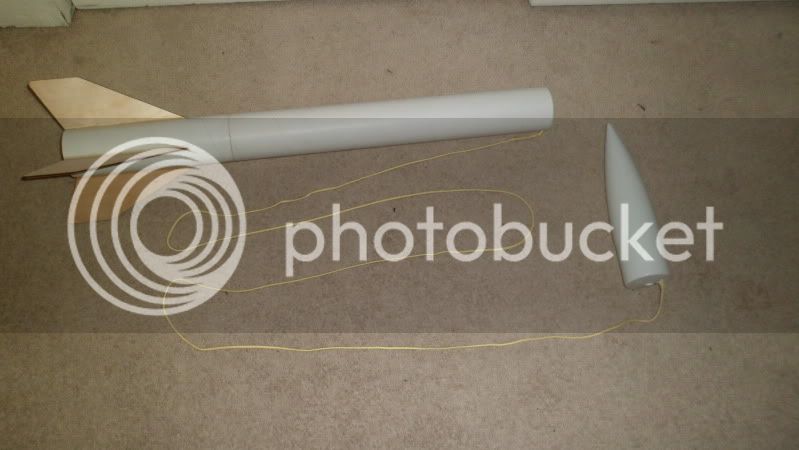
So after seeing so many post about the estes pro series II kits I decided to give them a try. I built some estes rockets before, but I moved up to the LOC stuff now and working on getting my level 1 cert. I picked up the Leviathan kit at Hobby Lobby for $35 plus tax with the 40% coupon, I also picked up some wadding and sonic igniters. Here are some pics of the build.
Same packaging as other estes kit
The tubes are not as thick as the Loc's tubes, they are like the ones aerotech uses on their kits.
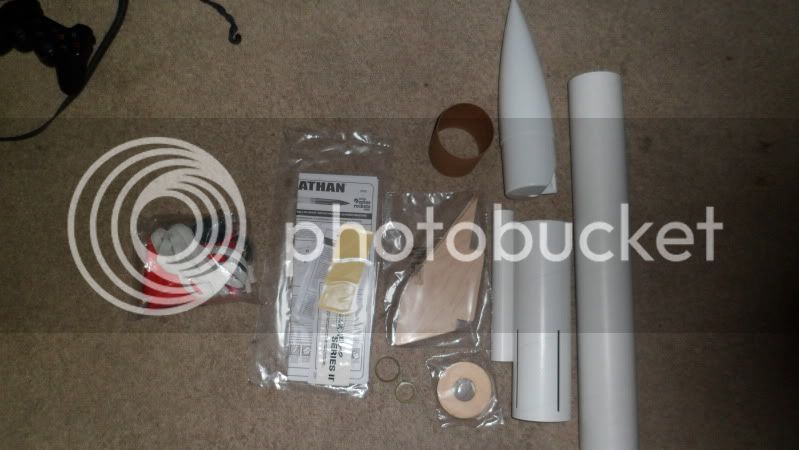
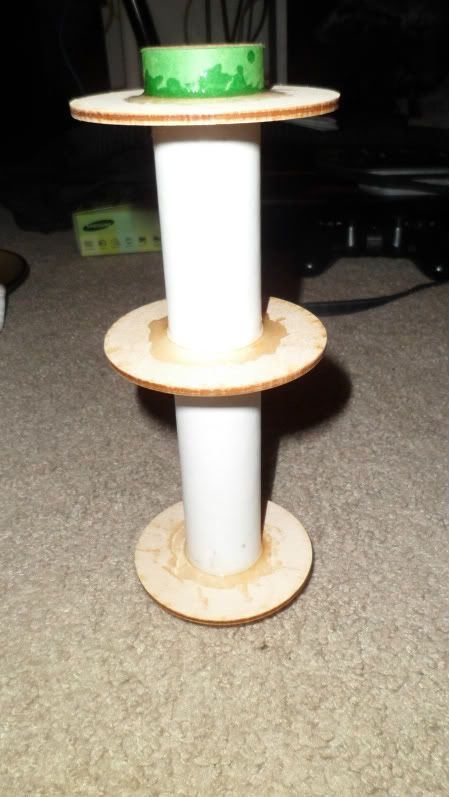
I really like that the motor mount had 3 plywood centering rings and the motor tube was a good length.

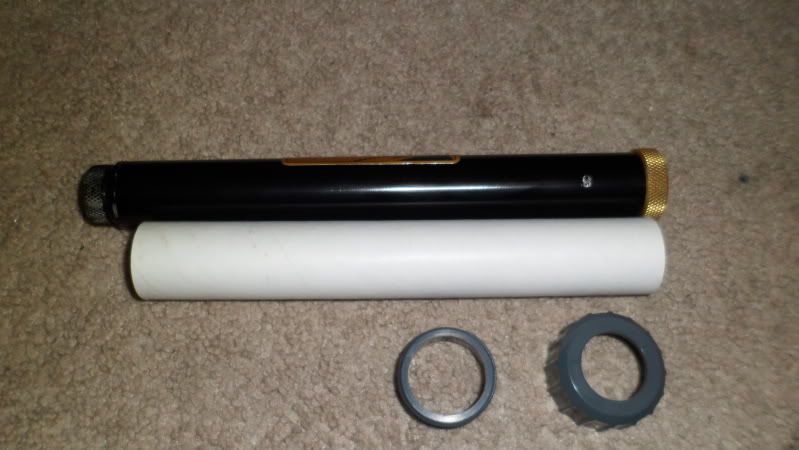
A little too short for 240 case lol! but the retainer is pretty nice for being plastic. I also have 4 more retainers for my LOC rockets, will provide input on them on their durability after I fly them
Almost finished just need to do the fillets, launch lugs, and shock cord mount which I will make it LOC style and will not use the dumb paper mount.
Same packaging as other estes kit
The tubes are not as thick as the Loc's tubes, they are like the ones aerotech uses on their kits.
I really like that the motor mount had 3 plywood centering rings and the motor tube was a good length.
A little too short for 240 case lol! but the retainer is pretty nice for being plastic. I also have 4 more retainers for my LOC rockets, will provide input on them on their durability after I fly them
Almost finished just need to do the fillets, launch lugs, and shock cord mount which I will make it LOC style and will not use the dumb paper mount.
Last edited:


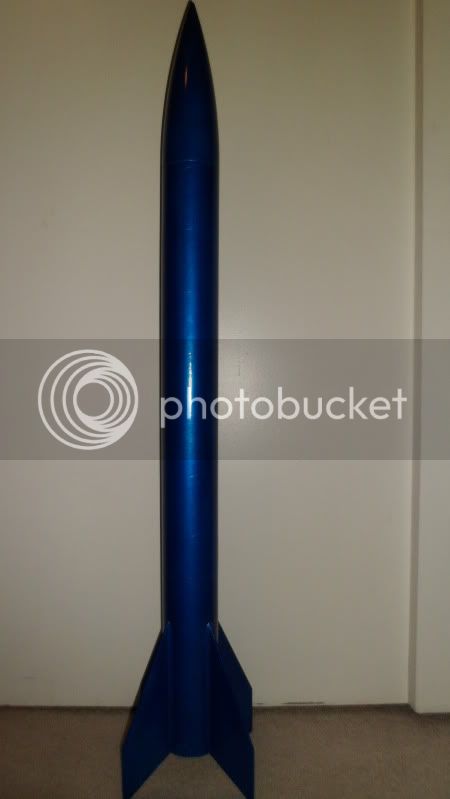
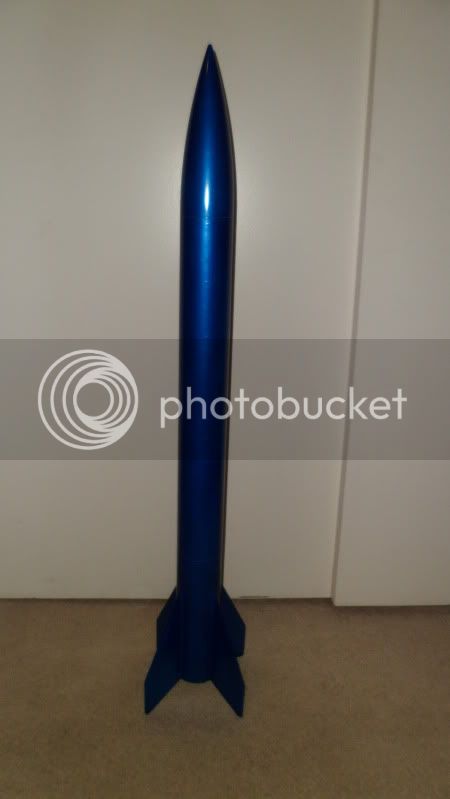
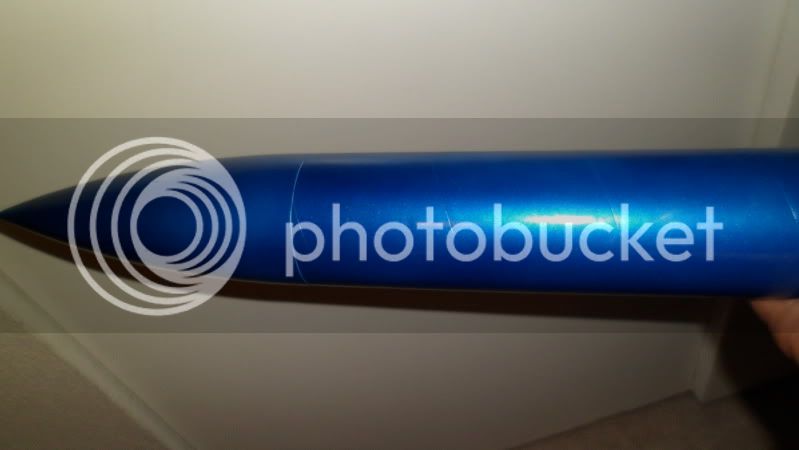


 What blue is it?