Taking a step back with this build since our next launch is the annual New Years Eve party in the desert. Kinda where it all started, bunch of friends 4 wheeling and camping, started flying rockets years ago. We fly LPR/MPR in an open (sorta) area away from it all. My builds have been getting bigger and mostly fiberglass but we don't fly anything bigger than a "G" motor for this event, so I'm building an Estes Argent bought on sale at Fry's Electronics by my good buddy Juan (jusrockets).
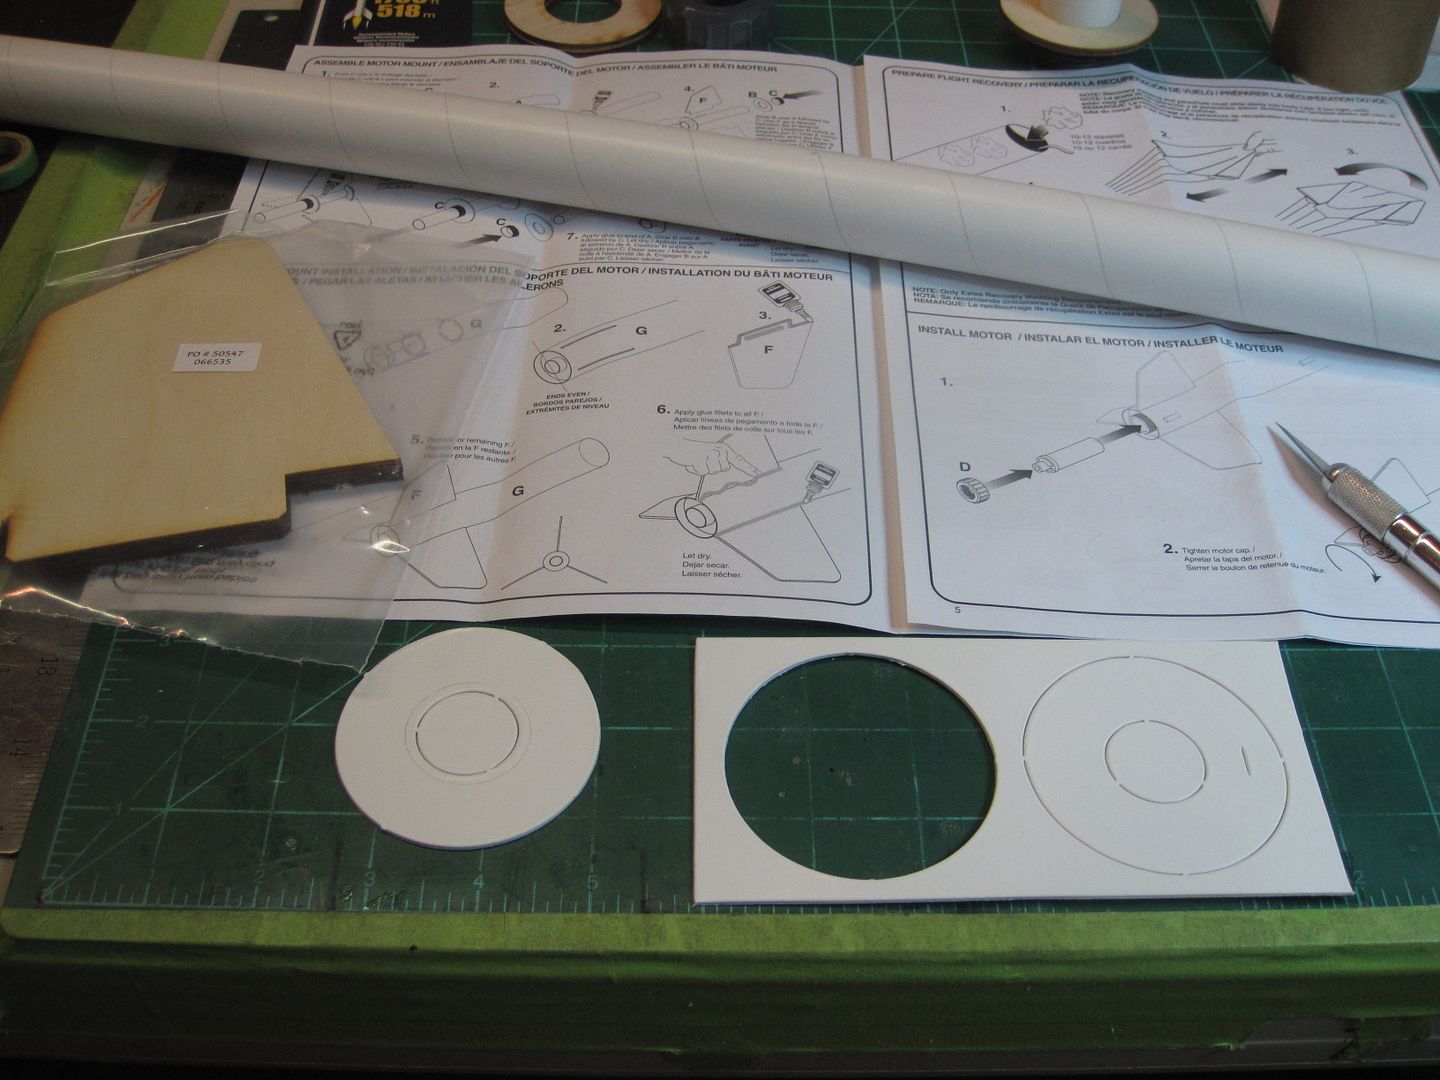
Started by checking the parts against the list and reading the directions, can't remember the last time I did that, but everything was there and in good shape. After reading the directions, I assembled the MMT, at least I started to, then I got to thinking this kit should have a cold air baffle, and maybe I will upgrade the recovery..... You know how it goes, check the tube box and found a piece of 29mm foil lined tube long enough to make a stuffer tube with the nifty retainer and centering rings supplied in the kit.
Found a cardboard CR for the aft of the coupler and cut it out to 29mm:
Glued it into the bottom of the coupler to seal the stuffer tube so I don't have to pressurize the lower BT for motor deploy:
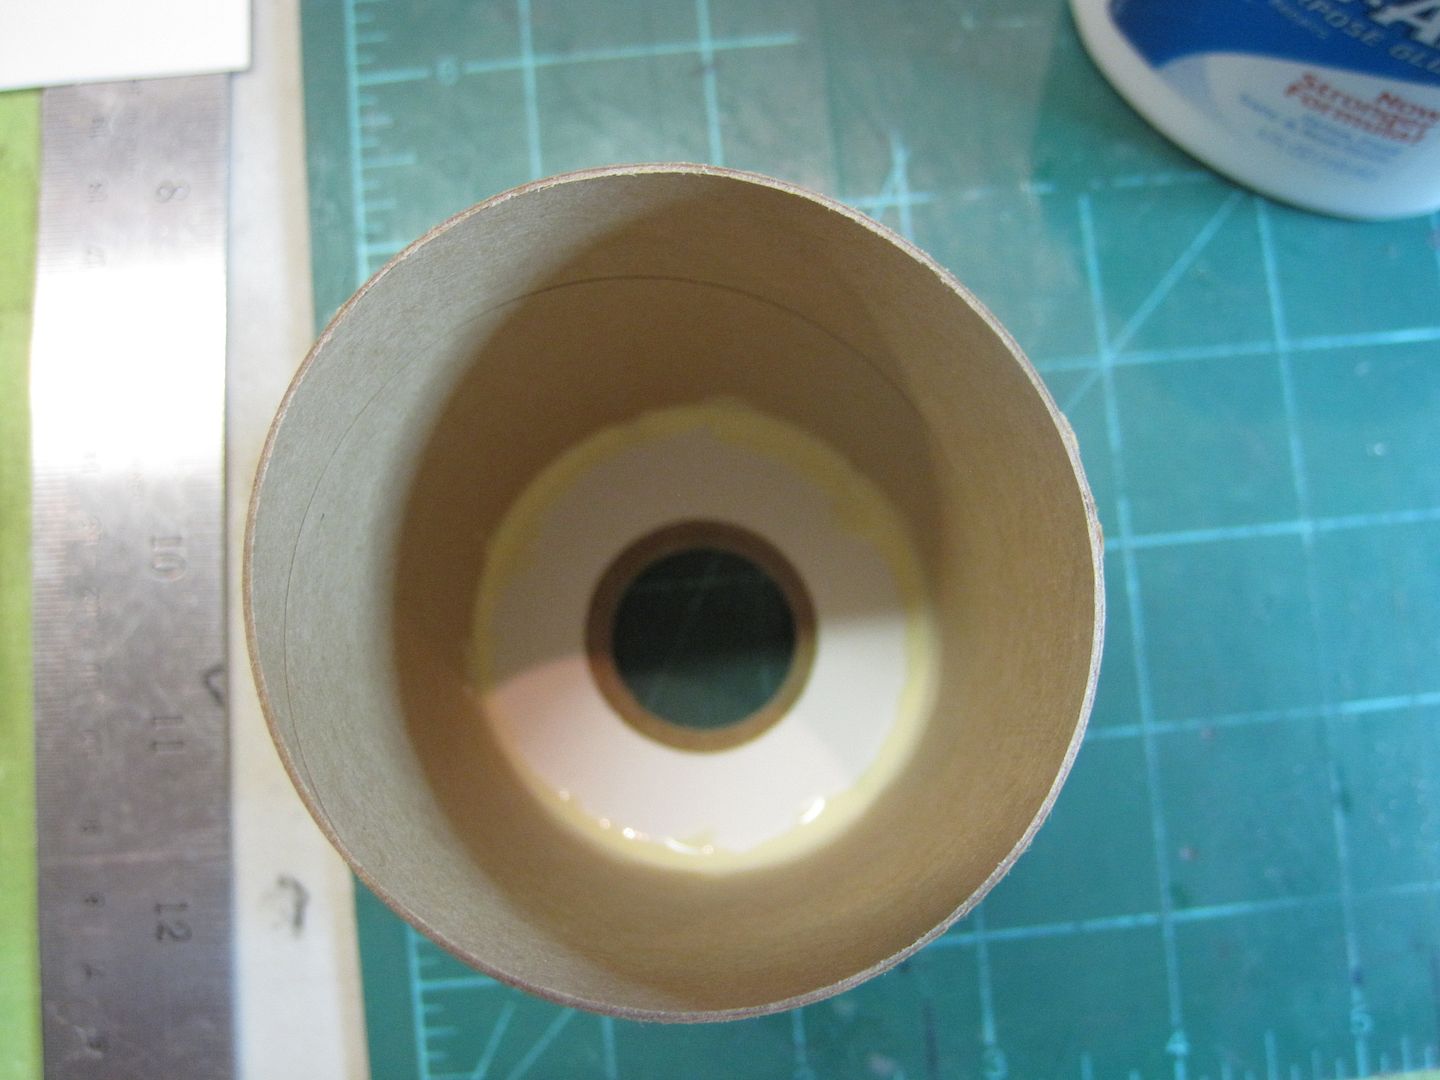
It's sitting on a 1/4" tall CR to recess it so I can put fillets on both sides.
Dig back into the tube supply and find some BT-5 for the baffle, then got out the little ring tool to cut up four lengths:

I used 1/8" plywood for the upper bulkhead, and stamped out the holes for the baffle tubes, then found some small hardware for an anchor point:
Moved everything into the epoxy station and started gluing:
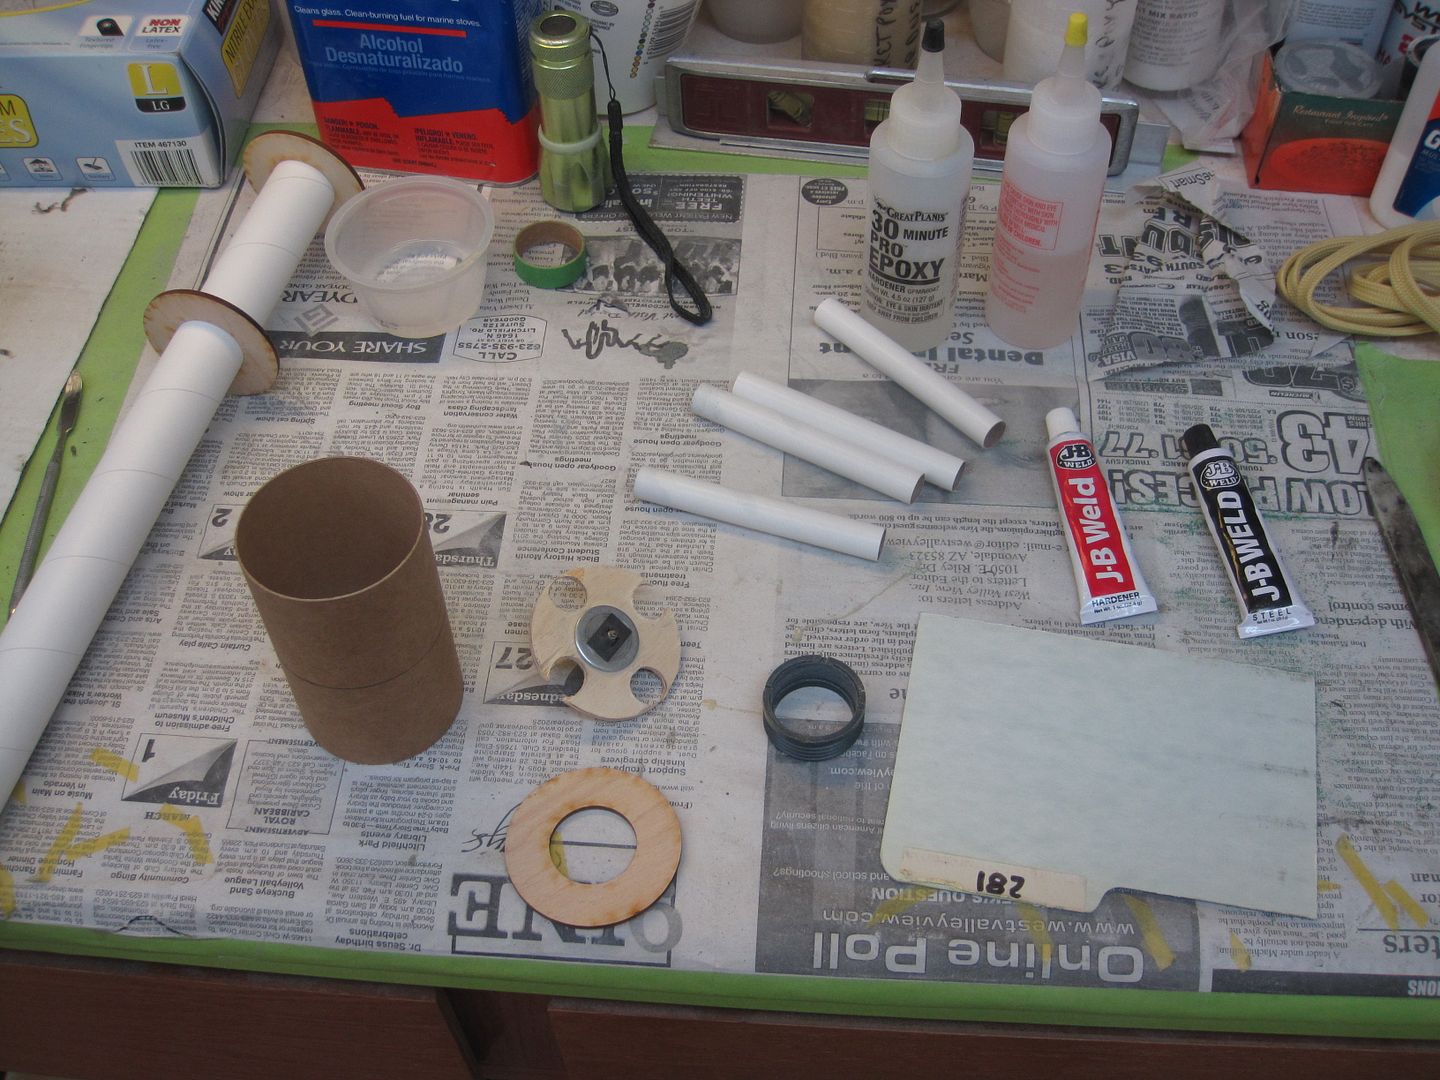
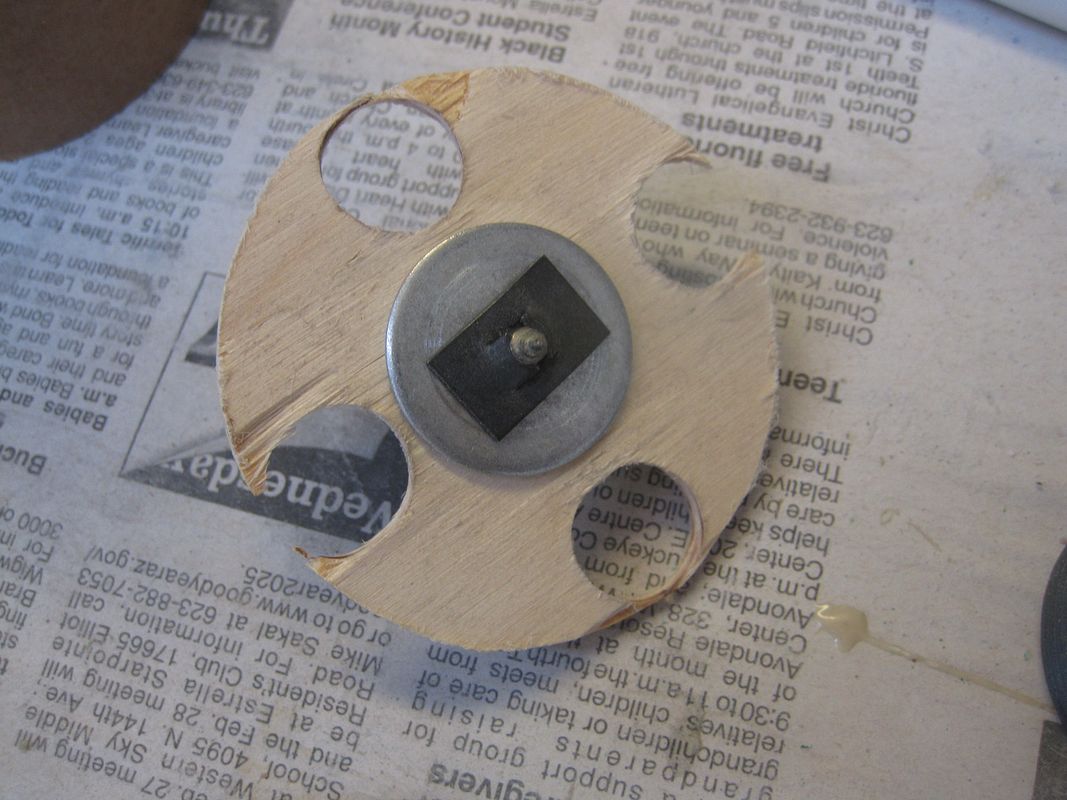
Mixed up some JB weld and roughed up the retainer:
Spread epoxy on the retainer and bottom of the stuffer/MMT:
Twisted them together and switched to wood glue and glued two CR's to the MMT. Spaced them out with the fin tabs using my modified fin jig:
I had some left over JB weld so I smeared it onto the bottom of the bulkhead and stuck the baffle tubes in:
This is where the motor eject gas hits, so it will make it stronger and fire resistant at the same time.
Shoved this mess into the coupler:
Then reached my finger in through the bottom hole and made sure all the tubes were laying against the coupler wall. Not much room to spare for the stuffer tube, so they need to be in the right place. Set everything aside and let it dry.
Started by checking the parts against the list and reading the directions, can't remember the last time I did that, but everything was there and in good shape. After reading the directions, I assembled the MMT, at least I started to, then I got to thinking this kit should have a cold air baffle, and maybe I will upgrade the recovery..... You know how it goes, check the tube box and found a piece of 29mm foil lined tube long enough to make a stuffer tube with the nifty retainer and centering rings supplied in the kit.
Found a cardboard CR for the aft of the coupler and cut it out to 29mm:
Glued it into the bottom of the coupler to seal the stuffer tube so I don't have to pressurize the lower BT for motor deploy:
It's sitting on a 1/4" tall CR to recess it so I can put fillets on both sides.
Dig back into the tube supply and find some BT-5 for the baffle, then got out the little ring tool to cut up four lengths:
I used 1/8" plywood for the upper bulkhead, and stamped out the holes for the baffle tubes, then found some small hardware for an anchor point:
Moved everything into the epoxy station and started gluing:
Mixed up some JB weld and roughed up the retainer:
Spread epoxy on the retainer and bottom of the stuffer/MMT:
Twisted them together and switched to wood glue and glued two CR's to the MMT. Spaced them out with the fin tabs using my modified fin jig:
I had some left over JB weld so I smeared it onto the bottom of the bulkhead and stuck the baffle tubes in:
This is where the motor eject gas hits, so it will make it stronger and fire resistant at the same time.
Shoved this mess into the coupler:
Then reached my finger in through the bottom hole and made sure all the tubes were laying against the coupler wall. Not much room to spare for the stuffer tube, so they need to be in the right place. Set everything aside and let it dry.
Last edited: