Wayco's DD Argent

The Rocketry Forum

Help Support The Rocketry Forum:

This site may earn a commission from merchant affiliate links, including eBay, Amazon, and others.

Wayco

Desert Rat Rocketeer
TRF Supporter
Joined
Mar 23, 2011
Messages
4,348
Reaction score
2,138
Location
Goodyear, AZ
Taking a step back with this build since our next launch is the annual New Years Eve party in the desert. Kinda where it all started, bunch of friends 4 wheeling and camping, started flying rockets years ago. We fly LPR/MPR in an open (sorta) area away from it all. My builds have been getting bigger and mostly fiberglass but we don't fly anything bigger than a "G" motor for this event, so I'm building an Estes Argent bought on sale at Fry's Electronics by my good buddy Juan (jusrockets).
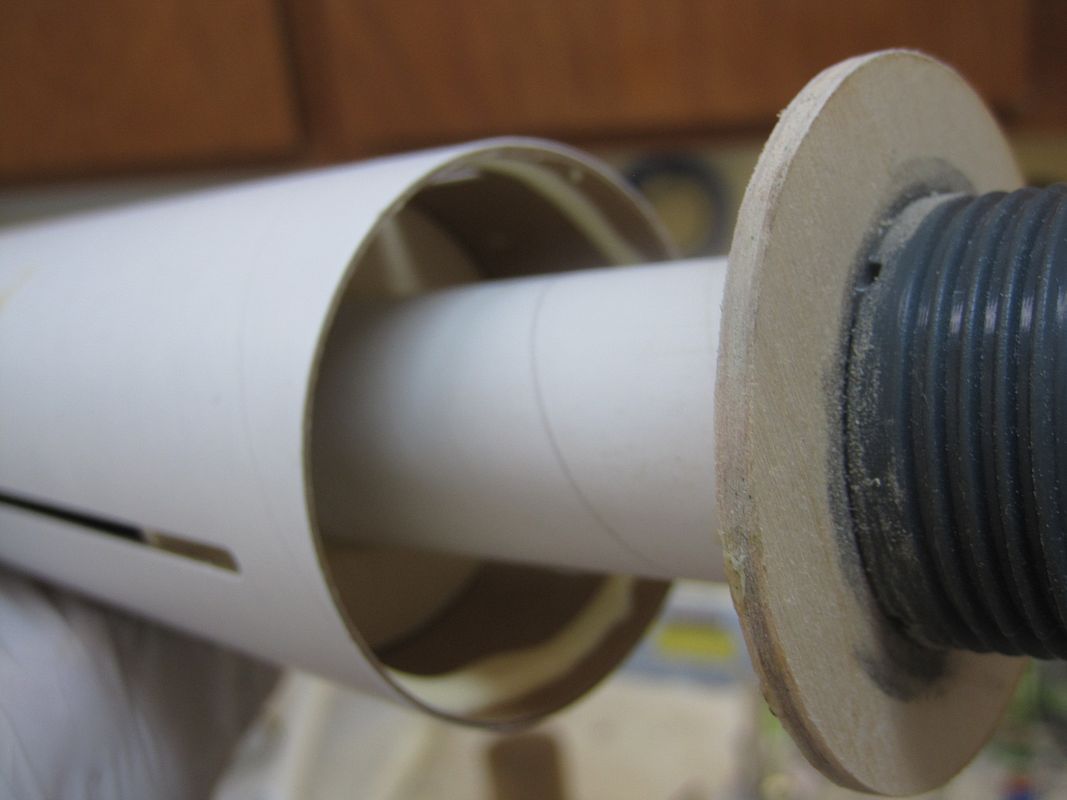
Started by checking the parts against the list and reading the directions, can't remember the last time I did that, but everything was there and in good shape. After reading the directions, I assembled the MMT, at least I started to, then I got to thinking this kit should have a cold air baffle, and maybe I will upgrade the recovery..... You know how it goes, check the tube box and found a piece of 29mm foil lined tube long enough to make a stuffer tube with the nifty retainer and centering rings supplied in the kit.
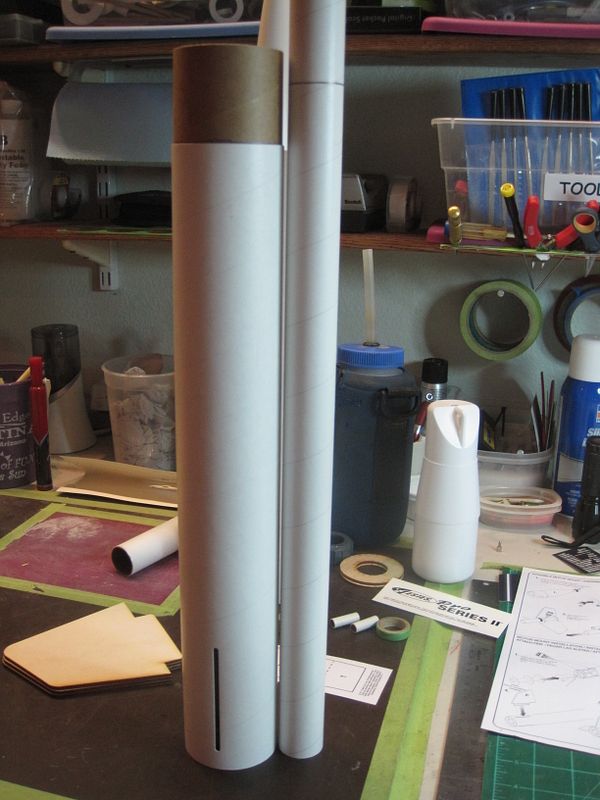
009-1.jpg


Found a cardboard CR for the aft of the coupler and cut it out to 29mm:
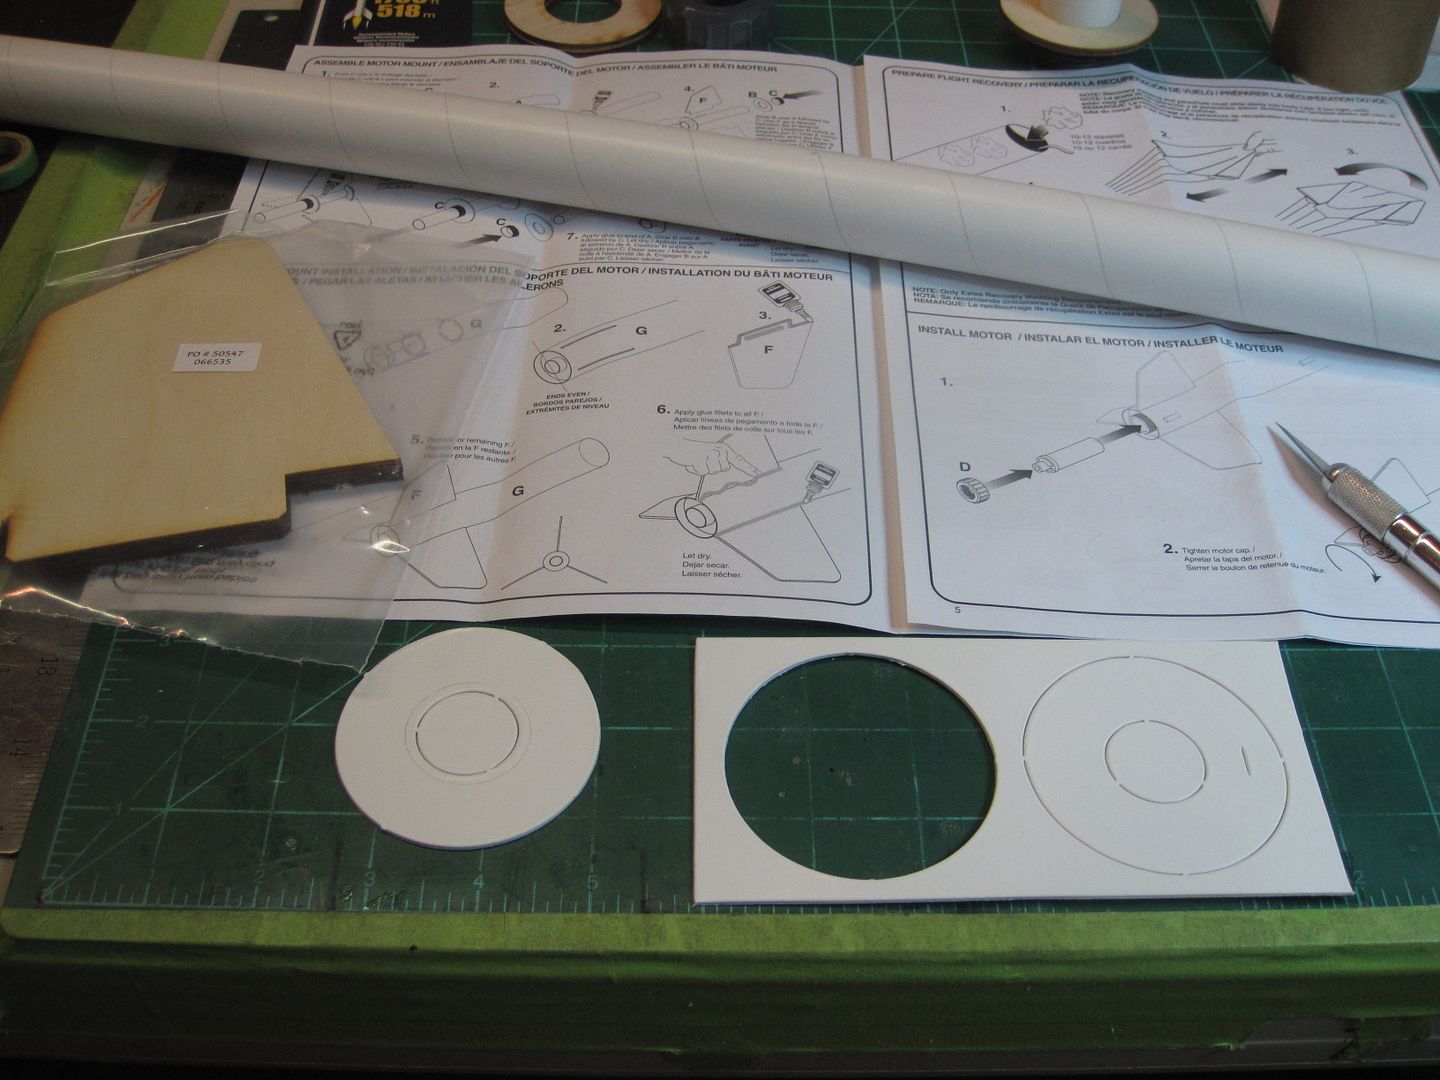
008-1.jpg


Glued it into the bottom of the coupler to seal the stuffer tube so I don't have to pressurize the lower BT for motor deploy:
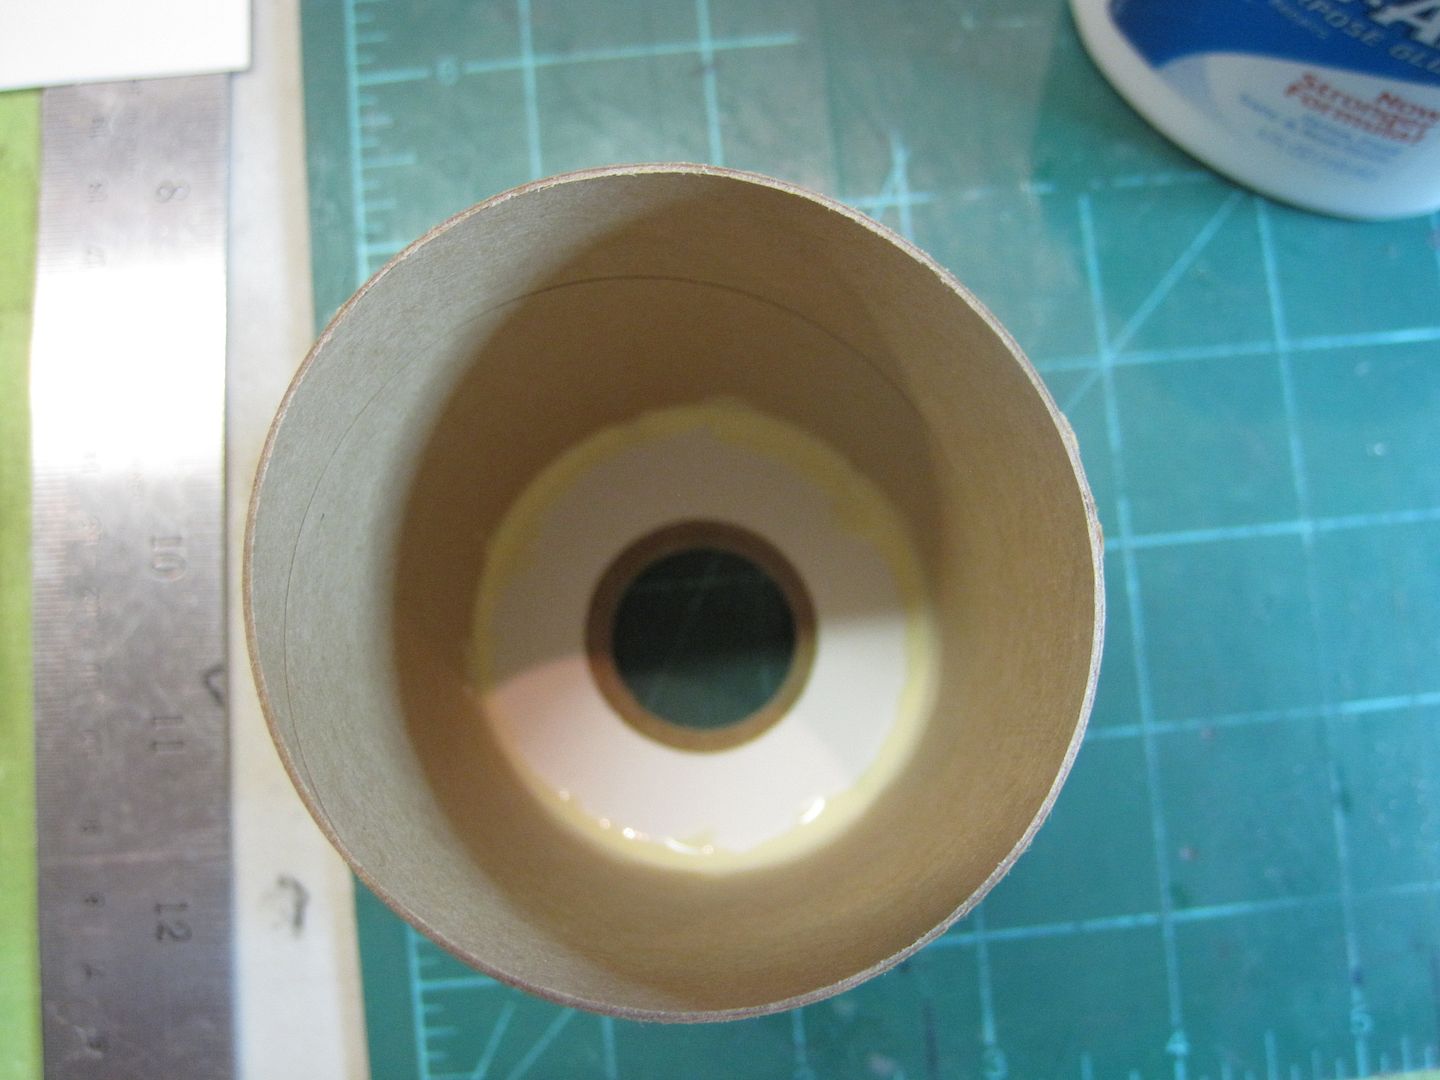
010-1.jpg

It's sitting on a 1/4" tall CR to recess it so I can put fillets on both sides.

Dig back into the tube supply and find some BT-5 for the baffle, then got out the little ring tool to cut up four lengths:
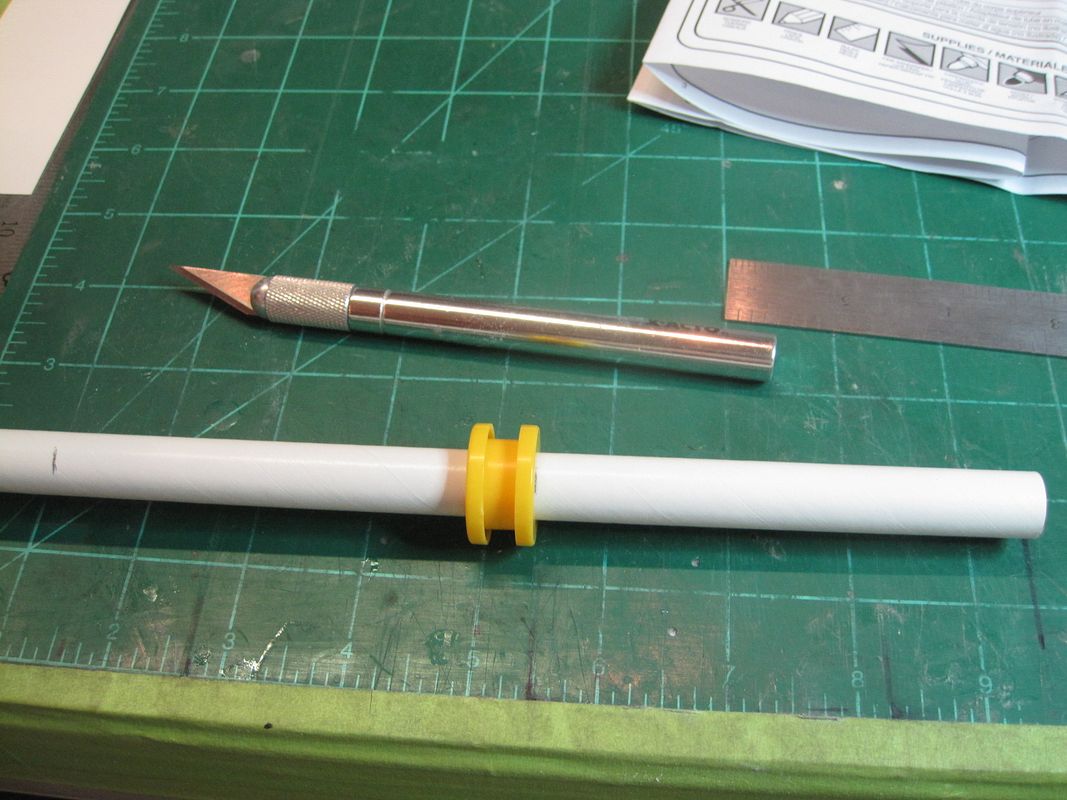
011-1.jpg


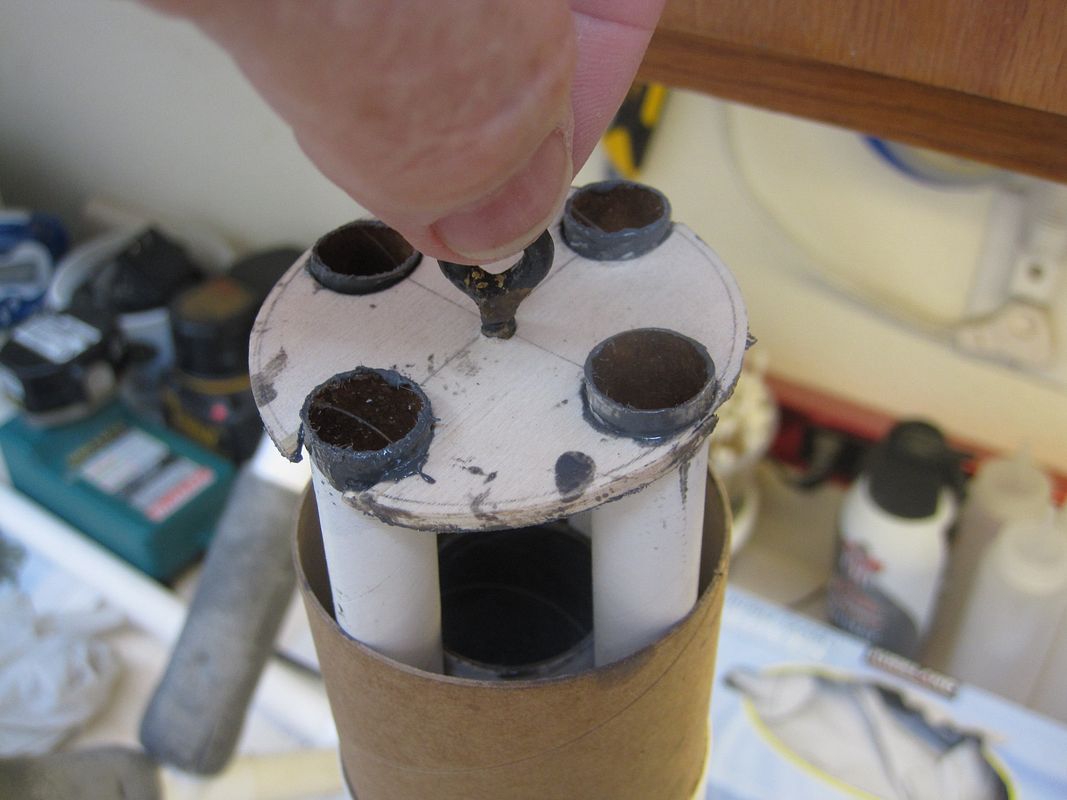
I used 1/8" plywood for the upper bulkhead, and stamped out the holes for the baffle tubes, then found some small hardware for an anchor point:
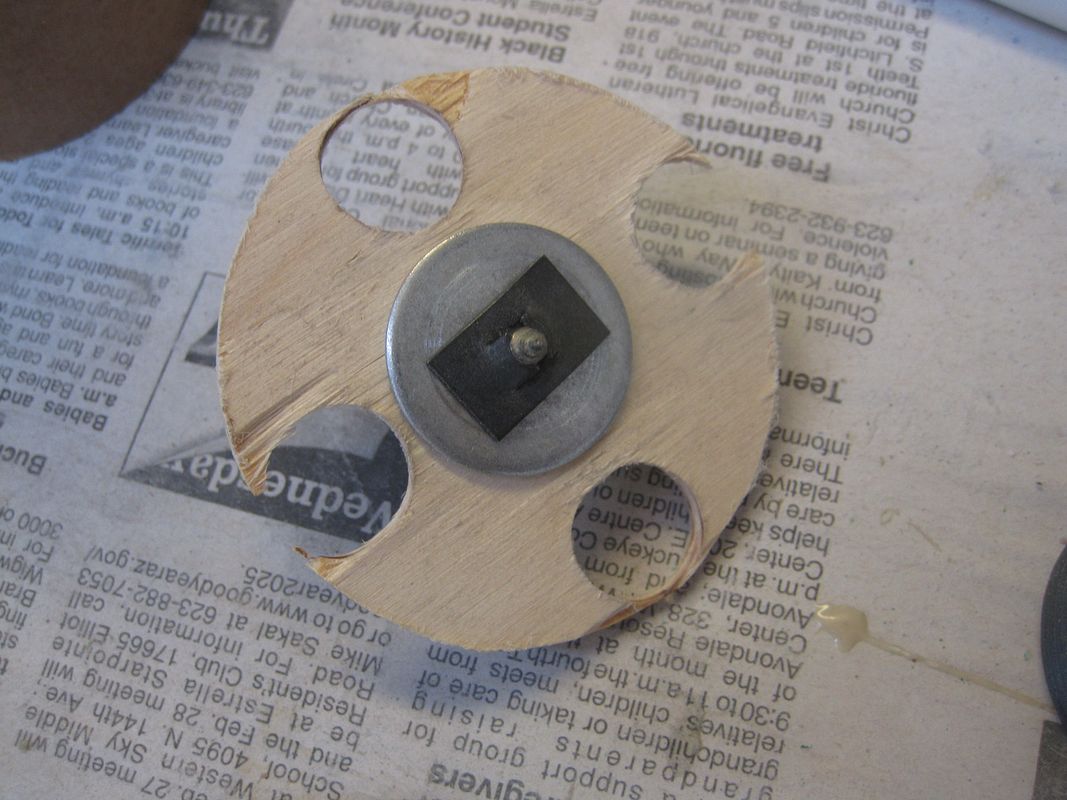
013-1.jpg


Moved everything into the epoxy station and started gluing:
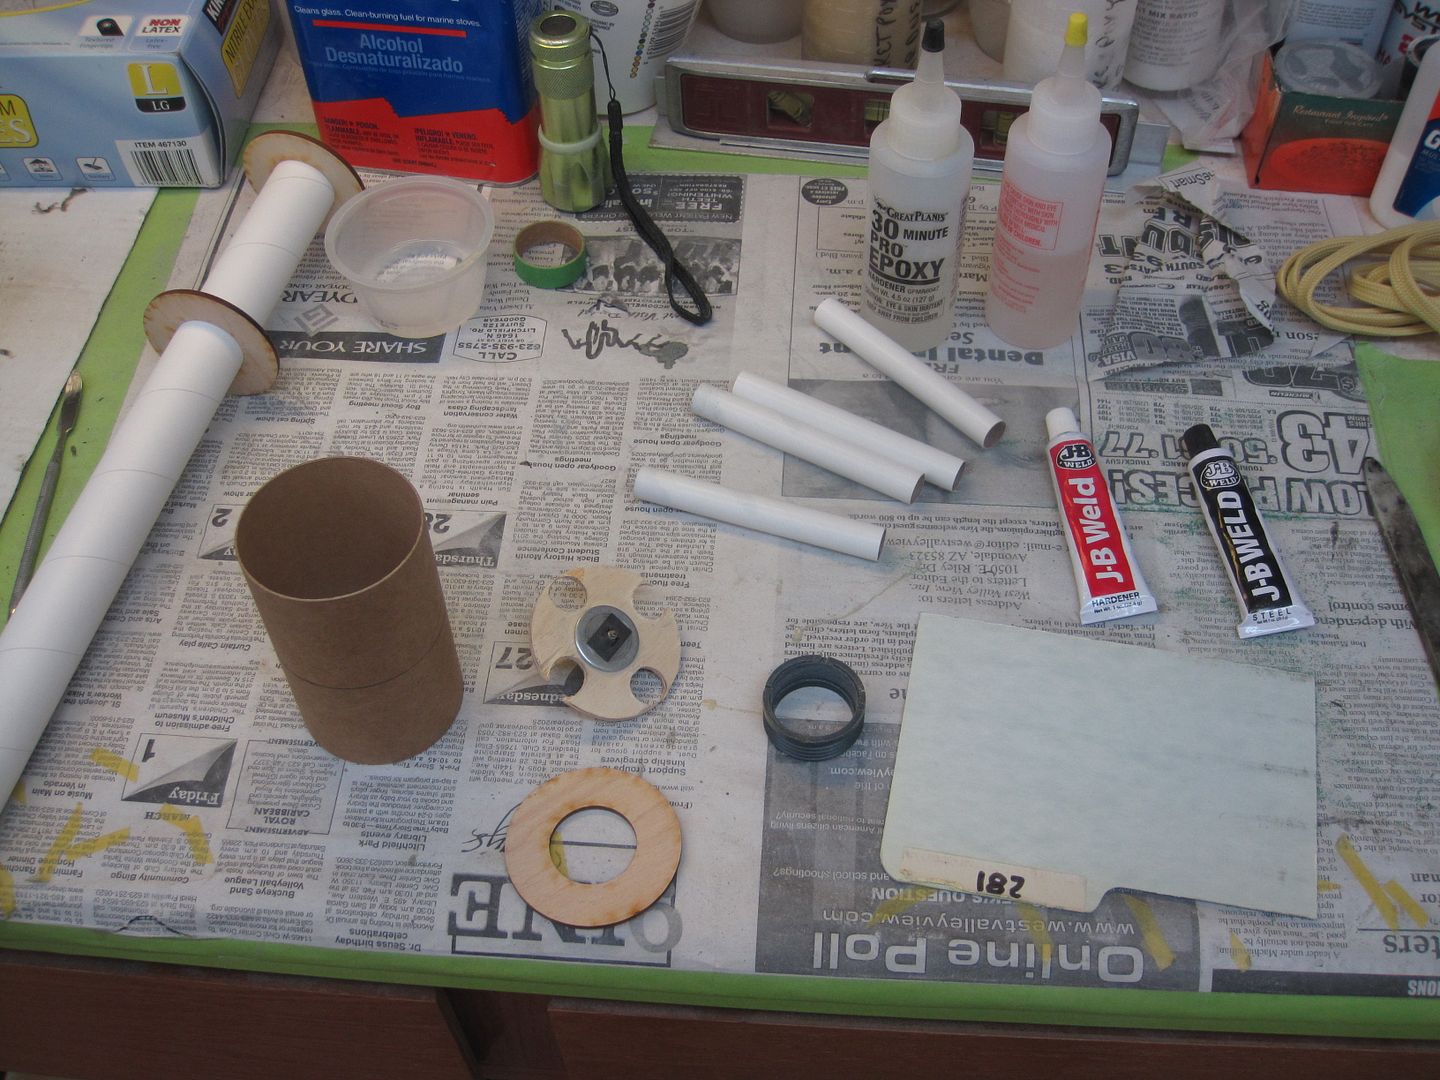
012-1.jpg


Mixed up some JB weld and roughed up
the retainer:
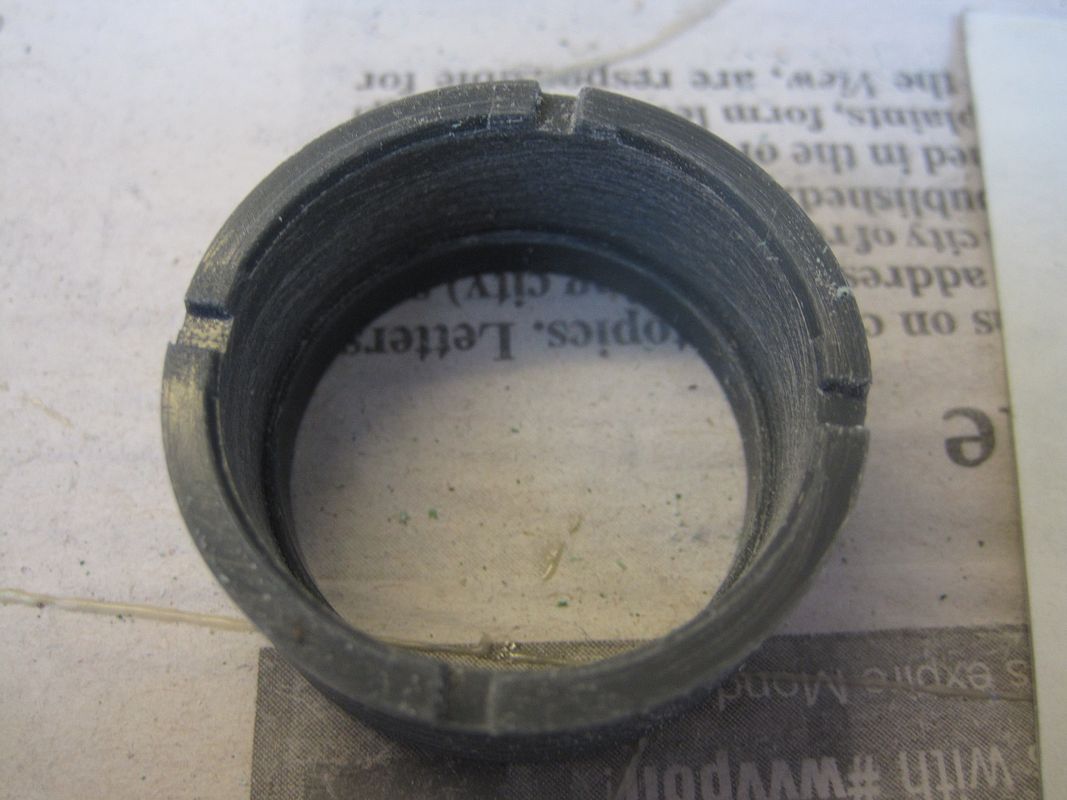
014.jpg


Spread epoxy on the retainer and bottom of the stuffer/MMT:
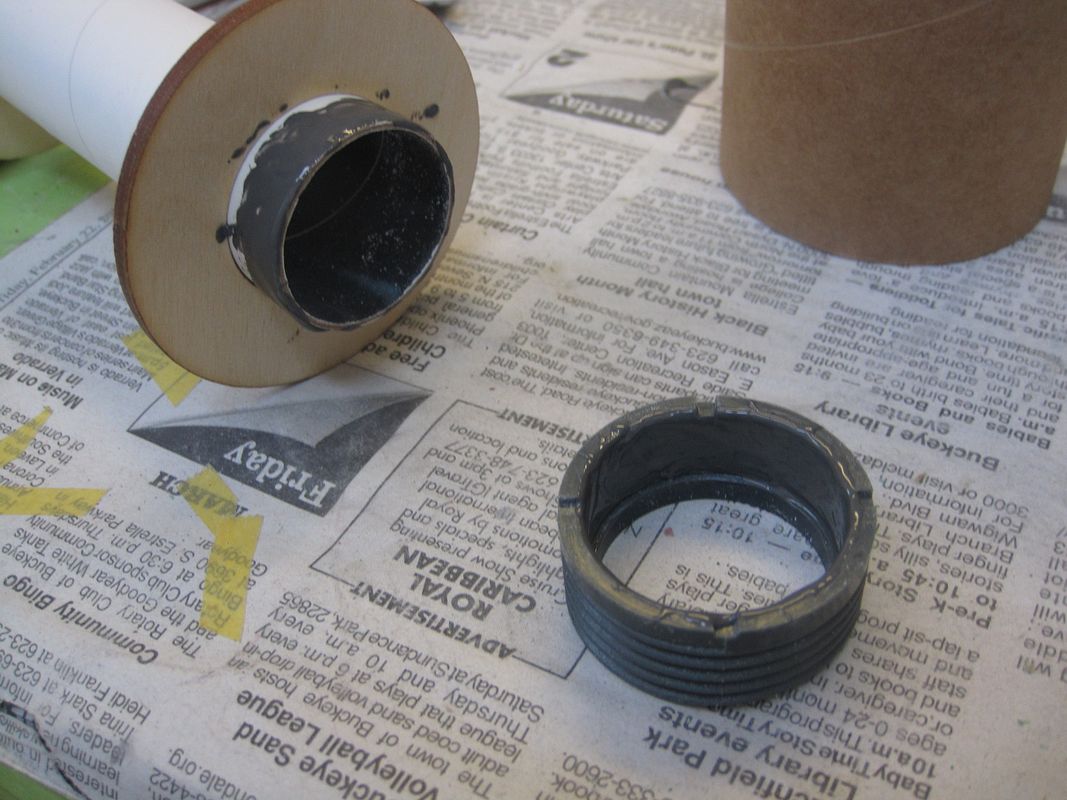
015.jpg


Twisted them together and switched to wood glue and glued two CR's to the MMT. Spaced them out with the fin tabs using my modified fin jig:
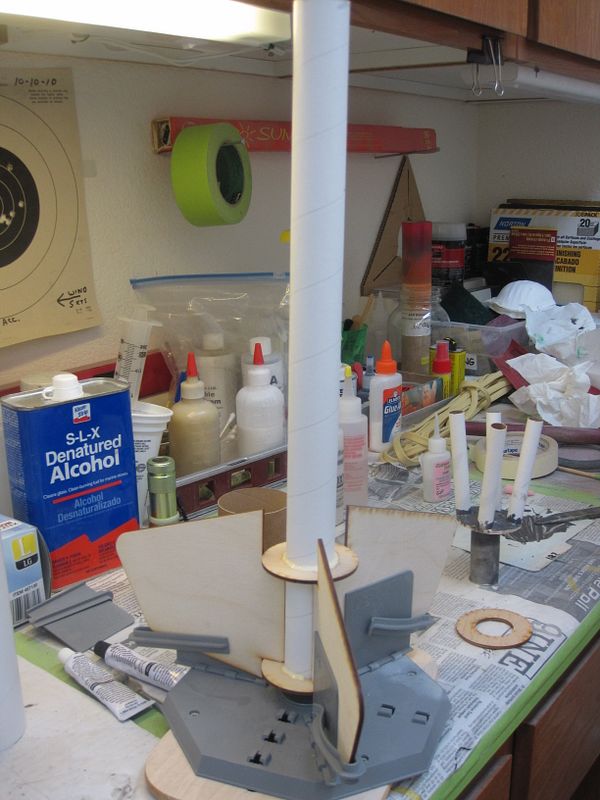
017.jpg


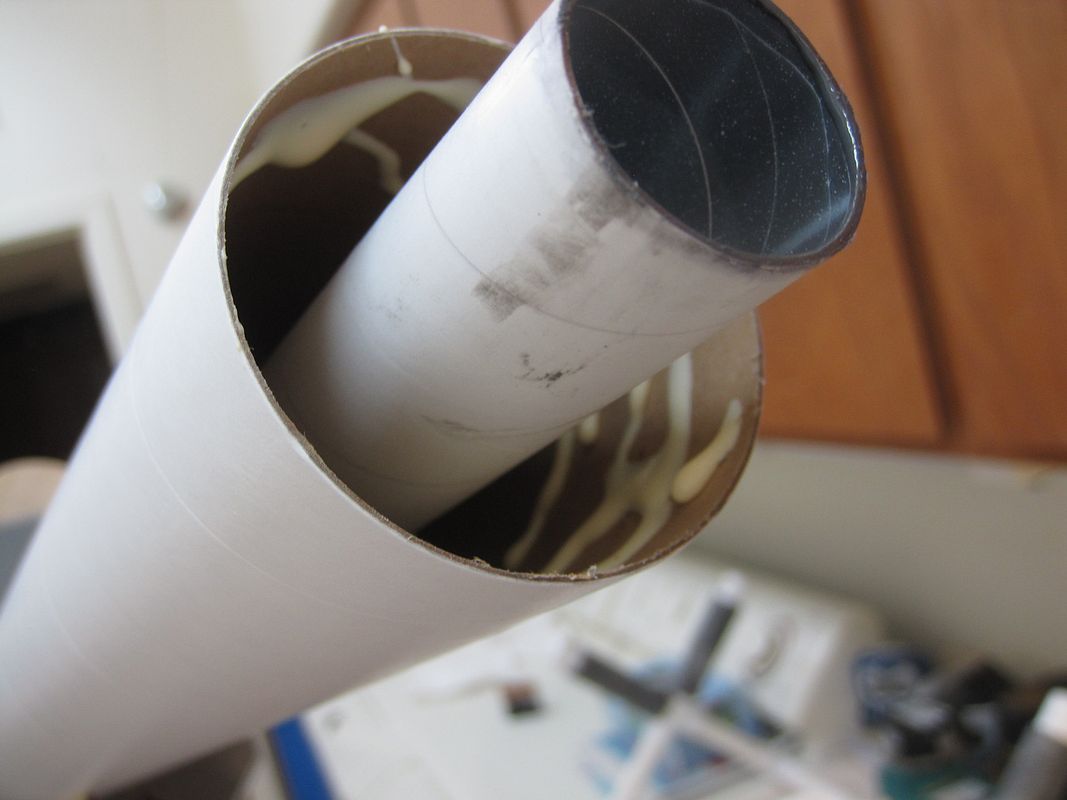
I had some left over JB weld so I smeared it onto the bottom of the bulkhead and stuck the baffle tubes in:
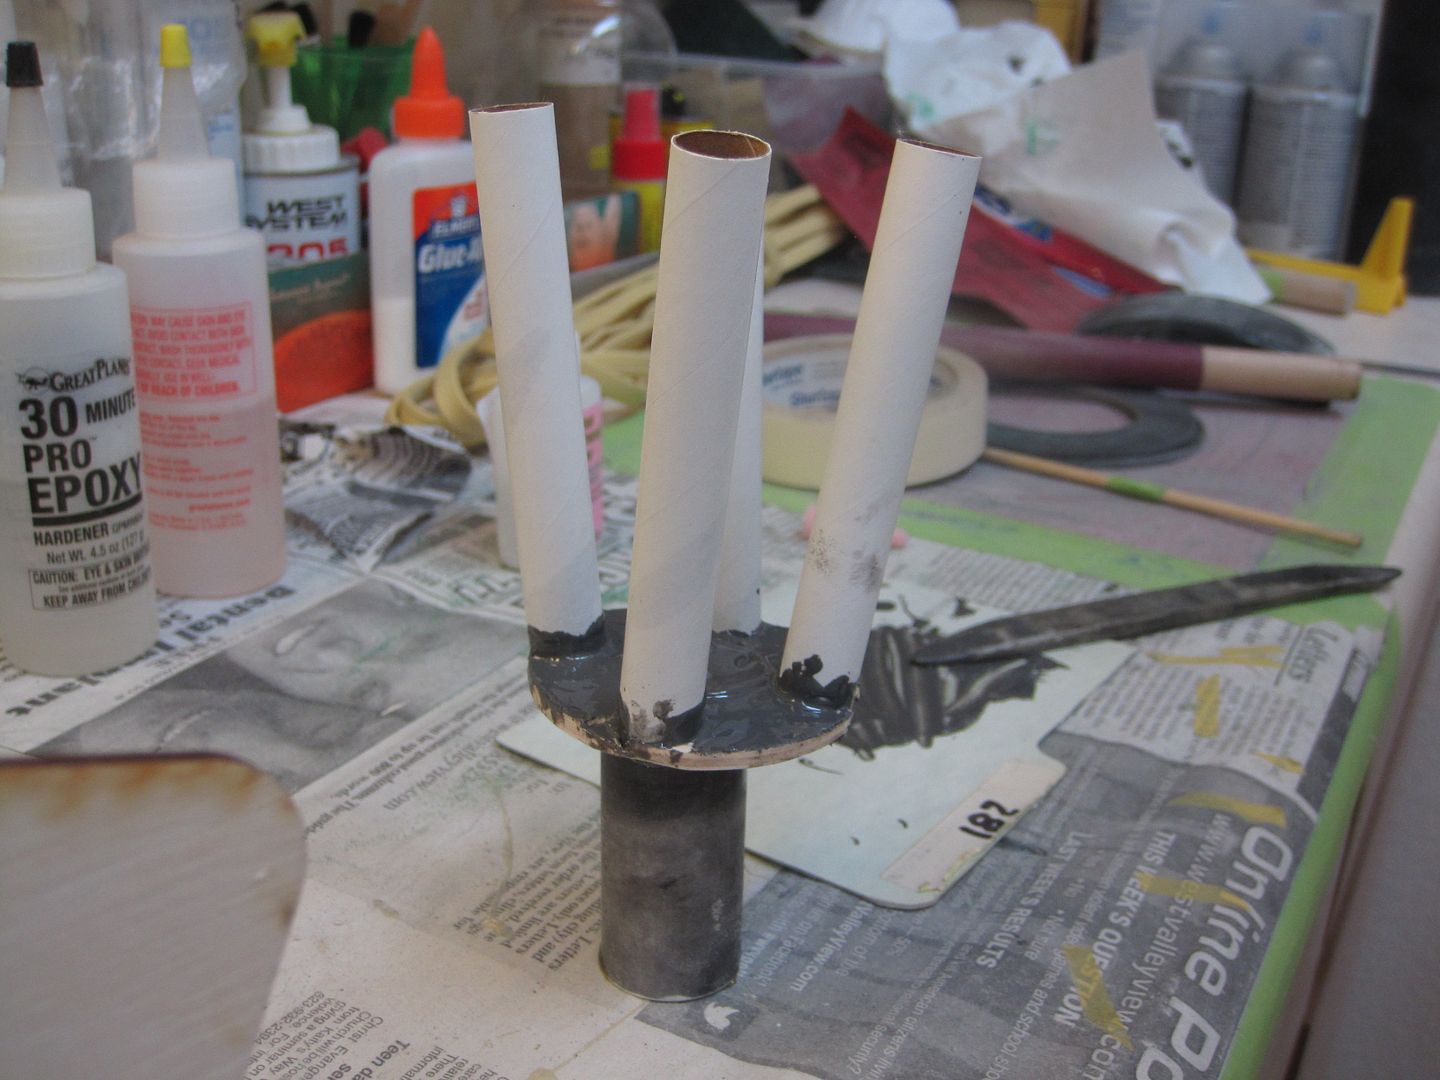
016.jpg

This is where the motor eject gas hits, so it will make it stronger and fire resistant at the same time.

Shoved this mess into the coupler:
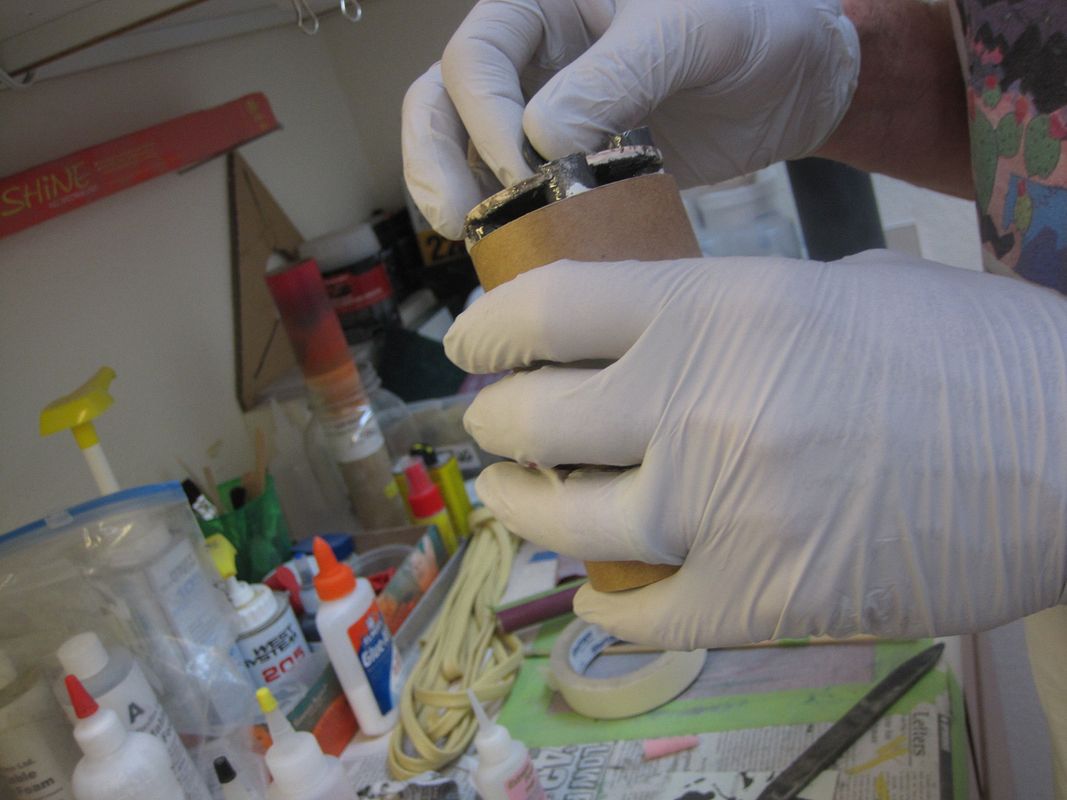
019.jpg

Then reached my finger in through the bottom hole and made sure all the tubes were laying against the coupler wall. Not much room to spare for the stuffer tube, so they need to be in the right place. Set everything aside and let it dry.

 
Last edited:
After it all set up, I ran a ring of wood glue around the inside of the BT at the top of the fin slots, then inserted the MMT part way and ran another ring of glue at the bottom:
021.jpg


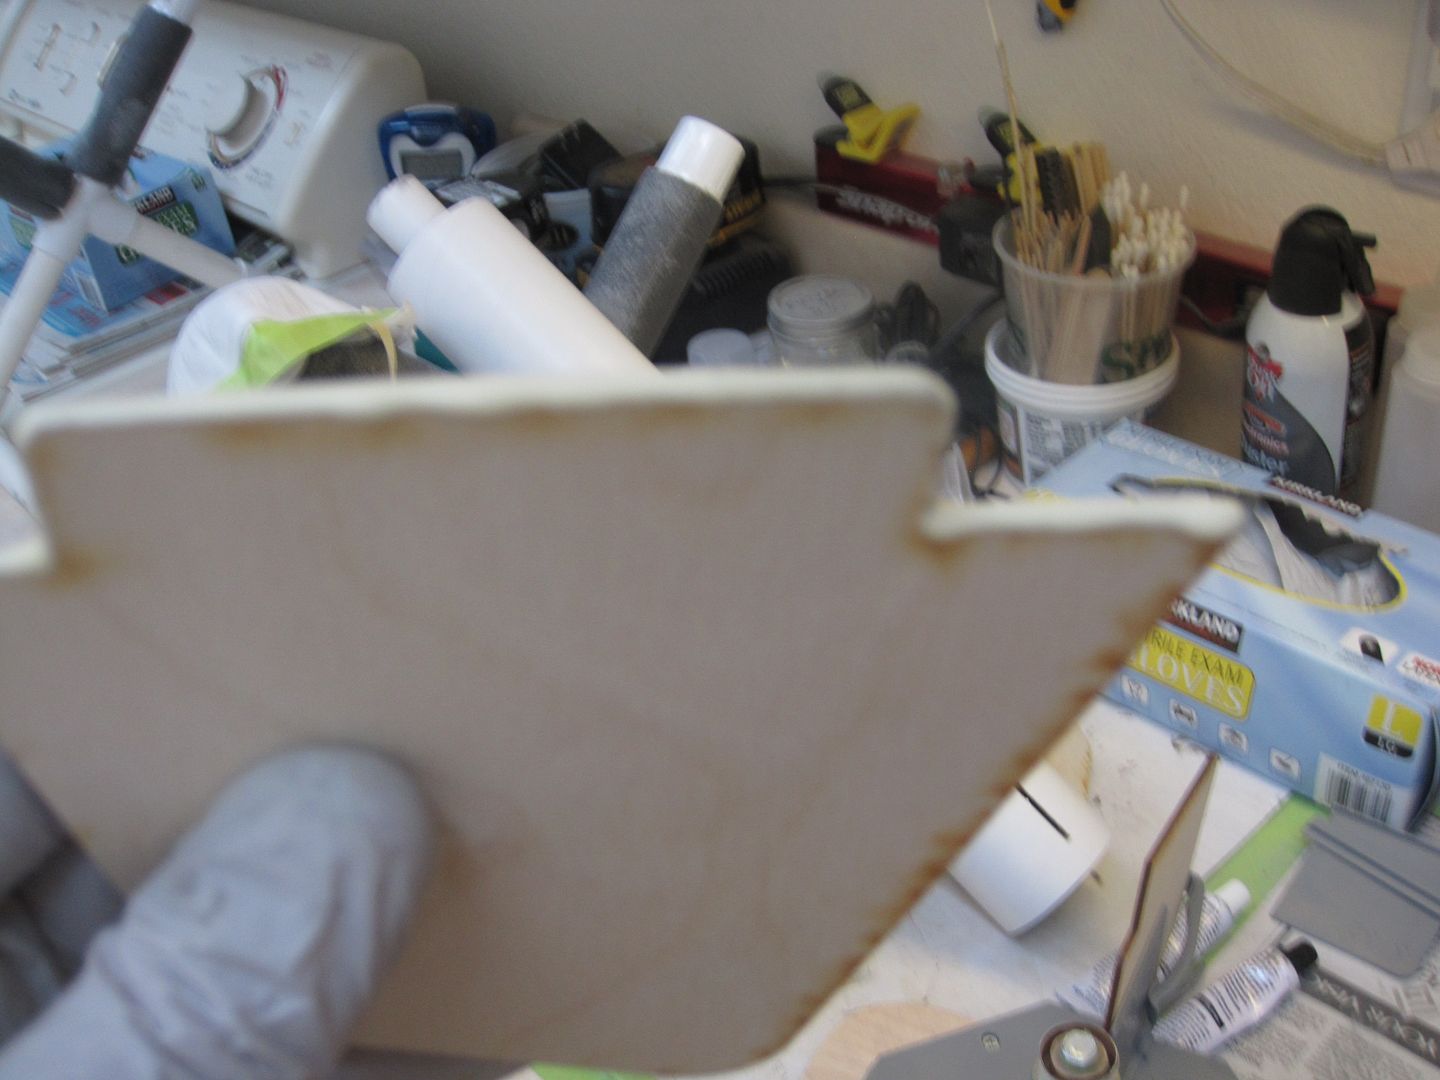
Slid it in and stood it up on the retainer so the glue would settle down on the CR's. Put the fincan back on my jig and started sticking fins in. I double dip the fins, first a bead of glue on the root edge of the tab and stick it through the slot, pull it back out and apply another bead on the entire root edge, including the part that sits on the body tube:
023.jpg

Sorry for the bad pic, glue and cameras don't mix well, not enough hands and fingers to get everything right. After the fins had dried, I squirted some glue into the top of the fincan and stuck the coupler/baffle onto the MMT:
026.jpg


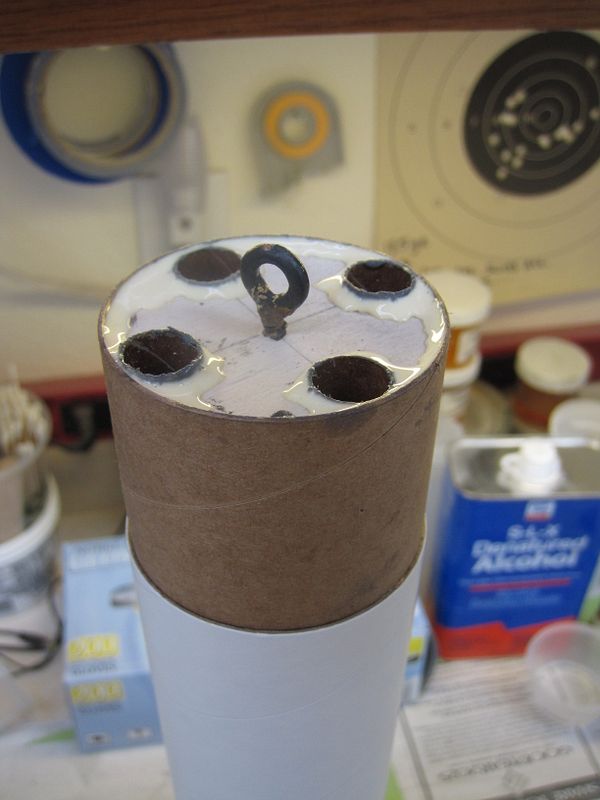
Slipped the upper BH and baffle tubes around the stuffer tube and glued it in place:
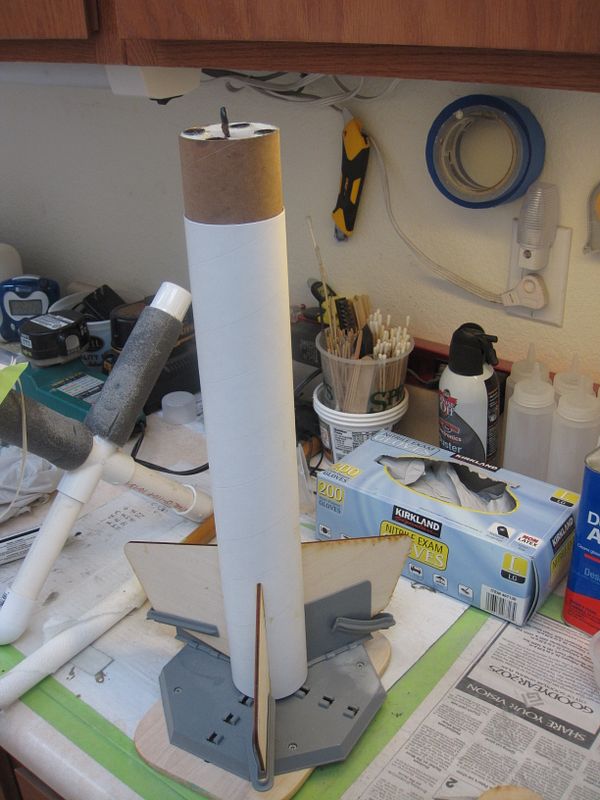
027.jpg


Wallah! the fincan is assembled:
028.jpg


I will probably add some epoxy on top of this bulkhead after the wood glue dries to strengthen the anchor point:
029.jpg


Also added thin CA glue to the outside of the coupler and any cardboard tube ends for durability.

Tomorrow I will start modifying the transition into an avbay.

Thanks for watching.
 
Last edited:
Looking good, what motor are you planning on flying it on? Are you sticking to F and G's or would you stuff a H motor in there?
 
Looking good, what motor are you planning on flying it on? Are you sticking to F and G's or would you stuff a H motor in there?

Won't know what it will fly on until I weigh it. Having trouble finding hardware small enough for the avbay. I made some eyenuts with 10/24 eyebolts and couplers, so the allthread will have to be that size. I'm using one of the new RRC2+ alt's and a featherweight magnetic switch on the sled, the avbay is small! The MMT is big enough to fly any 29mm reload, but I will probably work my way up to a 3 grain H54....
I was surprised when I put it all together, this rocket is almost five feet tall! I will update this thread when I get the avbay finished, maybe tomorrow.
 
You should be able to get any size hardware from Ace Hardware. That should be a cool av-bay setup with the magnetic switch and RRC2+. That is one tall rocket for five feet tall and two inches in diameter. Looking forward to seeing it finish!
 
Got the Featherweight magnetic switches in and finished up my avbay:
008.jpg


Still need to drill the static ports but it all fits in the transition. I really like these little switches:
010.jpg

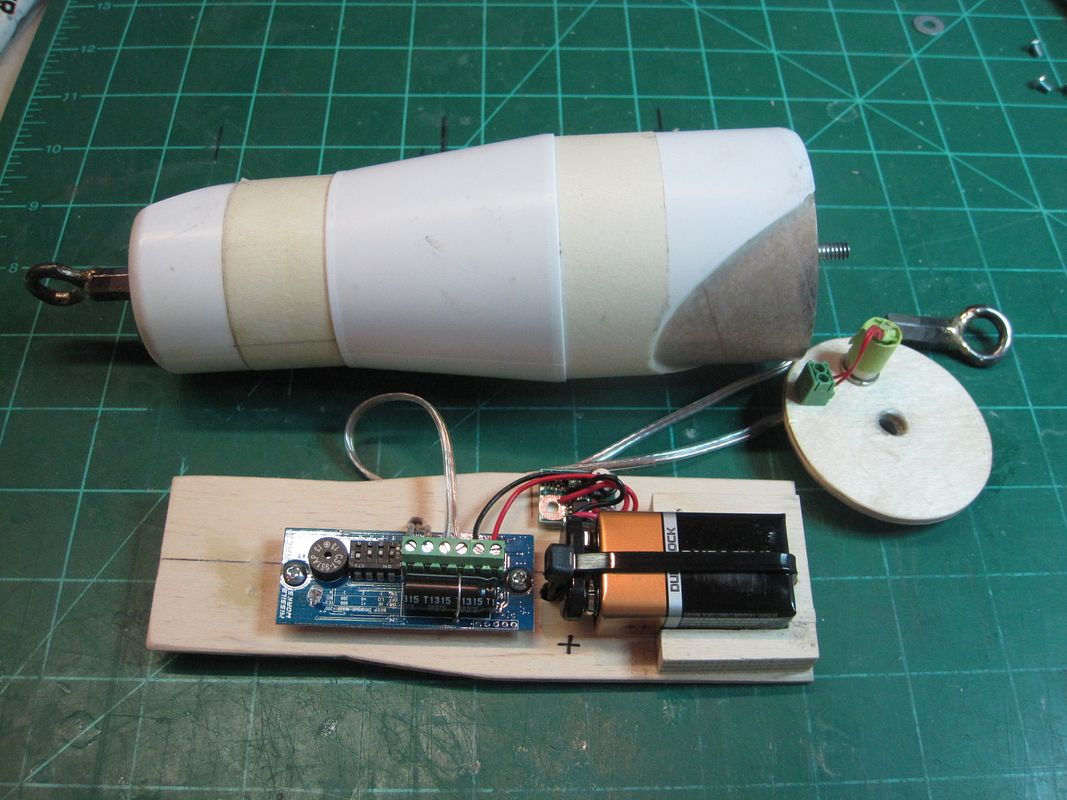
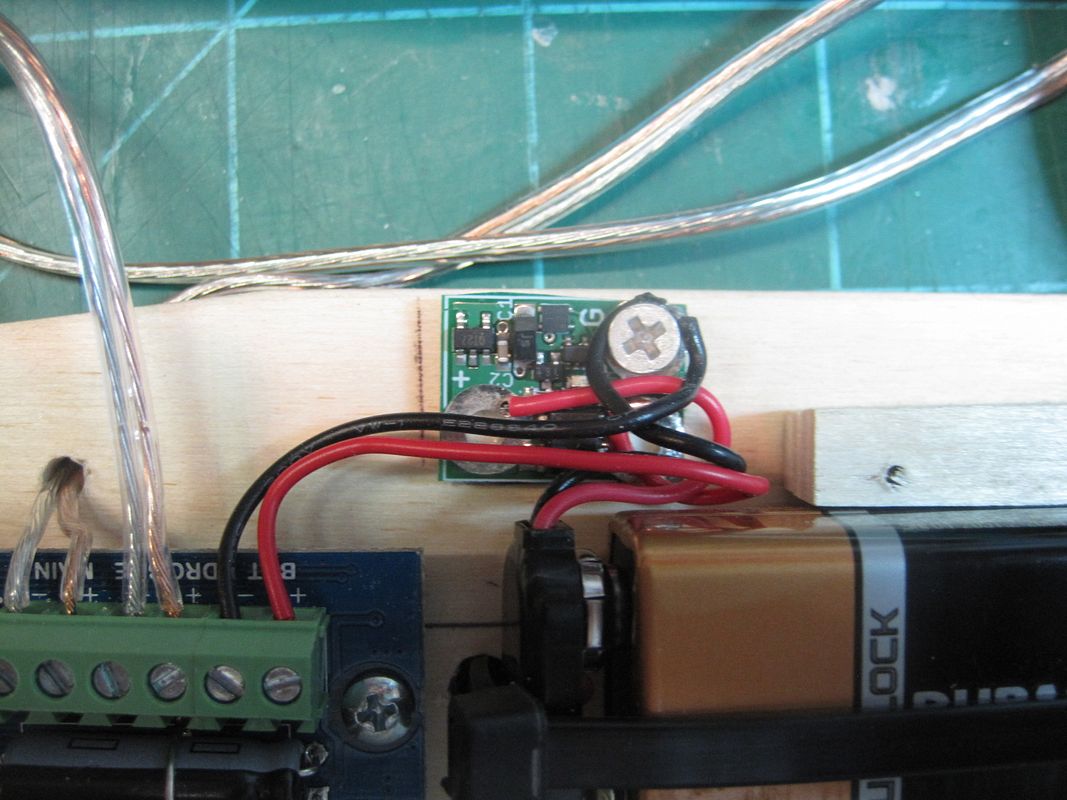
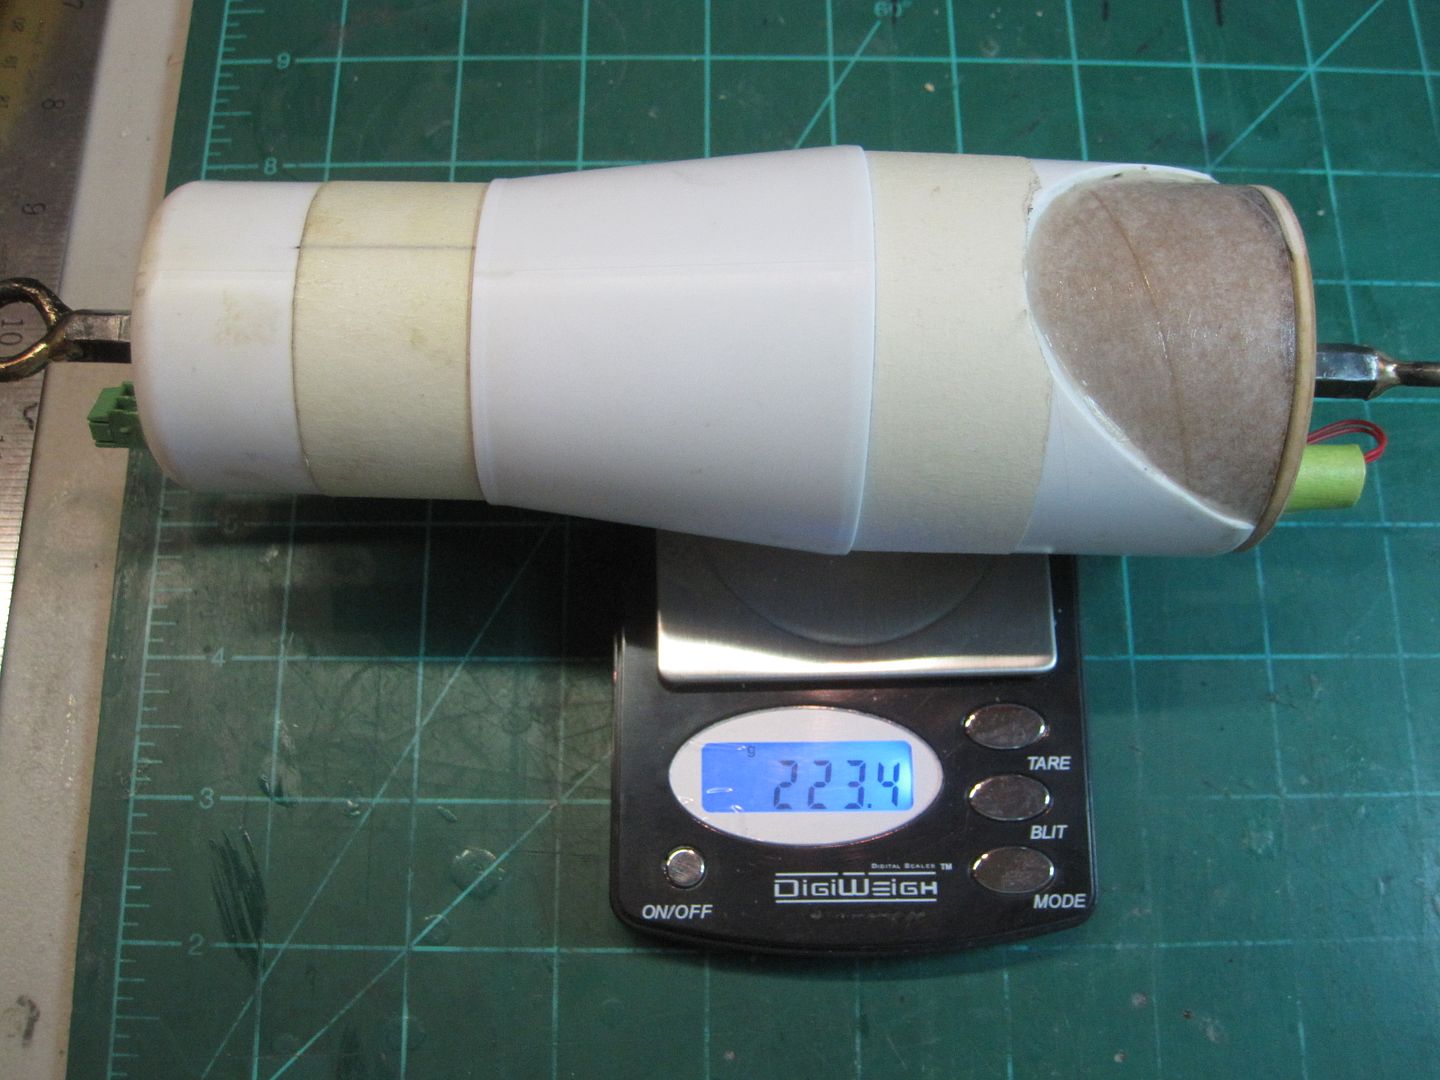
I put a piece of two sided tape under the switch and the battery to hold them in place, then built a battery holder because all of the ones I have don't fit. Cut a piece of 1/4" ply and glued and screwed it in place, then mounted the RRC2+ right next to it. This is the smallest sled I have ever built, took a lot of fitting to get everything right. Here it is all together sitting on the scale:
011.jpg


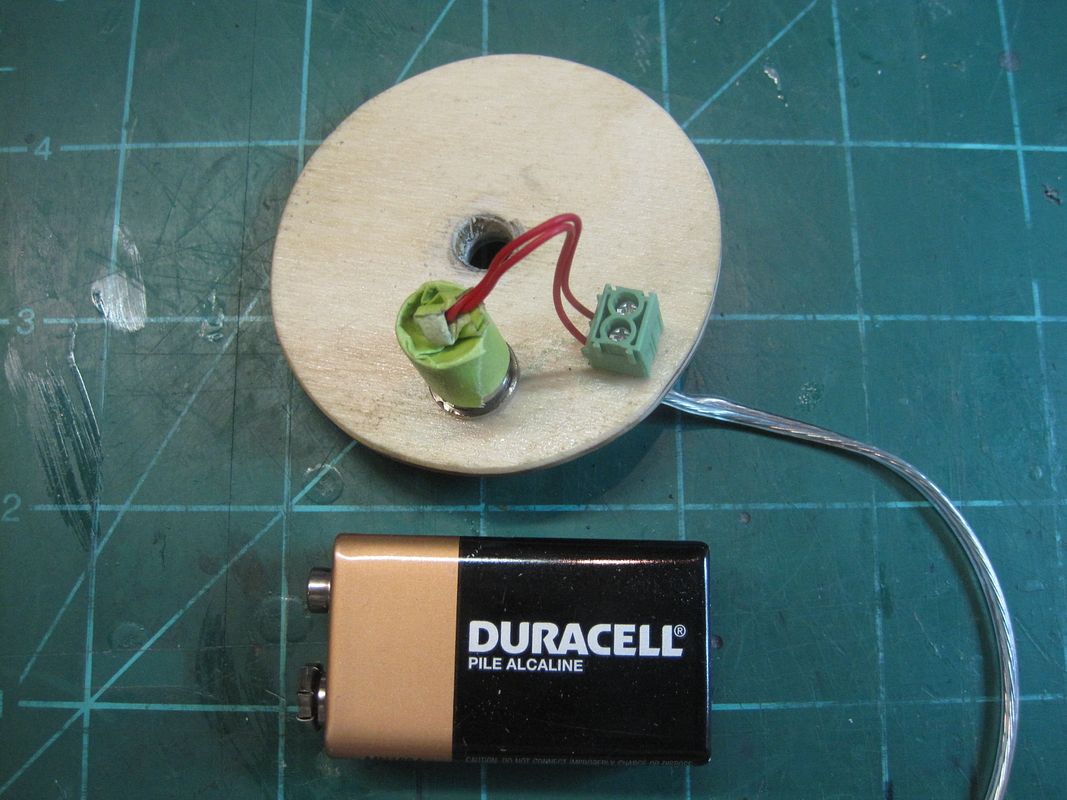
I tried something new on the aft bulkhead, used a shortened .38 shell for an ejection canister. It holds .8 grams, so should be plenty for the drogue volume since the cold air baffle takes up some space. Here's the aft BH:
007.jpg

Punched out the primer and put a small wood screw through it to hold it in place. If it proves to be effective, I will add another shell to the forward end of the transition.
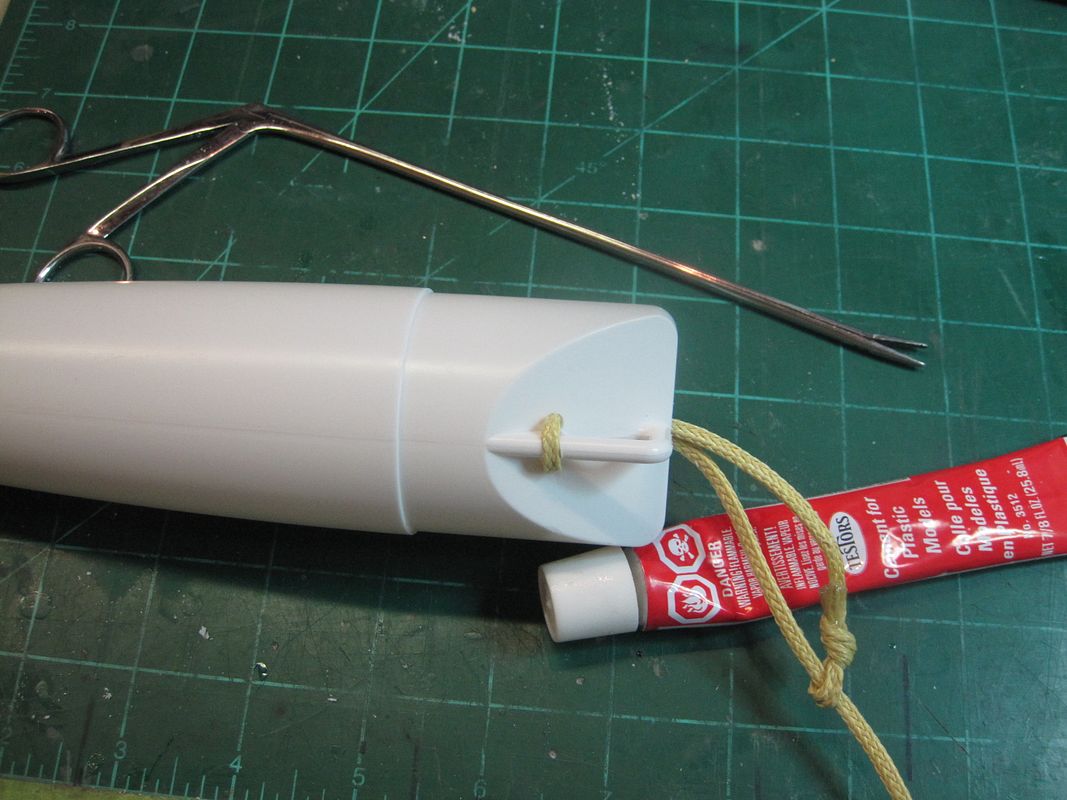
I'm really trying to keep the weight down on this build, mainly because its a cardboard rocket. I usually just put a eyebolt into the N/C and epoxy it in, but this time I tried a lighter, simpler solution:
012.jpg

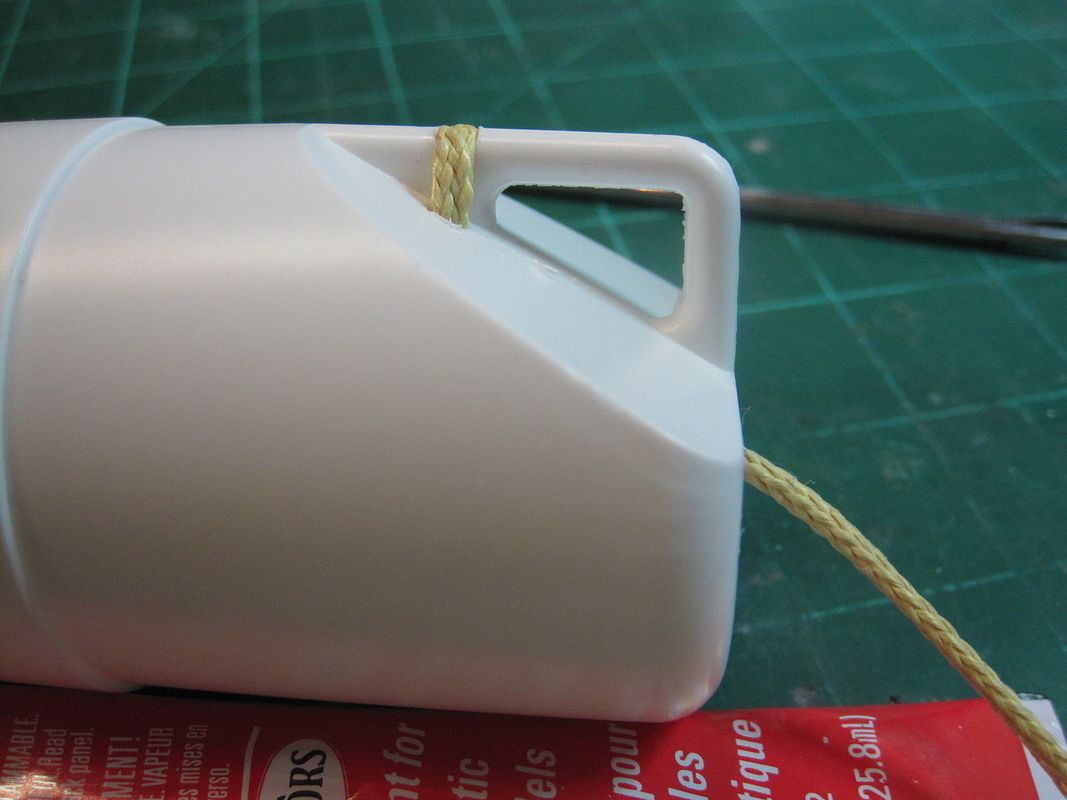
Drilled two holes at the strongest point and threaded 1/8" kevlar through it with my handy forceps. I also use plastic glue on all the kevlar ends and knots, it holds them together, but still allows you to take the knots apart later. Had to file a small slot in the top so it would clear the BT:
013.jpg


I added the 24" chute and a small nomex pad to the payload and weighed the mostly complete rocket, still need to add launch lugs but as is it weighs 1 lb. 6 oz. Stock it should be 1 lb. so the avbay, cold air baffle and stuffer tube added 6 oz. I will weigh it again when the paint is finished.


Did some finishing touches on this build today, added launch lugs and external fillets with "trim" glue. Drilled holes for static ports and payload tube retention, both 3/32". This week it will be priming and sanding, with some work on the 5" Jart/75mm MMT finally. I had to escape the Rocket Room, Sharon was organizing and it was a big mess!
 
Luv the way you attached the shock cord to the nosecone. Excellent idea! I've been just putting holes on opposite sides of the bottom face of the nose cone to attach the cord. I like your solution much better.

The only thing about this build I don't really agree with is the baffle. I don't know how much experience you have with DD and why you wanted the baffle. I built a DD rocket with a zipperless fincan. With my experience with DD and that rocket, I won't do that again. I will stick with standard DD configuration. I never use a motor deploy charge when flying DD so for me, a baffle would never get used. I would be interested in your reason for needing the baffle.
 
This build morphed as I built it. I don't think I considered converting the transition into an avbay until I had the baffle built. It was then that I realized I could fit a 29mm 6xl casing in it. After reading dward's thread about his massively overbuilt DD Argent:
(
https://www.rocketryforum.com/showt...al-Deploy-build-thread/page2&highlight=Argent) I though I would give it a shot. My last few builds have been big heavy fiberglass rockets, this was a real challenge to build light.
I have had two saves using motor deploy when my altimeter didn't do it's job and the rocket landed hard but intact. Granted,those were fiberglass rockets, the Argent won't fare so well, but I will still use motor deploy as a backup to prevent a ballistic recovery.
 
Really enjoyed your build thread. Stole some of your ideas for my Ventris build. Hope you don't mind if I post a couple pics on your thread. I went for zipper-less without the baffles. Used a Kevlar loop shock cord attachment point to save weight. Internal epoxy fillets on fincan... geeze how did that 360 case get in the picture?:wink::y: Just kidding, but it would fit along with I think a 6G Pro29. Agree with you that H54 is getting to the upper limit. With this I might go to H97.
For the transition AV bay, I am thinking a couple 4-40 threaded rods under sled and 2.5 mm plywood end caps with Kevlar loops. Sled layout with Eggtimer rev D. for DD with motor backup. Payload tube is short, might have to open up NC to make room for Main.

View attachment 155775View attachment 155776View attachment 155777
 
Last edited:
Clever idea with the kevlar loops, I'm just not sure the bulkheads will be strong enough being that thin. What battery are you using with the eggtimer?
No problem adding to this thread, sharing ideas is what this forum is all about.
I weighed my (mostly) complete rocket and got 640 grams, after paint I will weigh it again.

Yeah, the HP in me also says the bulkheads are too thin; the MP in me says this is much better than trifold paper attach. They are aircraft birch plywood... pretty good stuff. For apogee separation, I'm thinking an extra long shock cord (there is plenty'o room in the lower BT) will keep me out of trouble. For the main side, I may reinforce the bulkhead to double thickness at the attachments by laminating a half moon shape on the aft side. Thanks for the advice.

Battery is a 180 mAh 2S Lipo from Hobby King (https://www.hobbyking.com/hobbyking/store/__23135__Turnigy_nano_tech_180mah_2S_25_40C_Lipo_Pack.html) I think someone recommended on another thread (maybe not for Eggtimer though). It has a 40C (7.2 A) discharge rate, so it should be okay for Eggtimer spec'd at 8A. The Eggtimer will be set up to use a single battery to save weight. This is my first Eggtimer, so it will probably ride along or do apogee main with motor backup for 1st flight as I get used to it.

The Ventris booster is 176 g. Overall so far no paint 485 g.
 
Last edited:
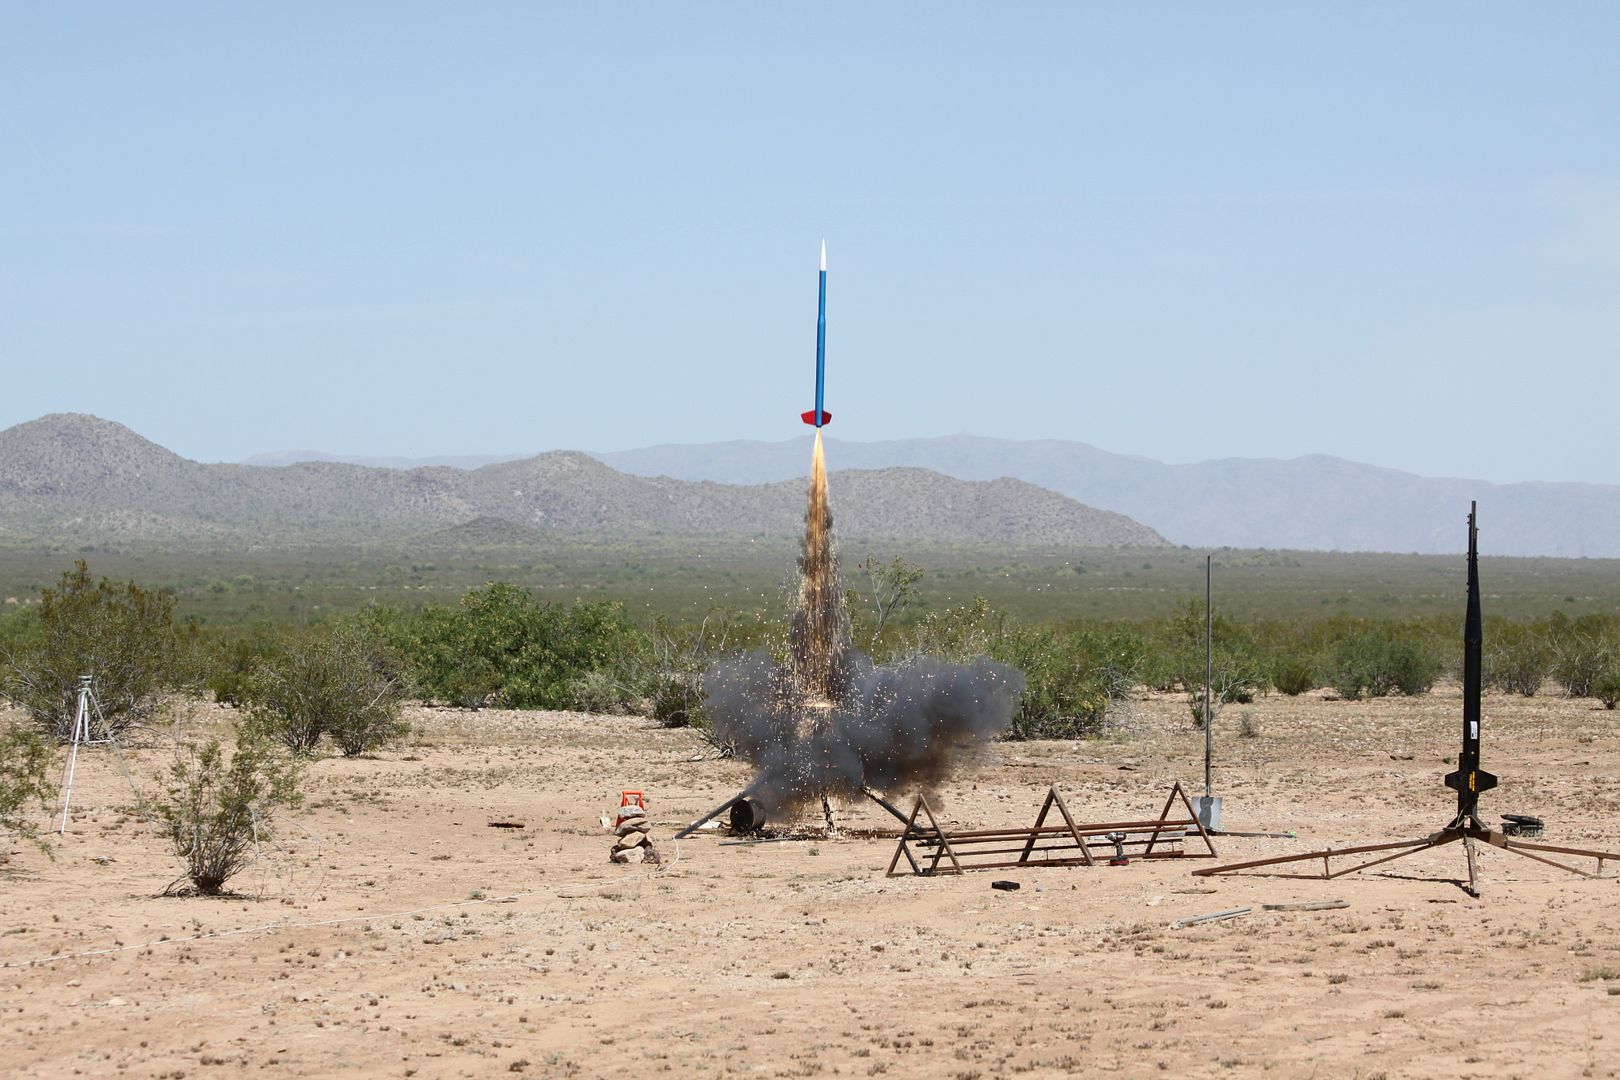
I had to come back and add on to this thread now that I have flown the Argent. Took it to Desert Heat for it's first flight and launched it on an AT G64. Very happy with it's first flight, simmed to 1400 ft. and flew to 1364 ft. Dual deploy worked perfectly with .5 grams in both charge cups. While I was there, I got my first look at the new AT single use motors. Bay Area Rocketry had a pretty good selection, and I was surprised to find a Dark Matter load that would work for the Argent. Picked up the H115 DM and loaded it up for last weekends launch at Eagle Eye. James Donald got a great shot of it coming off the rod:
2014-04-27ArgentonH115DM-1.jpg


I'm not sure why, but this rocket is really a blast to fly. Not a lot of setup, just fill the little charge cups and load a motor in it and away it goes. That second flight went to 2479 ft. and because the recovery area at Eagle Eye is full of brush and cactus, I added a tracker and a big orange streamer to the drogue shock cord. It was easy to see the whole flight and it landed close enough, I didn't need the tracker, but you know how that goes.... Leave it off and never find the rocket, put it on and it lands by the launch pad.
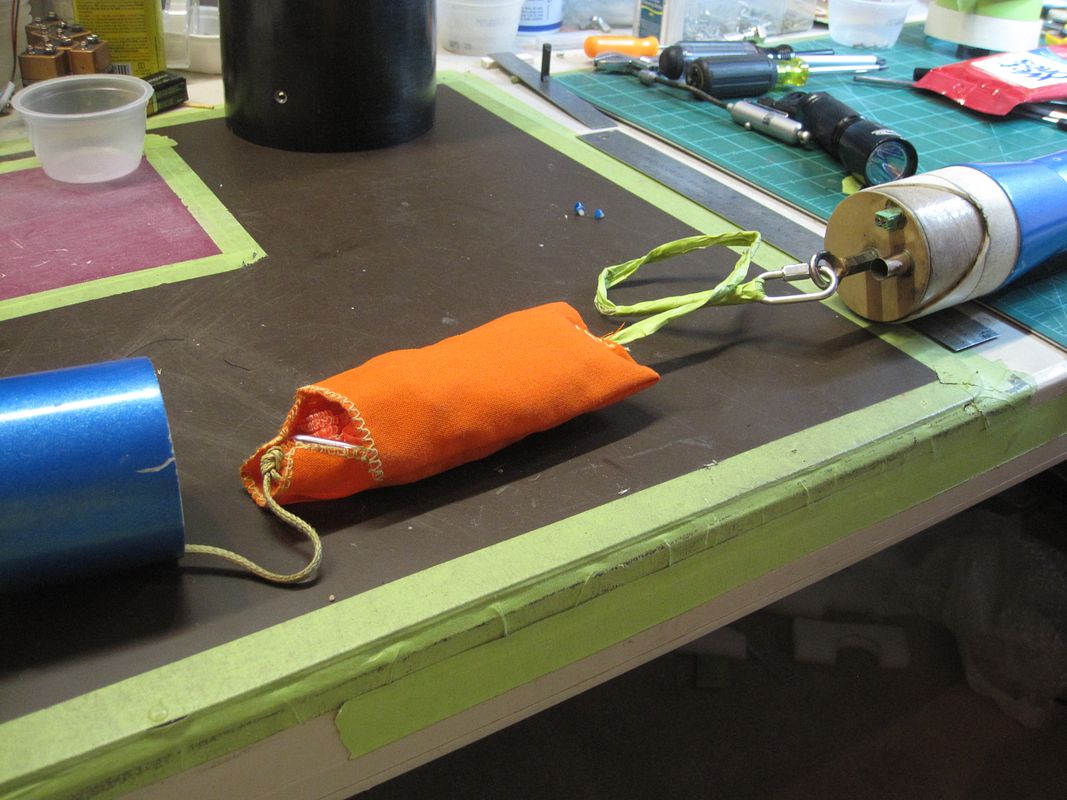
Today I cleaned it up and removed the chute, it had pulled loose one shroud line, not broken, just not made well. Replaced it with a 24" Standard Top Flight chute. I also added a nomex pouch for the drogue streamer:
002.jpg


Not sure how much more motor I will fly in this rocket, the H115 was close to perfect. Might just make it a one motor rocket and keep feeding it Dark Matter....
Final weight with the paint, streamer and nomex pouch came out to be 1 lb. 9 oz.

 
Looks good, just noticed a AT i205 DMS on the updated Data Sheet with the 54mm.

Is there room in there for a 12" long motor ? Tracker and GPS ? <grin>

Kenny
 
I had to come back and add on to this thread now that I have flown the Argent. Took it to Desert Heat for it's first flight and launched it on an AT G64. Very happy with it's first flight, simmed to 1400 ft. and flew to 1364 ft. Dual deploy worked perfectly with .5 grams in both charge cups. While I was there, I got my first look at the new AT single use motors. Bay Area Rocketry had a pretty good selection, and I was surprised to find a Dark Matter load that would work for the Argent. Picked up the H115 DM and loaded it up for last weekends launch at Eagle Eye. James Donald got a great shot of it coming off the rod:
2014-04-27ArgentonH115DM-1.jpg


I'm not sure why, but this rocket is really a blast to fly. Not a lot of setup, just fill the little charge cups and load a motor in it and away it goes. That second flight went to 2479 ft. and because the recovery area at Eagle Eye is full of brush and cactus, I added a tracker and a big orange streamer to the drogue shock cord. It was easy to see the whole flight and it landed close enough, I didn't need the tracker, but you know how that goes.... Leave it off and never find the rocket, put it on and it lands by the launch pad.
Today I cleaned it up and removed the chute, it had pulled loose one shroud line, not broken, just not made well. Replaced it with a 24" Standard Top Flight chute. I also added a nomex pouch for the drogue streamer:
002.jpg


Not sure how much more motor I will fly in this rocket, the H115 was close to perfect. Might just make it a one motor rocket and keep feeding it Dark Matter....
Final weight with the paint, streamer and nomex pouch came out to be 1 lb. 9 oz.


Quick question,, are you adding the streamer along with a drouge chute or are you just using the streamer and how long is the streamer?

Thanks
Ed
 
Nice build and thanks for creating a thread. I've got an Argent in my build pile as well. A couple questions:

1) Where did you locate the ports in your e-bay? Always been told to keep them away from transitions.
2) Where did you get the eyebolts for your e-bay or did you make them yourself?
3) Where did you get foil-lined 29 mm MMT?

Thanks.

It's posts like yours that make it worthwhile to do build threads. Very good questions that prove you read and understand what I built. Thank you for posting up. Now for the answers:

1) The 3 ports were drilled 1" above the tapered part of the transition through the payload tube into the upper part of the transition. They were all 3/32" holes.
2) I made them from coupler nuts and 10/24 machine threaded eye-bolts. I also brazed the eye-bolt gap closed and into the coupler.
3) Balsa Machining. Part # T52HMF-34. Here's a link:
https://www.balsamachining.com/#
 
Last edited:
It's posts like yours that make it worthwhile to do build threads. Very good questions that prove you read and understand what I built. Thank you for posting up. Now for the answers:

1) The 3 ports were drilled 1" above the tapered part of the transition through the payload tube into the upper part of the transition. They were all 3/32" holes.
2) I made them from coupler nuts and 10/24 machine threaded eye-bolts. I also brazed the eye-bolt gap closed and into the coupler.
3) Balsa Machining. Part # T52HMF-34. Here's a link:
https://www.balsamachining.com/#
And threads like yours help folks like me who are just now "boldly going where I have never been before" into DD so thank you for doing it and for doing so with lots of pic's:wink:
I will be starting my own build thread shortly as I am doing a different variation. See Here: https://www.rocketryforum.com/showthread.php?66571-Estes-Pro-Series-Argent-Build.
I have not posted any more progress yet even though I have the bottom fin section and baffle done and in the 2nd coat of primer because I haven't had time but I should be able to get to it this week. I am also in the process of gathering up the parts I need to do the way, or similar to what I showed in the thread above.

Thanks again
Ed
 
Thanks Wayco for your response. I always thought it was possible to do an av bay inside the transition but haven't seen anyone post a build thread or perhaps my Google-fu is not up to par.
 
Is that a beeper hard mounted to the bulk head? It looks to be wired to the computer. How is it activated? Before flight or after lunch?
 
Thanks for the bump Wayne. I'm just about to put my Argent together and am trying to think of how to squeeze an altimeter into the coupler for DD. Cutting out the slope and putting in a coupler in the bottom section is a good idea.

cheers - mark
 
Thanks for the reply Mark. Made me go back and re-read the entire thread. I realized that I never really talked about building the transition/avbay. That piece of tubing I slid into the aft end of the transition is actually a LOC 54mm airframe tube. At that time in my rocketry career, I was rebuilding my L1 rocket, a Nuke Pro Max. That rocket taught me that the only way I could make a rocket durable was to add an altimeter to it. No more relying on a motor deploy to deploy the main.
Many of the rockets I fly regularly have been modified for DD. If you have any questions, post up here, I just love it when people respond to my threads, even the old ones.
 
I have the hearing issues too. I’ve had to rely on adding status LEDs visible through vent ports. I have no hearing at the eggtimer beeper frequencies.
I’m with you on the lunch naps. And also at launches. You have to do something when the wind picks up.
 
Hint: You can replace the Eggtimer buzzer with a LED. I know several people that do it, because they can't hear the tones either. If you have a Classic, it actually has pads for that...
 
Back
Top