Prior to starting this build, I reviewed the instructions on Wildman’s webpage and decided on changes I would incorporate based on new techniques that have been developed since the instructions were written. I will note these as the build progresses.
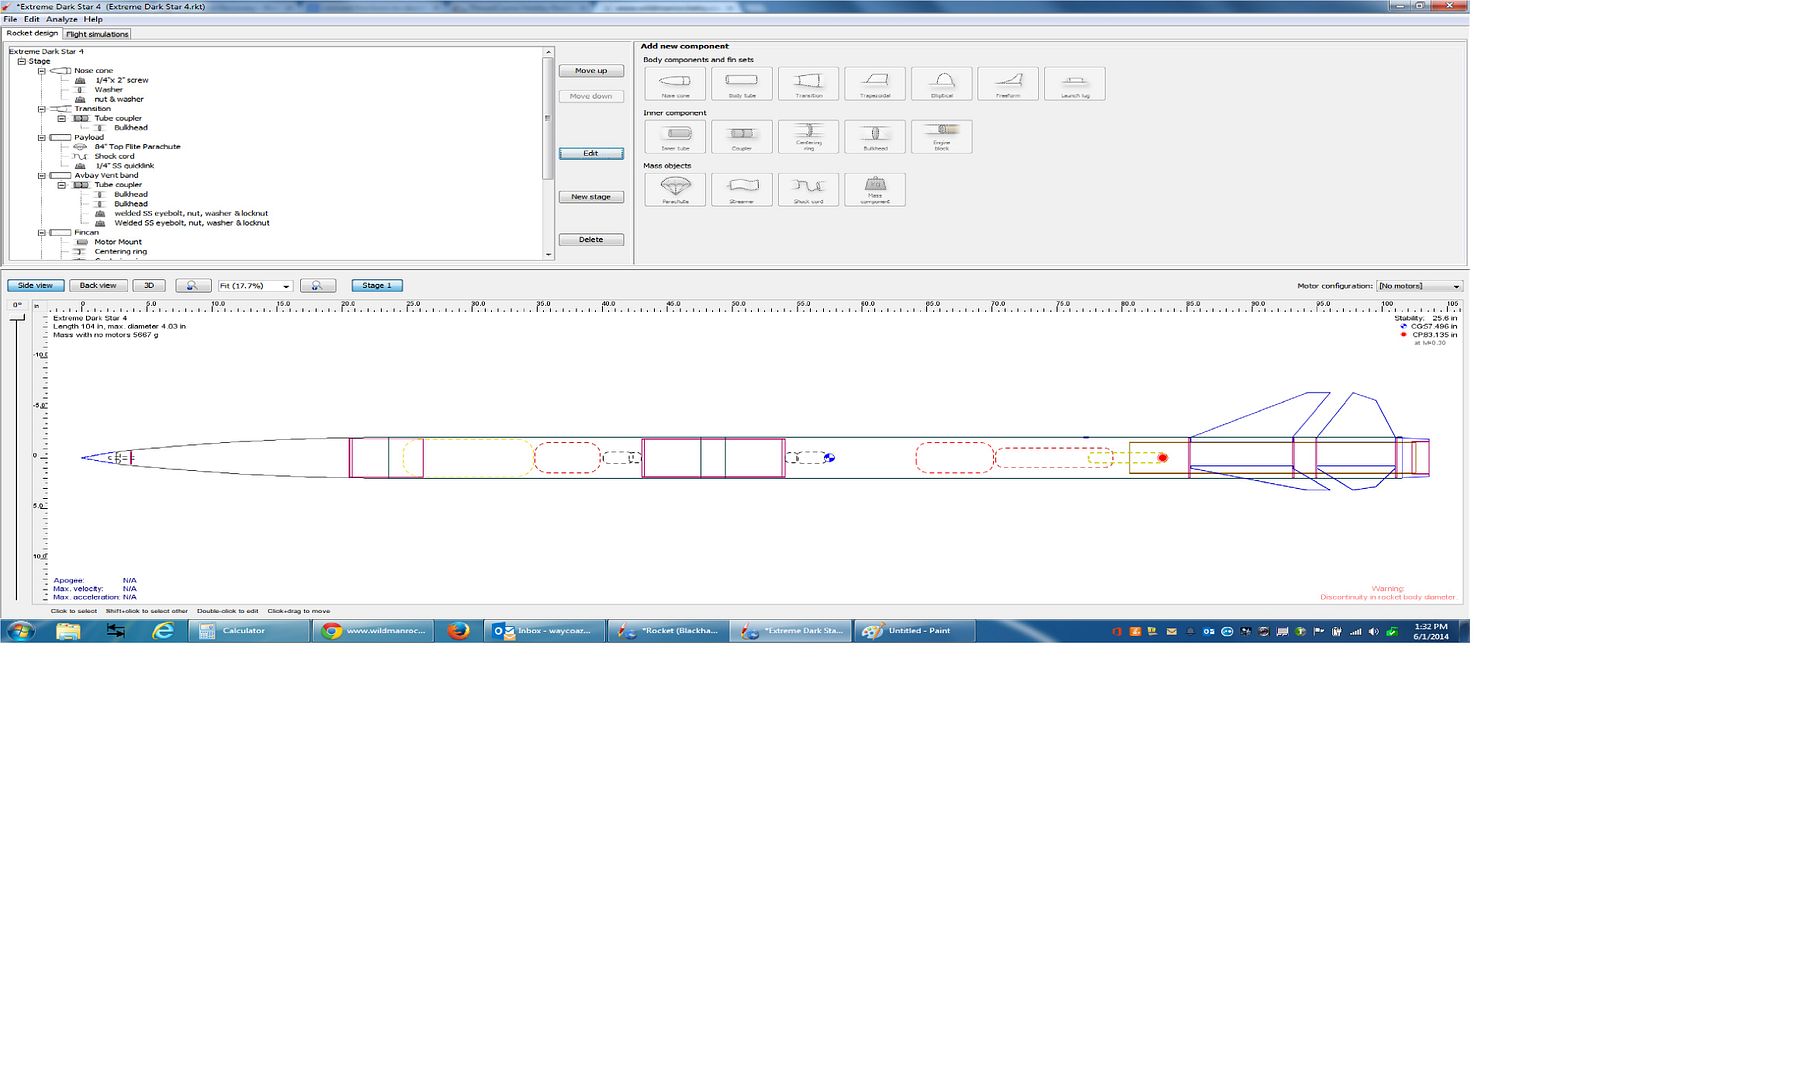
Before I started this write-up, I weighed and measured all components and input them into Open Rocket. This will be adjusted as I refine the placement of avbay components and the Eggfinder in the N/C:
6-21-14
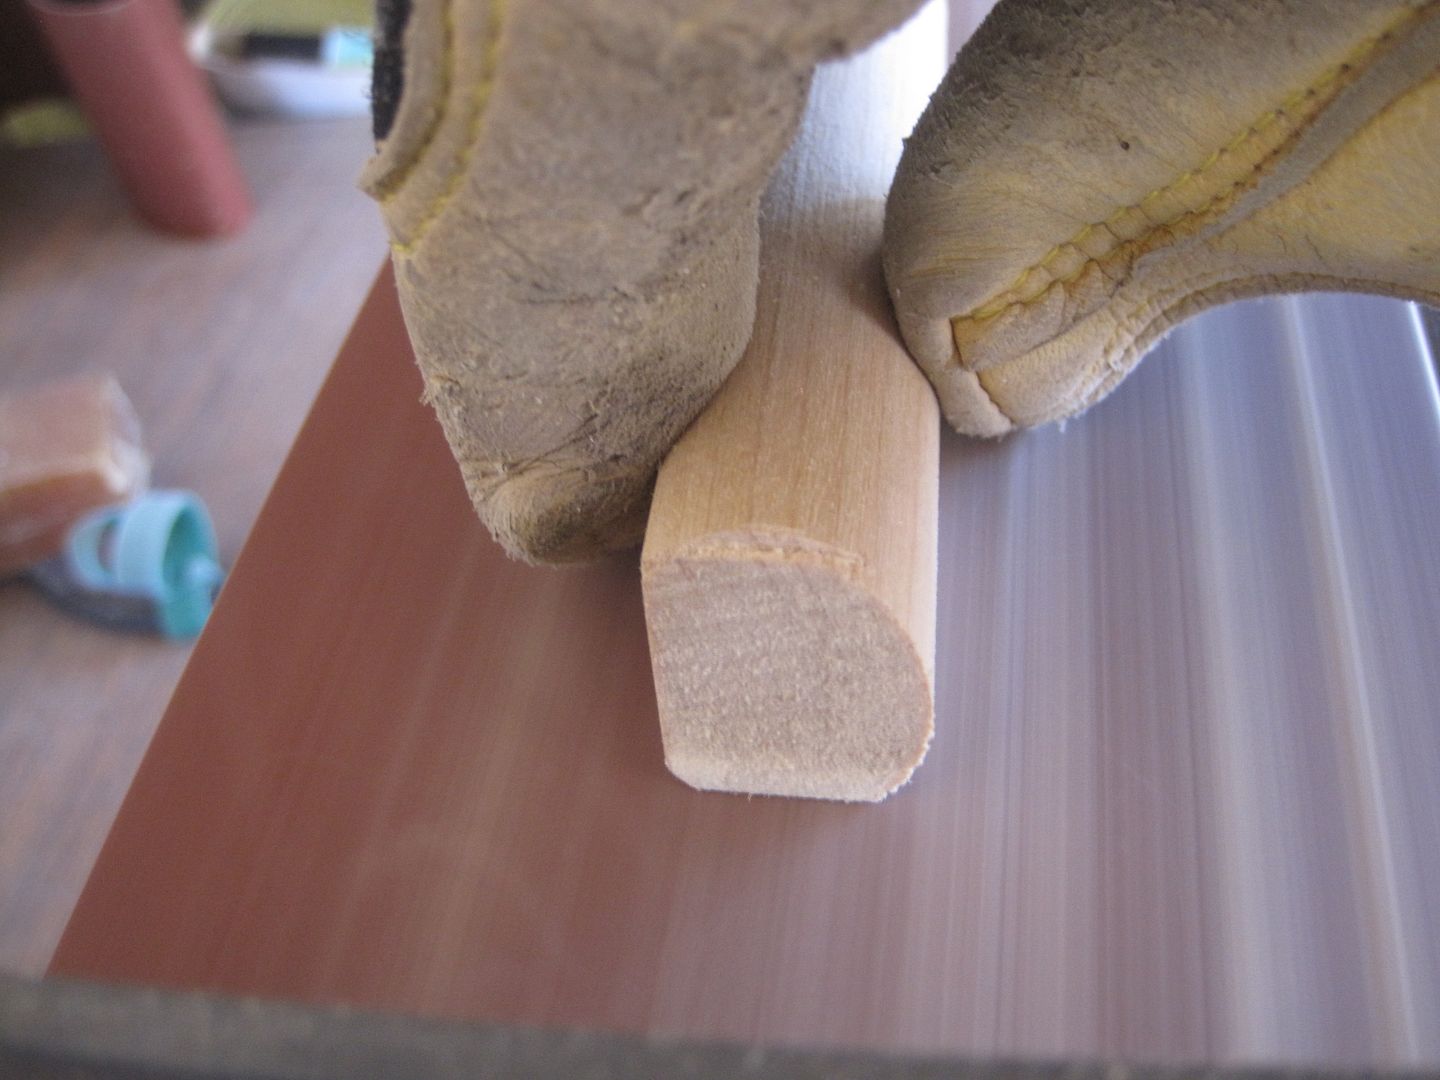
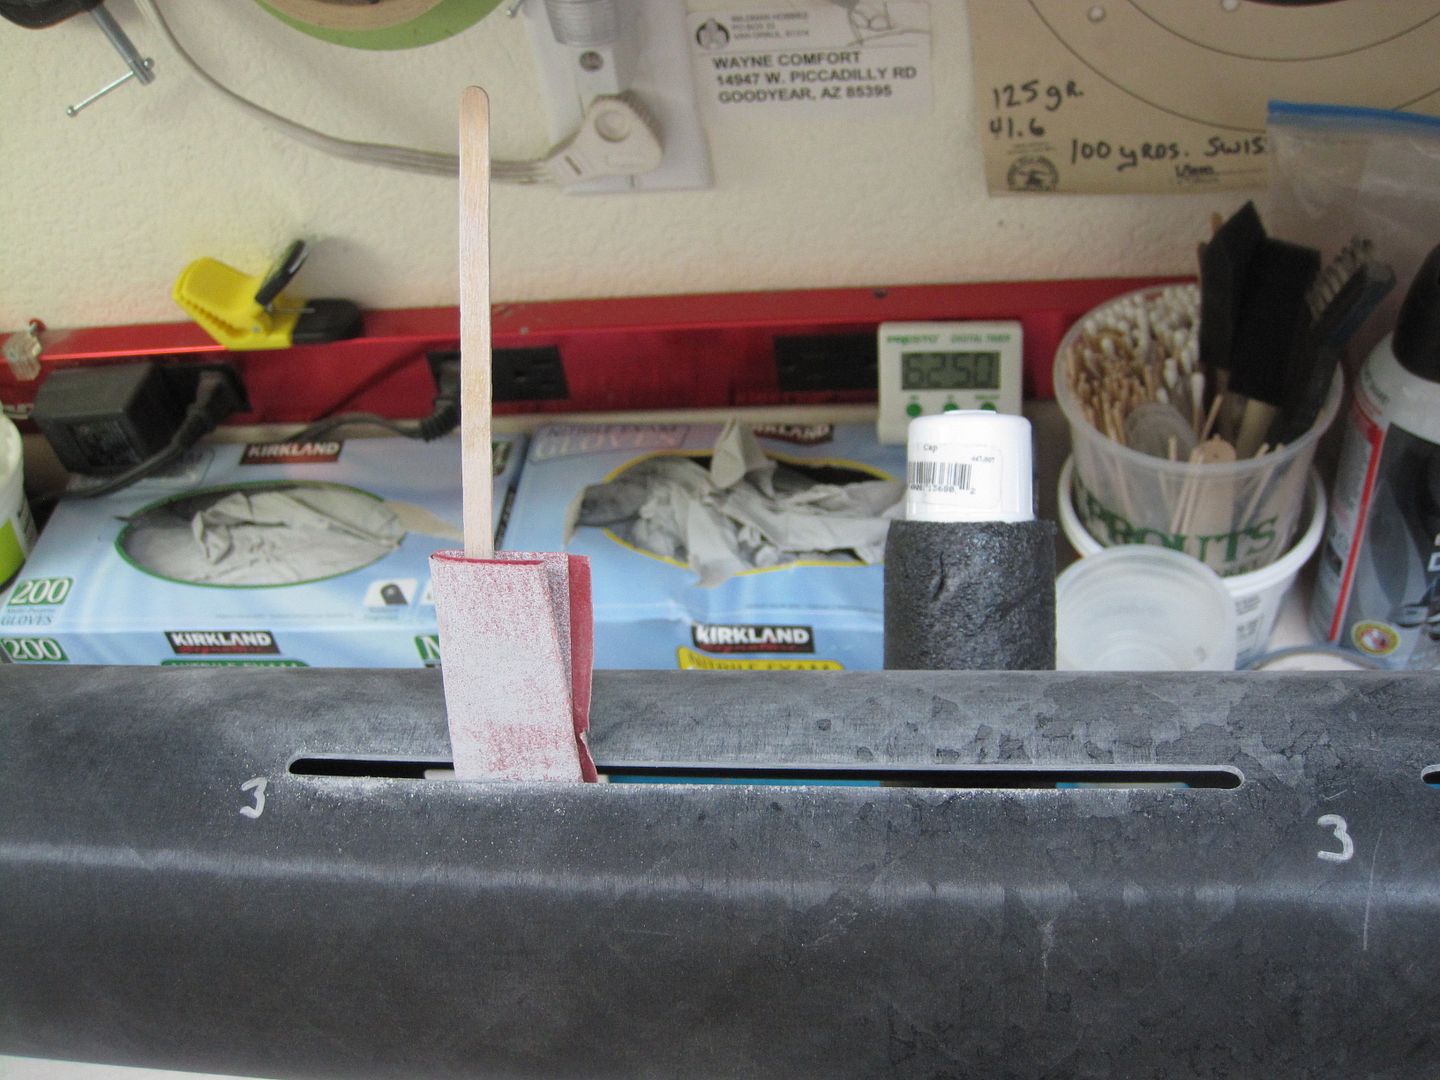
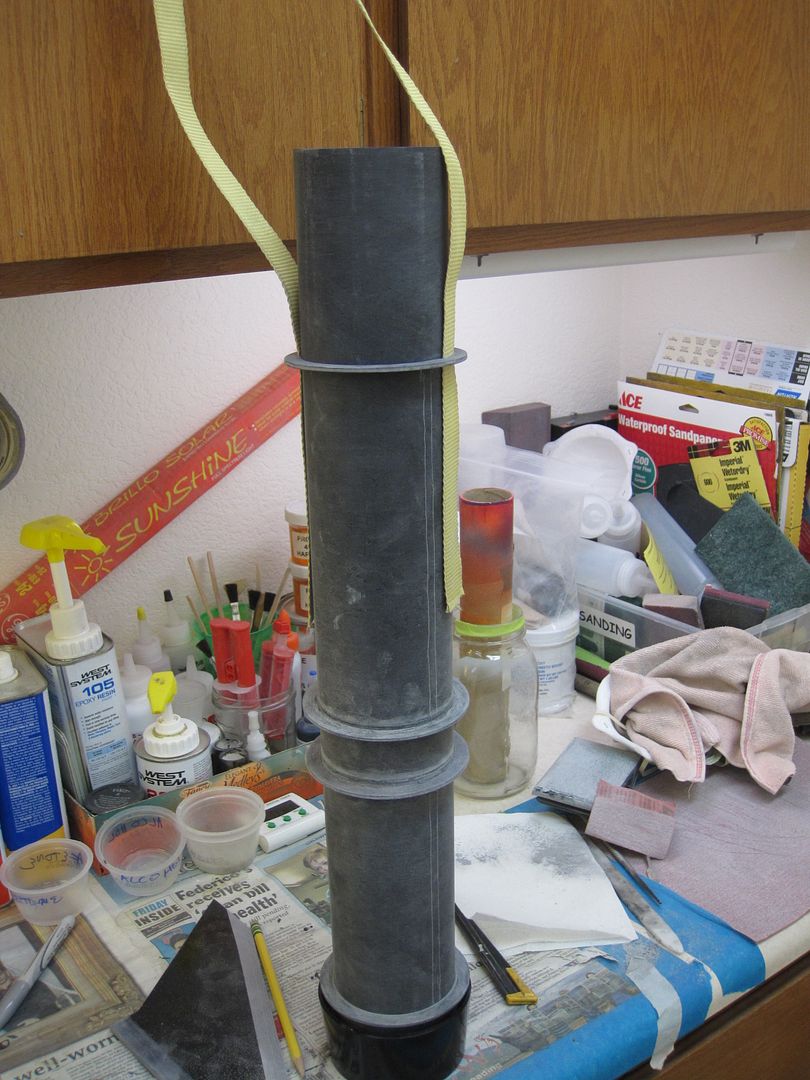
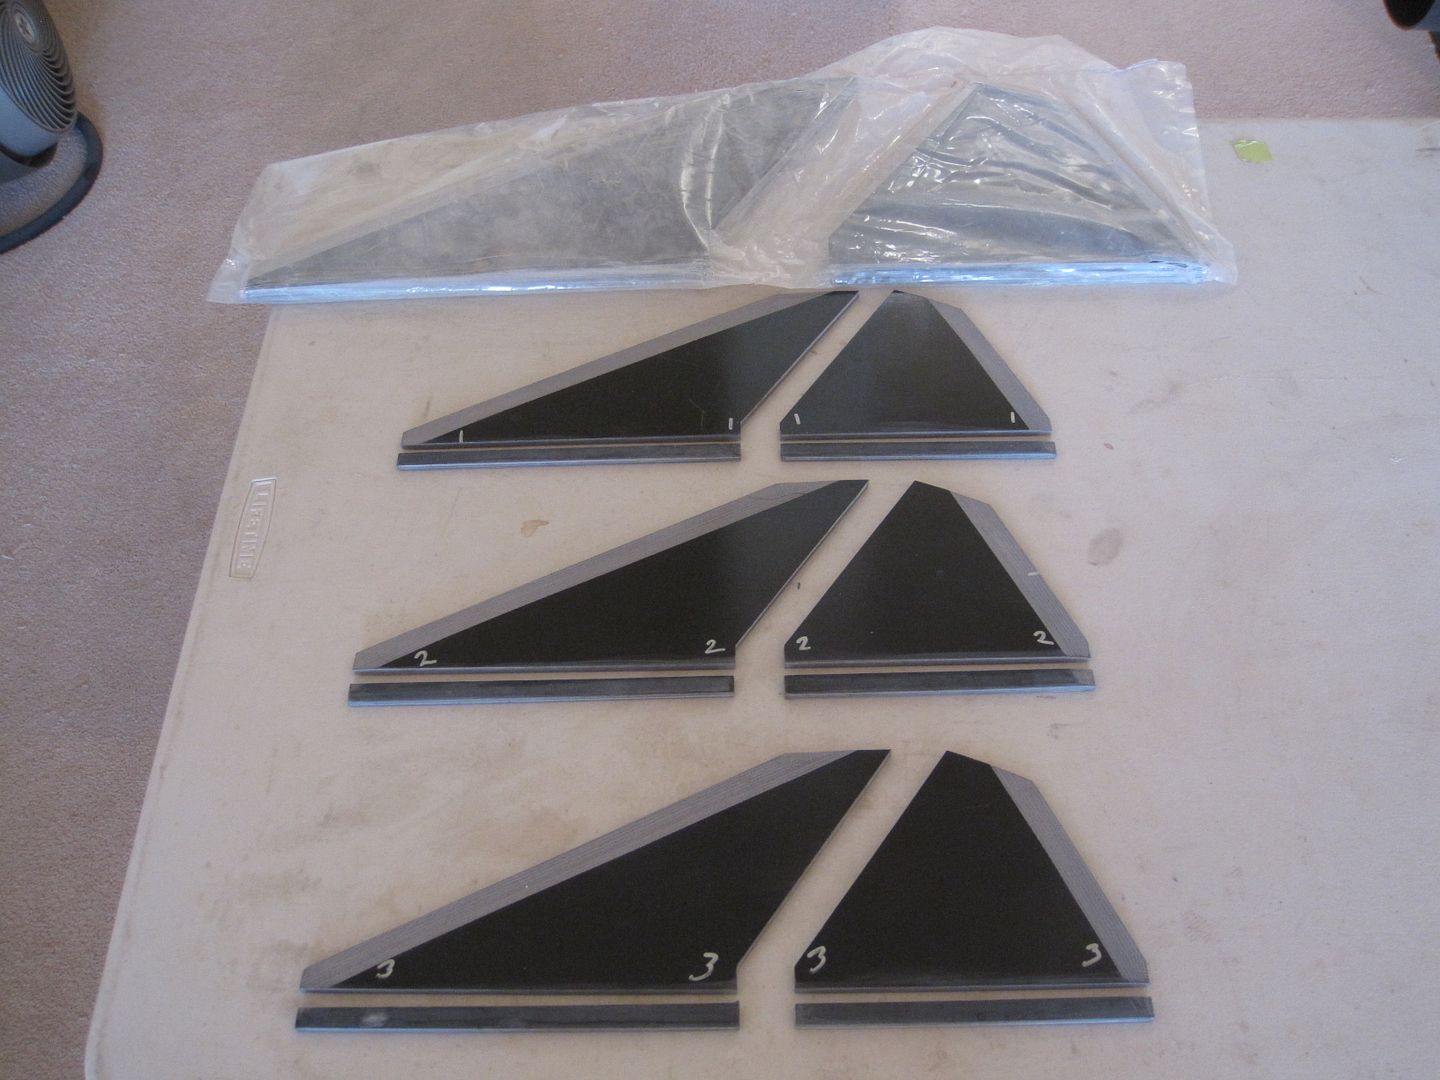
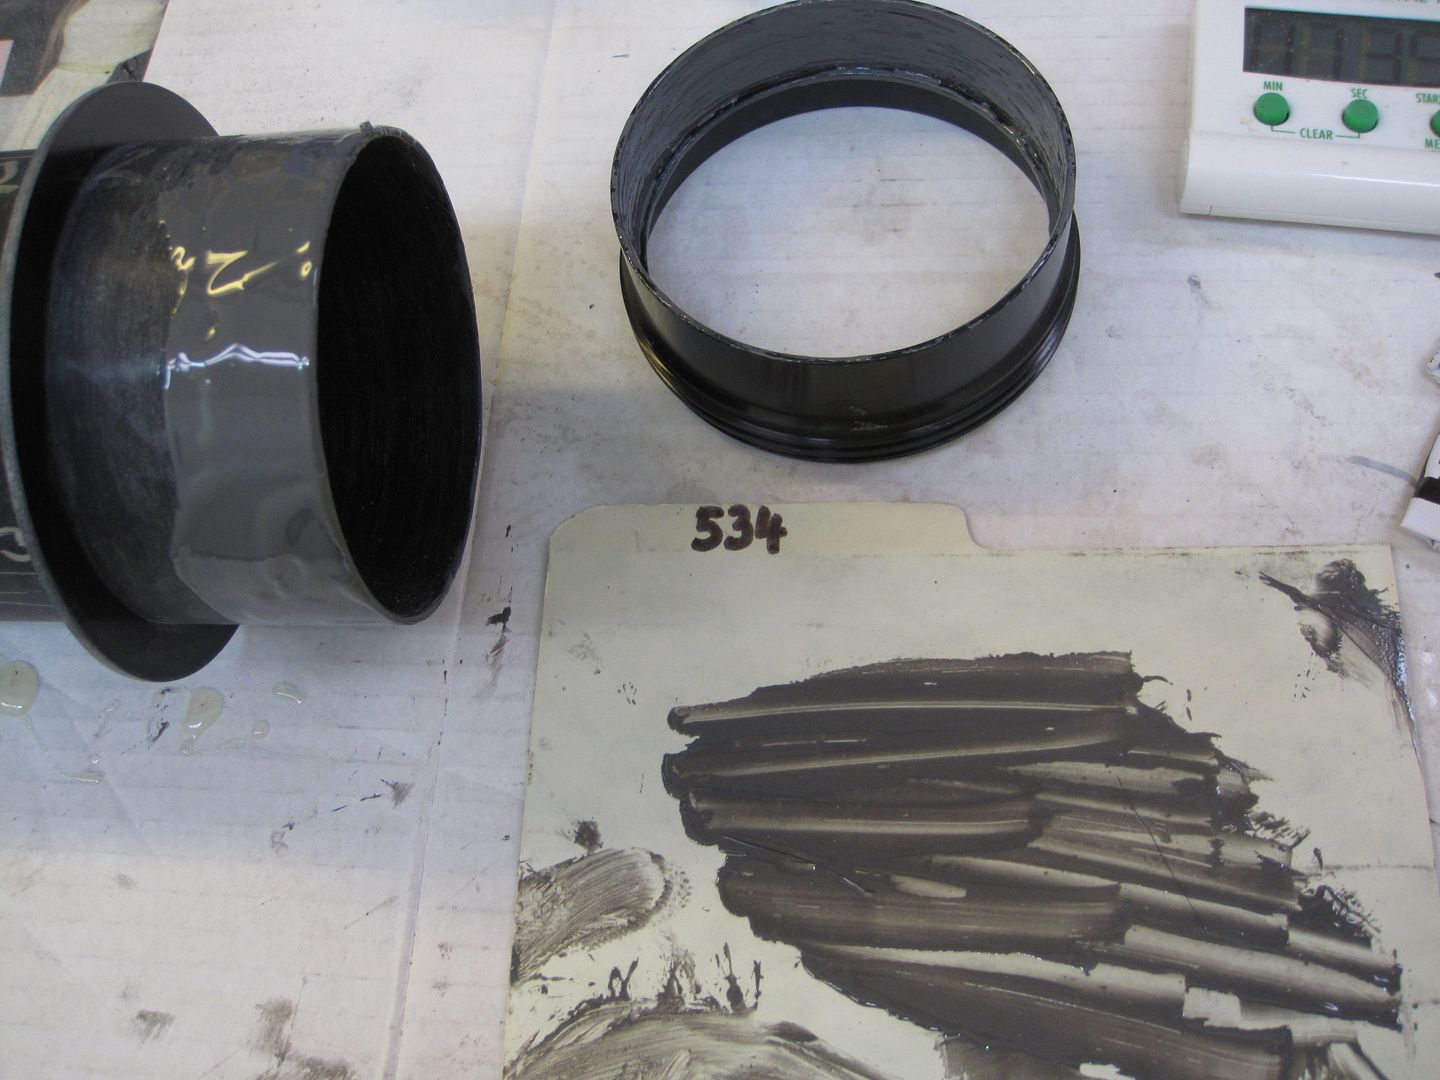
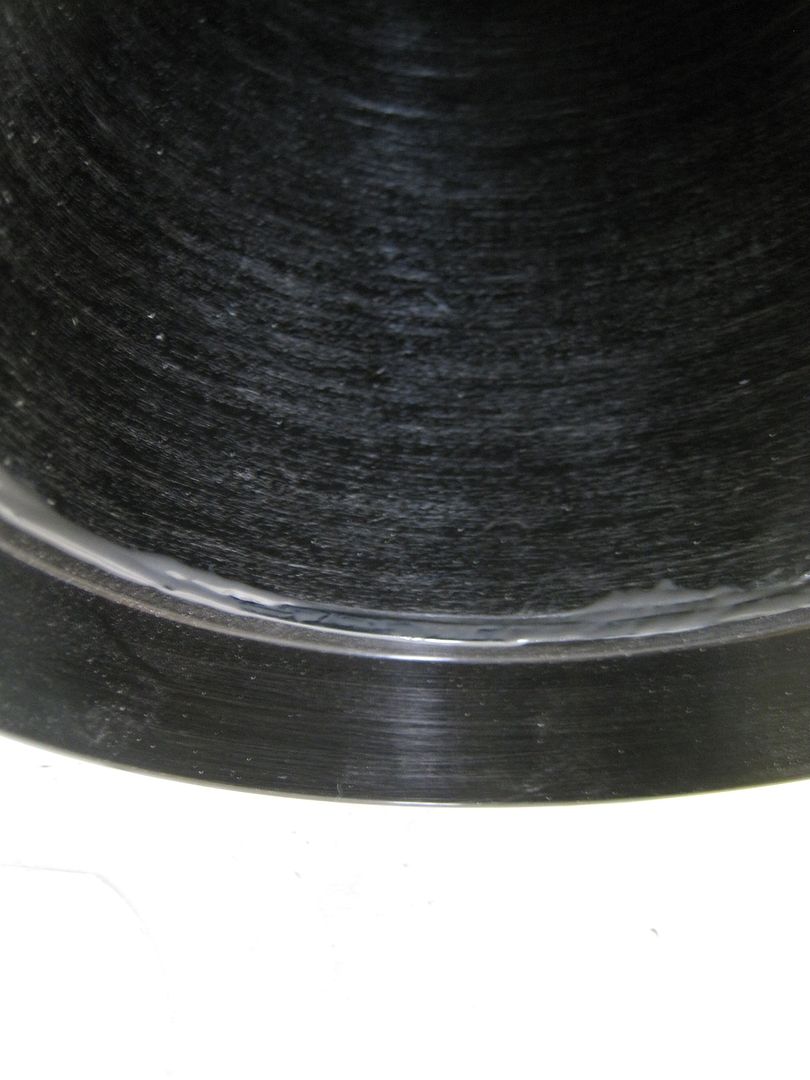
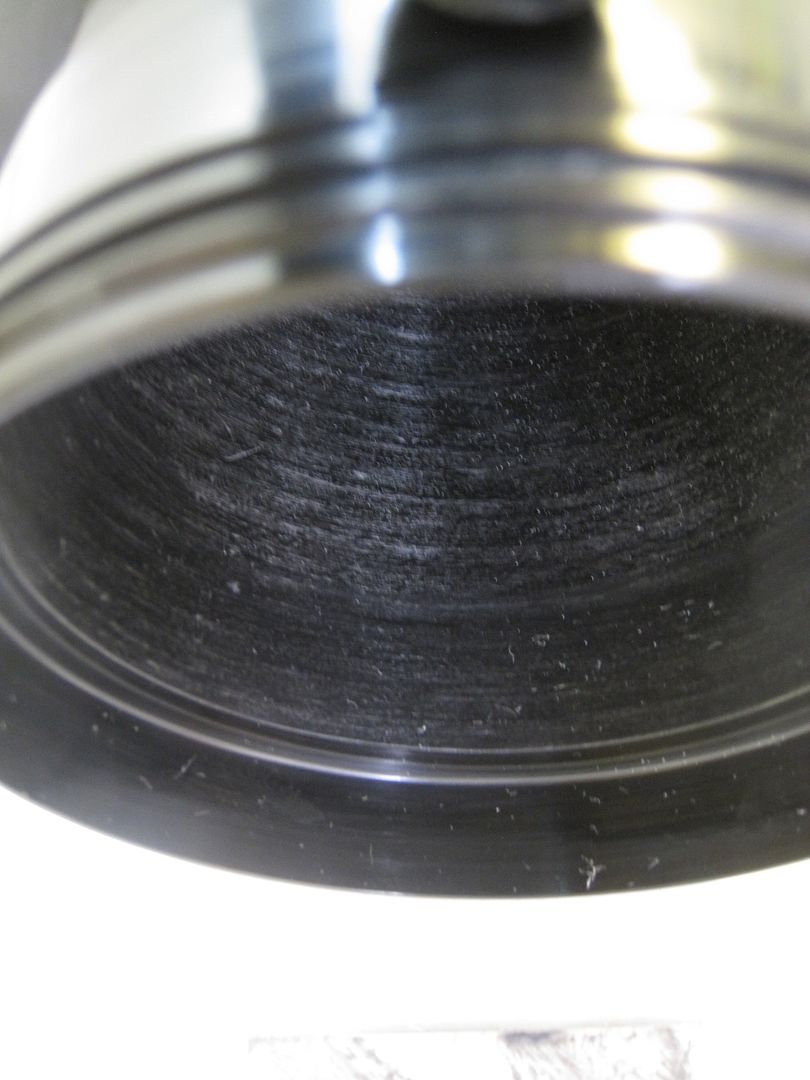
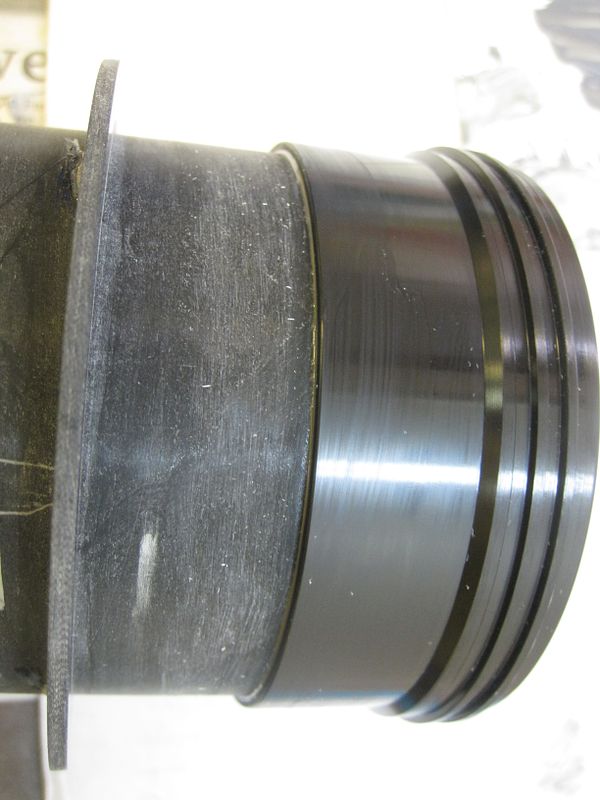
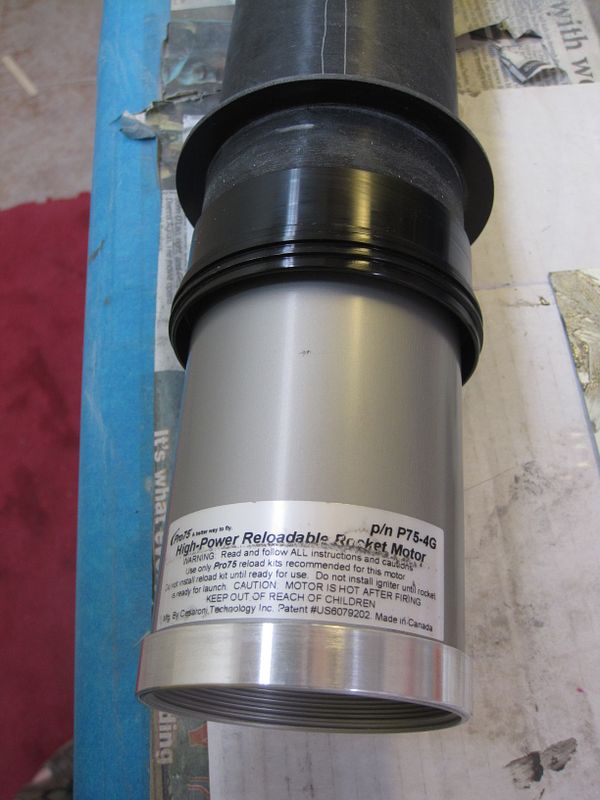
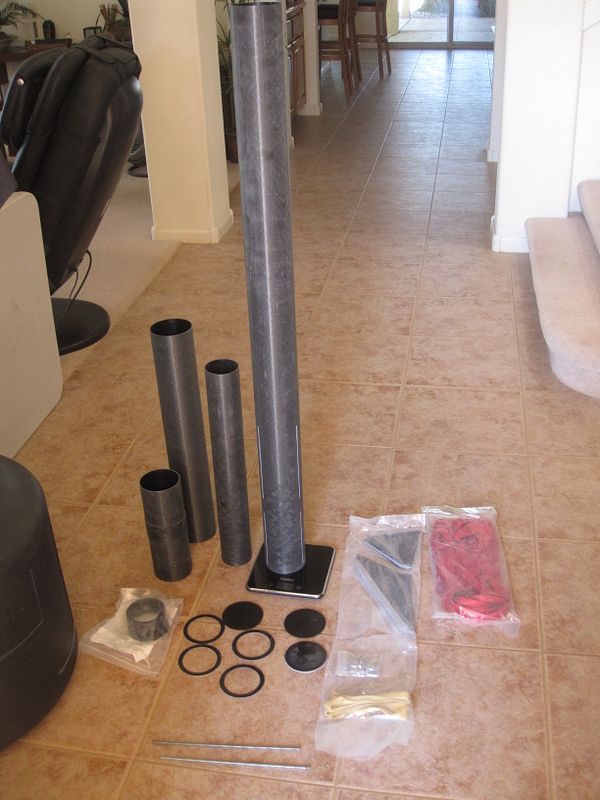
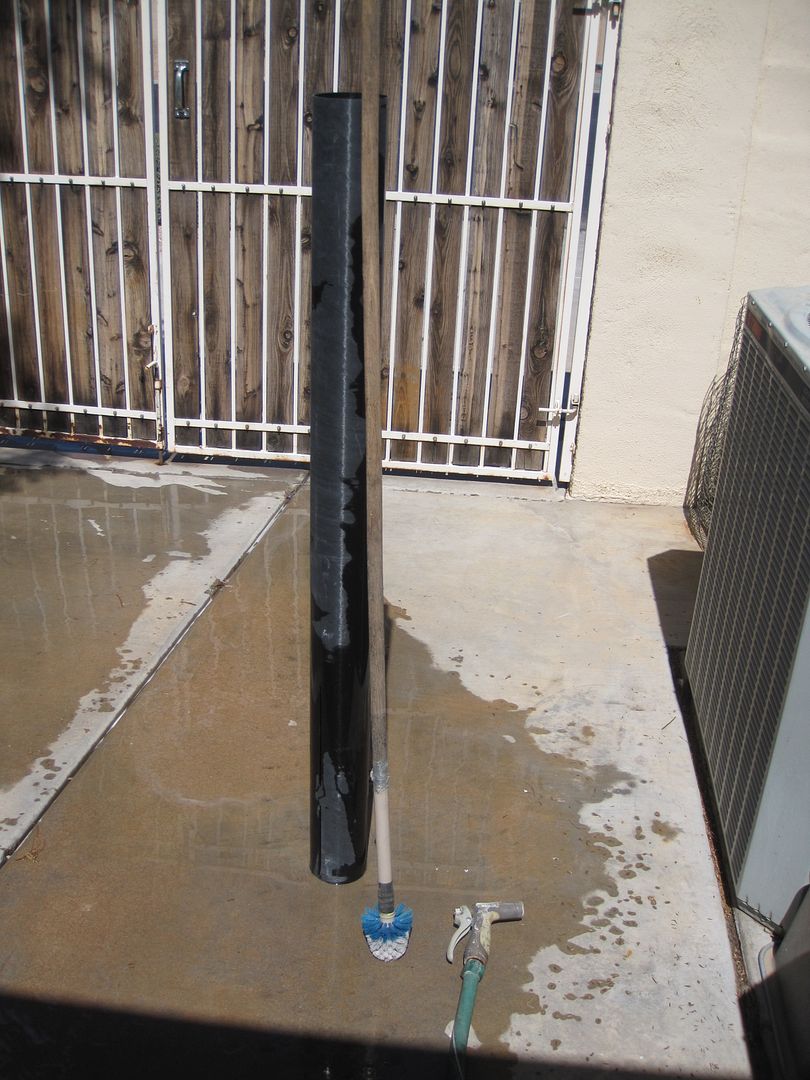
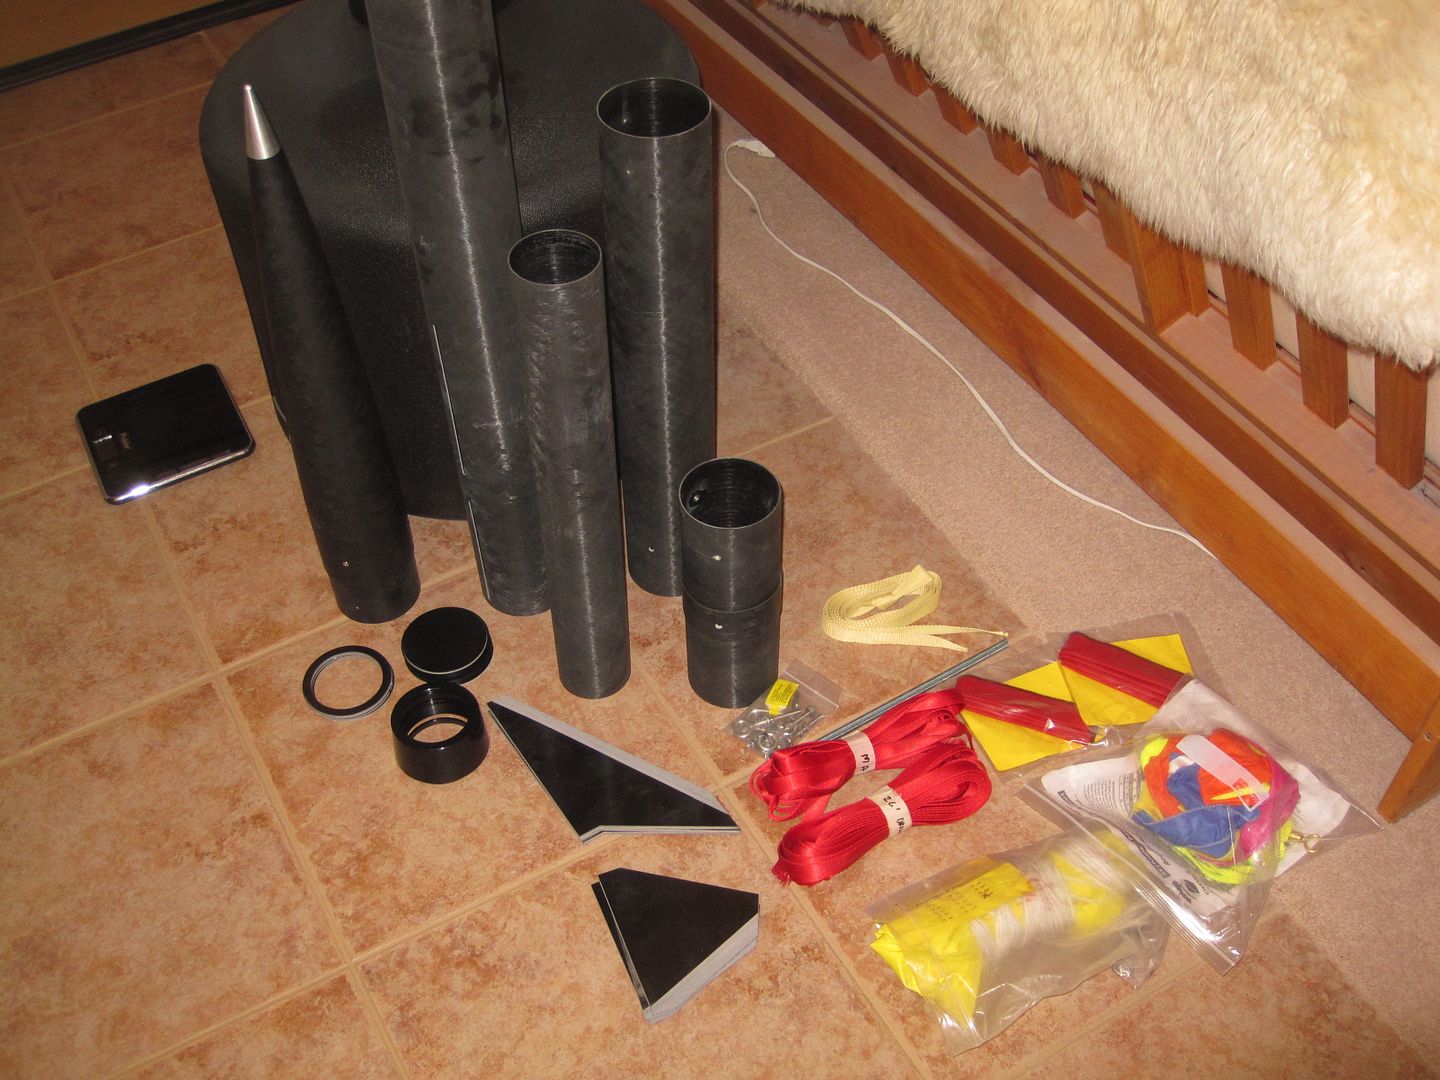
All parts were inspected and sanded to remove loose filaments, then washed and dried. Some parts won't fit into a sink or bathtub:
After wiping everything down with a microfiber cloth, I started the build.
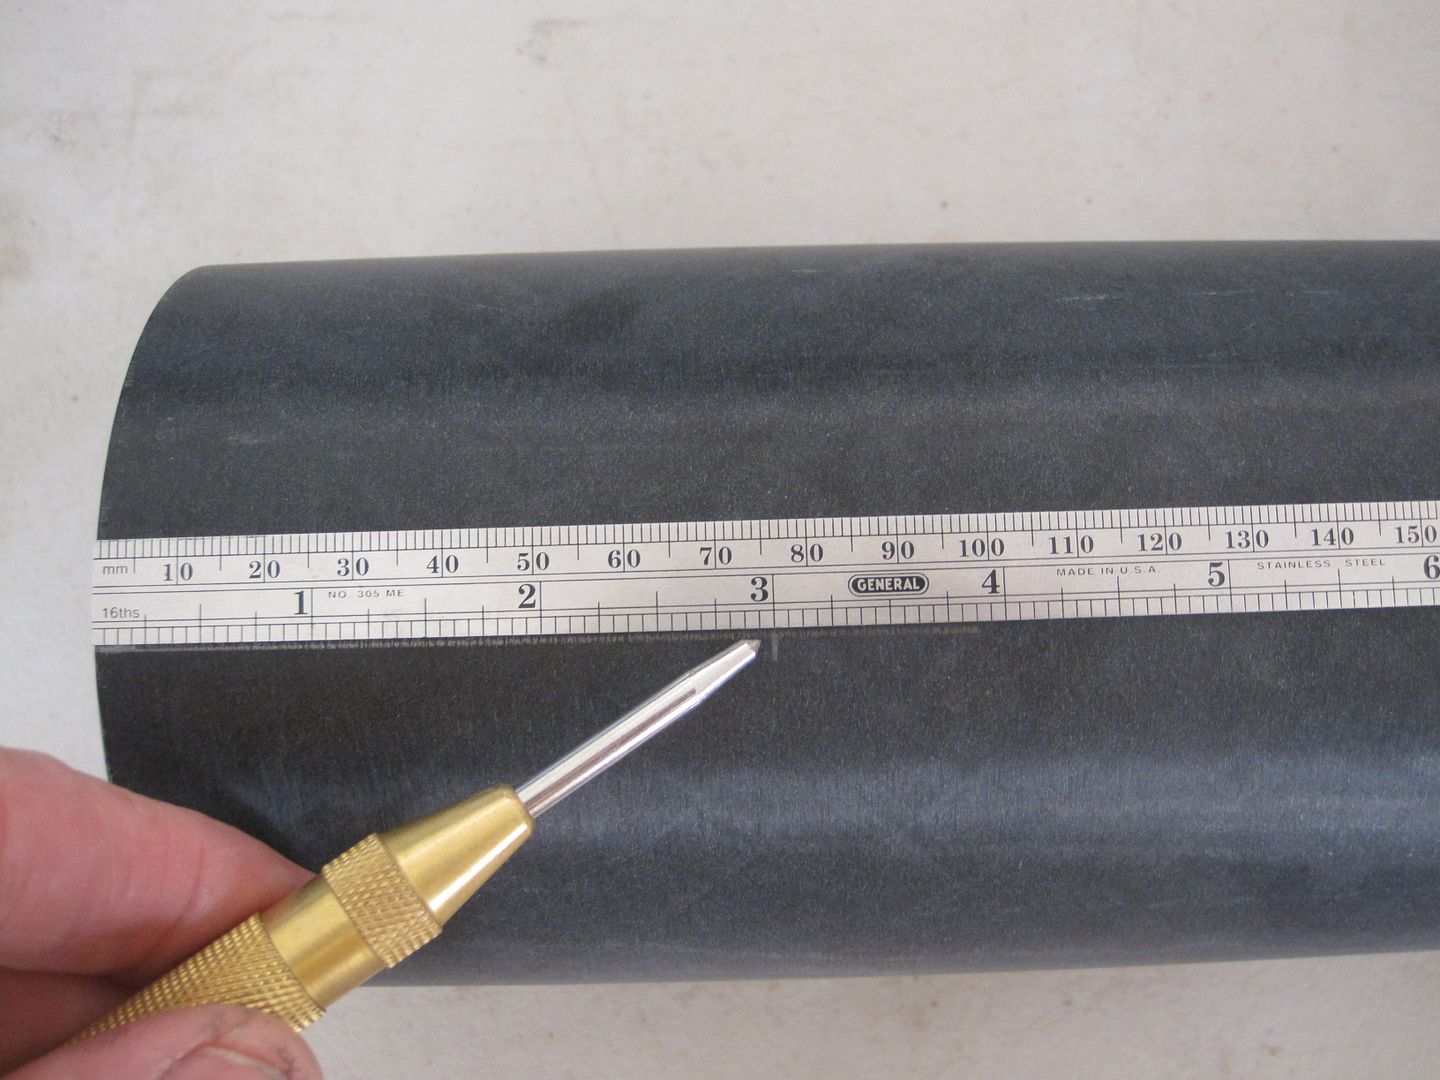
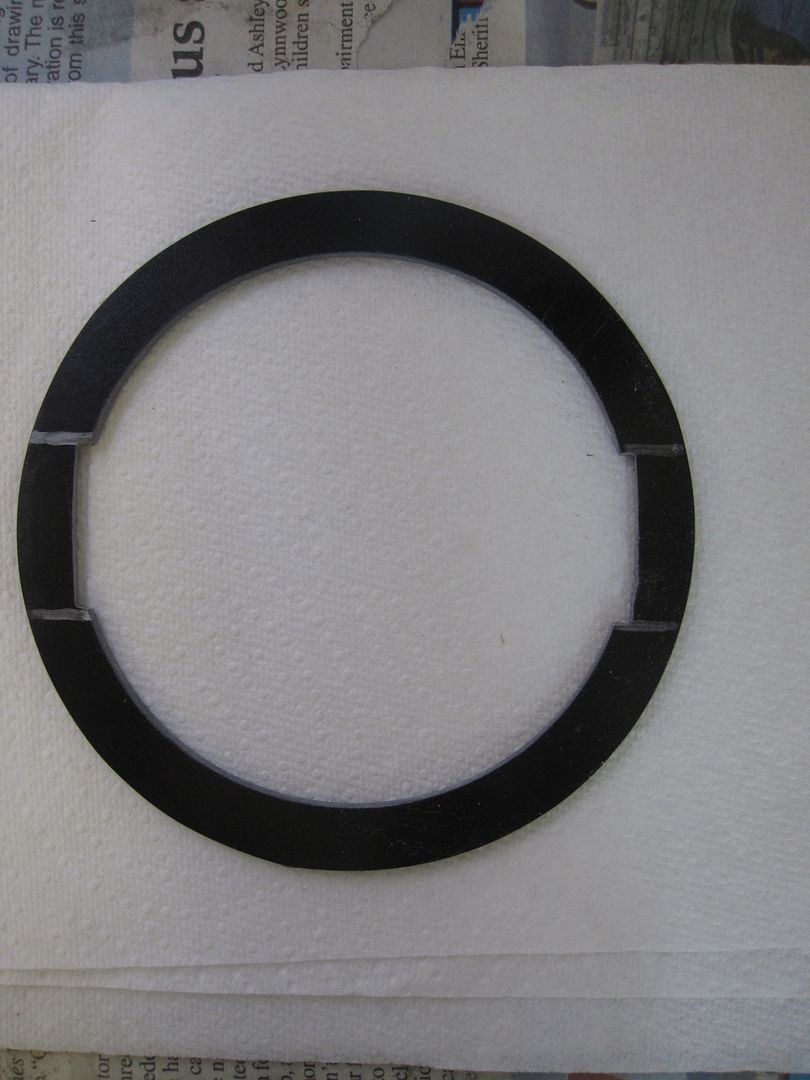
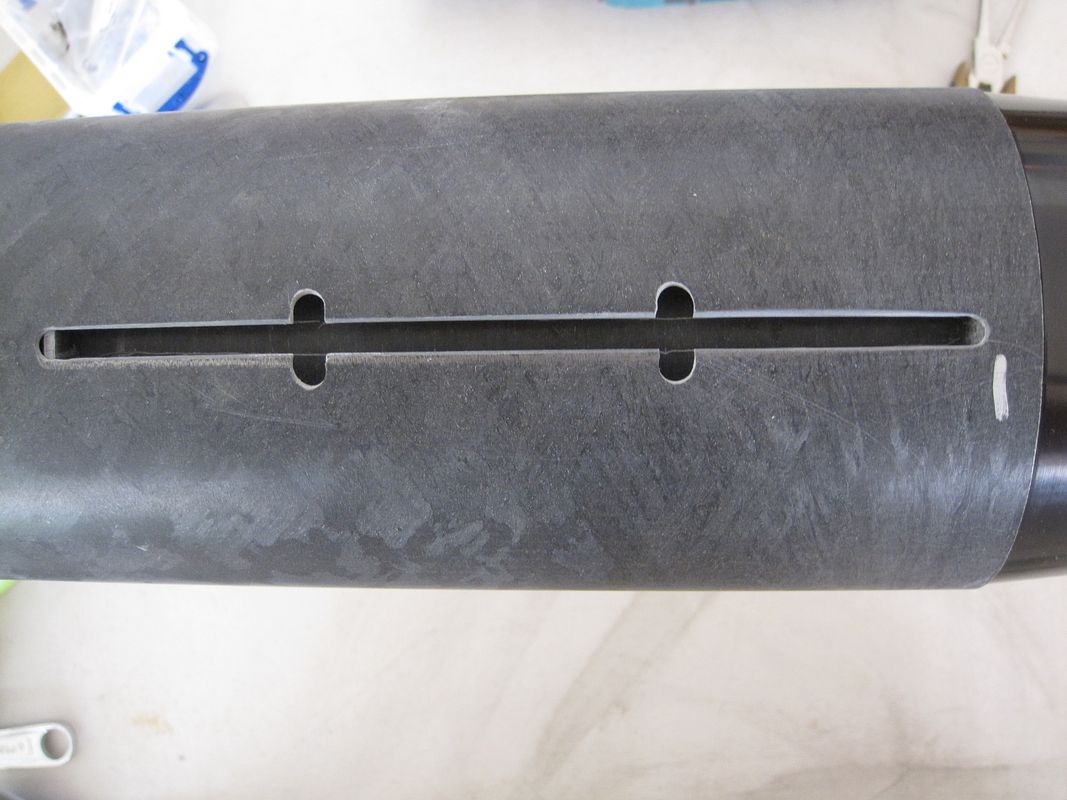
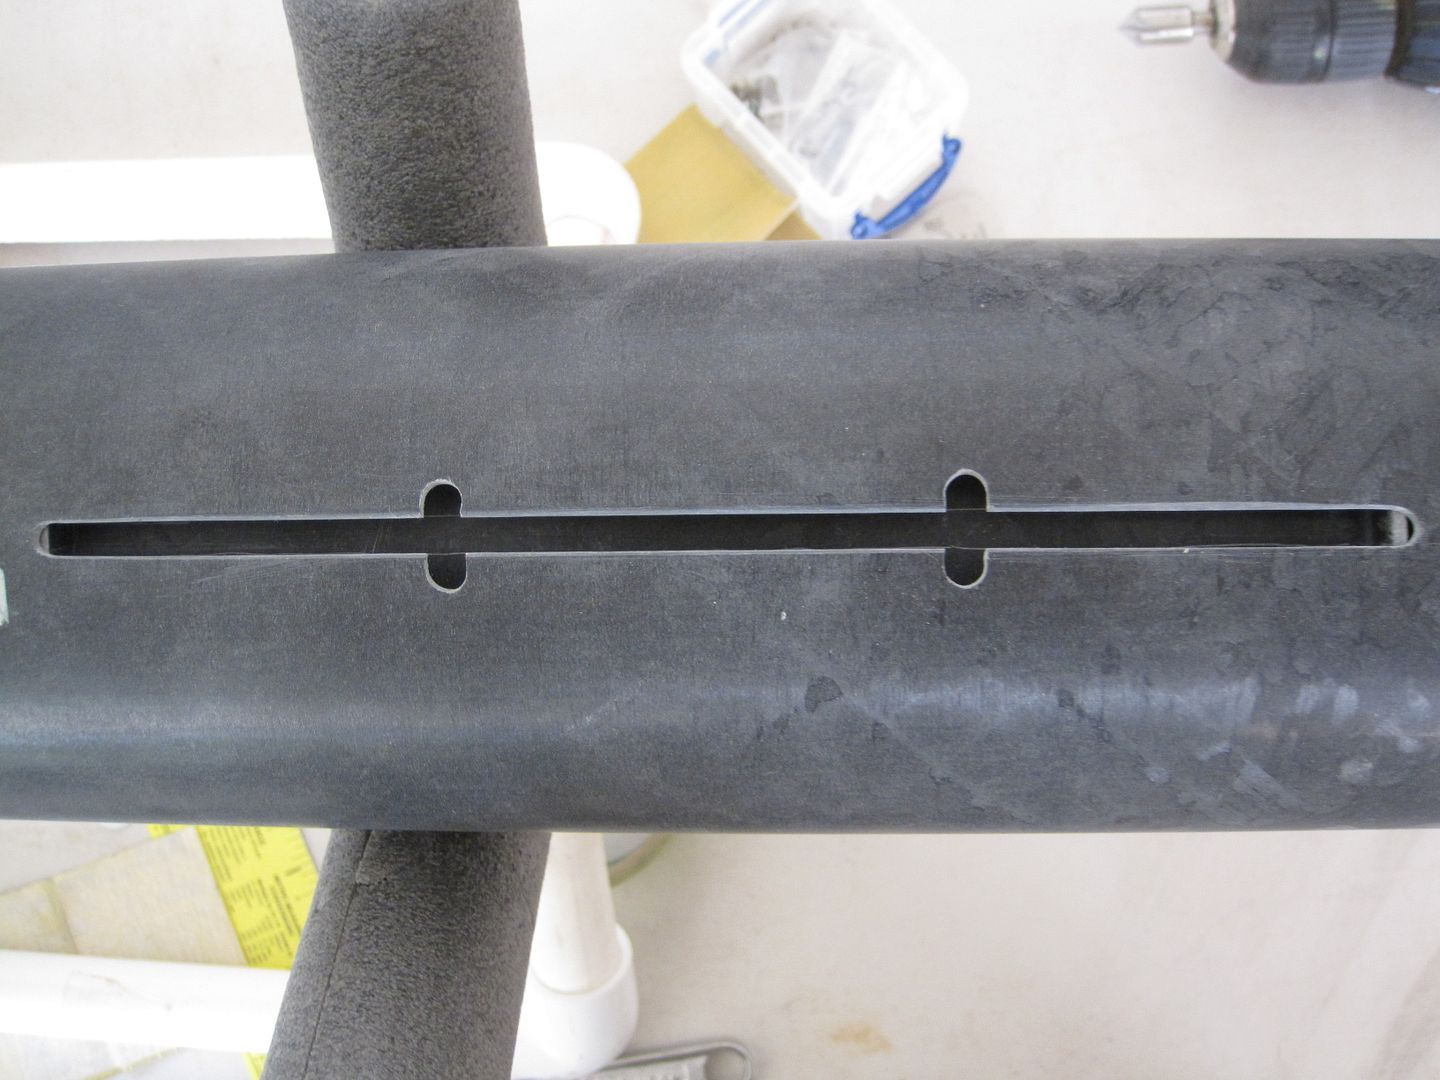
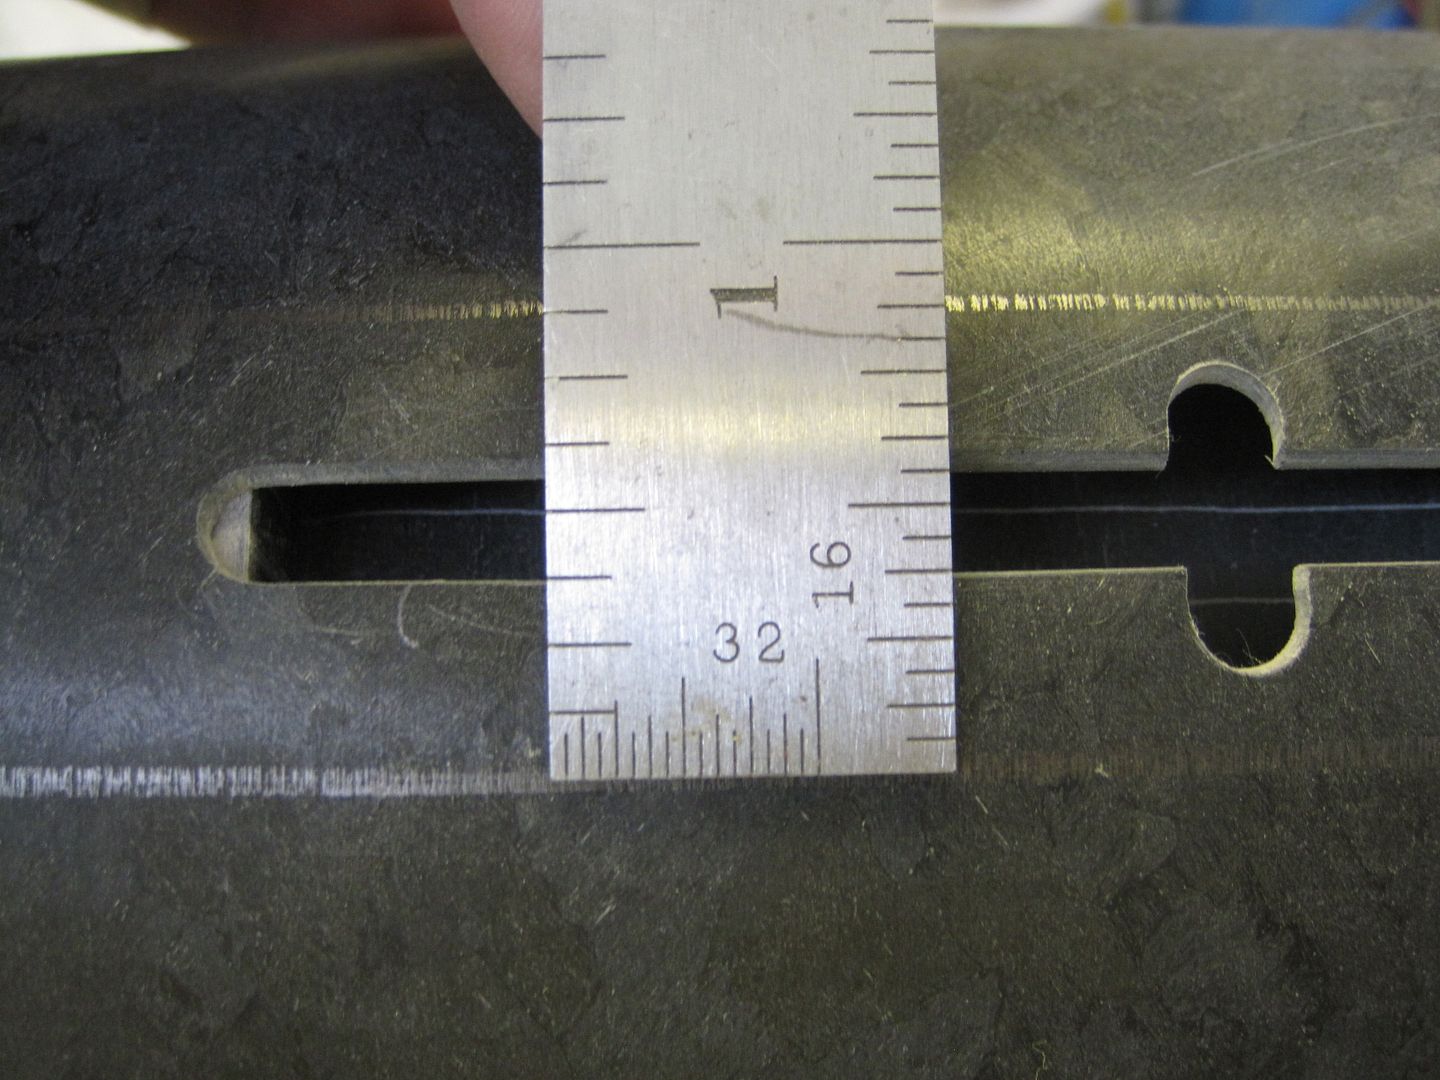
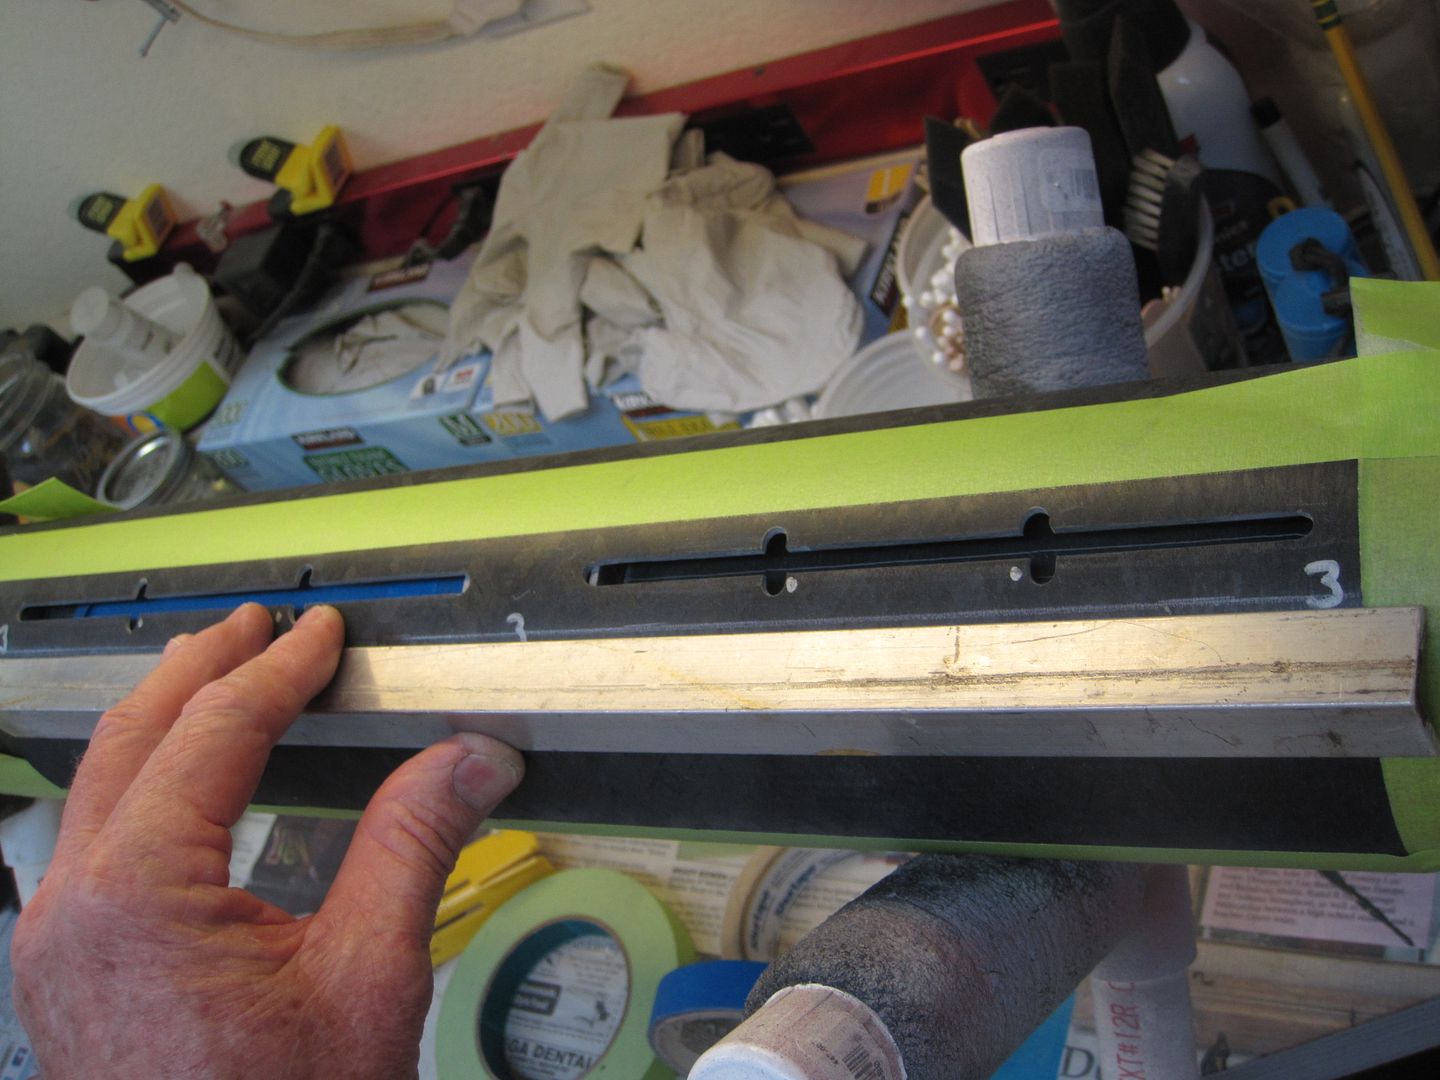
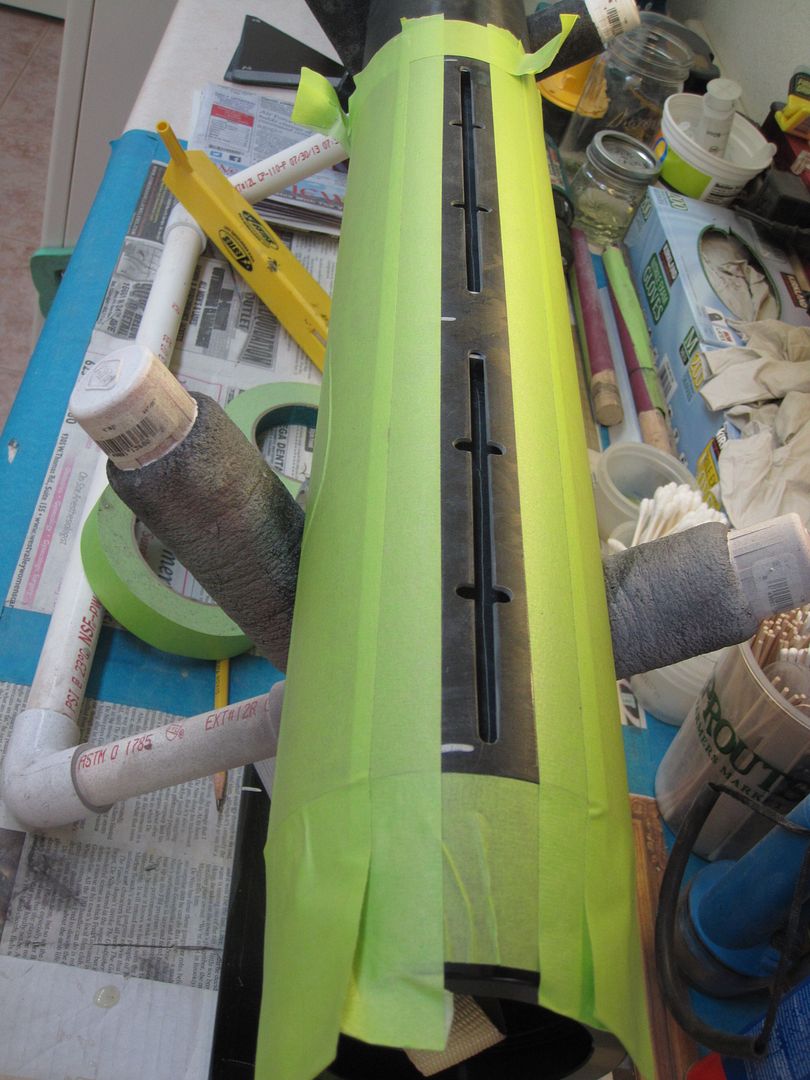
Slid Avbay coupler into fincan and marked three lines for static ports and shear pins. All lines were drawn at top of slot:
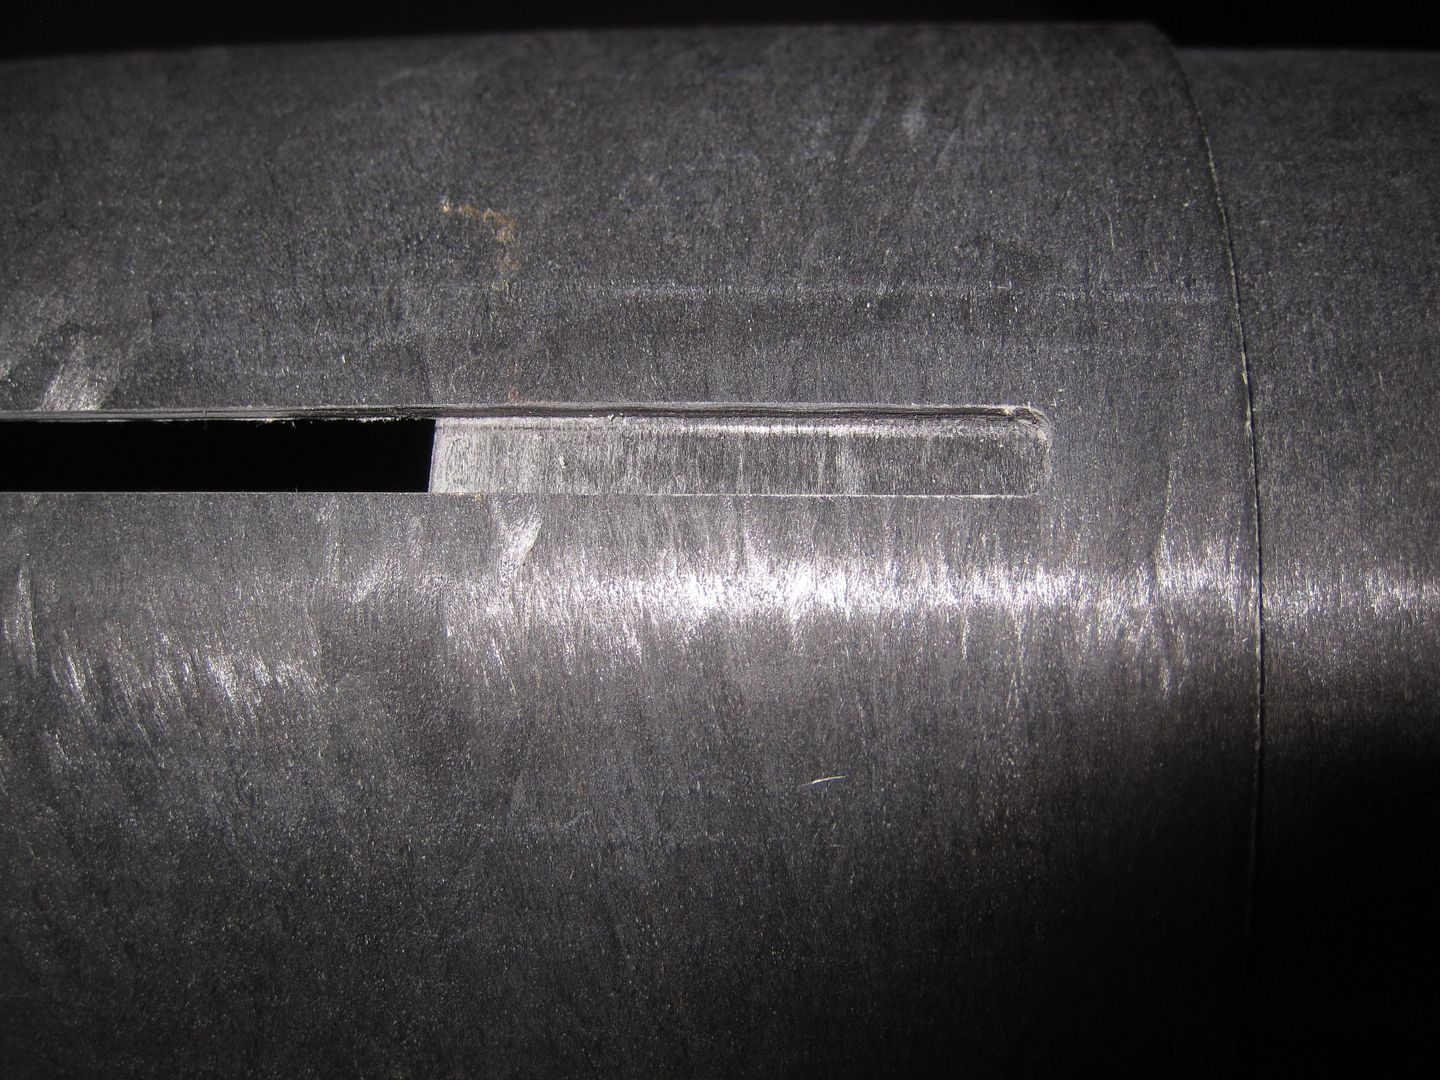
Also did this with the N/C coupler. Transferred lines to top of payload tube and N/C:
6-22-14
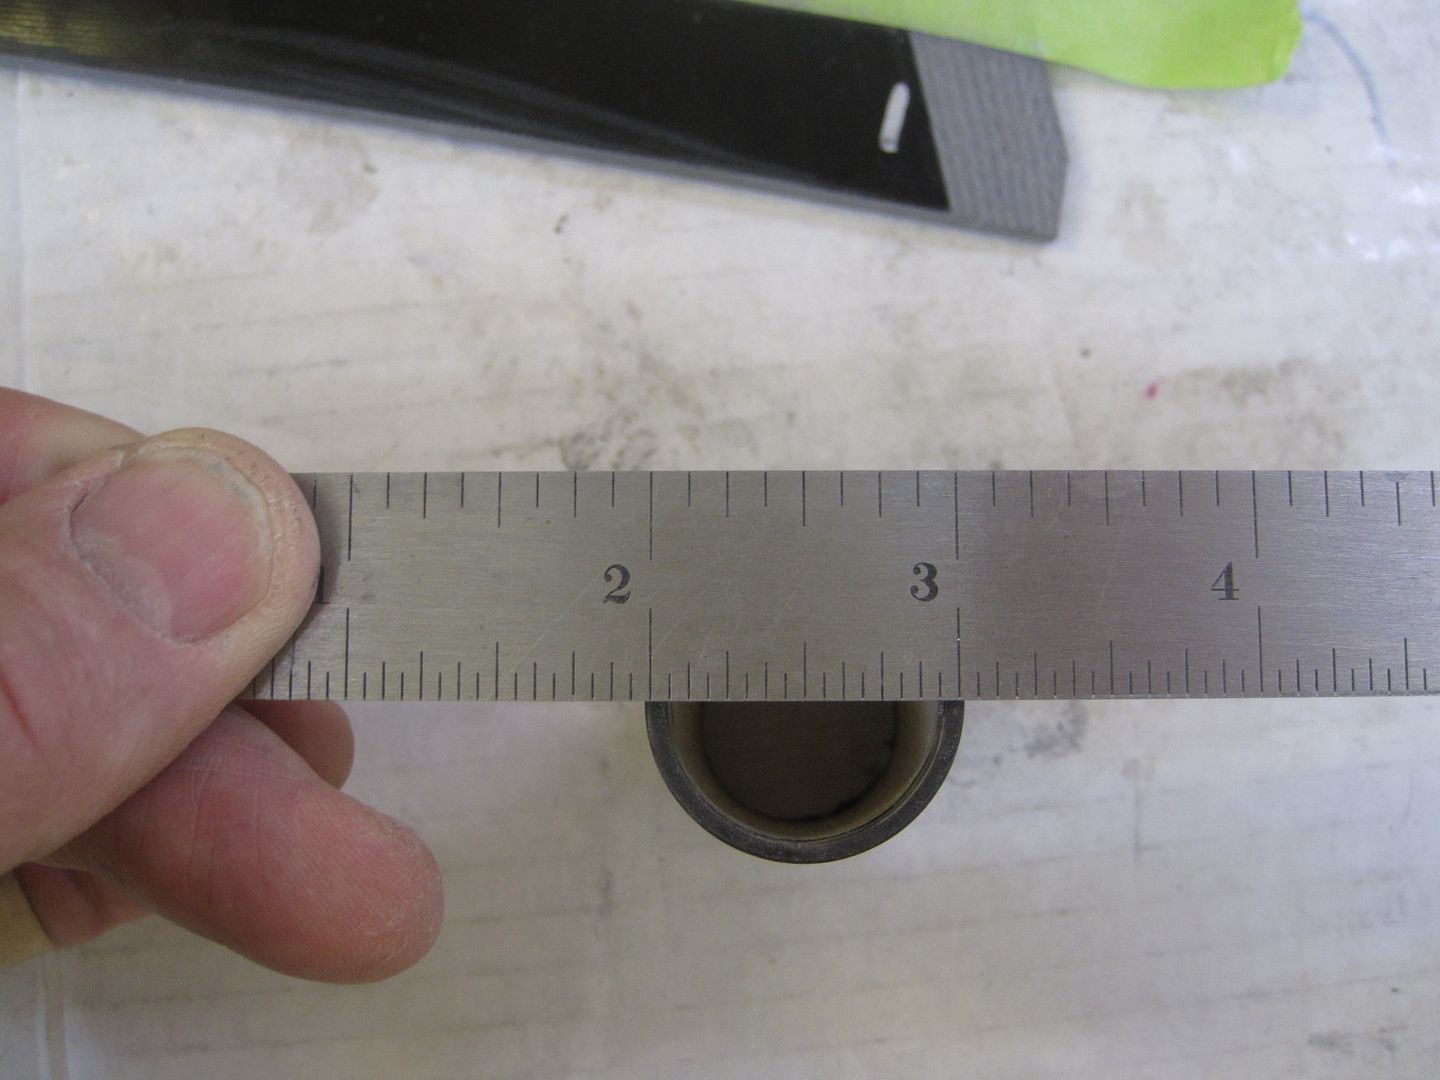
Slid N/C coupler into N/C and marked N/C for 6-32 flat head screw placement. This is one of the changes I’m making to accommodate the Eggfinder GPS. I call it the metal-less anchor point for recovery. The coupler will be removable to access the Eggfinder on a sled in the N/C. The N/C coupler is 5.75" long, 2.5" will be the shoulder, 3.25" will be inserted into the N/C. The 3 screws will be 1.5" forward of the bottom of the N/C.
Here are some of the tools I use to install pem nuts:
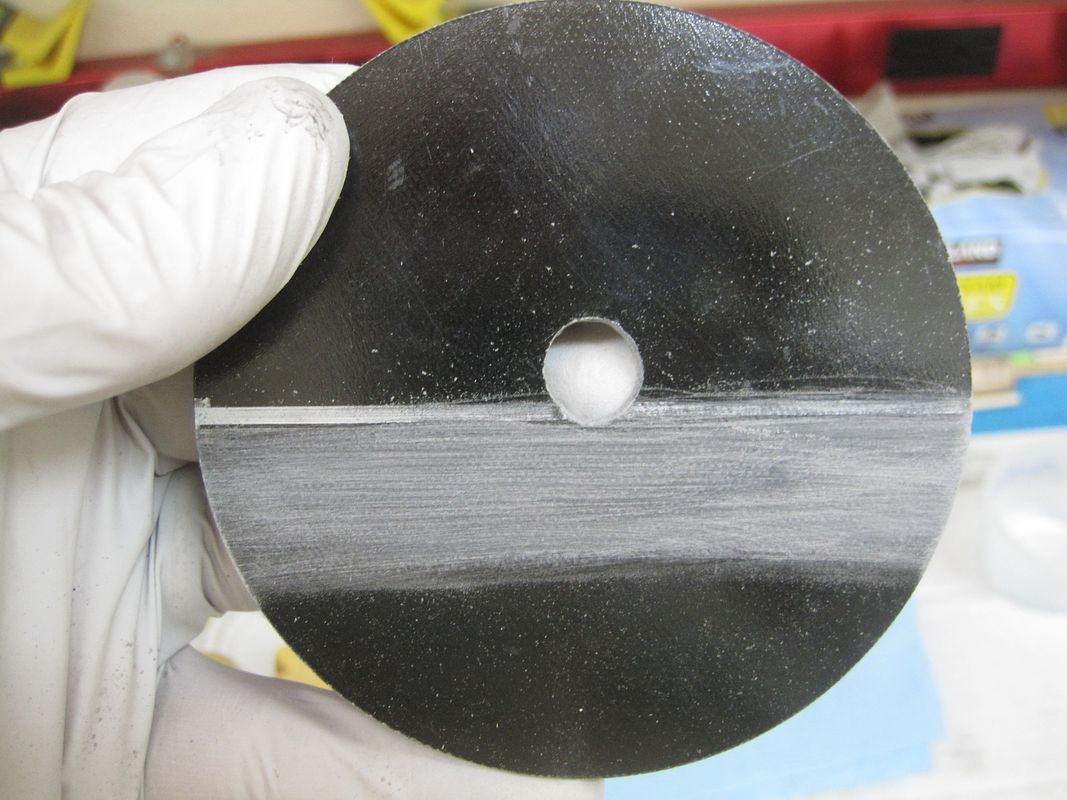
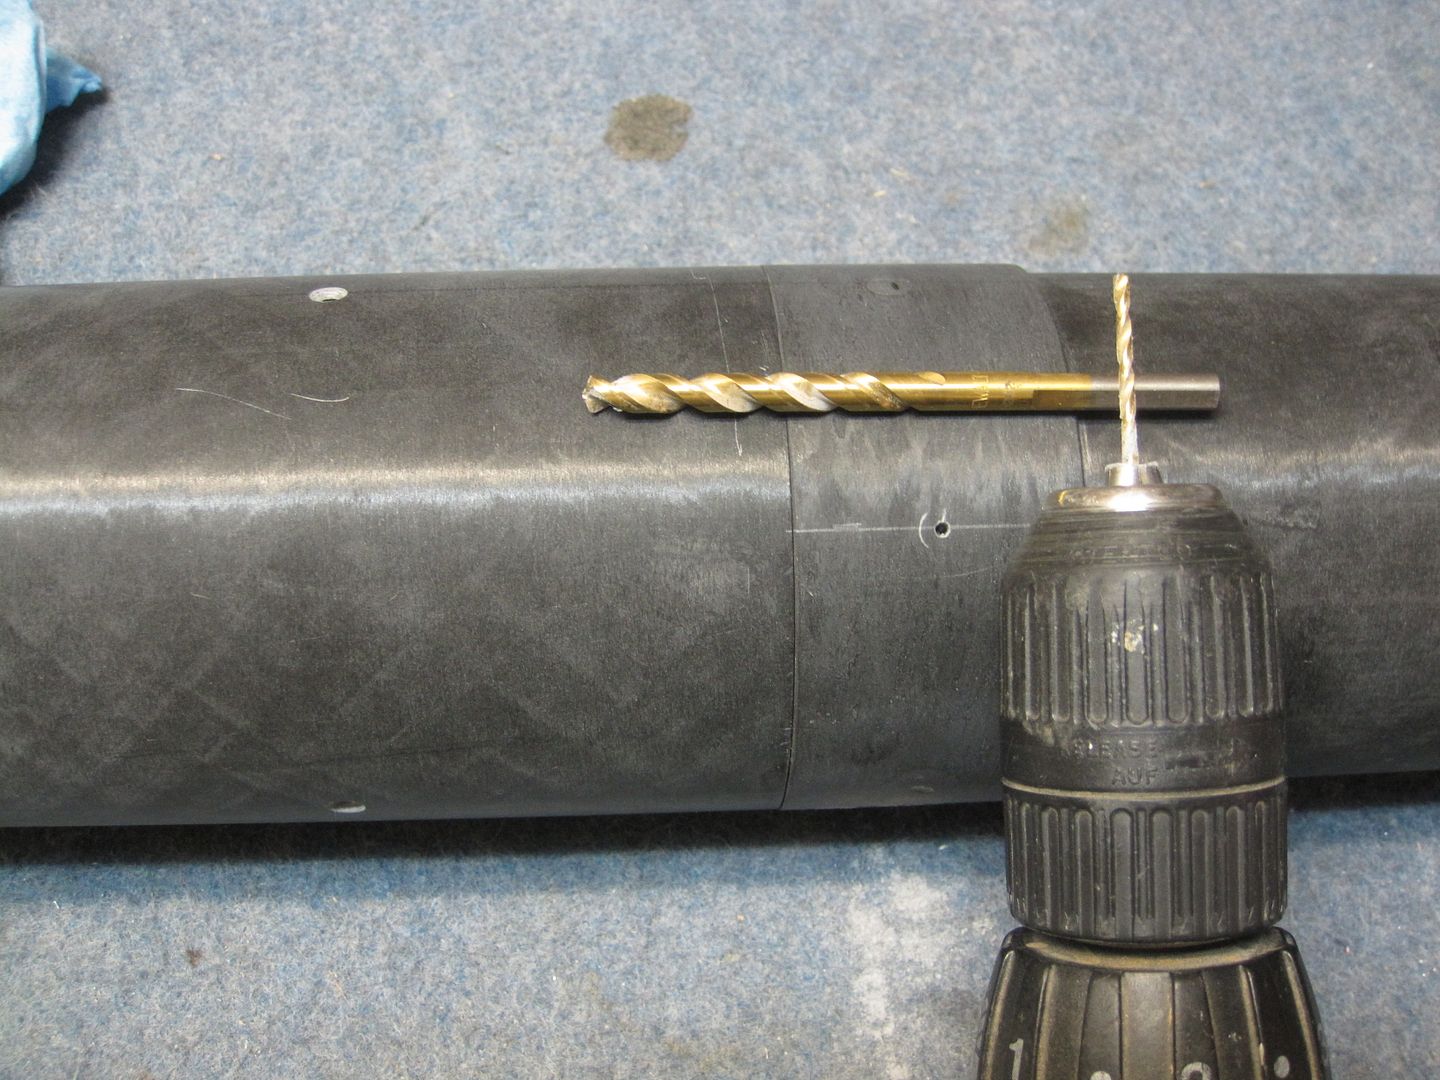
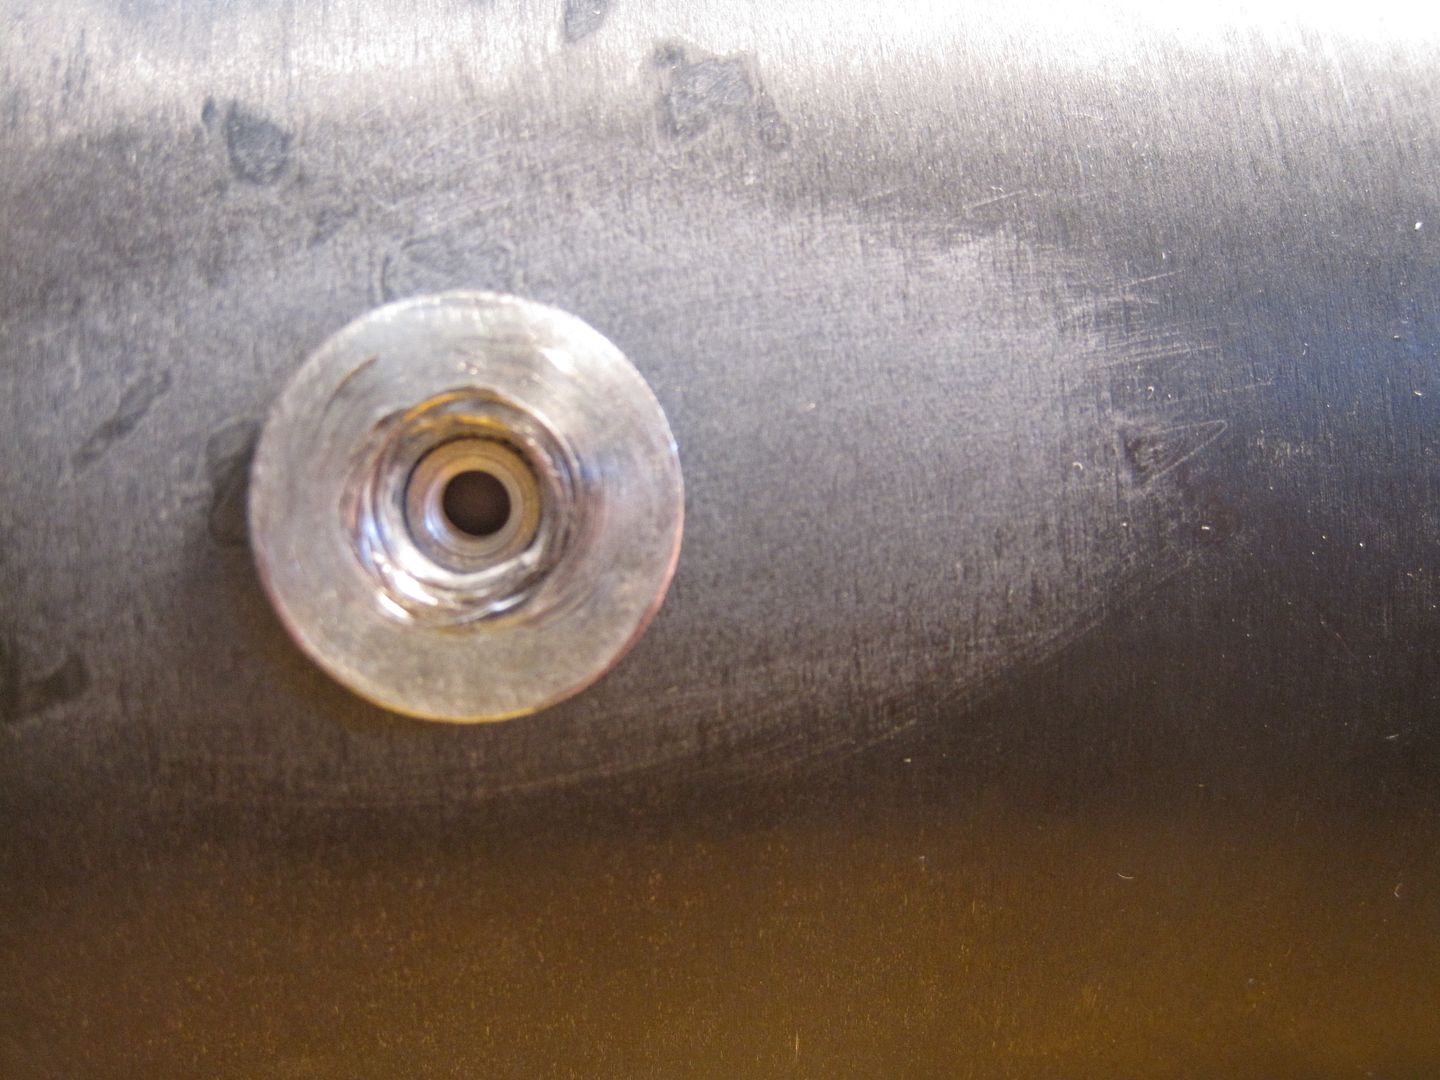
First I drill one 9/64” hole through the N/C and coupler, and remove the coupler. Used a taper bit to enlarge the hole in the N/C so the flat head screw would lay flush:
Then switched to a 7/32 bit and drilled out the hole in the coupler. Cleaned up the hole with a rat tail file so the pem nut would fit. Don't want to remove much, the pem nut should press fit into this hole:
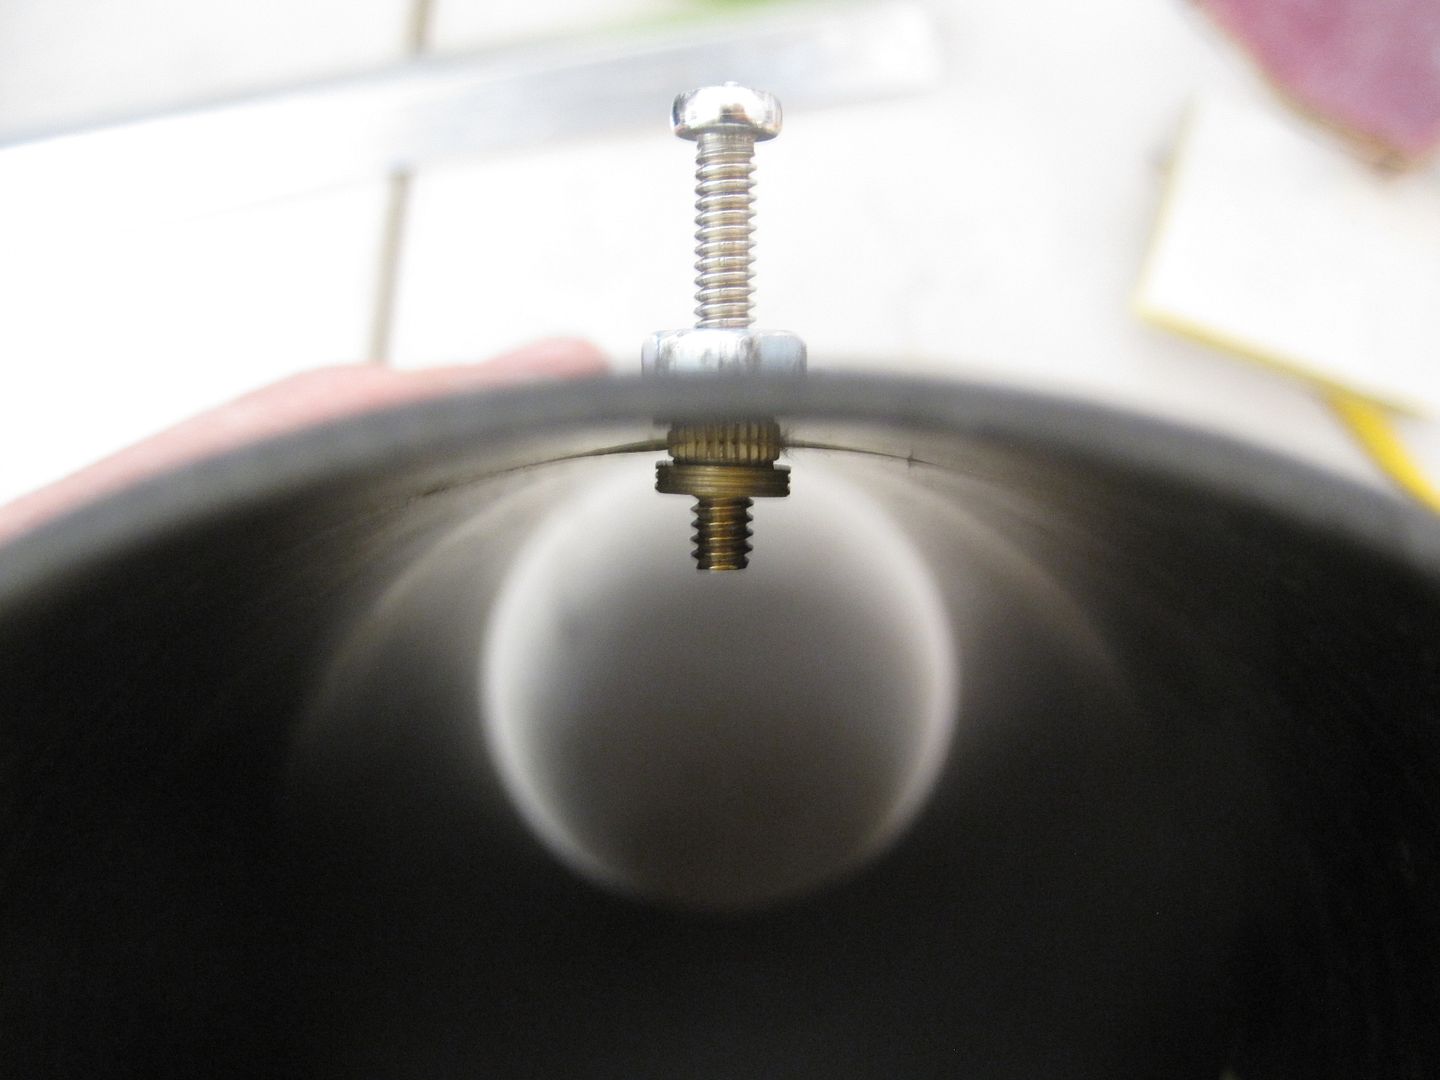
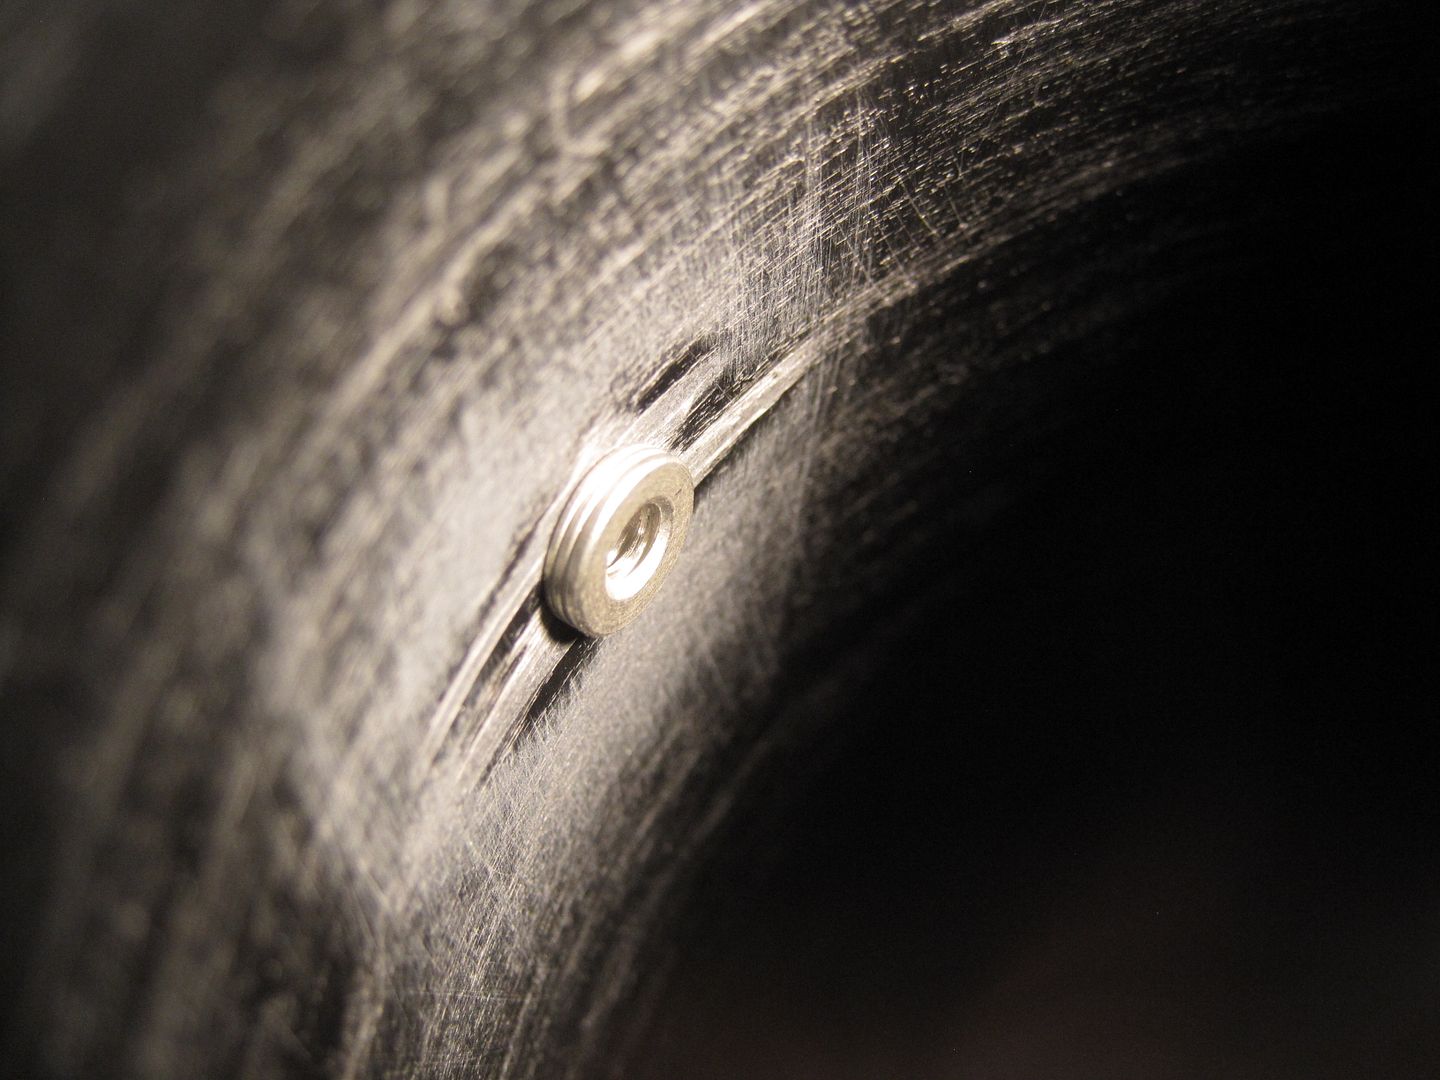
Then sanded around the hole inside the N/C. This is to improve adhesion when I add epoxy. Pulled the pem nut in with a 6-32 screw, nut and washer.To do this you first center the pem nut in the hole from the inside:
Then add a washer that has an inside diameter larger than the pem nut:
Tighten a screw and nut from the outside, making certain it is all perpendicular to the tube:
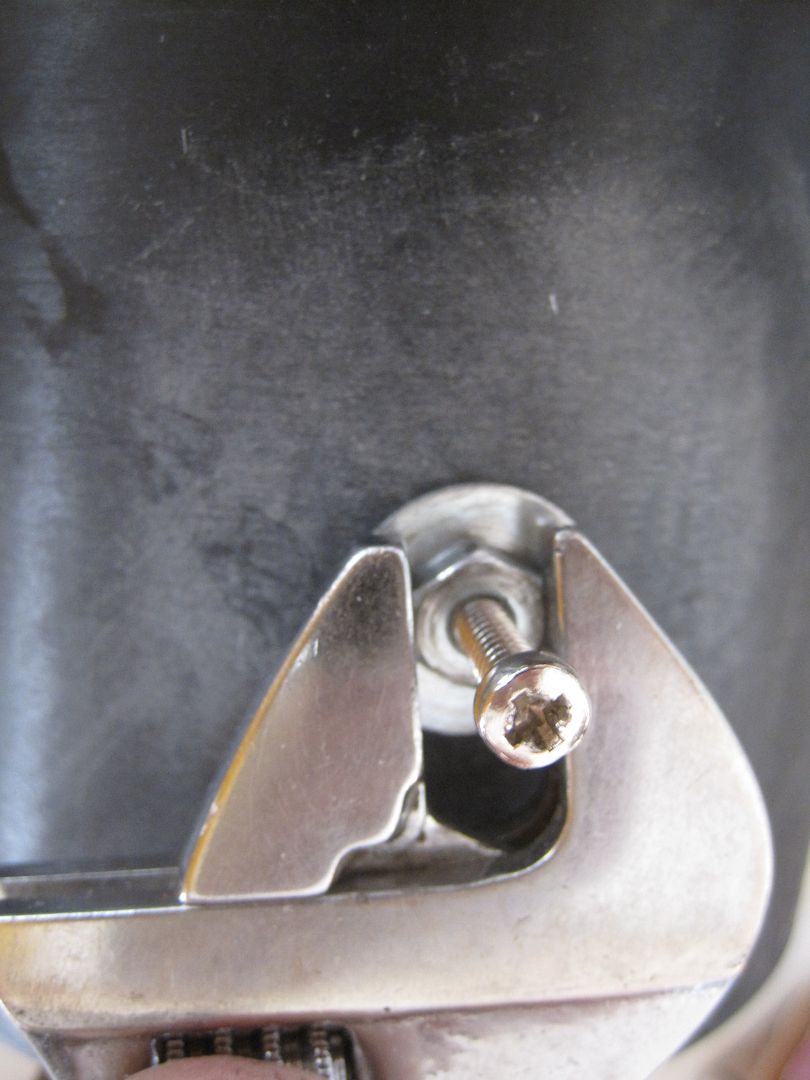
Tighten the nut with a wrench while watching or feeling the pem nut to be sure it's not turning:
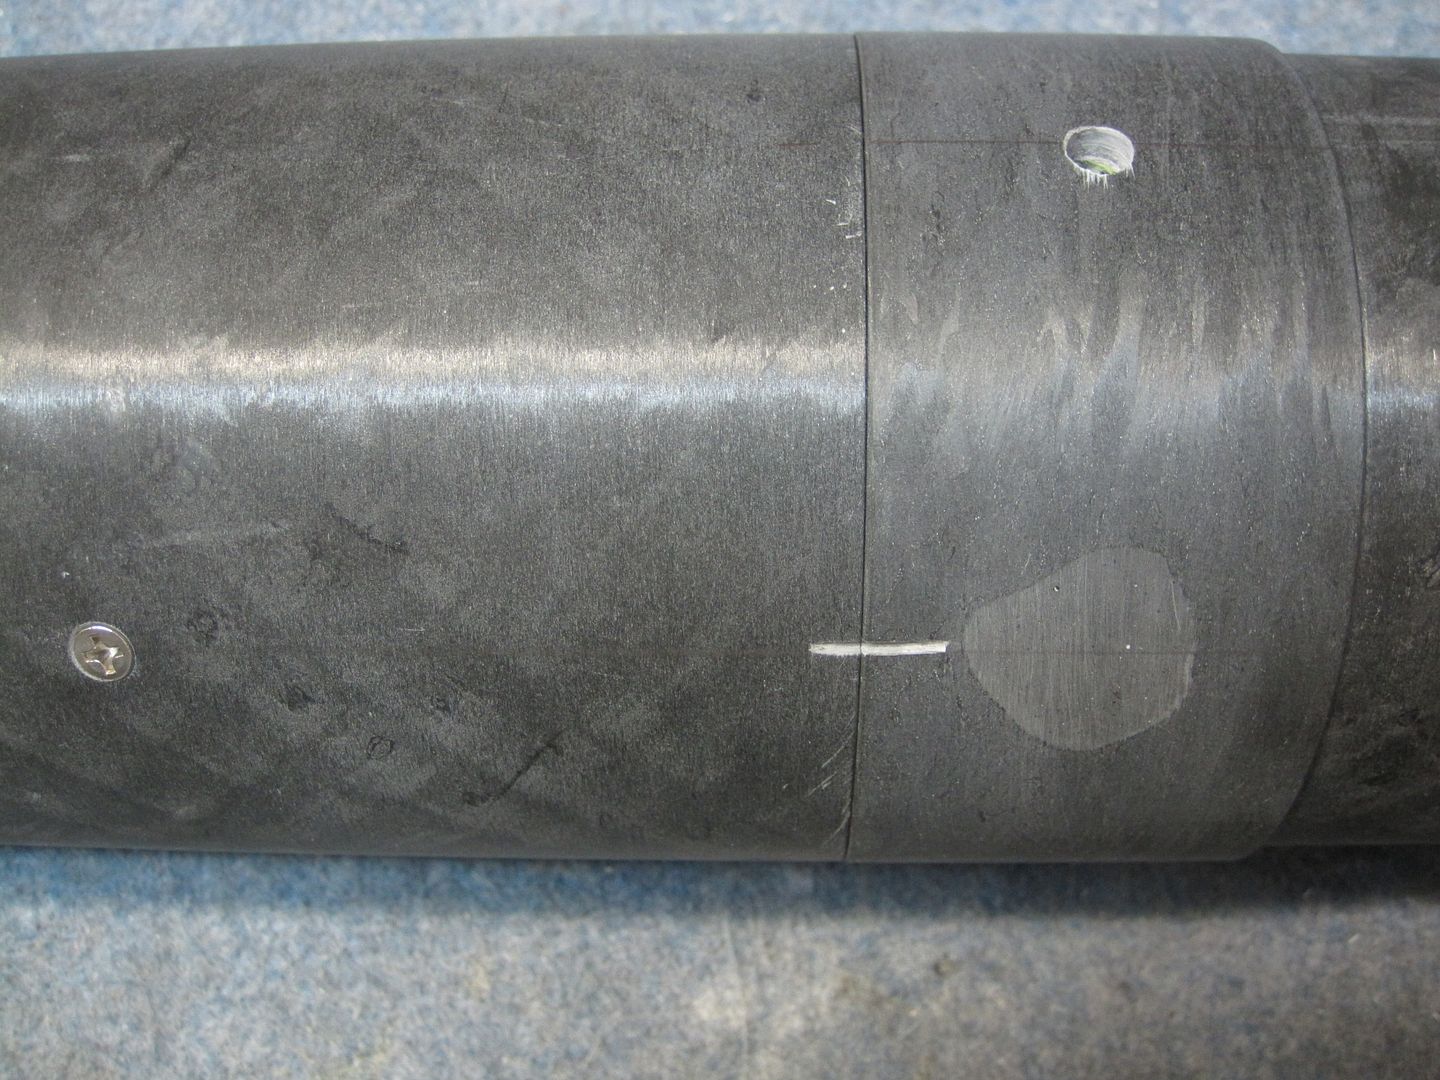
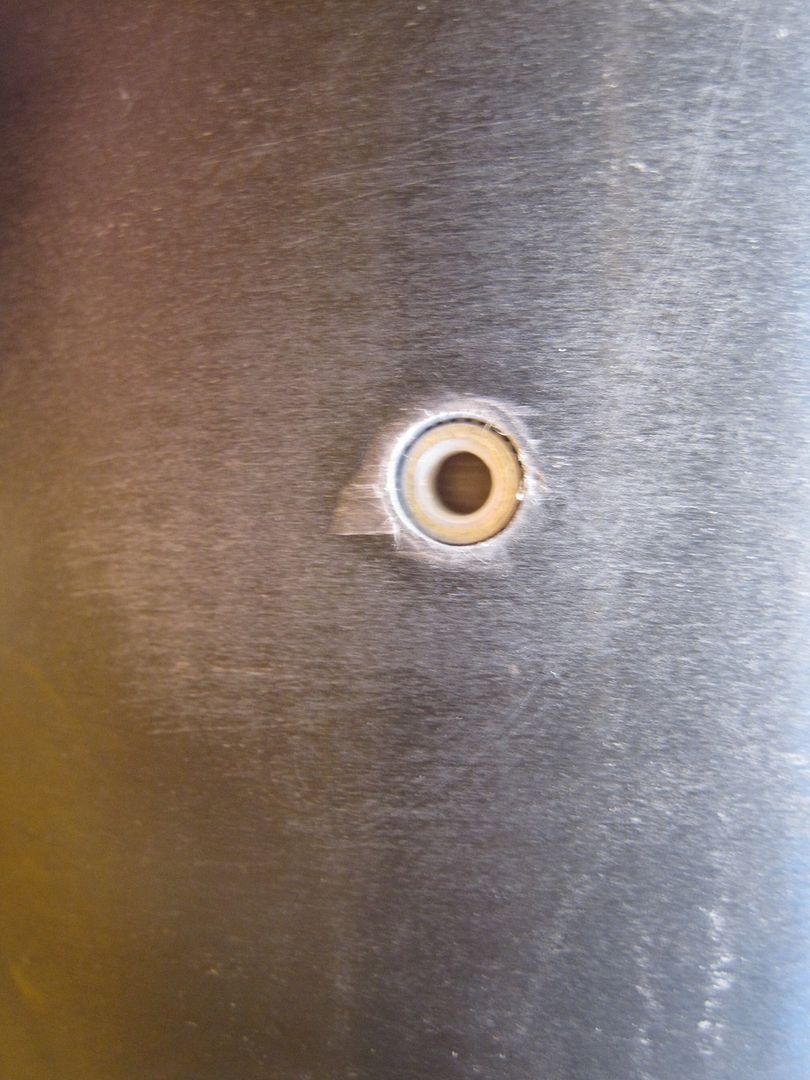
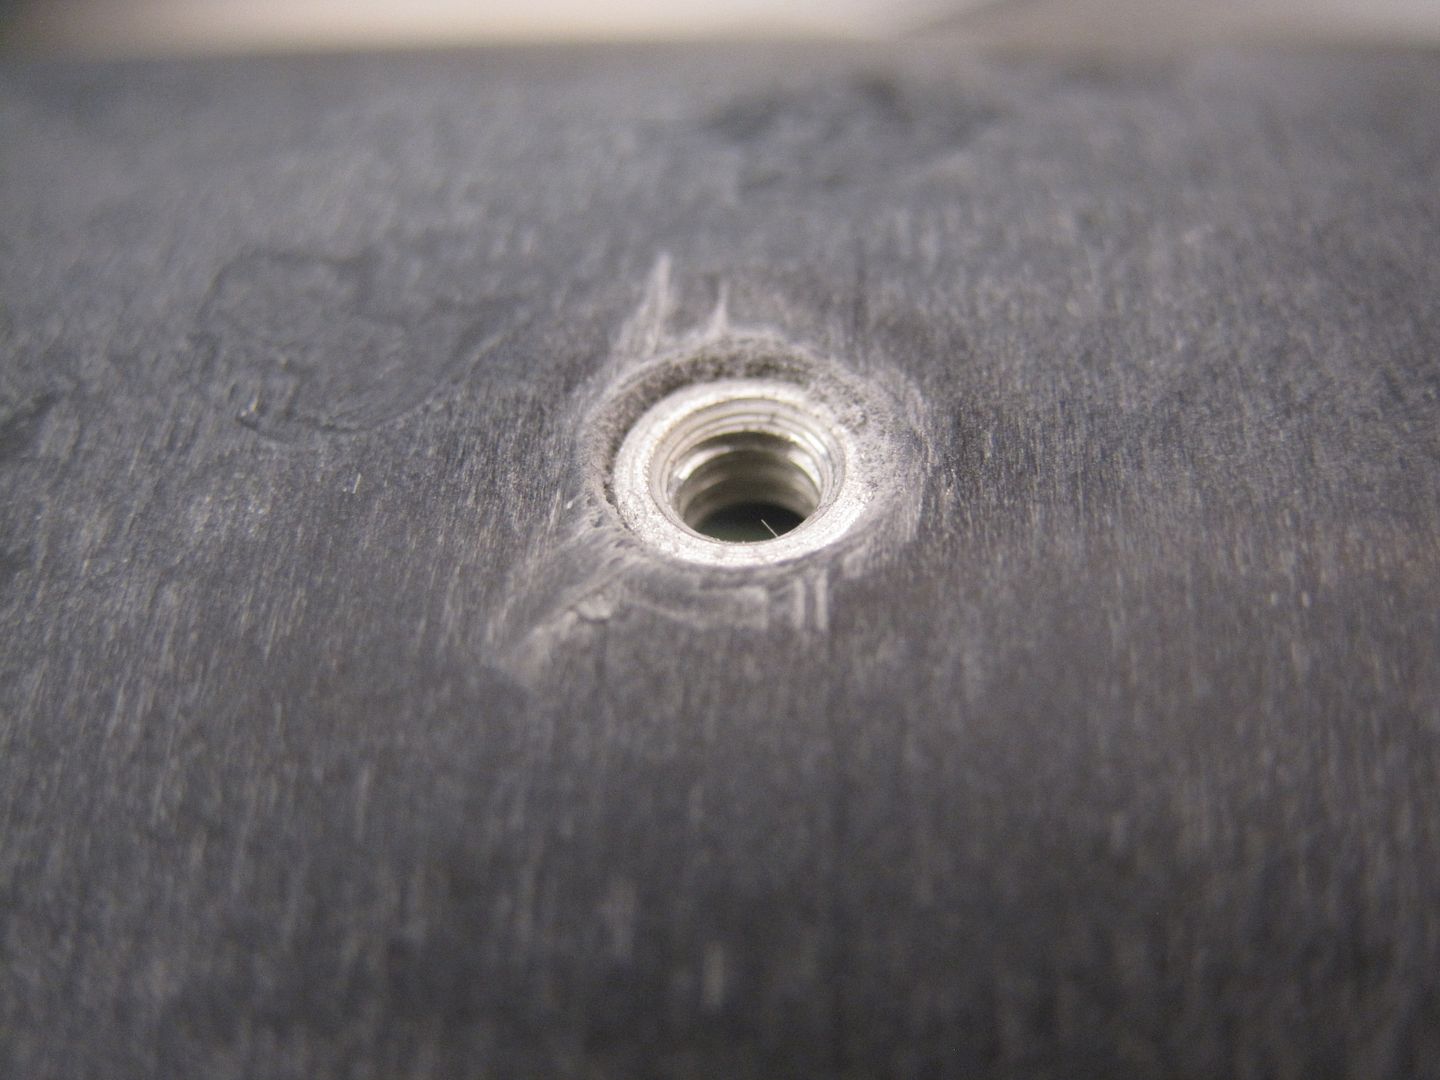
It only takes about one rotation to snug the nut into the hole. It should look like this when done:
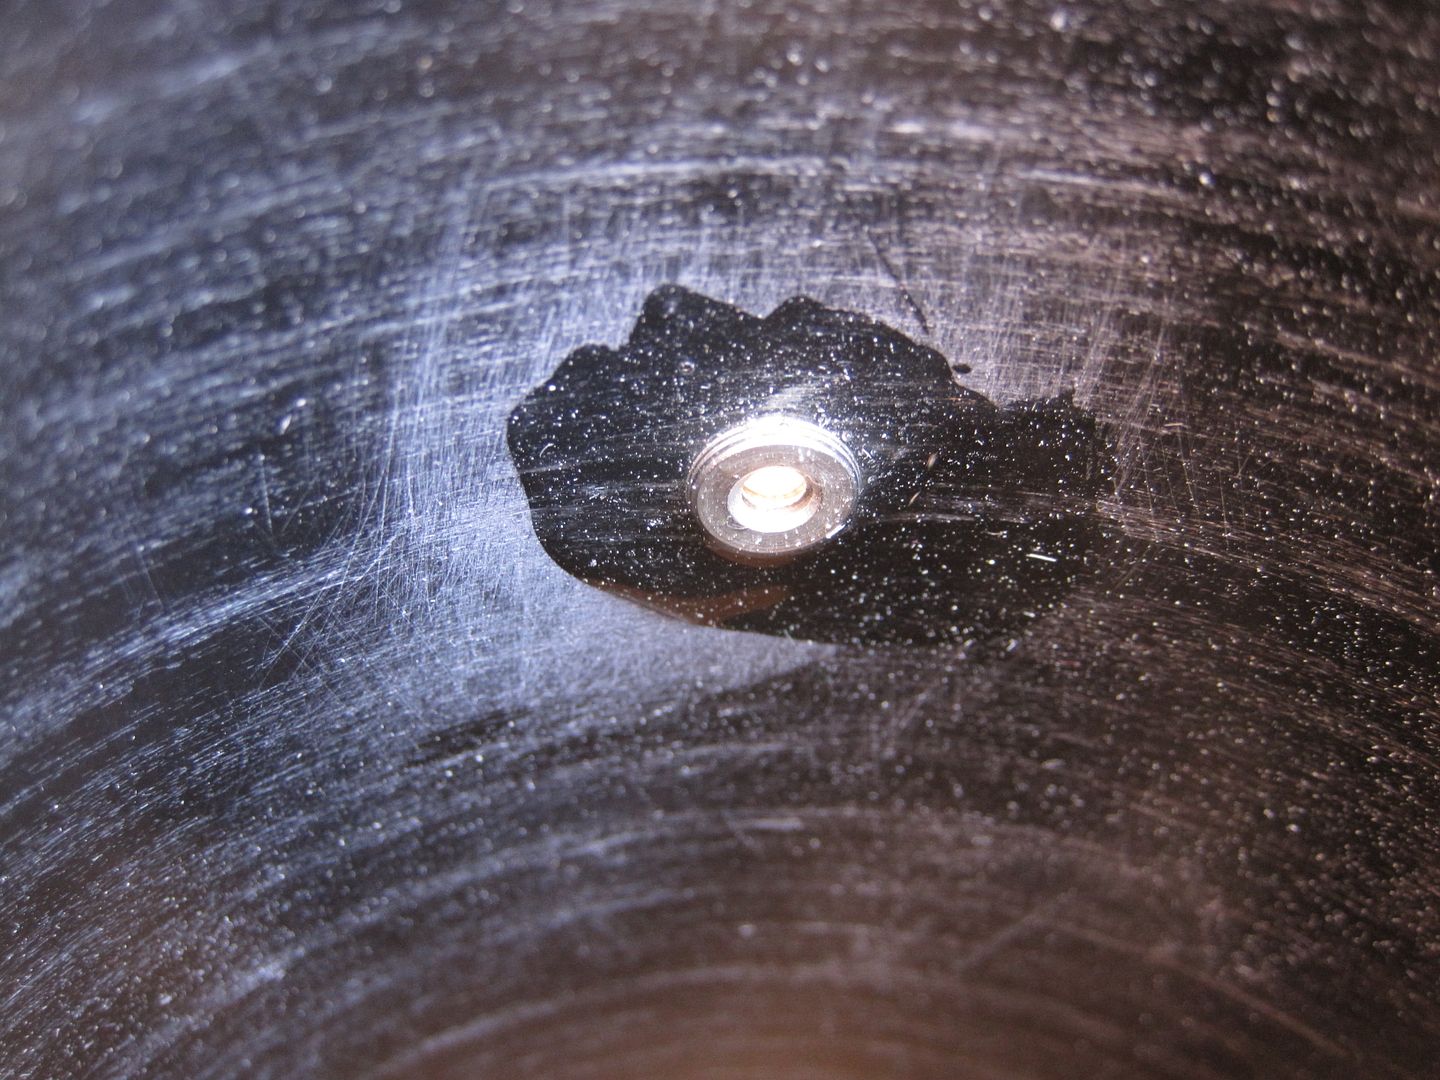
Slide the coupler back in and repeated the process for the second and third hole, doing one at a time and drilling each hole with the previous screw tightened down. Then I cleaned around each pem nut with acetone, and added some 5 min. epoxy around the outside edge of the nut:
Once I had the shoulder mounted to the N/C, I installed it in the payload tube and rotated it to find the best fit. Then I transferred the marks off the N/C onto the payload tube and marked the location of the holes for the shear pins, 1.5" down from the top of the payload tube. With a 5/64" bit, I drilled the first hole and reamed it out a little with my rat tail file:
I then inserted a 2-56 nylon shear pin and moved to the next mark, repeating the process for all three shear pins.
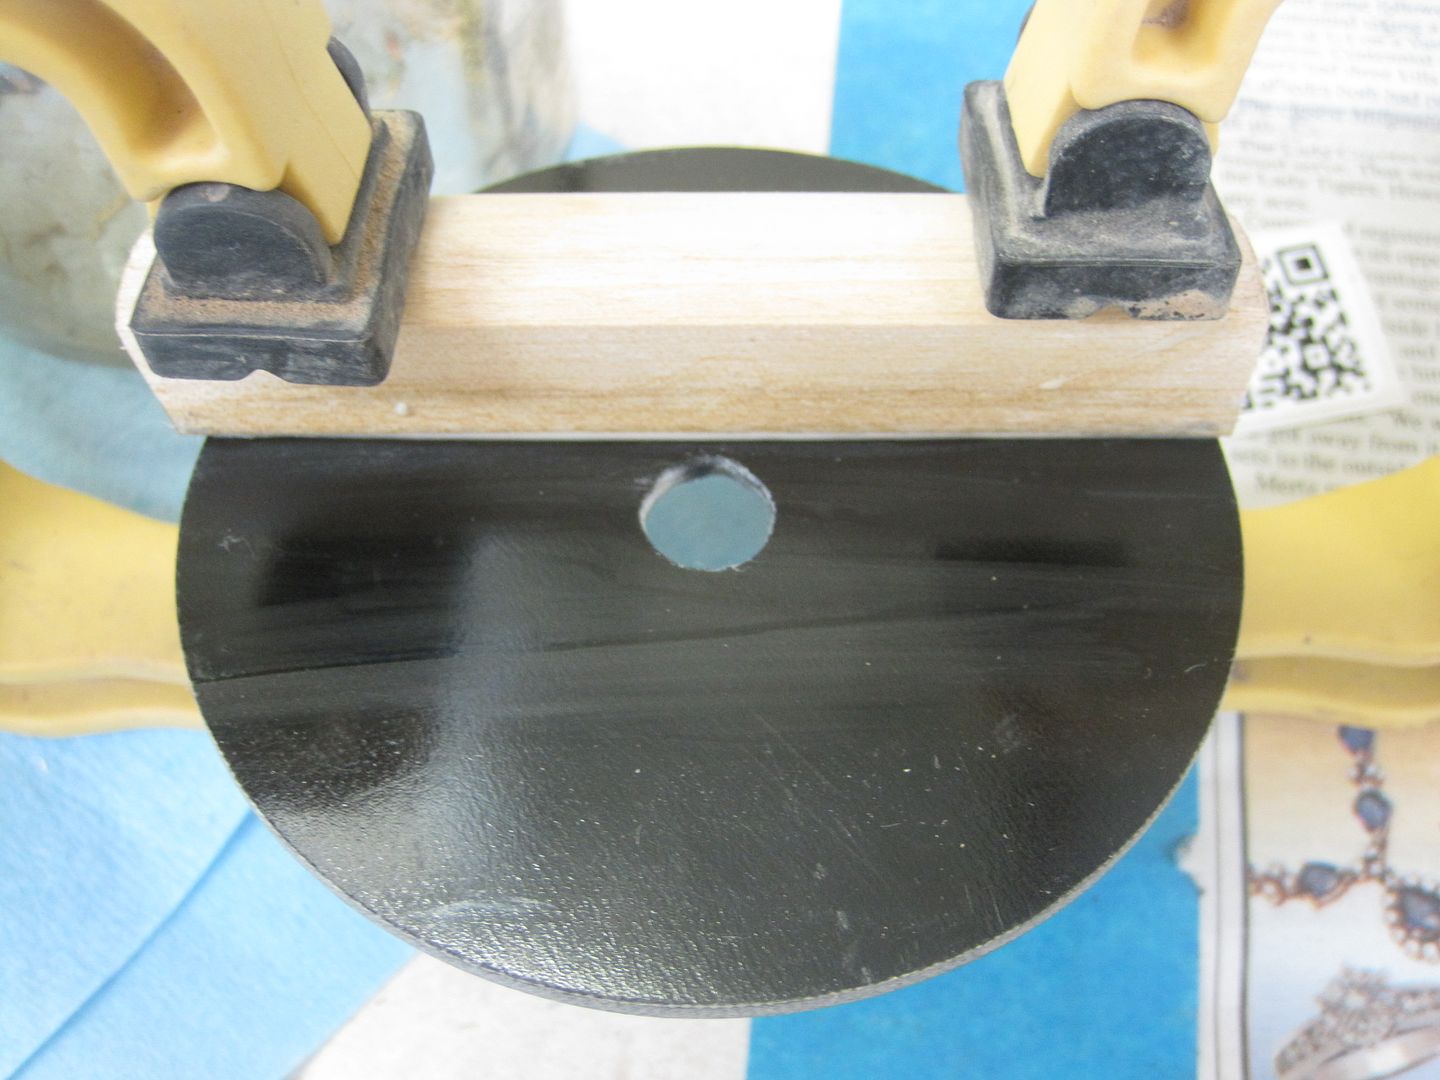
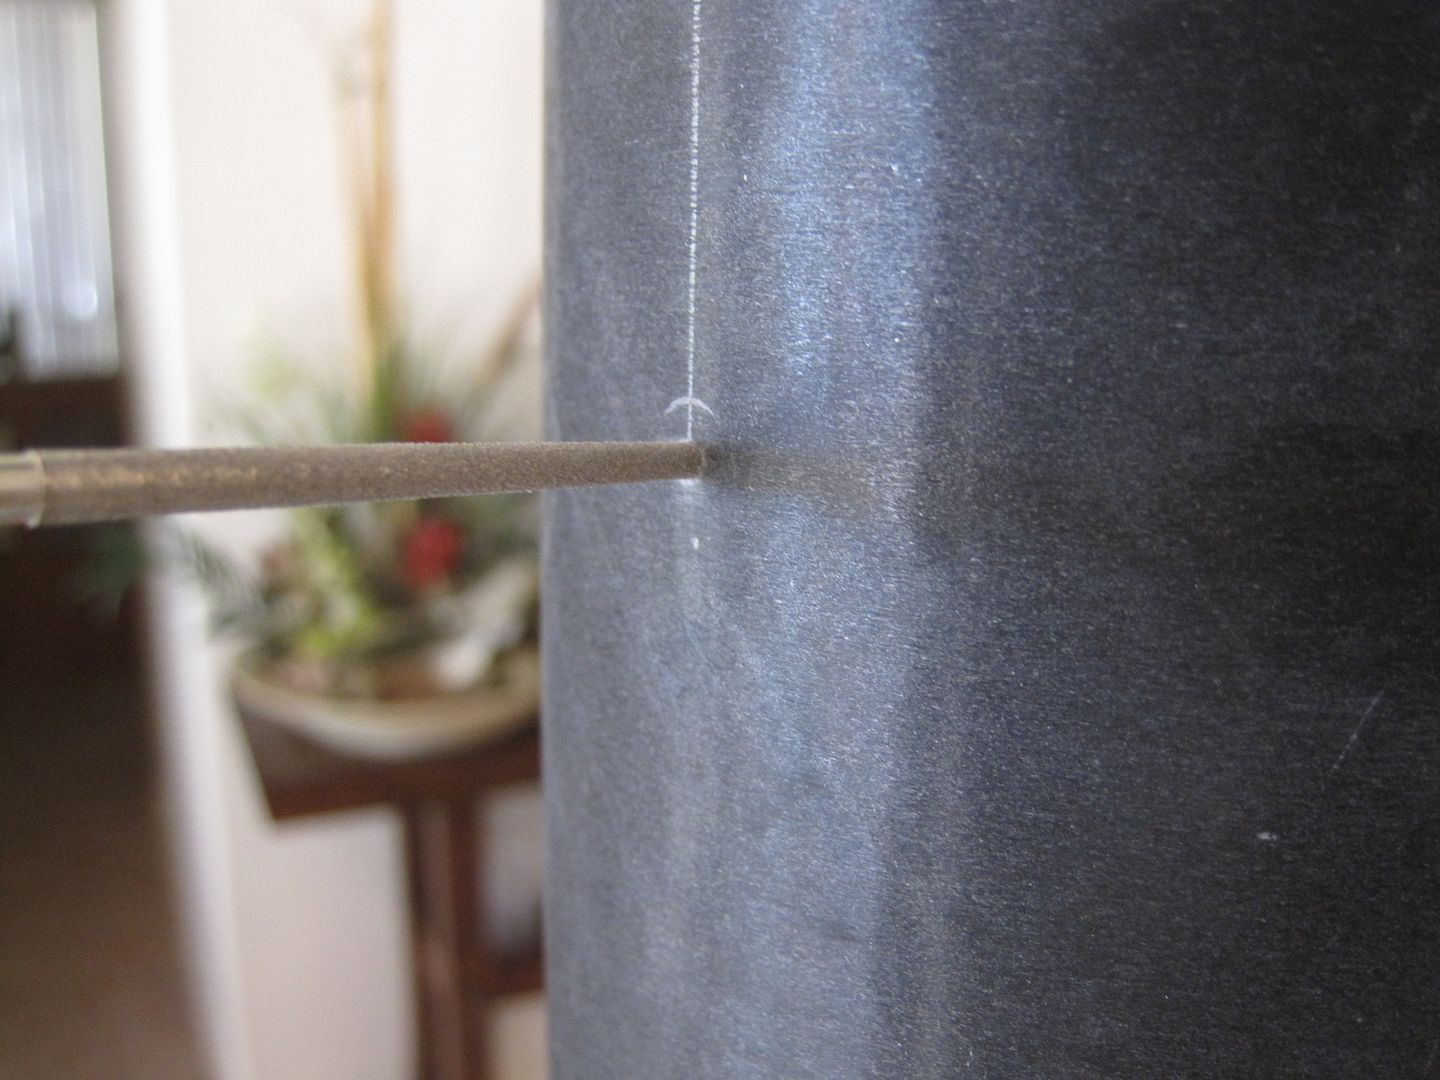
After all the pins were in place, I marked an index line with a dremel cutting wheel:

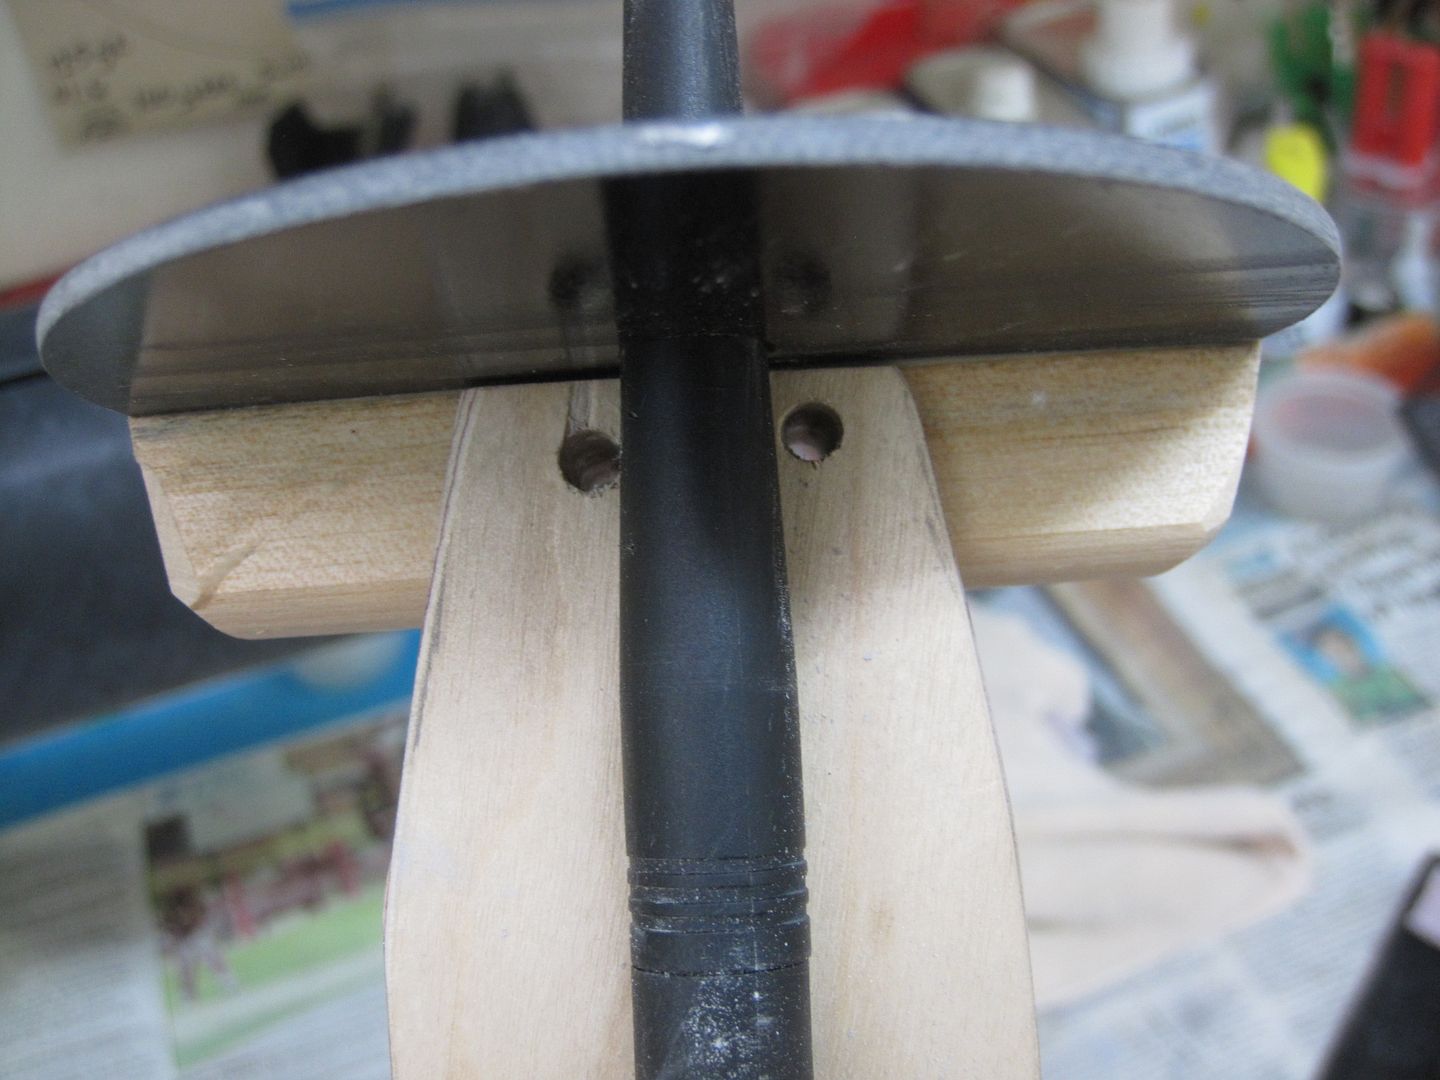
Finally, I removed the screw at the top of the N/C with a long handled phillips screwdriver and took off the tip. Reinserted the screw and marked where it came out the top of the N/C. Removed it again and popped out the fiberglass washer stuck in the top of the N/C. Replaced the fg washer with a large 1/4" metal fender washer that is the same OD as the fg washer, and added a nut, where I made the earlier mark. I glued the nut in place with red locktight. I added another metal washer that was 1/4" ID and 1" OD that fit the hole at the top of the N/C. Here is how it looks before installation:
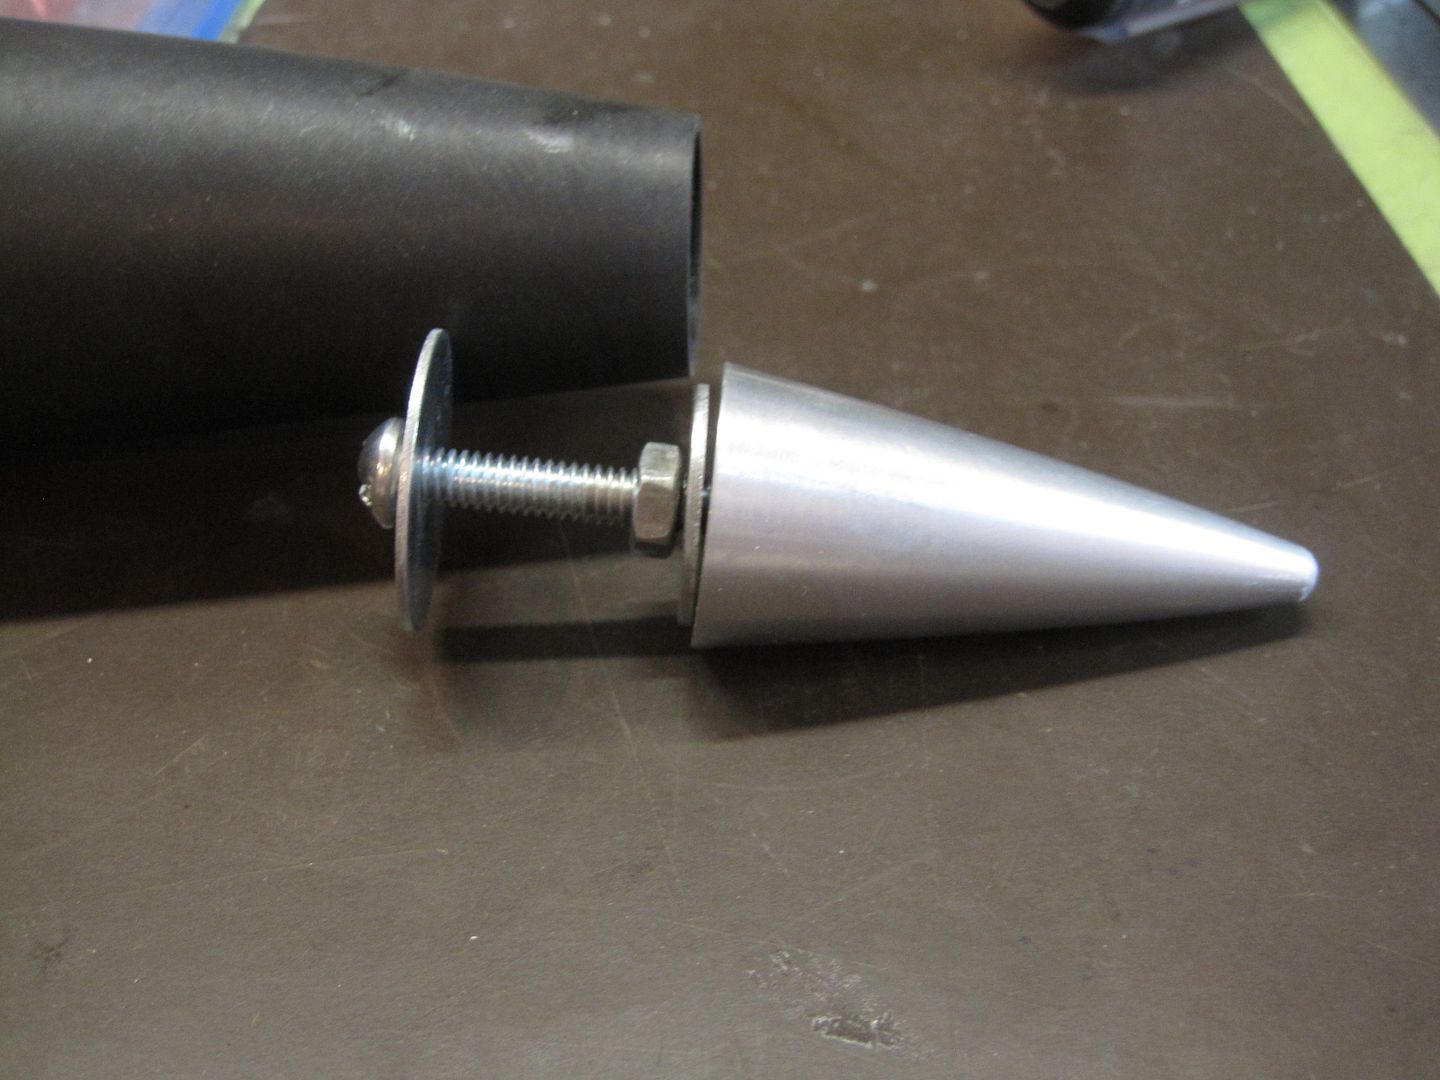
When I re-installed it, I added a little more red locktite to the threads and surface between the tip and 1" washer. This will keep the tip centered in the top of the N/C.
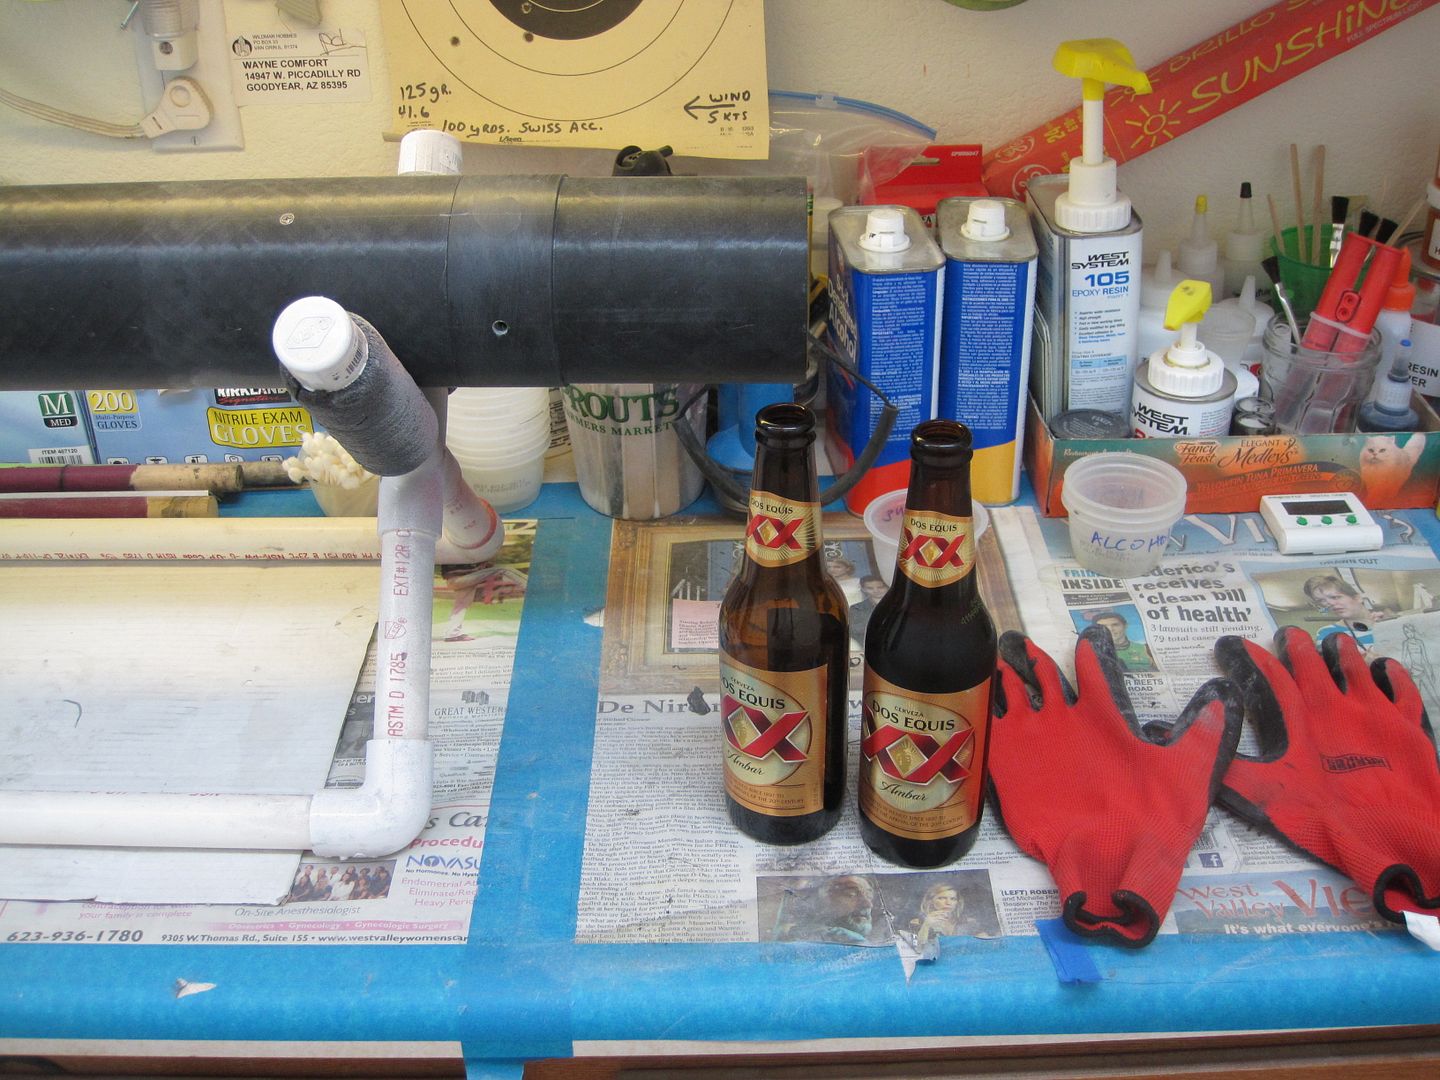
Meanwhile, parts on order are starting to arrive:
Last edited: