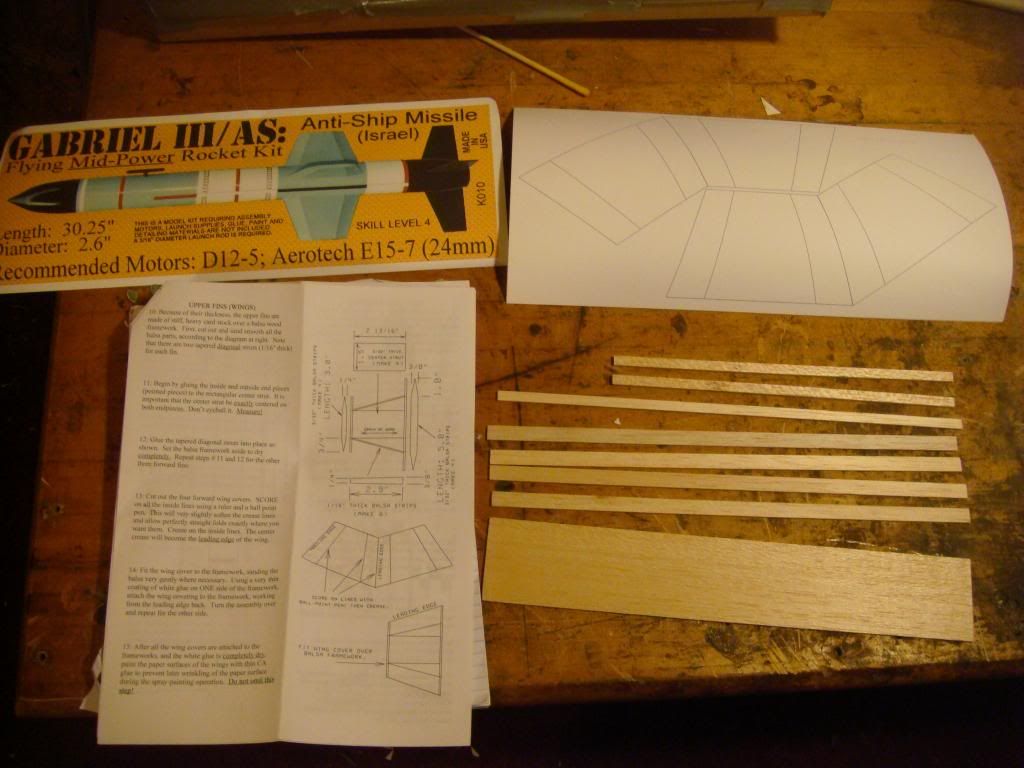
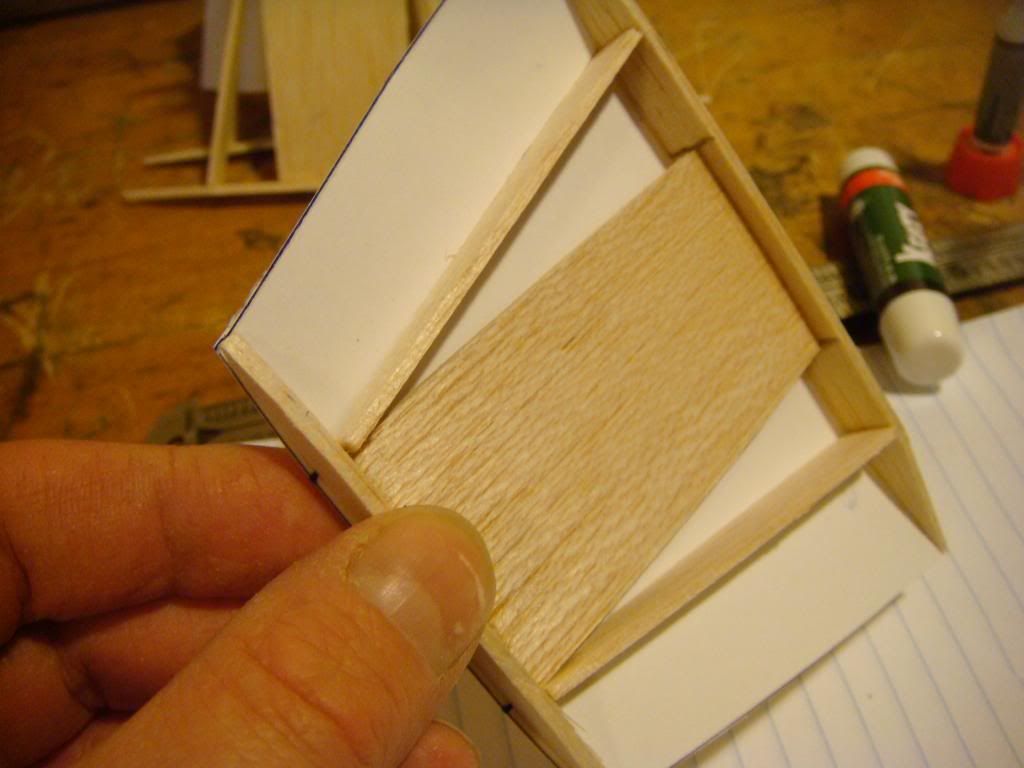
Time for the Paper Hat Nose Cone. Mind you, this "Hat", will end up filled with PC Superpoxy through the Hole I'm going to Drill in the Tip of the Nose Cone, and will then act as a Mold, to simply be sanded down during the Finishing Phase.
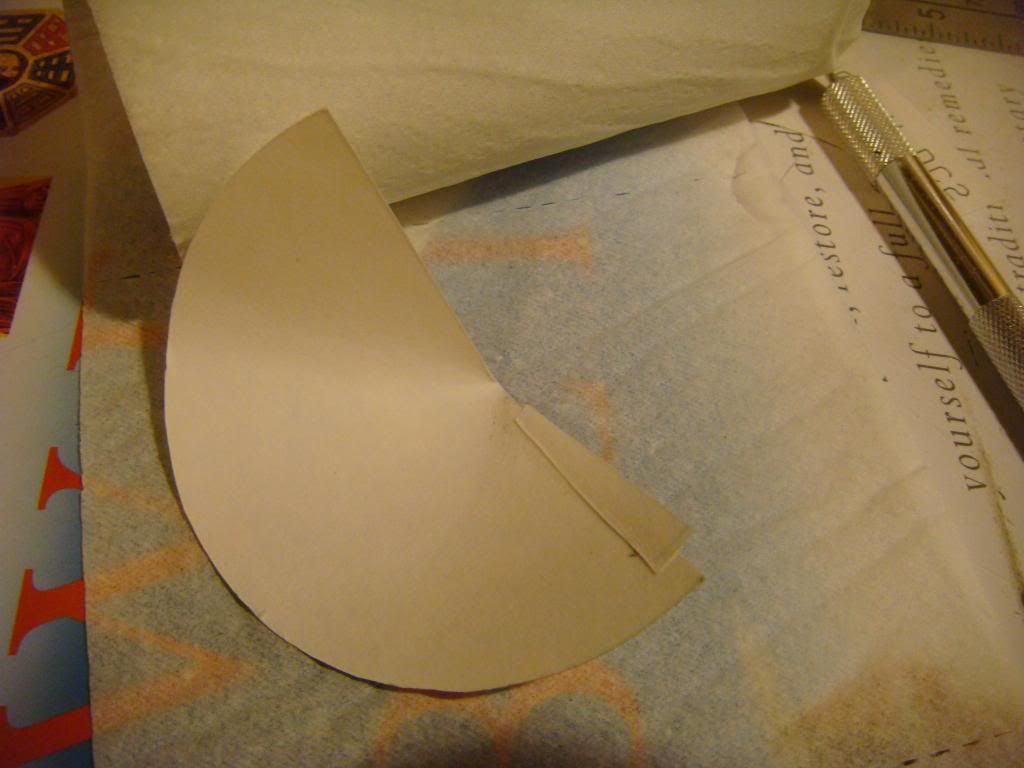
First off, I learned this "Tab Technique", from Paul T, AKA: "Sodmeister". ETA: I reviewed his TLP Gabriel Thread, and it seems he uses this on Tail Cones only. My Bad! I start by cutting the Template printed on the Cardstock on the Straight line, and don't include the provided Tab in my intial Cut. This will allow me to make a Cone with no "Overlapping Seam". I cut a separate peice of the Cardstack to make a "Tab", which I then glue to the Cone as such.:
Then I connect the ends, via some more Super Glue.:
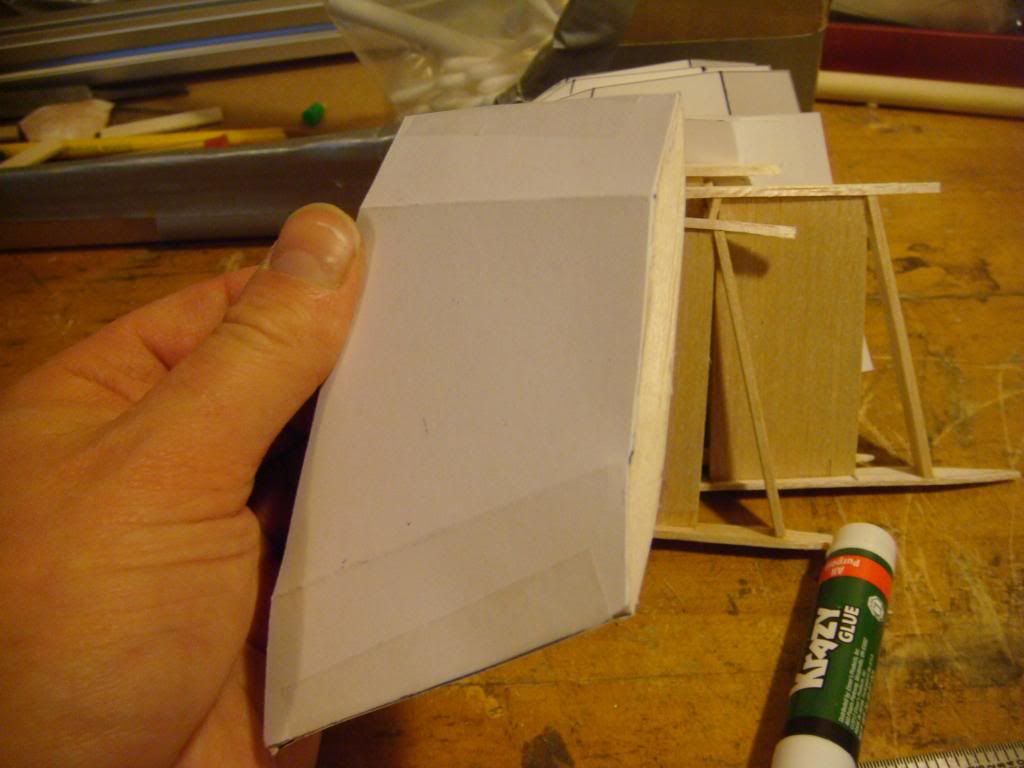
Then I test fit it just to make sure it roughly fits.:

Satisfied that it will be good, I finish the Bottom off with an additional Peice of Cardstock.:
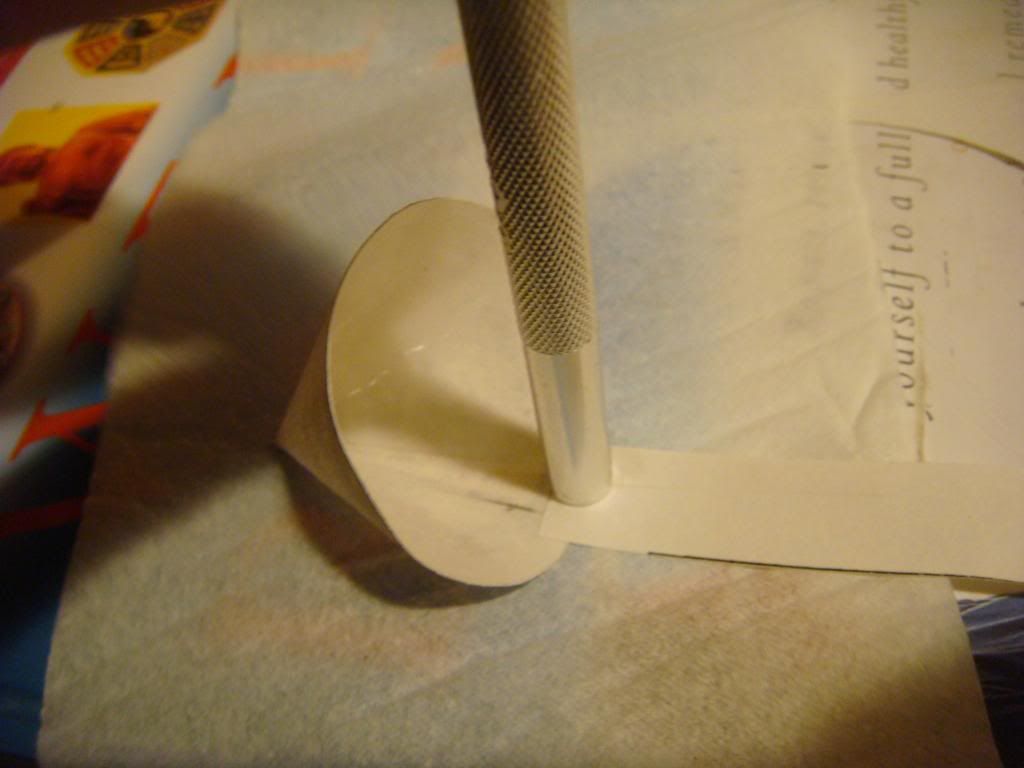
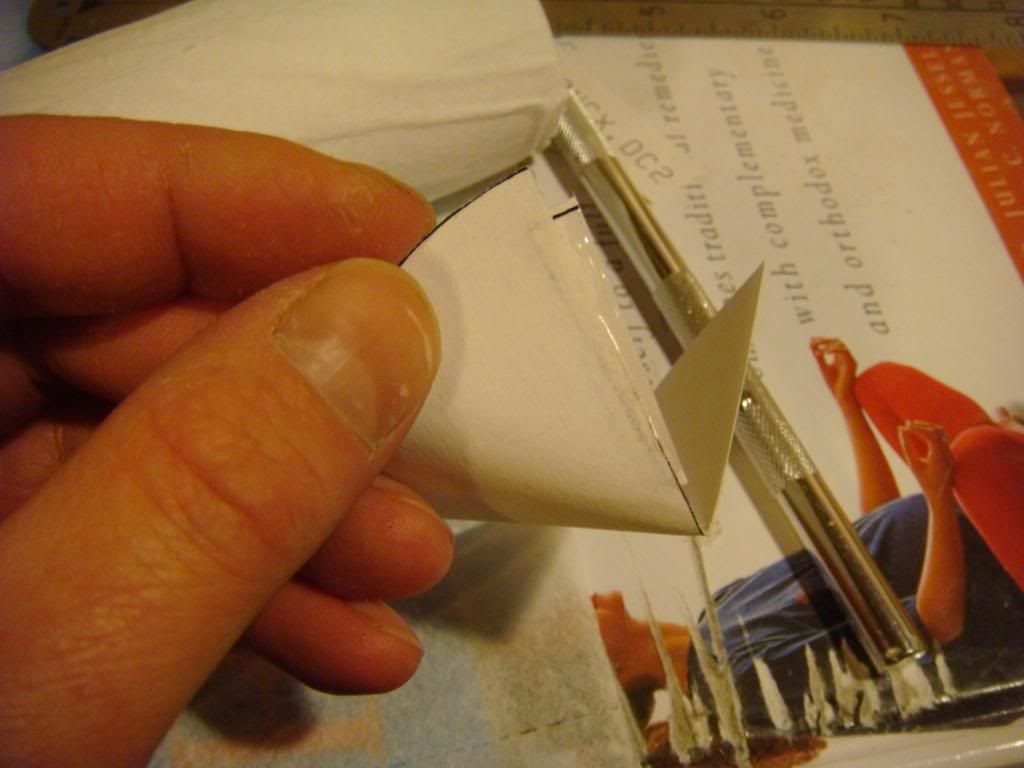
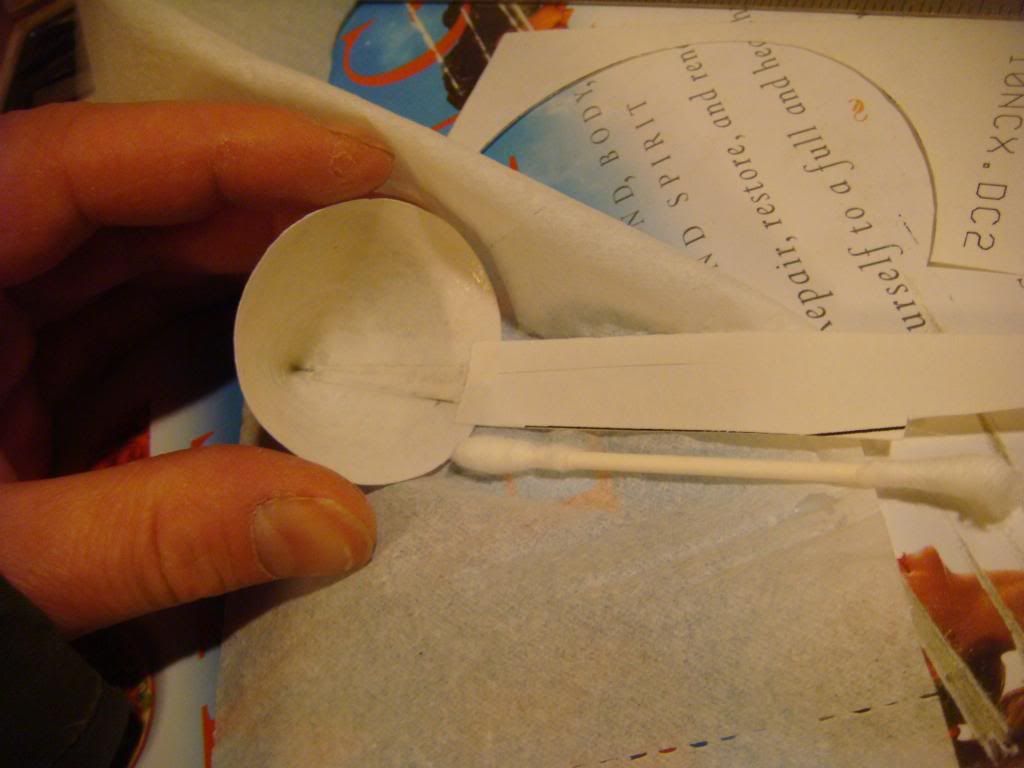
What about the sliver of a Gap at the Top where there is no Tab? I Paint the inside with CA first, using a peice of Toilet Tissue underneath that part, so that a tiny bit of the Glue goes through the Gap and absorbs into the Tissue. I do this Painting with a Q-Tip, so I can spin it around in the Top to get good coverage.:
I end up with this.:
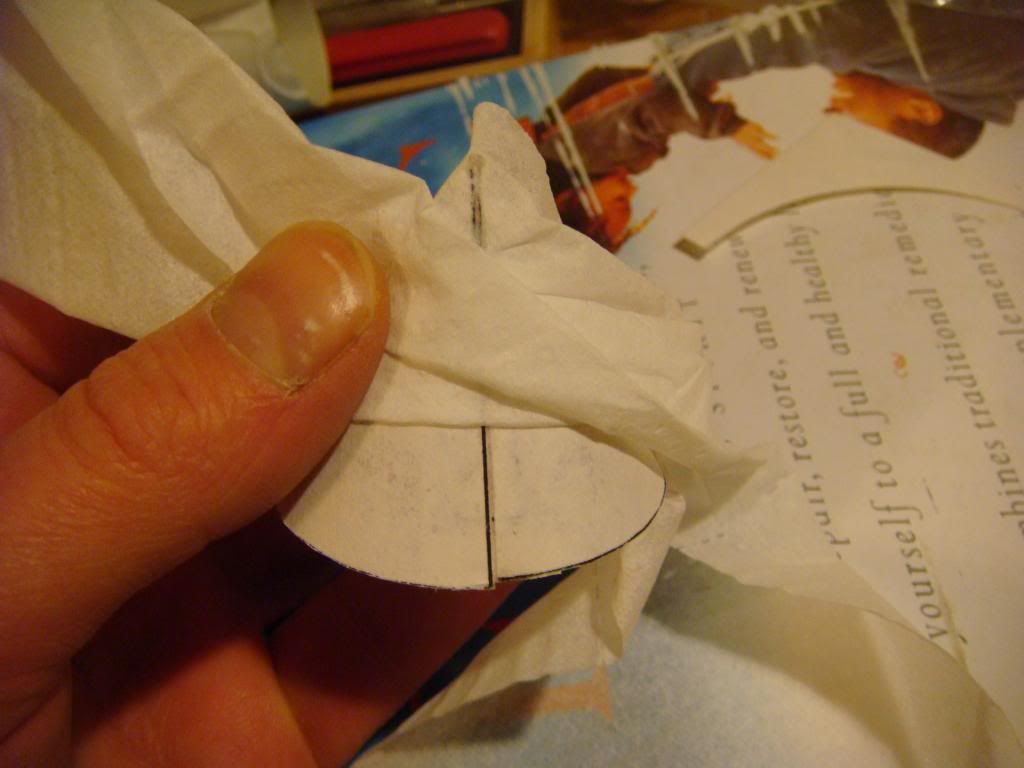
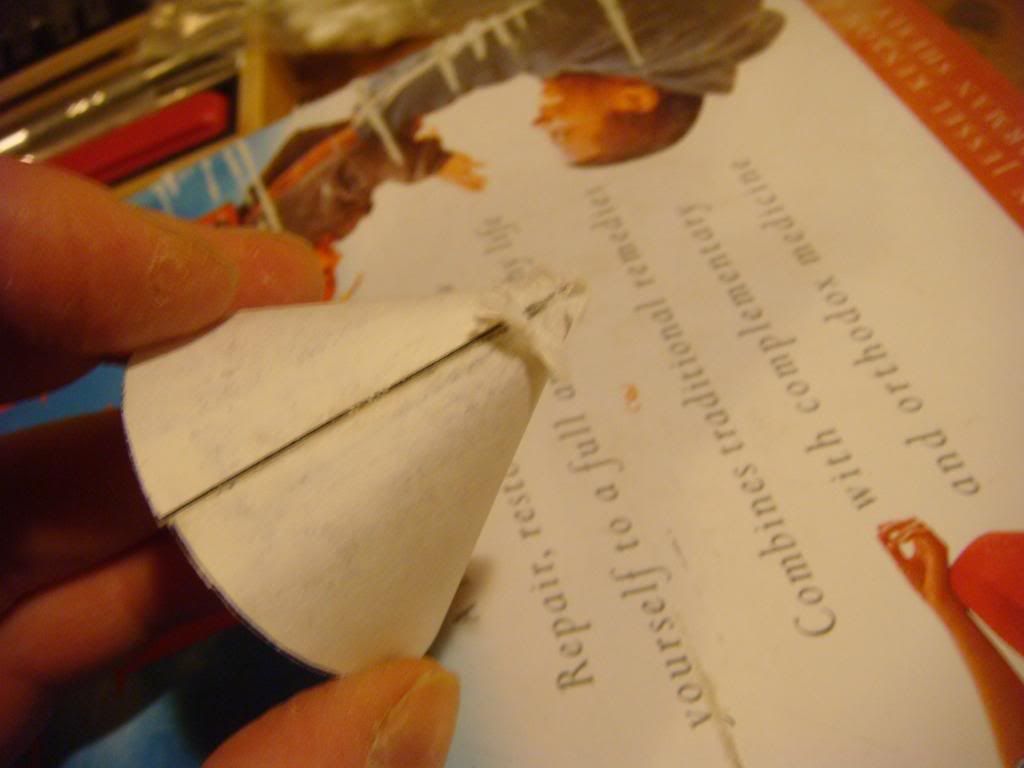
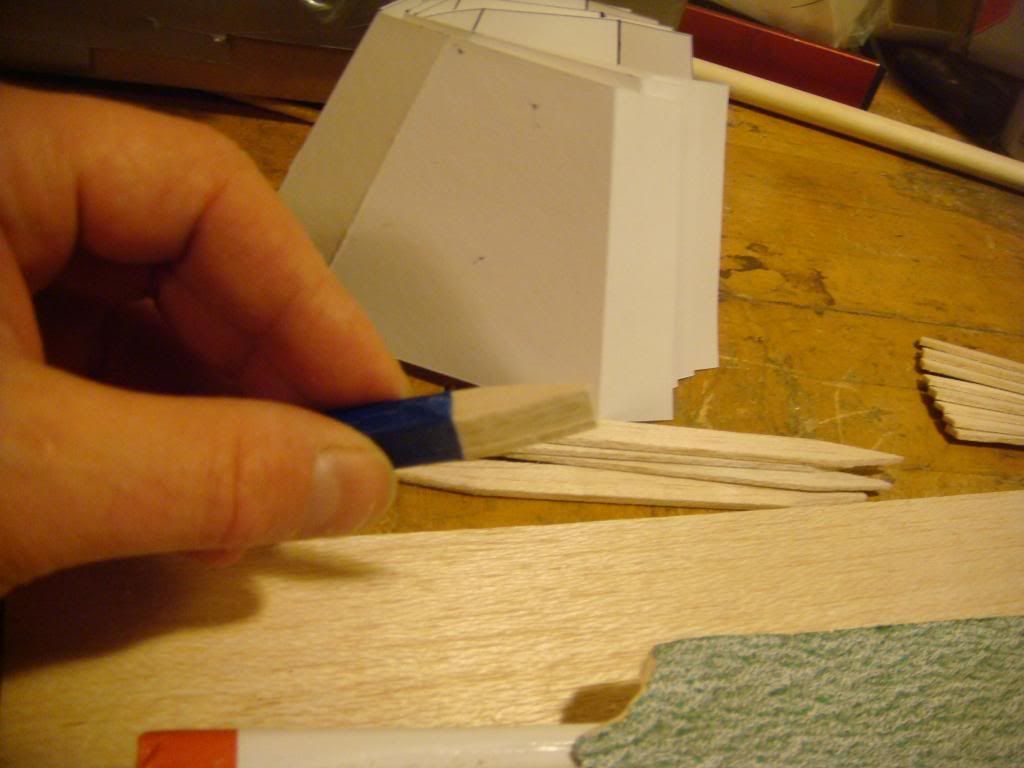
Then, I use an Emery Board I made out of Balsa, CA and some 120grit to sand away the Excess cured Tissue, and at the same time square up the edges on the Bottom with said Emery Board, yeilding this.:
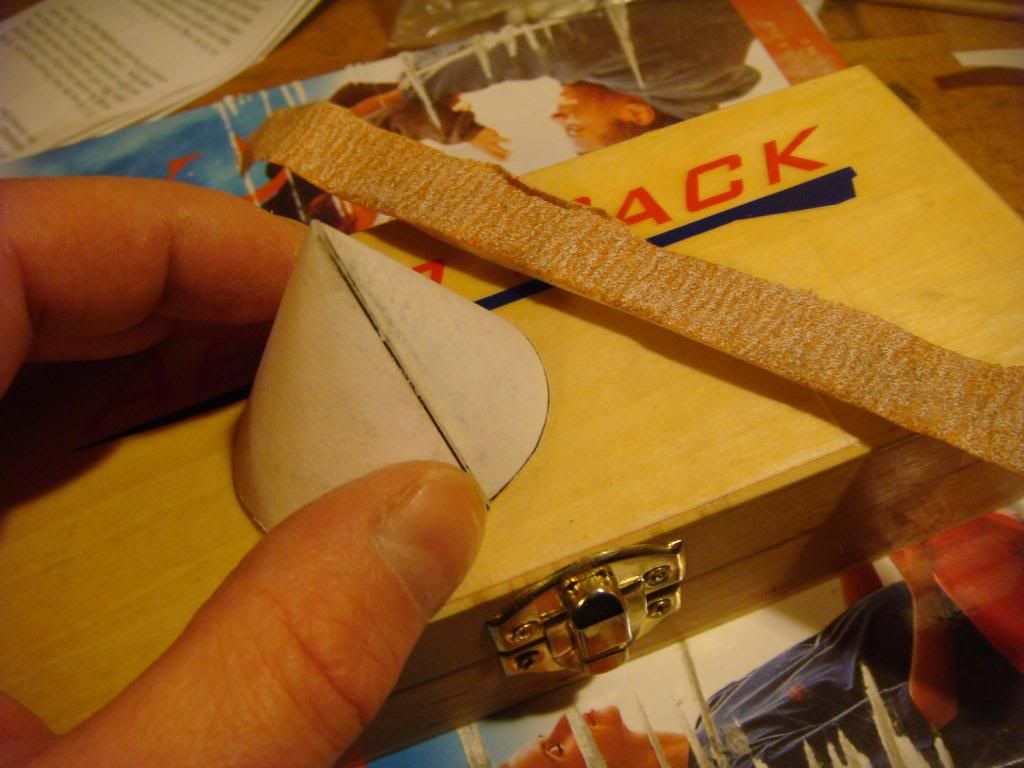
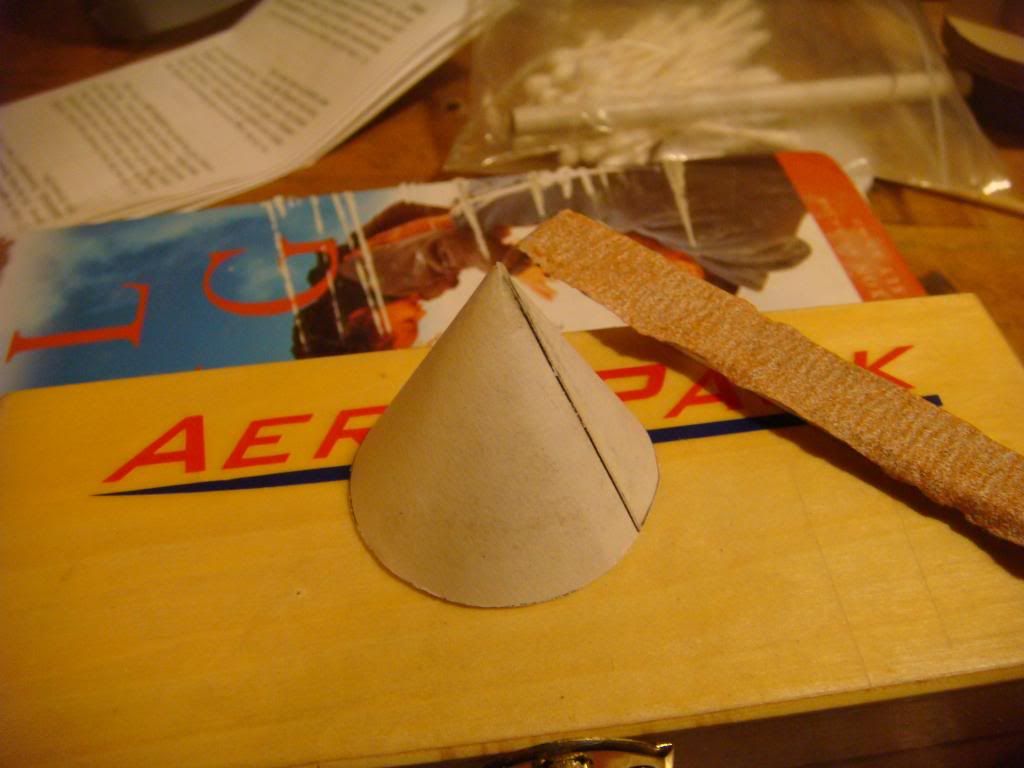
Finally, I paint the outside with more Super Glue, but this time I used a thinner Brand, so as it can absorb really well. now I have this.:

Anyway, hope you've all enjoyed seeing how I do a Pointy Paper Nose Cone Hat. This is my third one, as I did one on my TLP ALARM per the TLP Method, then studied Pauls Threads, and made one for practice before making this one. I really think this one turned out great, so I wanted to share my learning experience for those that like me, were at first intimidated by these Paper Nose Cones. They are actually pretty cool in my Book now.
since this is a 29mm Kitbash Updog Build, it will need Nose Weight anyhow, so the fact that I'm going to fill it with epoxy will only be a good thing. A Side Note on that, when using the PC Superpoxy, I filled the cone first before appying it for good, to avoid having any Air Bubbles or Voids that might occur. Then, after it's tacked onto the actual Cone, I'll fill the cone from the inside with more epoxy, which mechanically bonds the Epoxy coming up through the drilled hole to the Epoxy I add through the rear of the Cone. I'll have to cut the bottom off the Cone anyway to install a Wooden Bulkhead and my Schock Cord Attachment Hardware.
Well, hope this helps someone like me, who used to be afraid of Paper Parts.