TLP Gabriel III/AS Fins And Build Thread

The Rocketry Forum

Help Support The Rocketry Forum:

This site may earn a commission from merchant affiliate links, including eBay, Amazon, and others.
The Trial Version of Rocksim can't be installed twice.
This Bird will have to spin on a String, and I'll have to look at Thrust Curves and use my best Judgement to choose Motors.
That's fine, as I used to Scratch Build all the time when I was younger, up to a Rocket that flew G-80, and never had any problems. Sims are great, but not always necessary.
If it goes "Cruise Missile", no one will be there to see it but me anyhow, so it's not a Safety Issue.
I'll obviously make a Video of it's first Flight, so if it goes wrong you'll all get to see it and then you can rub my Nose in it. :wink:

Use OpenRocket: https://openrocket.sourceforge.net

It's free and is able to open Rocksim files.:D
 
which operating system are you using? if you are using win7, left click on the windows icon to bring up the stat menu, in the text box(search) start typing openrocket this should bring up a list of files, right click on the newest open rocket file, then left click 'open file location'(or not as you can run the program by left clicking), after finding the location (probably 'downloads'), right click on the file and select 'create short cut', this will create a short cut, drag the short cut over to the desk top. this does not use the OR icon that is another step but, you can go back later and change the icon. please let us know if you need additional assistance.
Rex

I got it figured out. Thanks though.
 
Trying to make the Nose Cone, the closest I can get is the Estes BT-80 Ellipsoid, but how will I make the Pointy Tip???
I have a Headache now, and have'nt slept in 4 Days, so I'm giving up on it for tonight.

Don't feel like Hijacking my Build Thread, so I'll just search for Openrocket Tutorials or some such.
Atleast I have a Sim Program to use now, so thanks folks.
 
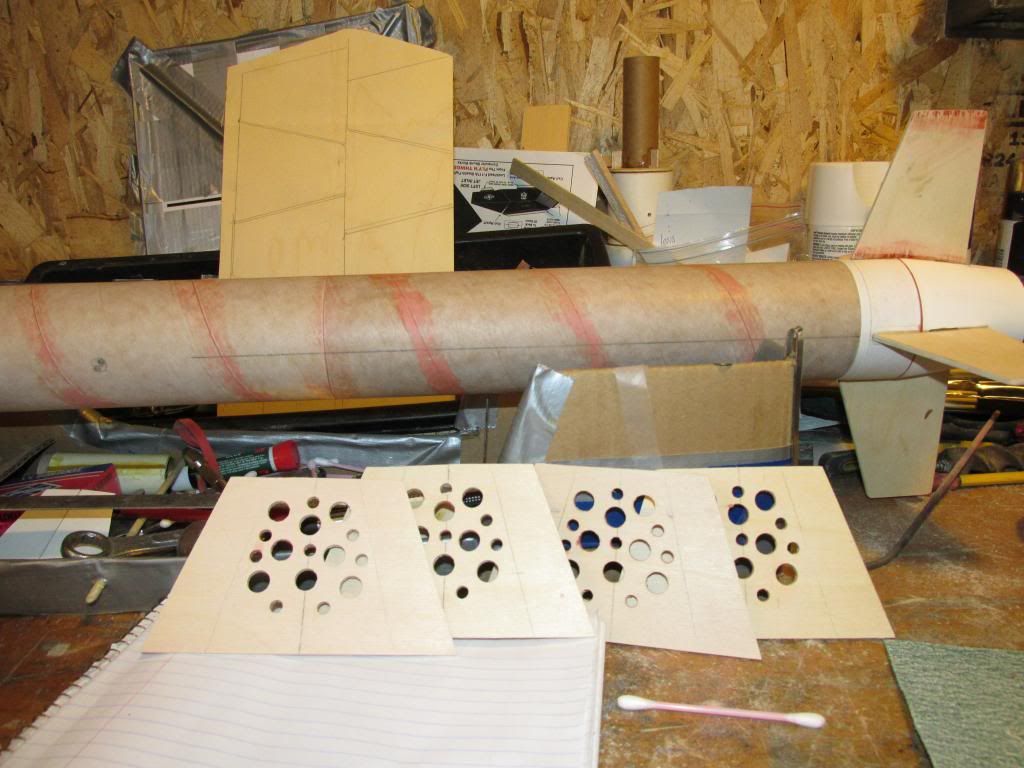
Just put my Chute' Shelf in. It's just a Chute' Shelf, so it does'nt really need a Picture or description. I Papered it and added a Fiberboard Ring to it, and glued three small Squares of Balsa to the bottom of it though to give it more adhesion to the inner Wall of the Body Tube. The Balsa Squares also made it easy to send it down level and not have to deal with it wanting to flop around.
It still did'nt weigh anything, so I was'nt adding anything substantial Weight wise.

Took a Pic' afterall.


The three extra Holes I added since I'll be using peppier Motors than the D that was originally intended for this Rocket. I wanted to make sure the Pressure of the Ejection Charge would have plenty of space to flow through. I'de hate to blow the Shelf out with the Laundry.

The three little "Dots" you see between the extra Holes are where I used Toothpick Pins to secure the three Balsa Squares to the Shelf for added rigidity. I'll pin anything I can.
 
Last edited:
Got my TTW Slots Cut for my Rear Fins. I had some Knicks in my Wood from cutting so I filled them with Bondo.
They fit nice and tight. I'll Epoxy them in later.

 
Here we go.
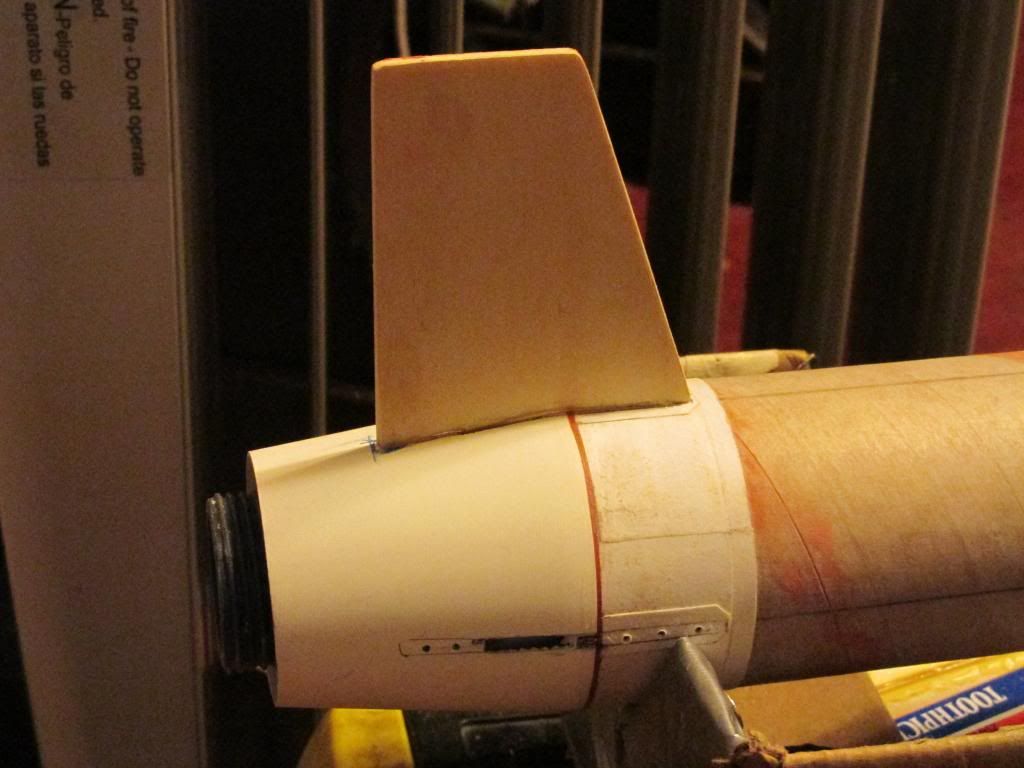
The Mad Cow Tail Cone was never designed to have Fins glued to it. It is coated in a Paint that I would liken to "Gesso", a Product my Mother used to use to prime her Canvases before Painting Landscapes and Still Lifes. As such, Effort was required to make the Tail Cone receptive to my intent of mounting Fins. 2/3rds of the Fin is attached to the Tail Cone, so I made the Fin have a 3/16" Tab for TTW, and drilled a few holes to hold Epoxy to establish a more mechanical Bond between the two. Granted, the Fins will also recieve JB Weld Fillets, but I figure this gives me the best strength for the Tail Cone portion.
3 more to go....:)


Last edited:
Not having any Foamboard, I was forced to improvise. Using Payloadbays Fin Guide Template, Some 110# Cardstock, Bamboo Skewers and Duct Tape, I built up a decent Guide.


The Bob Smith 15 Minute Epoxy says it works best at Temperature above 60F, and my House is fairly cool, so I have been setting each Fin in front of the Heaters for 45 Minutes to set up.


I'll have these four Fins on tonight, and tomorrow I'll begin cutting out the Latest Iteration of the Front Fins. I was going to use solid Balsa, but found it quite challenging to make all of the Facets/Angles.
I came up with a Simpler Design using 3 Pieces of Plywood per Fin. This will be detailed in future Postings, but I have every reason to believe that this new design will work quite nicely.:)


I can't wait to finish this Kit so I can pick out my next TLP Kit to play with. I would like to make another in 29mm.
I will buy the TLP Kit, but on my next build, the only original TLP Parts I will be using will be the Nose Cone and the Instruction Sheet for Dimensional Data. I'll buy the Kit so that I don't feel bad about Cloning it. It would violate my Rocket Ethics to simply copy a Kit that I had'nt paid for, or credited to it's original Designer by making the Purchase. Another upside of this will be that I'll end up with a bunch of spare Parts that I can either give away or use in something else.
 
TLP does sell "Plan Packs" that go for less than half the the regular going kit prices.

Jerome
 
Got the Front Fins cut out and made the Lightening Cuts. I still need to cut out 8 "Sides", 2 for each Fin, but I'm getting kinda' sick of smelling Sawdust for one day.

 
I glued in these pieces of Bamboo Skewer that will go through the Wall of the Body Tube. They will be sandwiched between the 2 "Sides".
I used Titebond III that I thickened with Balsa Sandings.

 
Thanks JP.
I'll bet there's a bunch of other Folks looking at it and shakin' their Heads, but I could care less. I'm enjoying the Build, and that's all that matters. If it stops being Fun, I'll quit and go play with one of my other Hobbies.:wink:
 
Thanks JP.
I'll bet there's a bunch of other Folks looking at it and shakin' their Heads, but I could care less. I'm enjoying the Build, and that's all that matters. If it stops being Fun, I'll quit and go play with one of my other Hobbies.:wink:
Nah, nobody shaking their heads, scratching maybe. Lice :facepalm::grin:
Yup, best to have plenty of hobbies.
 
Got the Bamboo Things sanded down flush.
Now I've got to cut out the Side Panels. That's not going to happen tonight, as I've decided to make those out of Balsa, and I don't have enough to make them, so I'll have to go order some more.

 
Thank Goodness for Balsa Machining Services. They had the best price on what I needed, 2, 1/8"x4"x36" Balsa Sheets, came up to $11.50 with Shipping.
In the Meanwhile I'll get back to working on a couple of other Builds I have going on.
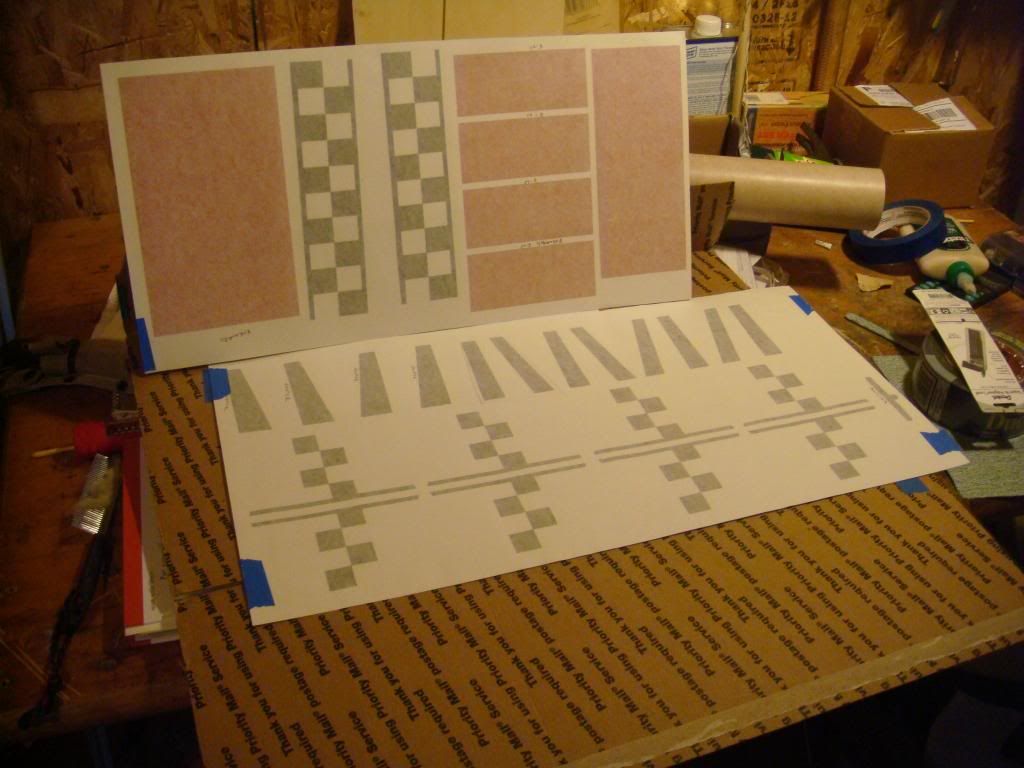
It's okay if this Build takes a couple more Weeks, as it will hopefully be nice enough outside to Paint around the Time I finish it. All I have to do for this Paint Job is Prime, then White on the Body and Black on the Nose Cone. The entire Body and Fins are Vinyl Wrap and Decal from Stickershock.
That's going to be FUN!!!

 
The up side to having to take a break on this Build is that I took some time to clean up my Workbench.:)

 
Are you going to put in the effort required to get a smooth surface before final paint?
 
Are you going to put in the effort required to get a smooth surface before final paint?

Ofcourse. Not sure I follow what you mean???
Aside from the Nose Cone and the Tail Cone, the entire Rocket is going to be covered in Vinyl from Stickershock.
The Front Fins still need the Side Panels, then some Bondo, then the Original Paper Skins.

I would like to think it is going to be quite smooth by the time I get done with it. Does it look particularly rough some place that I'm missing?
Any advice is welcome, especially from a Builder of your Caliber, whose Work I look to for inspiration.

I meant that the first coat of primer always makes all the glue boogers, wood grain, lumpy body tube and anything else you missed really stand out.

Covering everything in vinyl won't hide the defects on any of the rockets parts. It will draw attention to the defects.

I know sanding and filling can become a chore. If it needs to be done, it needs to be done! Repeat the primer, sanding and filling several times if needed. It's the only way the vinyl is going to look as good as you think it's gonna look.


Yeah. I hear that. Yes, I'm going to Prime and Sand til' it is as perfect as I can get it, then put down a Coat of White Paint before the Vinyl.
 
Back
Top