Saturn V Build thread / ESTES Customer Service is AWESOME

The Rocketry Forum

Help Support The Rocketry Forum:

This site may earn a commission from merchant affiliate links, including eBay, Amazon, and others.

novahobbies

Well-Known Member
Joined
Aug 14, 2022
Messages
312
Reaction score
353
Location
Florida
About 6 months ago, at the behest of a good friend of mine I grabbed a Saturn V Skylab model. It looked intimidating at first and I put it aside for a little while, determined instead on focusing on some smaller builds that were coming together with the kiddo. After hearing rumors the 1b was getting short on supply I quickly ordered one of those to build later....or so I thought. Somehow, by some freak coincidence, I did something no self-respecting modeler ever does: I started building that kit the very day I got it in the mail! And in 24 hours, I became hooked on Saturns. ;-)

Fast forward a few months, and my 1b and Skylab version S-V are both in the detail painting stages right before decals, and I realized I really kind of wanted all three of the famous Saturns in the collection. I needed the "standard" block Saturn V. Ebay prices are getting nutso these days for that model, but I managed to snag a #2157 version for under $100 so I felt pretty lucky! I waited with bated breath for the next Big Box to arrive. Imagine my dismay when I was greeted with THIS at the door:
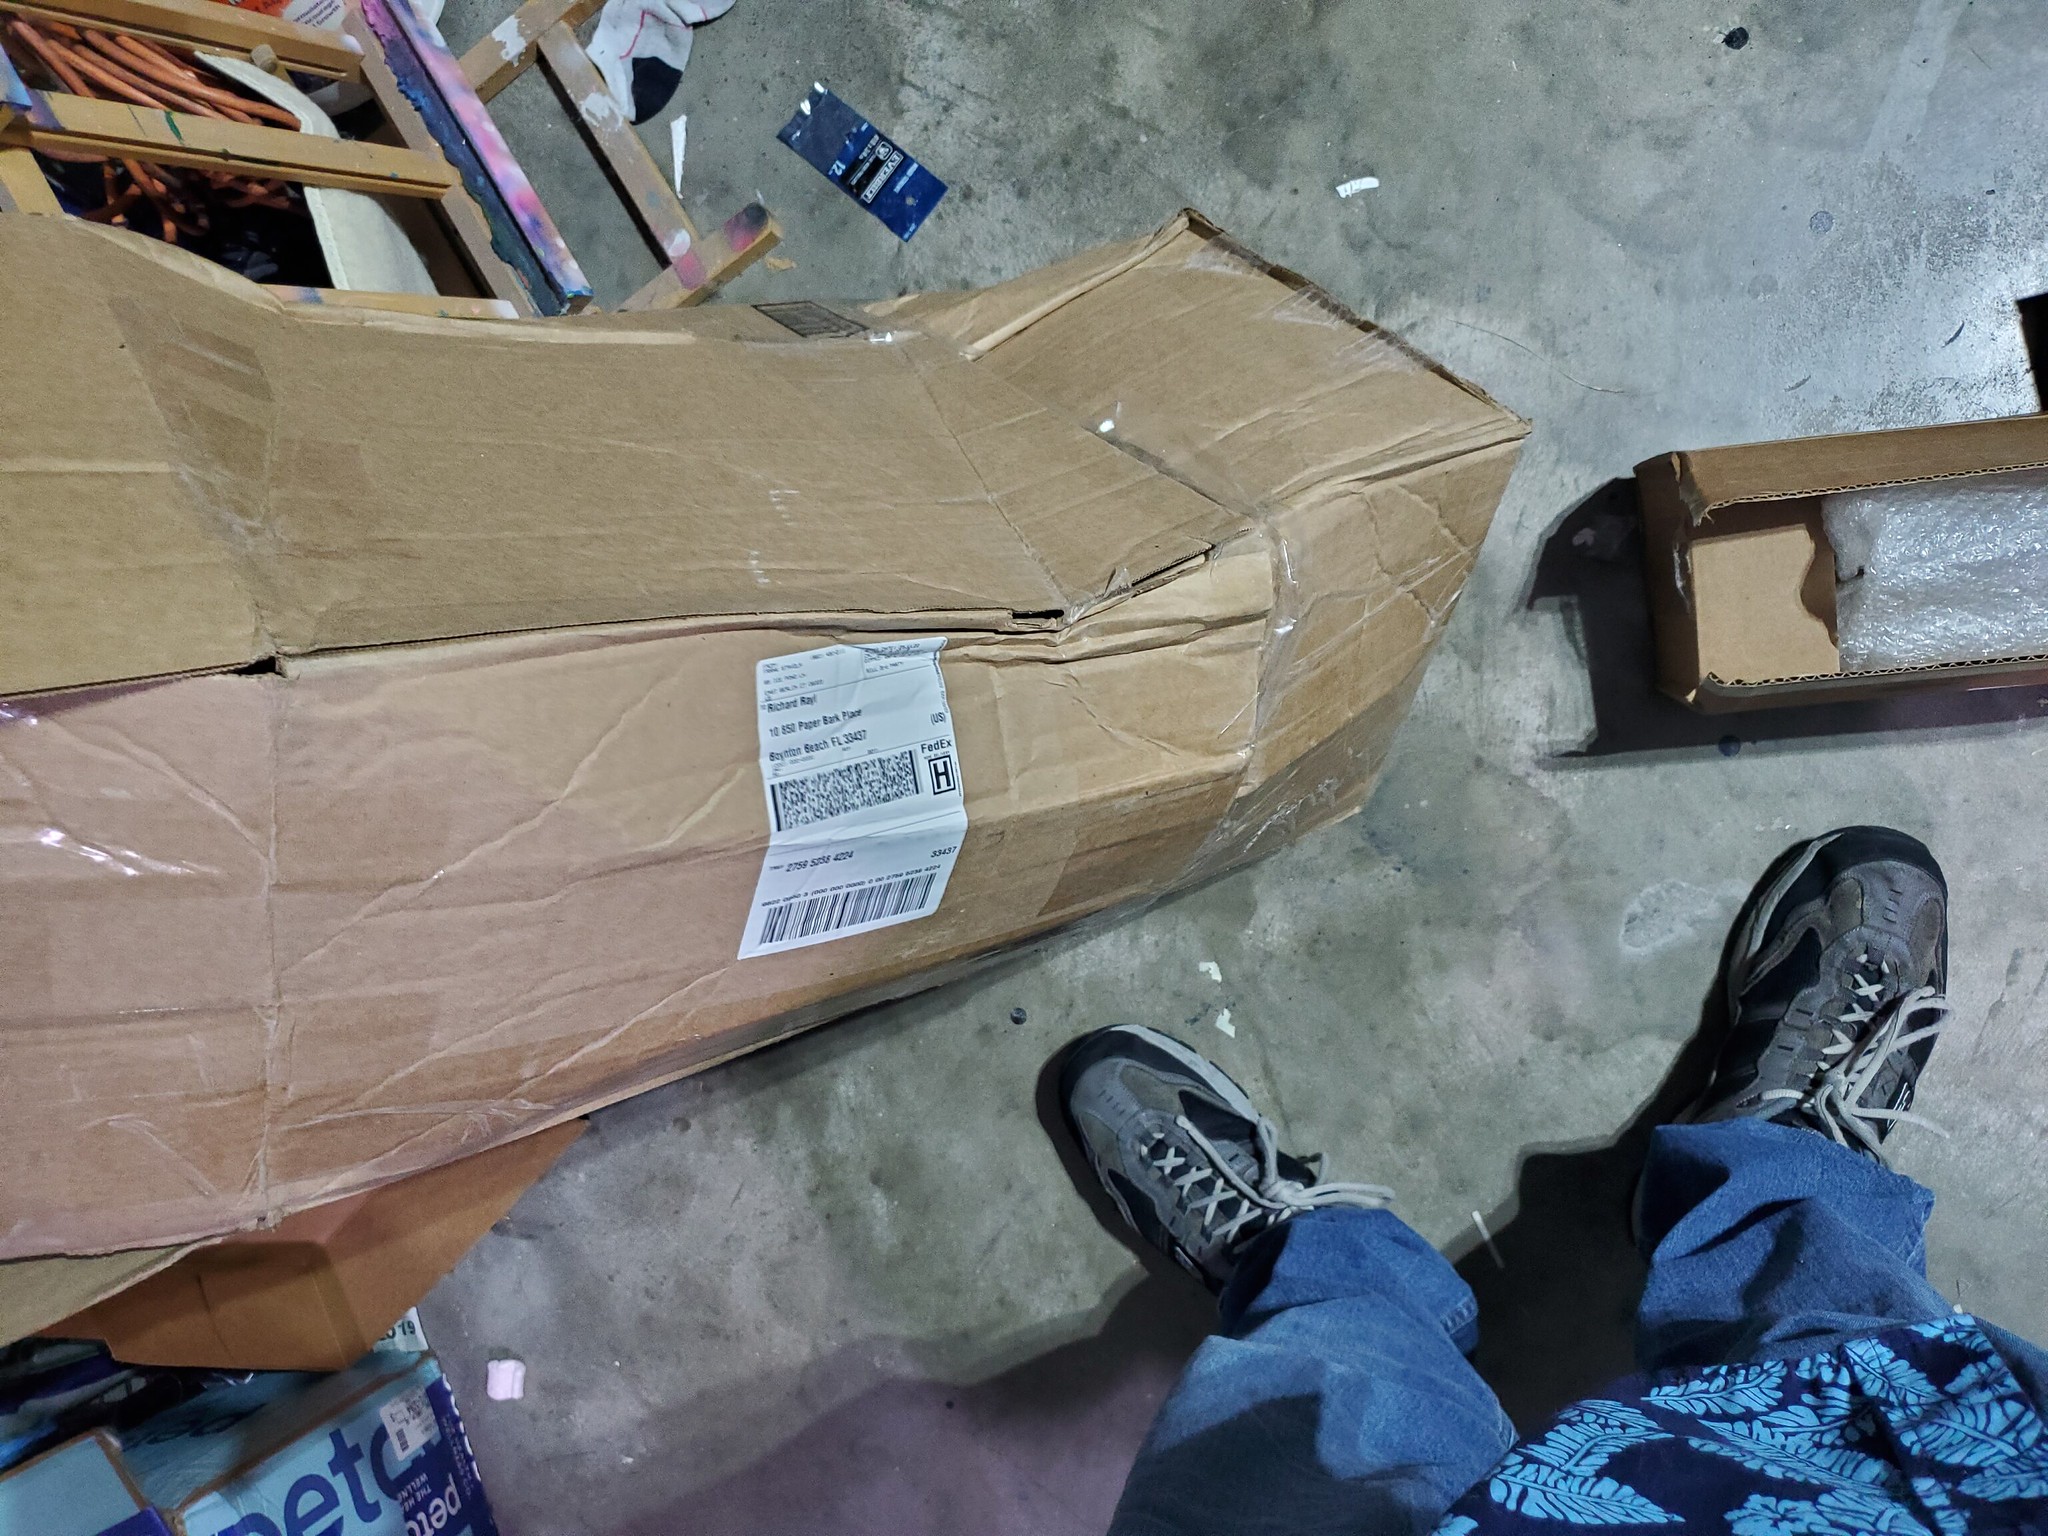
52296533874_503605a580_k.jpg


YIKES. Not good. To be fair the Fedex delivery guy obviously knew this wasn't going to be good, because I have a great Ring cam recording of him putting the box down, looking at the damage, ringing the bell and then basically RUNNING back down the walkway. He did not want to answer any questions about this package!

Sadly the inside was no better:
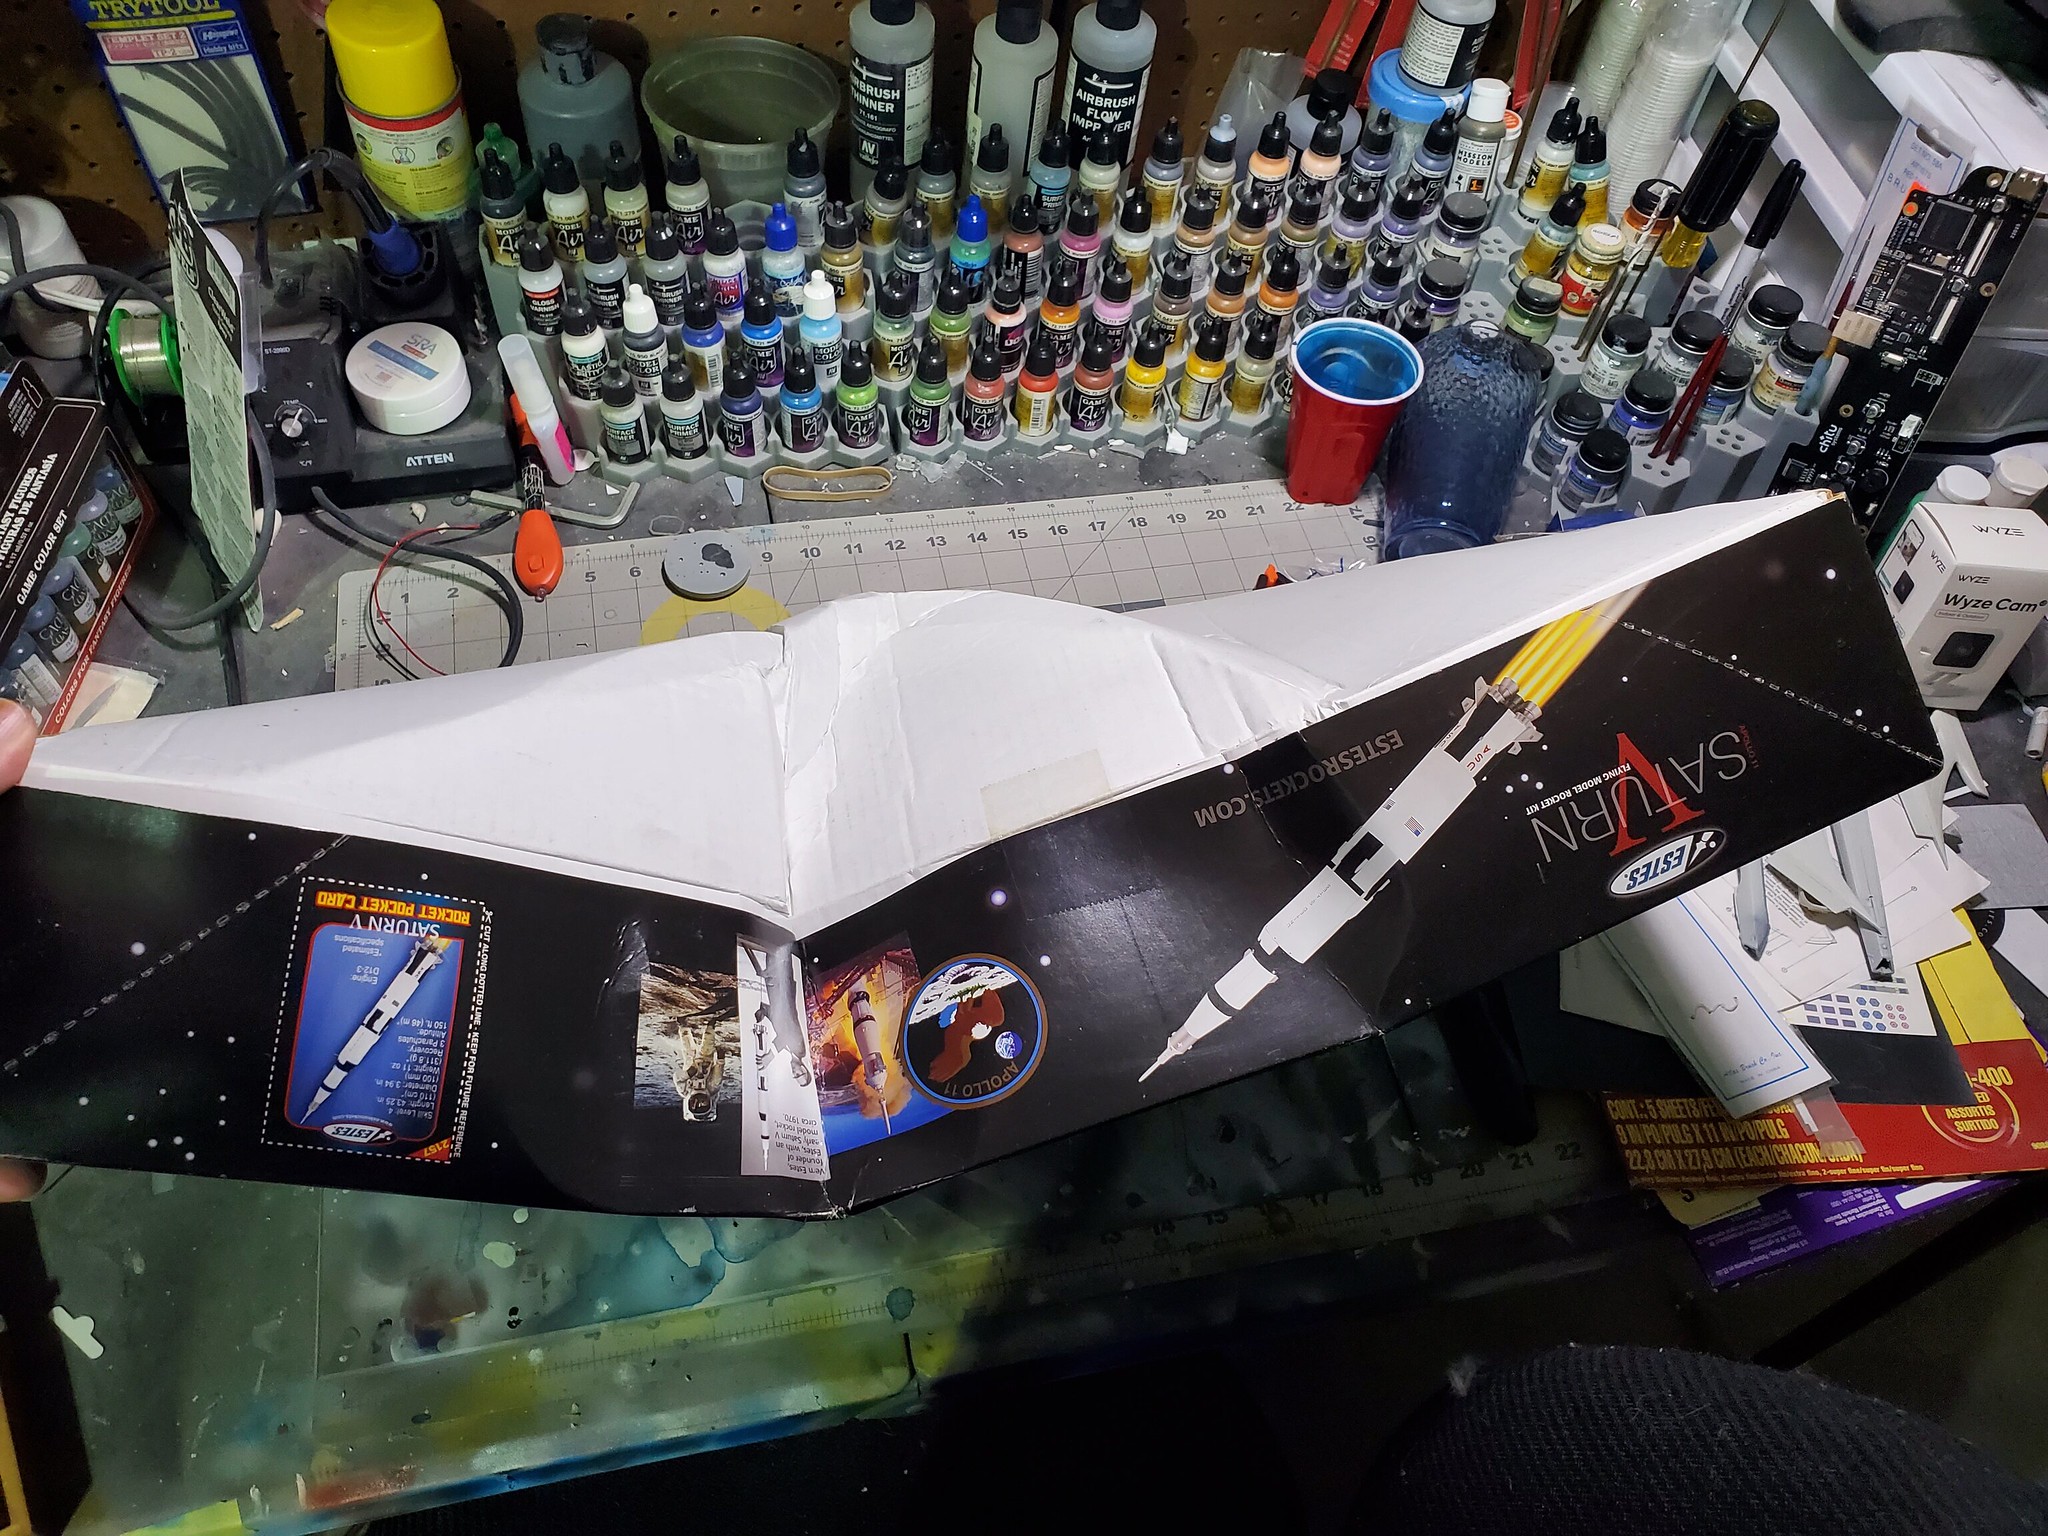
52296274983_4957255618_k.jpg


At first I thought MAYBE the damage was just to the box, but come on now. We all know what's about to be seen here:
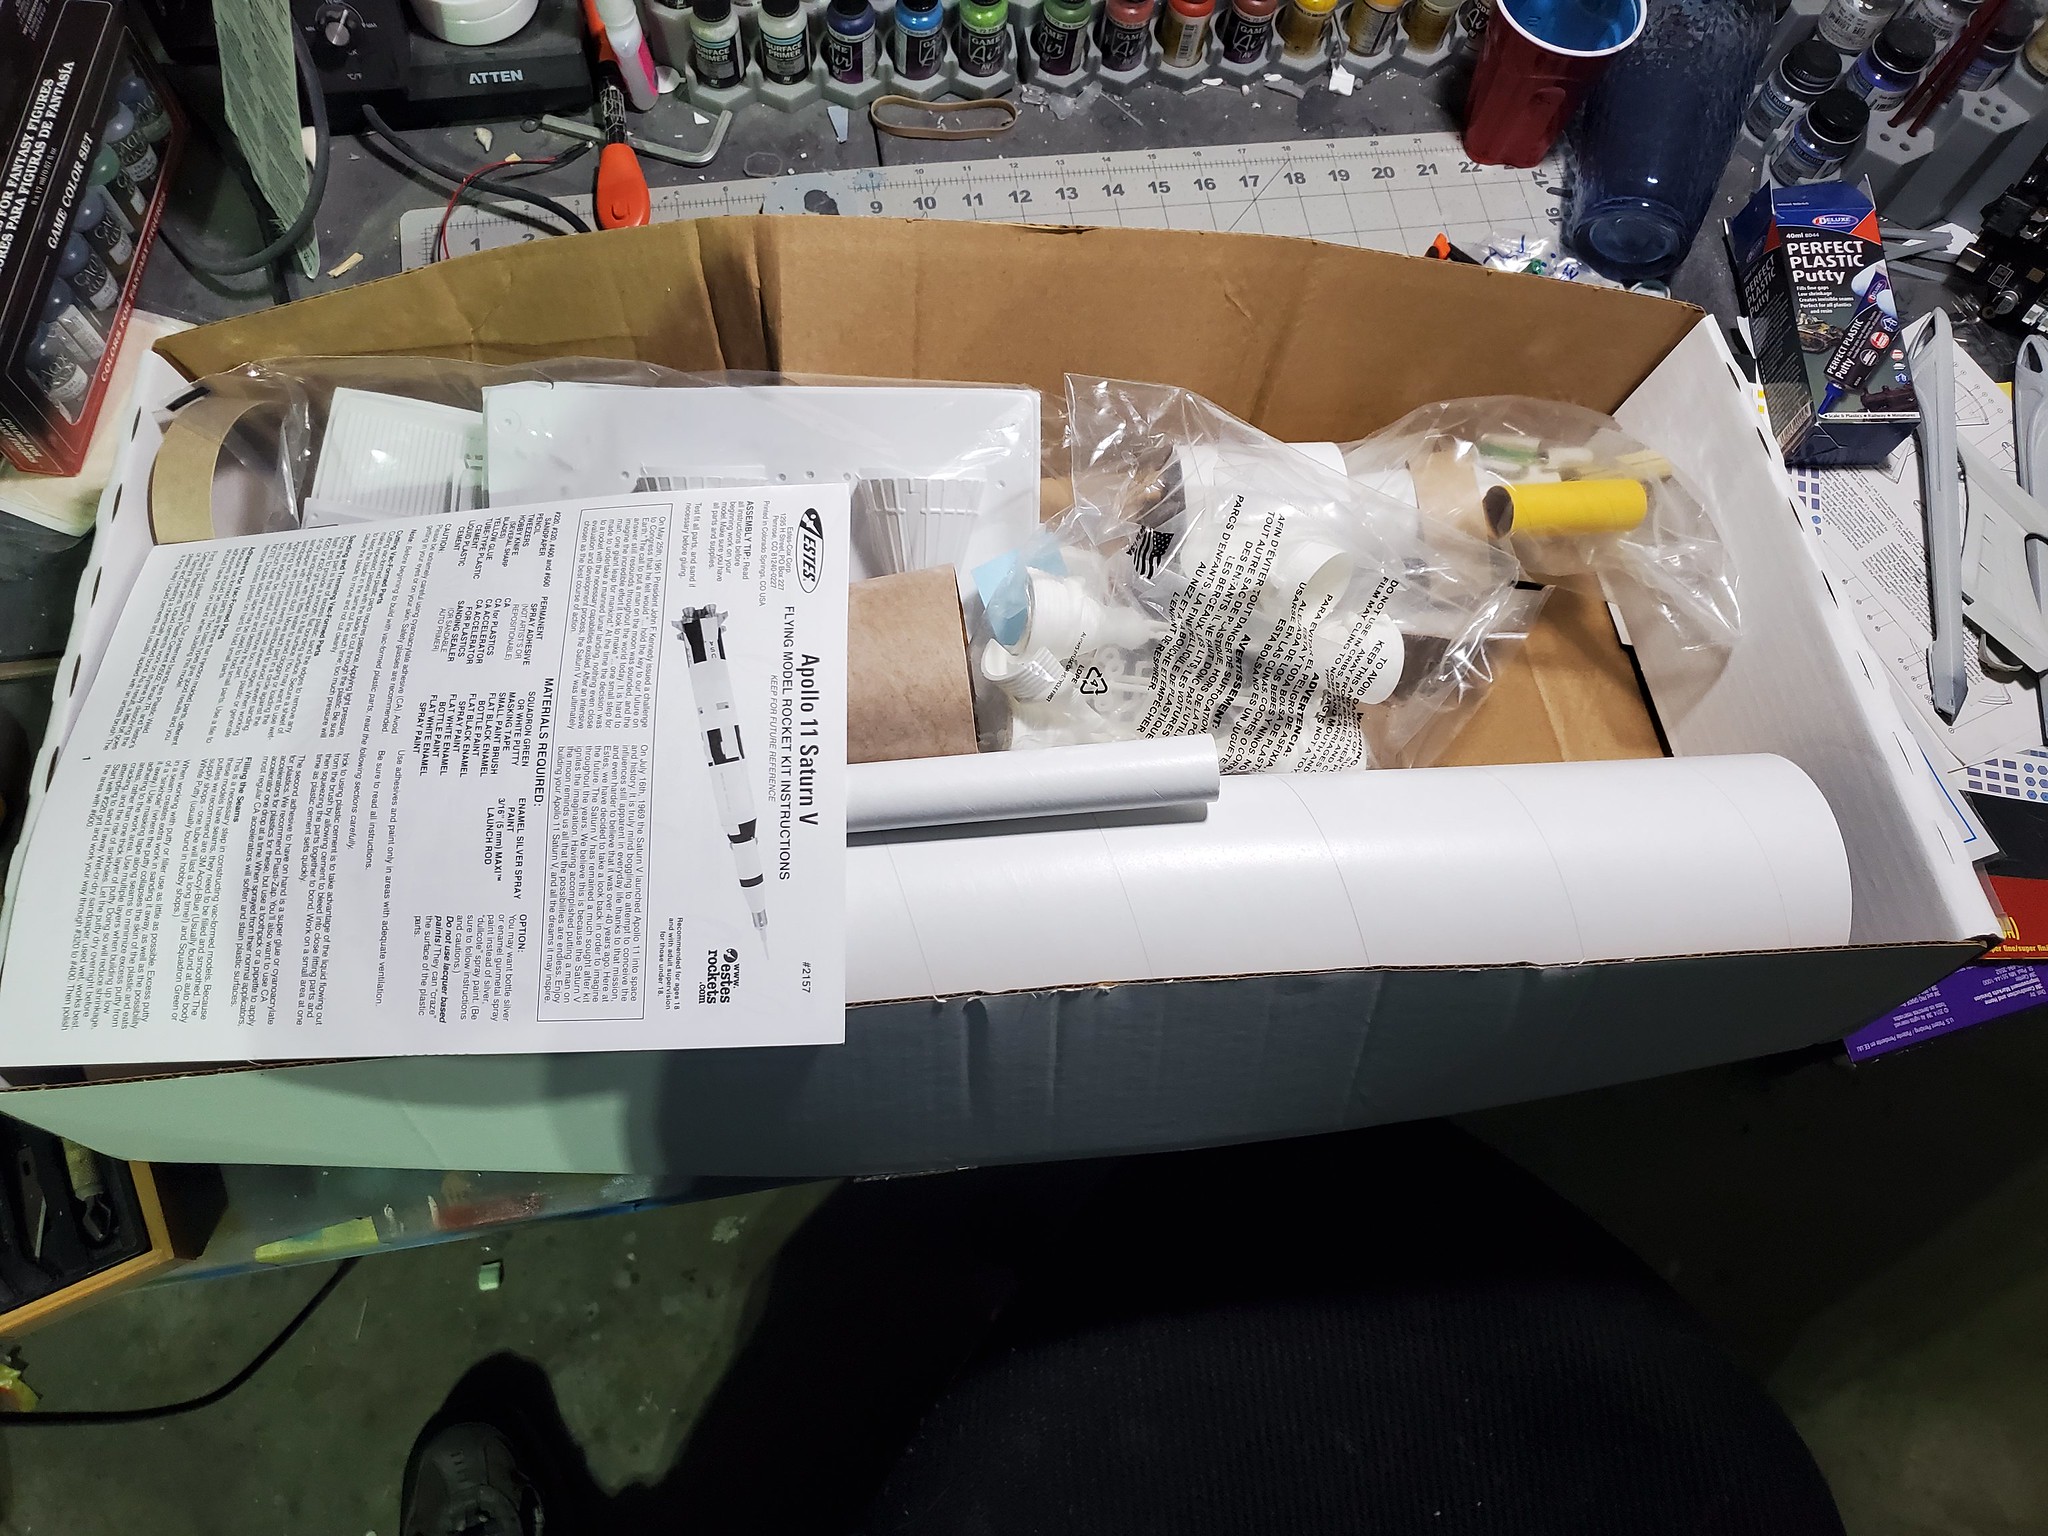
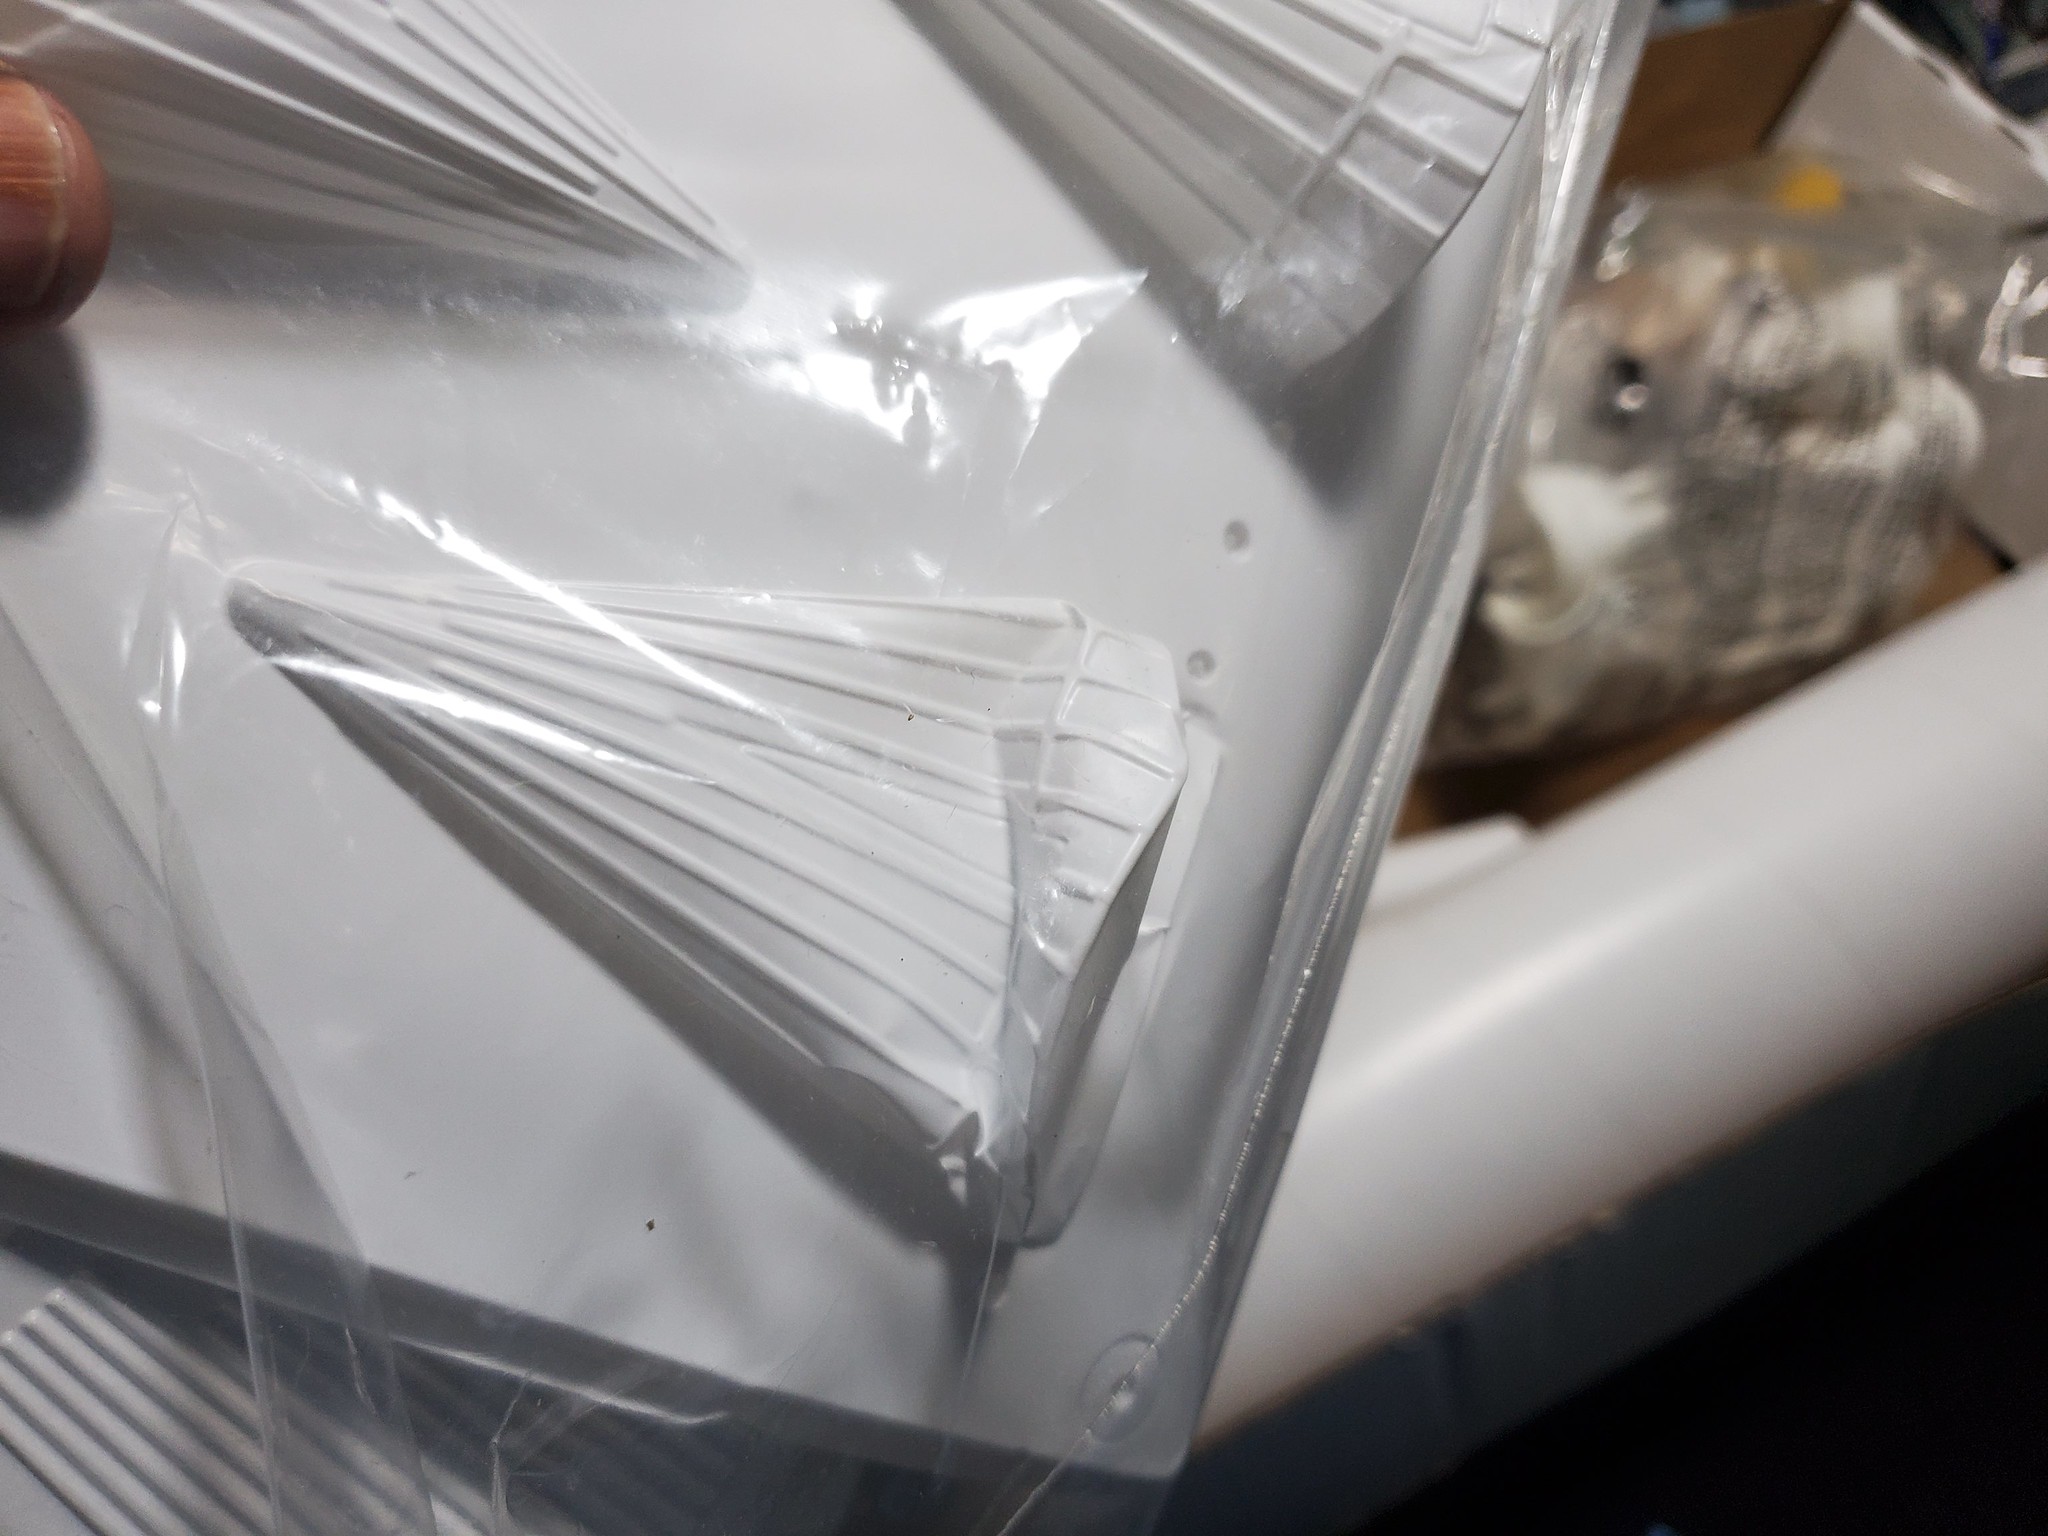
52295284312_5a67392aef_k.jpg


52296760320_ec9d053902_k.jpg


52296274673_e1c6c77a87_k.jpg


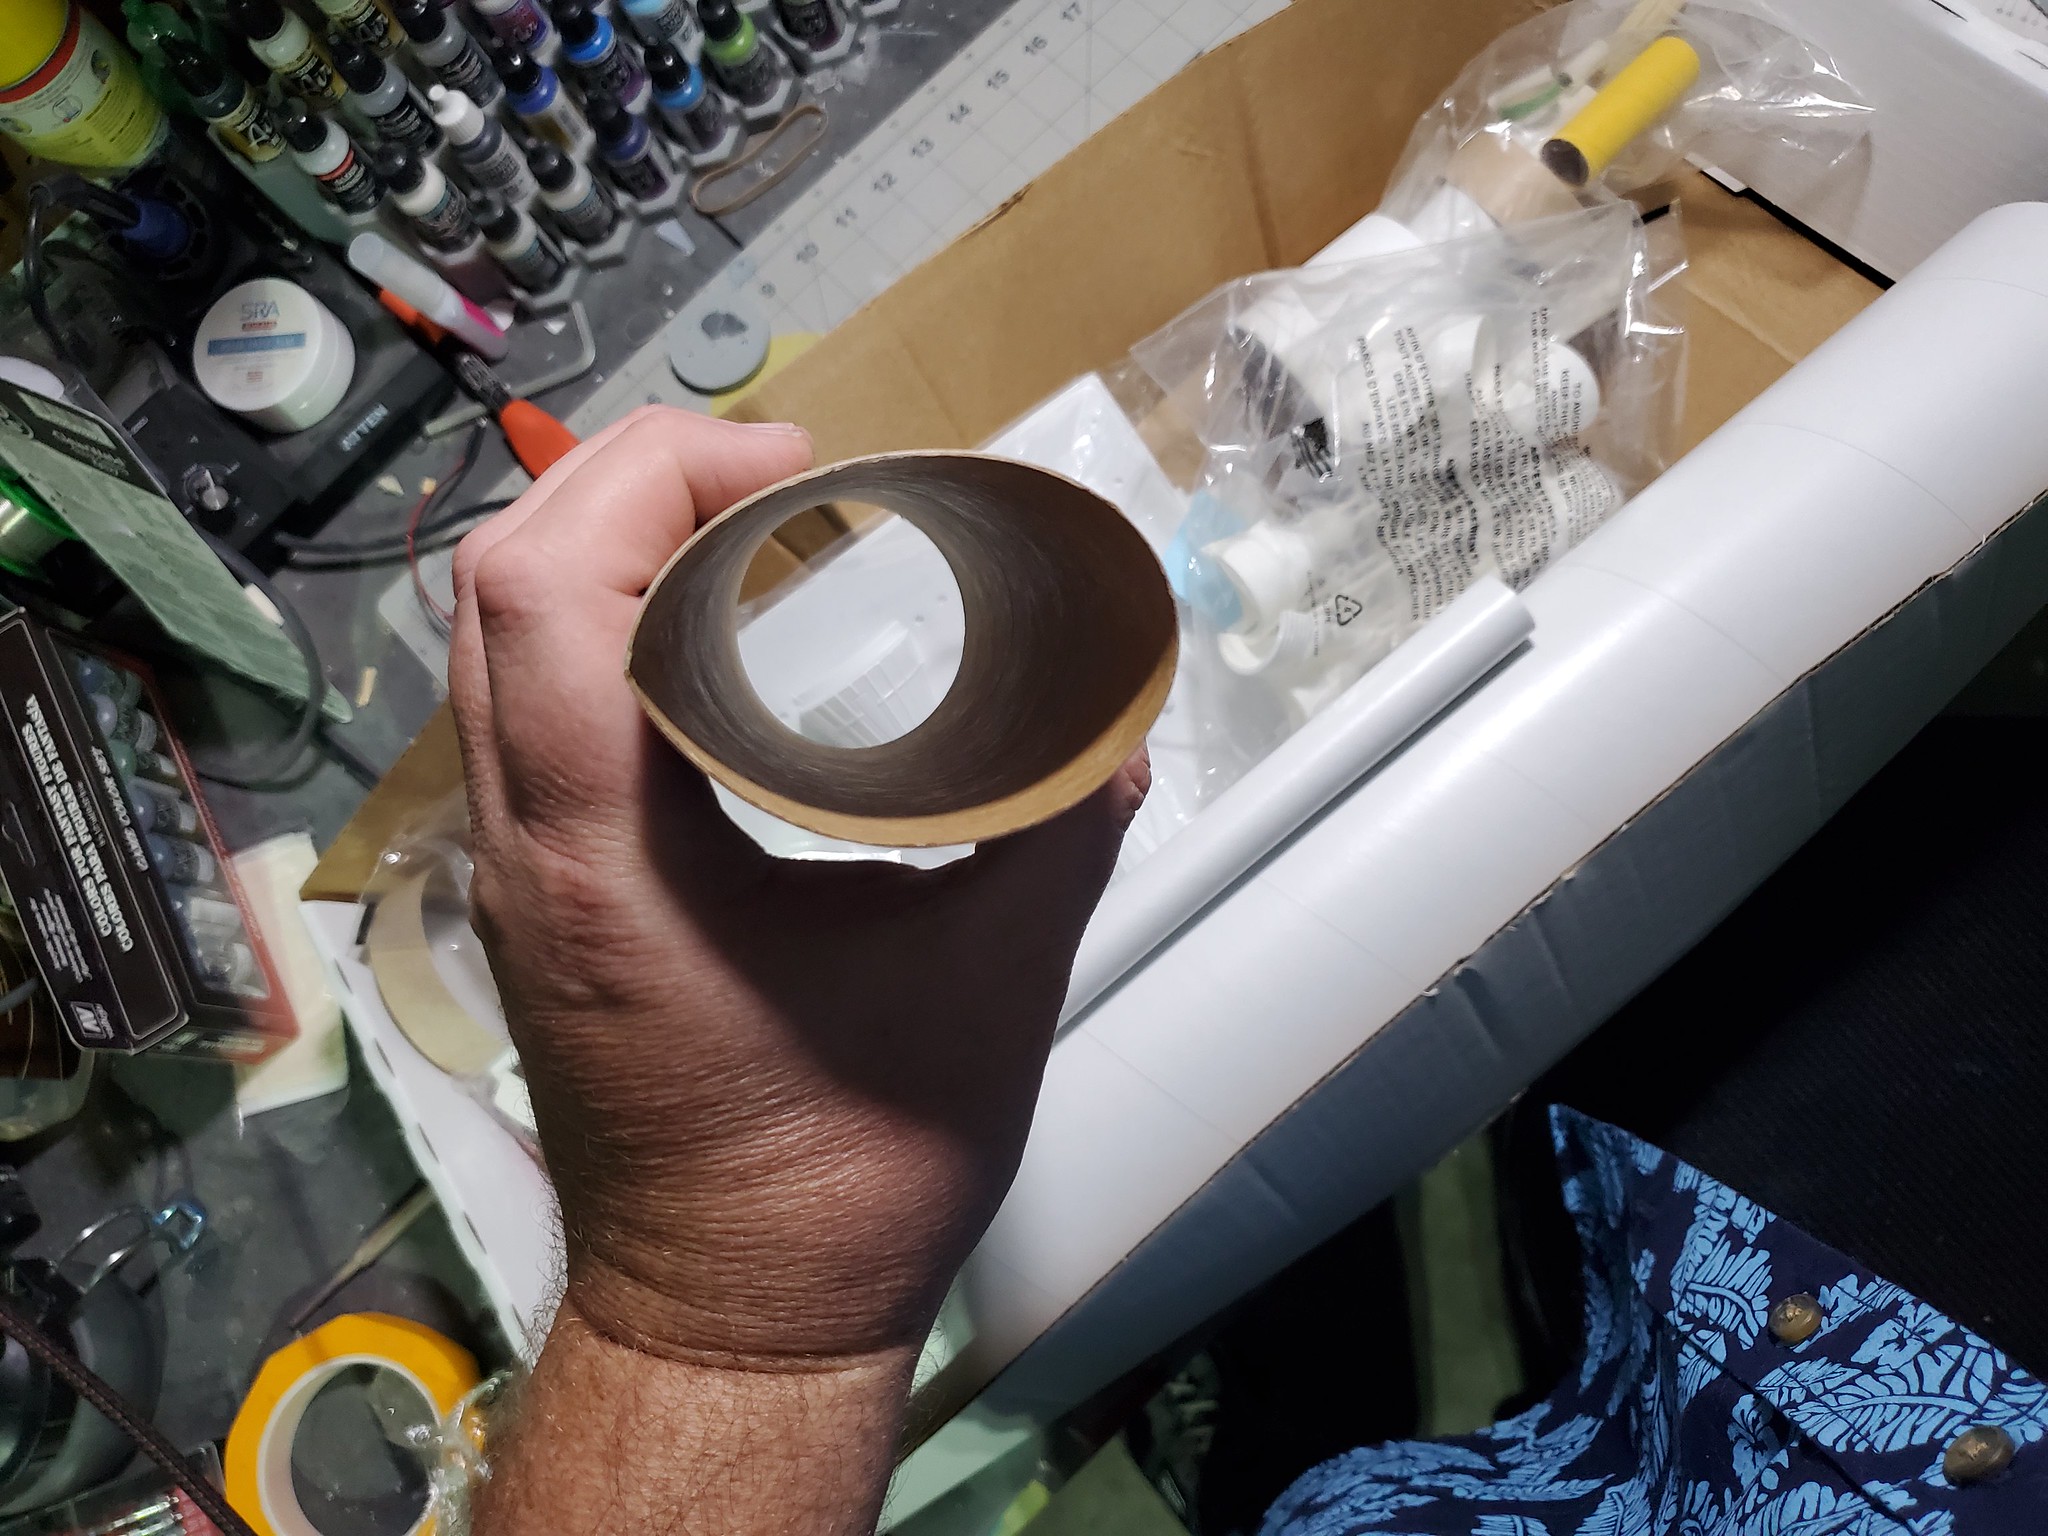
And most damaging of all, the main BT:
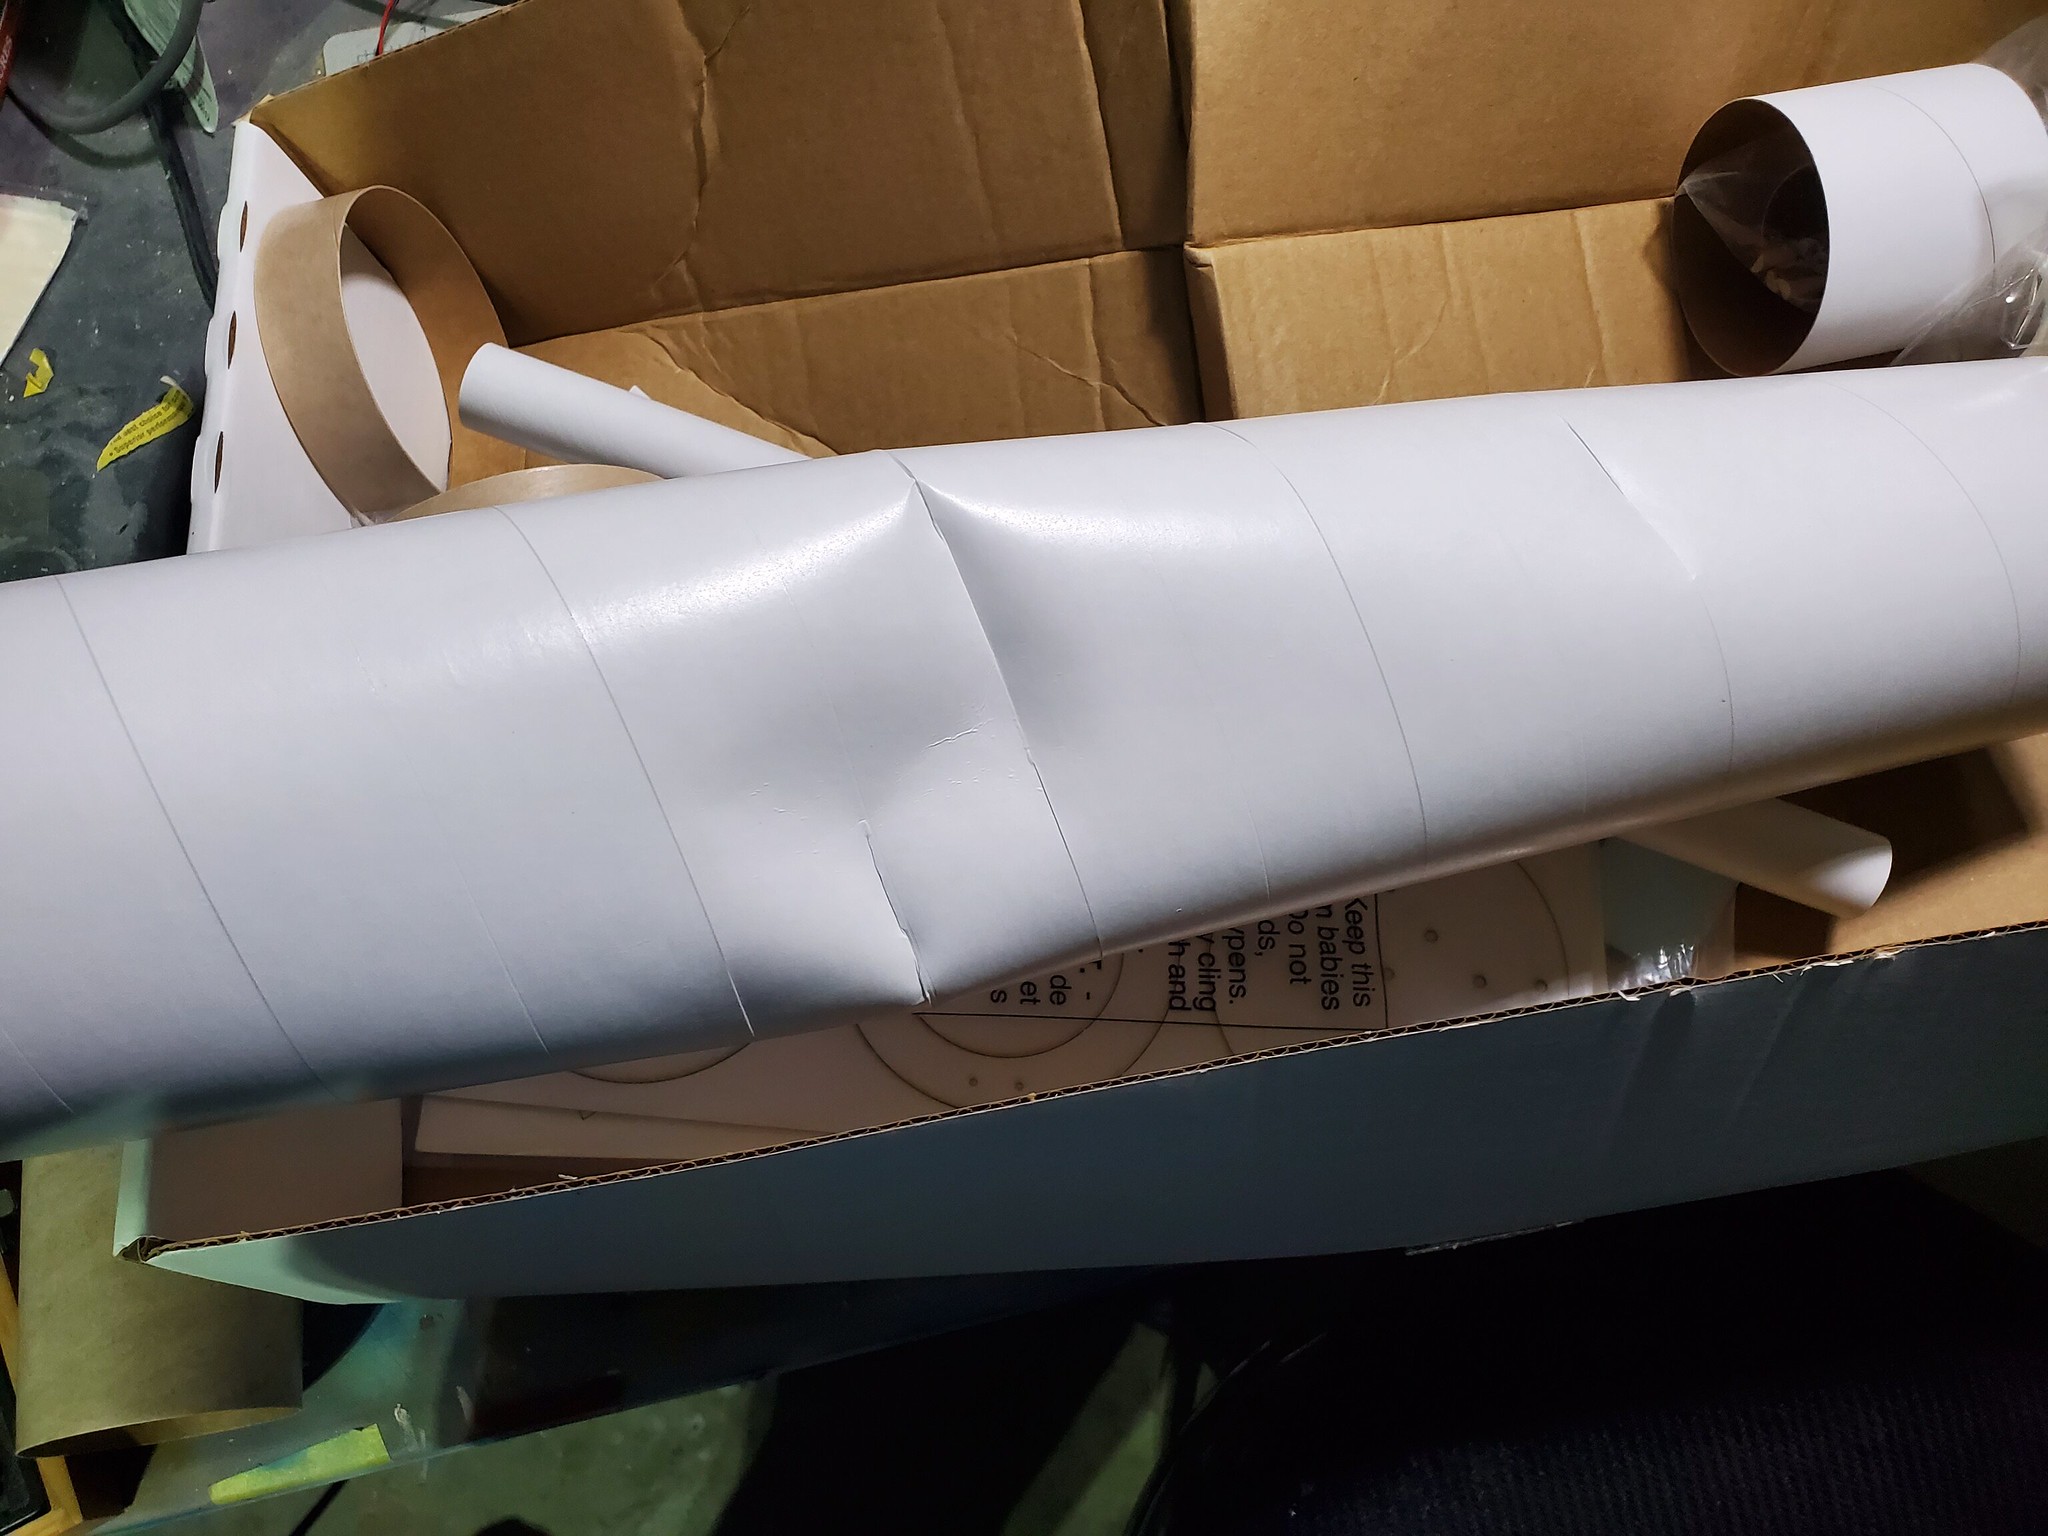
52296533804_fbf35360b1_k.jpg


Now I know what you're thinking. But here's where this horror story turns into an awesome tale of people coming together to overcome disaster. When I first saw the damage, I thought, "well we can do SOMETHING about this I think...." and I went onto Estes website to look for replacement parts. It just so happens that they had the Saturn main body tube available online. They ALSO had an upgrade part that I preferred: the LM shroud on the newer models is a blow-molded plastic part, while the one on the #2157 is an undetailed paper cone reduction wrap. I went ahead and ordered the new LM shroud and the body tube right away, and then emailed the ebay seller to let him know what had happened to the package. The seller was awesome, and offered to reimburse me for the cost of that initial estes replacement order. That sounded fine to me, but I still needed a few things that weren't available. The BT58 tube for the service module is a hard tube to get and wasn't available on Estes (yes I know it's available elsewhere), and I still needed the styrene engine shrouds. And finally, I really wanted to upgrade this to a 29mm motor mount like the Saturn V/Skylab model has but the #2157 only ever came with a 24mm mount.

So I shot off an email to Estes explaining what happened, what I needed for repairs/upgrades, and asked if they could help out in any way. Lo and behold an awesome CS rep at Estes named Denise got back with me to tell me she was able to find ALL the things I was asking for with the help of another gent she worked with named Scott, who she said, "knows EXACTLY what you're trying to do here and can find anything in the warehouse." So, a huge wave of thanks to Denise and Scott. And the best part is they only charged me $27 total for the parts I needed.....keeping the price down still close to (maybe a tiny bit over) my original goal of keeping the model under $100.

Whew. All that backstory just to start a freaking build thread. I promise future ones won't have that much monologue before I start gluing things. Speaking of glue. So far I've built the new 29mm motor mount and installed it in the BT with the top epoxy filet drying today, and the 3rd stage tube and paper reduction wrap are done and drying out a bit. The BT80 that's in the 3rd stage is still a little misshapen and I'm VERY seriously thinking about cutting the BT80 at the base of the wrap and replacing it with a new -80 tube now. It feels wrong to go to so much trouble to replace all the other parts but leave that tube wonky....even if it's only slightly so. More pics as the build gets going!
 
May seem like a silly thing to focus on, but considering everything else that had been damaged was replaced or fixed, it seemed dumb to deliberately leave that bent tube in place. Even though most of it would be covered by wraps. I'd still know it was there....and it would have bugged me. 🤣
 
May seem like a silly thing to focus on, but considering everything else that had been damaged was replaced or fixed, it seemed dumb to deliberately leave that bent tube in place. Even though most of it would be covered by wraps. I'd still know it was there....and it would have bugged me. 🤣
Would have bugged me too! If it’s worth doing, it’s worth doing right.
 
Disaster.jpgWhen my (2157) SatV crapped itself, I contacted Estes (Cathleen?) and they replaced the BT-80, the BT-58, some centering rings and the upper wraps. I ended up 3dPrinting the big transition and cutting the LM fairing out of cardstock I had laying around. I used wax to cast the surviving RCSs and then epoxy to create 2 new ones. I had to print new decals for the Command Module. It all came together well.
NewTransitions.jpgThe stage 2 upper wrap was intact but broke loose.
RCS rebuild.jpgSANY0792.JPG
 
Spray adhesive, and when I'm completely satisfied I'll wick plastic-safe Zap-CA into the corners to prevent them from lifting.
I'm NOT satisfied with my transition shroud at the moment. I'm deciding if it's worth the attempt at lifting it up and re-applying it. The thing is, it matches the edges well enough and matches the third stage wrap, but you can see a relatively significant gap between the lower half of the core and the cone of the transition stage. I'd rather move the wrap down, deal with any gaps with putty between the transition cone and the upper stage, and that way the lower half and the transition cone match more cleanly. If I bork it up while removing it, I'm going to have to order another set of vacc plastic from estes. Their shipping is fast, it probably wouldn't mess me up too much. Just not sure if it's worth the trouble or if I'm going to be staring at that section with regret for the rest of the rocket's life if I don't do it.
 
I have no experience with spray adhesives and trying to lift a wrap once applied. I would think it would deform the wrap quite a bit. If you can order just the wrap from Estes I would remove it.
I apply all my wraps with double sided tape strips applied vertically to the tube. I mark the wrap at the half way point and start installing the wrap in the middle and work both ways around the tube by removing one vertical cover paper off the tape as I go. However once down there is no way to remove the wrap without ruining the wrap. I mark the tube with vertical line at the midway point and leave a half inch of the tube clear of tape on both sides of this line to help with lining the wrap hash marks up without glueing it down.
Wraps are a difficult thing to apply.
 
I'm happy to say that I was able to remove the wrap remarkably easily. Too easy, in fact. It was a new can of spray adhesive but I think I maybe i wouldnt recommend Elmer's permanent spray adhesive because it's very obviously NOT. I'll go over the other wraps I used that product on with a little plastic zap ca along the top and then let that set naturally so it won't crack the plastic.
In the meantime, I went back to my old gorilla glue spray adhesive, cleaned the muck off the nozzle, and used thar. Second attempt was much nicer. I'll still need to clean up the edge but it's in a far easier location to do that.
 
Well, the standard Saturn V has been super slow, mostly because I've been dragging my feet on a decision about the fins. I decided today to just order the fin upgrade from Boyce for that model to simplify things. Beyond that, I have at least completely finished off the Skylab version! Put the last coat of clear on it tonight.
Now for the real hard part. I promised my niece i wouldn't fly it until she came to visit for Thanksgiving! 😄
20221014_203333.jpg
 
Beautiful job masking and painting the roll pattern on the ribs. I have the same model still in the box. Hope it comes out as good looking as yours did. I’m assuming the fin upgrade is larger and not to scale. May go that route myself.
 
I love the Saturns! Bought one of the first Apogee Saturn V, back when Tim offered both the V and the 1B for the price of the V (Had to wait a year or so for the kits to actually come to market, but hey, it's Apogee and Tim v-M, no worries!)

Ever since reading "The Throne of Saturn"** by Allen Drury I've wanted to make the "Planetary Fleet One" vehicle described therein. First and second stages as usual. NERVA third stage, very slightly larger in diameter and length than the 1st stage. Martian Excursion Vehicle on top.

Step one: Buy Saturn V kit. Step two: get/make extra parts---tube and wraps for the NERVA stage. Step three: add transition at the top and---of course!---a Micro Mars Lander for the nose cone.:)

**Published 1970. First page had the sad prediction-of-sorts: "The calendar was pushing toward the eighties..." :(:(:(:(
 
Beautiful job masking and painting the roll pattern on the ribs. I have the same model still in the box. Hope it comes out as good looking as yours did. I’m assuming the fin upgrade is larger and not to scale. May go that route myself.
I know your build will outstrip mine, don't be silly. 😅 And I look forward to whenever you decide to build it!
As for the replacement fin set, NO it's actually an identical copy to the kit size. The difference is in strength. The kit I have uses the vacuum-formed shrouds but also vacc'ed FINS (they made them injection plastic in later releases) and that felt too flimsy and fiddly to me. I emailed Boyce to see what they're made of, and they told me they use a dsla resin printer with a special blend of high-strength and regular resins to get a good combination of detail and rigidity. I have an MSLA 3d resin printer but the cost of buying a higher strength resin for my machine was three times the cost of the one time purchase from Boyce. So that's easy math.
 
I love the Saturns! Bought one of the first Apogee Saturn V, back when Tim offered both the V and the 1B for the price of the V (Had to wait a year or so for the kits to actually come to market, but hey, it's Apogee and Tim v-M, no worries!)

Ever since reading "The Throne of Saturn"** by Allen Drury I've wanted to make the "Planetary Fleet One" vehicle described therein. First and second stages as usual. NERVA third stage, very slightly larger in diameter and length than the 1st stage. Martian Excursion Vehicle on top.

Step one: Buy Saturn V kit. Step two: get/make extra parts---tube and wraps for the NERVA stage. Step three: add transition at the top and---of course!---a Micro Mars Lander for the nose cone.:)

**Published 1970. First page had the sad prediction-of-sorts: "The calendar was pushing toward the eighties..." :(:(:(:(
I've not read that book, but I have the Mars One crew manual which features art based on the MEM that, I was told, was originally designed as part of the APP program and their Common Space Fleet. I'd love to build a static model of the MEM from that book (heck, and even a model of the entire Mars One spacecraft!) some day.
The current version of the Saturn 1b that Estes produces is also super nice. Mines done and awaiting her maiden flight. I'm torn between waiting for all of them to fly together, or just fly these two now:
20221015_095009.jpg
 
Seems like it would make sense to post a picture OF THE ACTUAL THREAD SUBJECT once in a while, so here's where the classic Saturn V is at the moment.
20221015_121429.jpg
Honestly it's pretty far along. I need to make the engine bell assembly still (using the Skylab one for the size comparison here). I have one more strip to add to the upper stage. I'm missing the wood stock for it but just going to use a simple piece of comparable strip styrene. I suppose I SHOULD get the shock cords and parachutes sorted. Is it odd that I find Estes parachutes the most tedious part of a build? Heh.
 
Maybe I should just rename this thread, "Saturn Family builds."
I pulled the Boyce Saturn 1 out of the box and started cutting tubes and dryfitting today.
20221016_120222.jpg
Good kit. The lower tubes lock into place in a bottom plate which the fin skirt slides down around, and then the tubes fit into plugs in the upper plate. That's the only real difficulty of the kit, those upper plugs are really too tight and need to be reduced in diameter by about 1-2mm. They FIT snugly, but when the tubes are already locked into the bottom there's basically zero wiggle room for the top. I'm really enjoying this setup!
 
Boyce makes beautiful models but the shipping and customs costs makes it prohibitively expensive this side of the border. All I can do is drool when I look at the website!
I feel your pain. There was a great Sci fi model company on the other side of the pond from my perspective that I could never really afford to buy from for similar reasons. Having a global market is GREAT until the old customs folks step in sometimes.
 
Would have bugged me too! If it’s worth doing, it’s worth doing right.
I have a slightly different sentiment.
"If it's worth doing, it's worth screwing up in my own original way." 😉
Got the fins and shrouds on last week. Out of town this weekend, but when I get back it will be time to cut the lower tube properly around the shroud, and start laying down some primer. I'm going to try and have this ready for Thanksgiving week. We have a launch scheduled with my niece when she visits.
 
Sometimes, you only have time or energy for a tiny bit of modeling. And you know what? That's okay. It's still movement.
Today I got home feeling beat, and maybe the beginnings of a cold. I'm aiming for some early rack time. But at least I got these little sections of the lower tube cut out. Really makes the rocket start to look like a Saturn.
20221026_200130.jpg
 
It's time to start thinking about white paint on the Saturn, which will be the main goal for this weekend. I just used the last good couple sprays on my Boyce Saturn 1 builder kit, and I don't want to risk paint spitting with the Sat V.
In the meantime......MAN I can't tell you how much I've been enjoying the Saturn 1. I got it almost on a whim. The classic 60's rocket asthetic appealed to me, so I thought what the heck. But I'm super glad I did, because it's an absolute blast to build. Not super hard at all but it definitely requires a little thought and planning. The instructions are vital, but there are a few things left off as well so you have to pay a little bit of attention.
Anyway, here's a photo of the Saturn 1 as of this morning. I'll wait for the paint to dry on the upper half tonight, then go in with the wraps and start doing the upper roll pattern this evening. The lower roll pattern on the fin can will be hand painted.
20221102_093910.jpg
 
I realized I made a MAJOR mistake that means this kit can no longer be built as a model of a rocket that actually flew.....more of a "representative" model of the Saturn 1. Of course I didn't realize it until after I'd glued the fuel transfer lines and verniers in place, but such is life. To be honest, I'd spotted a few details that were already pushing it into that representative status, but nothing that couldn't be ignored. At least until my screw up.
20221102_221403.jpg

Yeah......that roll pattern above the retro thruster ring. It's upside-down. 🤦‍♂️

To be fair, that's the way the pattern looks on the Saturn 1b. And it's late and I'm tired, so I'm willing to forgive myself. But as I've already cut through the vinyl to glue those pipes and verniers, I have no intention of trying to correct this. I'm just going to enjoy my own Saturn 1 with a version that MIGHT have happened if they'd continued testing the CM with manned flights on the Saturn 1. Yeah, that's the ticket. 🤣
Besides, it looks kinda good this way.
 
There aren't a ton of reference photos of the actual Saturn 1 online. There's a fair number of drawings, with varying degrees of accuracy. There are a good number of pics of some Saturn 1 rockets from the US Space and Rocket Center in Huntsville, Alabama, but those are VERY representative and combine features from the Block 1 Saturn and Block 2 Saturn to create something that definitely never flew. So I went looking for pictures of the actual liftoff of Saturn 1 Block 2 rockets and while there are a few....there's just not many. As far as I can see, the top half of the upper plastic "skirt" on this model should be the part that's painted black all the way around, and then you should actually cut the black strip away from the vinyl and apply the 4 columnar black vinyl rectangles individually just above the skirt. There's also a couple fuel transfer lines missing from the model that fit between the redstone tanks, and some minor doodads (can't find specific names) up by the service module mockup area that could be scratchbuilt and added as well.
But all this is nitpicking. I'm 100% happy with the construction so far and it's been a fun model to built. I'm getting down to the nitty-gritty of this one now, just about time to start thinking of what chute to use and if I REALLY need to let it break in two and have two chutes on it. There's not much space at all in there, I'm thinking of just letting it come down under a single 18 or 24.
 
Looks like you were trying to model the Saturn SA-6 flight less the upside down roll pattern. There were only a few good photographs that were clear enough to use for reference. I used Peter Always reference drawings for my build.
 
Back
Top