That's okay Kurt, paybacks are fun too!:tongue:
Nows when I get to have some fun Kurt :neener::tongue:
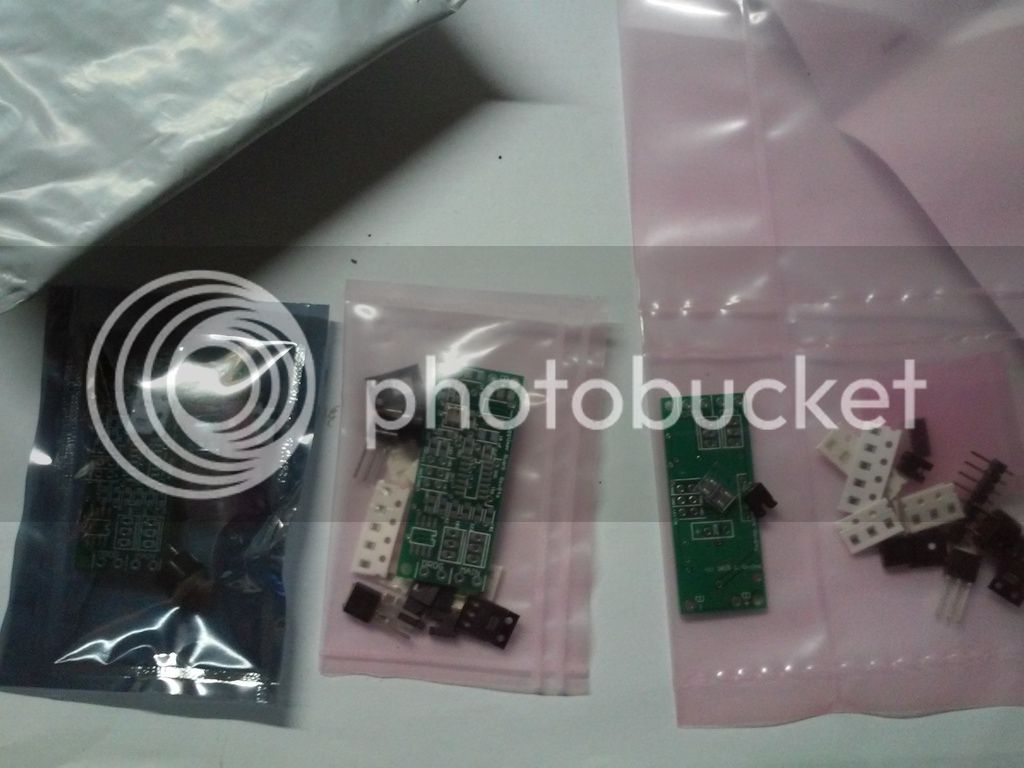
Just finished assembly and testing of my first Eggtimer product: the Quark. As someone who has never done any SMT component soldering it was definitely worth it to watch a couple of videos on YouTube about soldering electronics. The very first piece mounted on the Quarks board is a 14 pin IC Processor. The kit contains everything you need to assemble the stock unit (except tools of course), the only addition I made was the terminal block for the ejection igniter connections the terminal block is available from Eggfinder you just have to add it to the order.
Not only does EggFinder have an excellent Assembly Guide available for download, they also have a pictoral assembly guide on the Eggtimer Rocketry website. As this was my first one to assemble ever it took me about 3 to 4 hours to complete the unit and test it. Eggfinder includes extras of all the little tiny parts (1 extra of each part), of course the larger easier to manage parts there is only the required number. The board is well marked as to where all the parts go, each set of solder pads has a number next to it indicating what part attaches to that pad, and there are also pictographic representations of the larger parts on the board so its easy to tell which end is which.
My tools were a cheap Radio Shack 15 watt soldering iron 64-2051B, a pair of curved tweezers, sidecutters, a pair of sprue cutters, a 10x Jewelers Loupe (I actually have had it for years) and it is a must for inspecting the solder joints to check for bridging and or incomplete joints. Eggtimer provides the proper solder, about 12" of which I used about 2".
Tools I wish I had: a free standing magnifier since my eyes are pretty good, but darn those SMT resistors and capacitors are tiny.
Testing: The initial test is nothing more than connecting a battery and listening for the beeps, all went well. My next test was the addition of Christmas light bulbs to the drogue and main channels and putting the whole unit inside the marinating bowl for our FoodSaver, waiting for the unit to chirp/warble its ready, then hit the vacuum button and wait for the pretty lights. For some reason the Foodsaver only pulled enough vacuum to get 393' on the first test but the Quark went ahead and fired both channels. The second test went to just over 10k equivalent pressure and the apogee fired then at 500' the main fired. Now the only thing left to do is build the rockets it goes in and fly it since the unit appears to be functional.
Modes: the Quark can be set for Apogee or Apogee +1 by a jumper, then either 300' or 500' main, a third jumper can add either 300' or 500' more to the main deployment giving the option of a main at 300, 500, 800, or 1000 feet.


")
 Also be sure you glance/read the instructions each time you build so you don't do stupid mistakes you failed to do the first time you built one!:shock: Don't ask, stupidhead here has done it with .1uf and 10uf capacitors.:bangpan: Kurt