Hardline
Ecstatic and Joyous
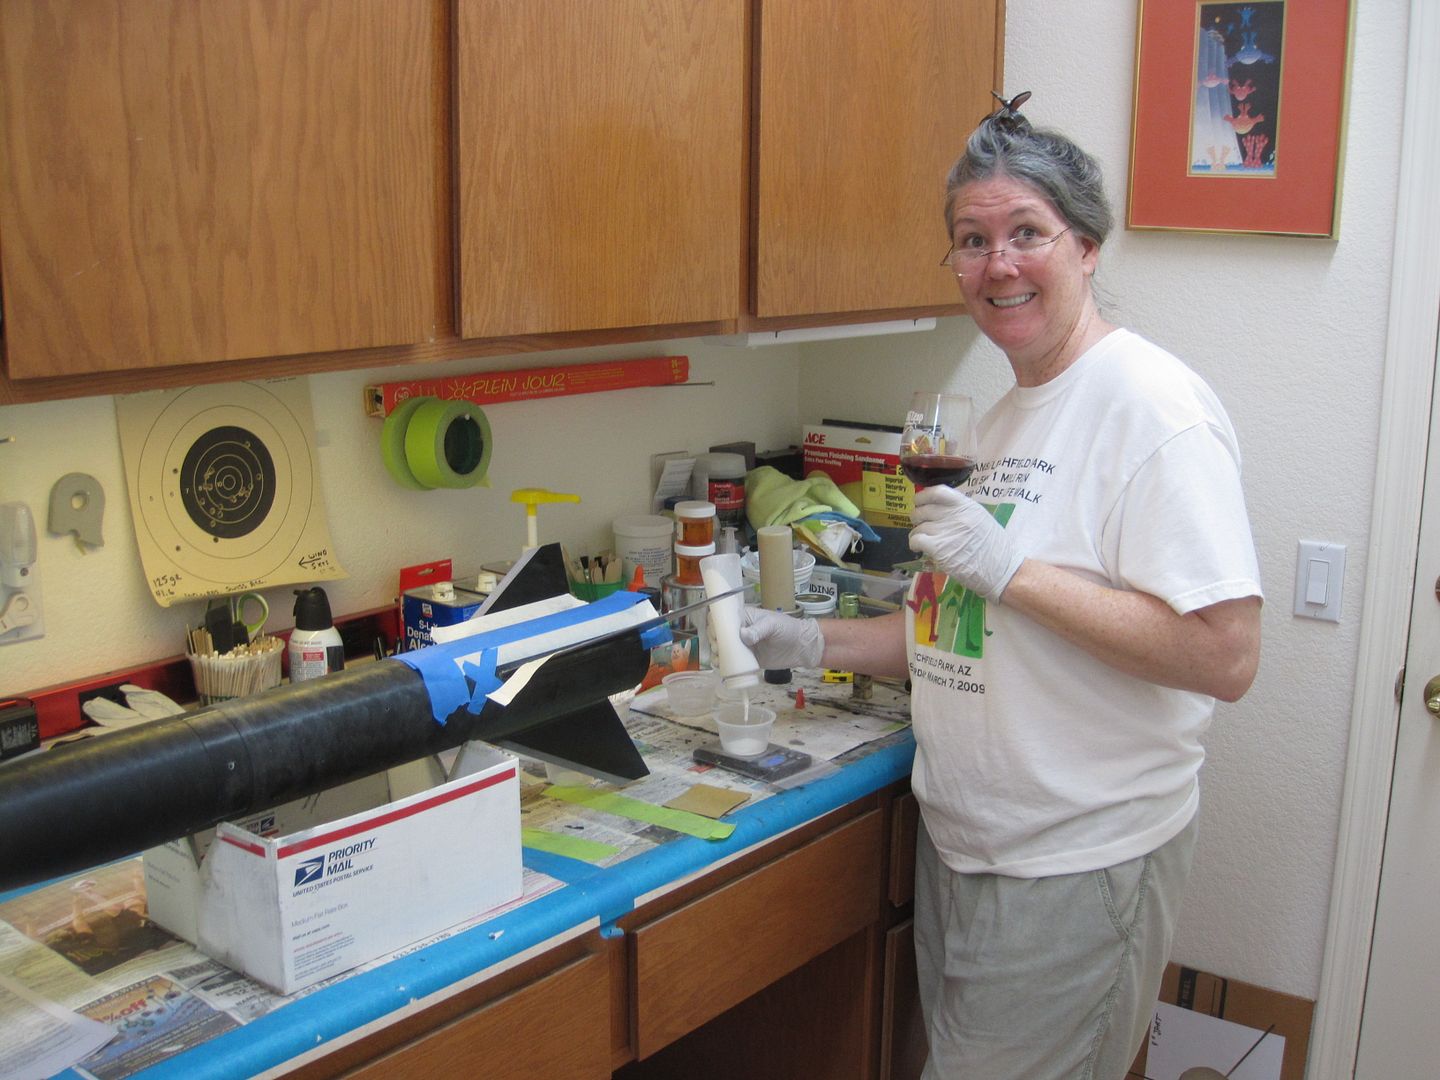
Since I want to drag race CJ at Airfest I figured I better get building this rocket.
The first thing was to review his Jimbo Jart Thread and made a series of notes to myself
A sample of these notes are: remember to add bulk plate while fitting coupler to nose cone; read posts 71 and 79 before sticking fins; and be sure and get a skull decal from CJ for my Jimbo Jart. Not sure what that says about my priorities......
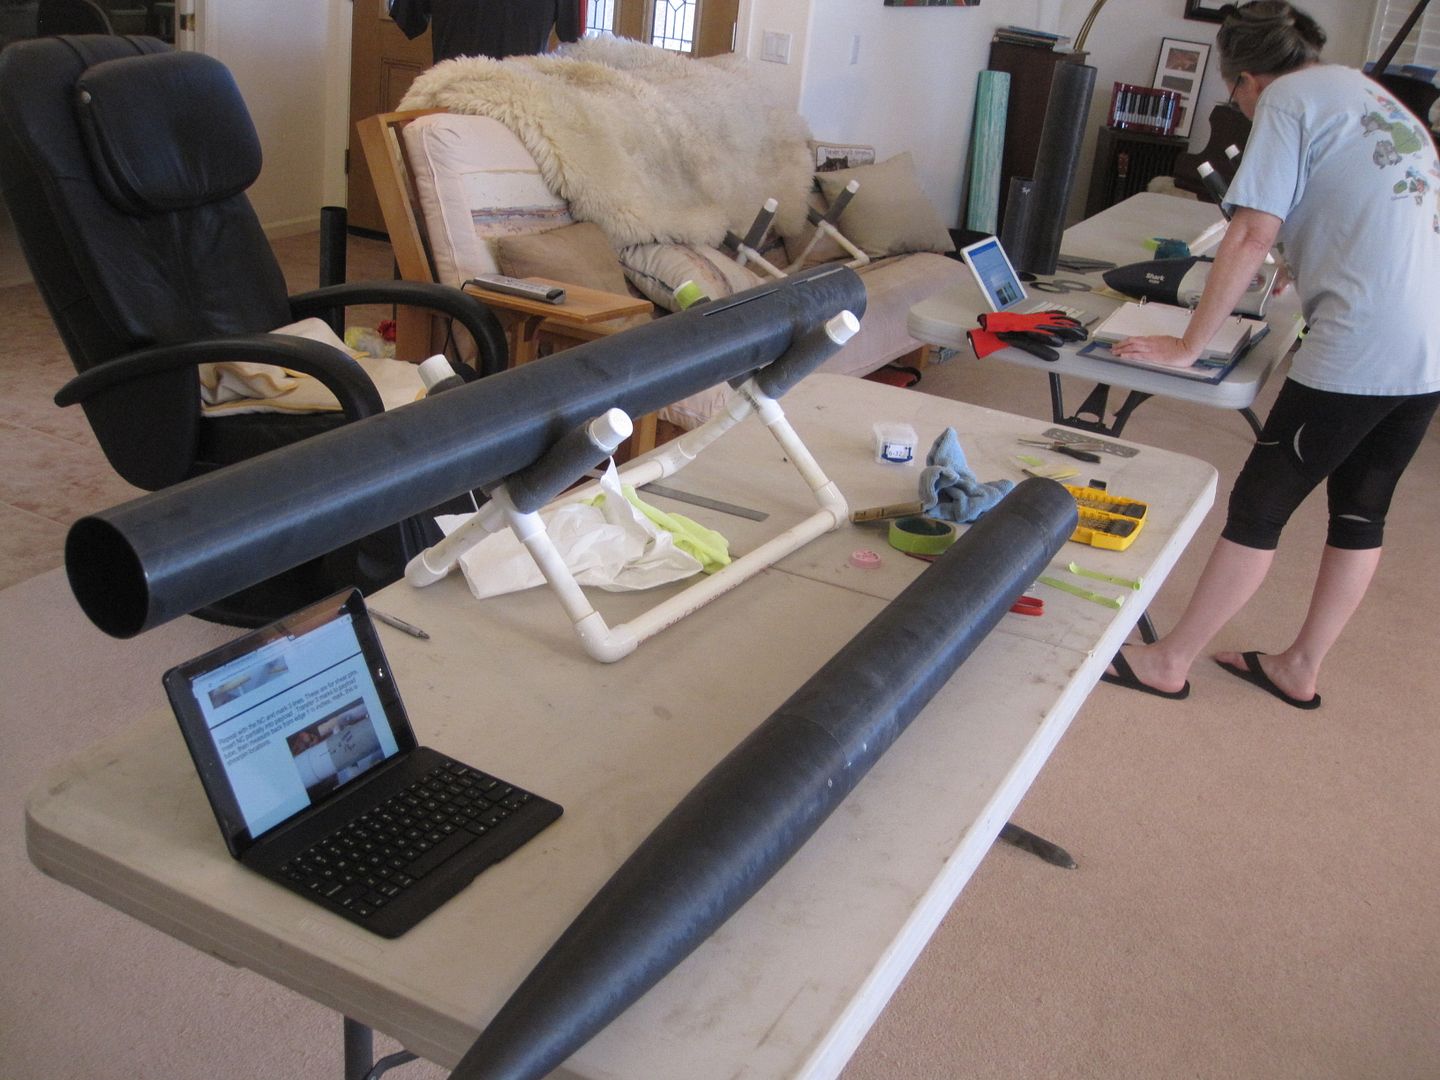
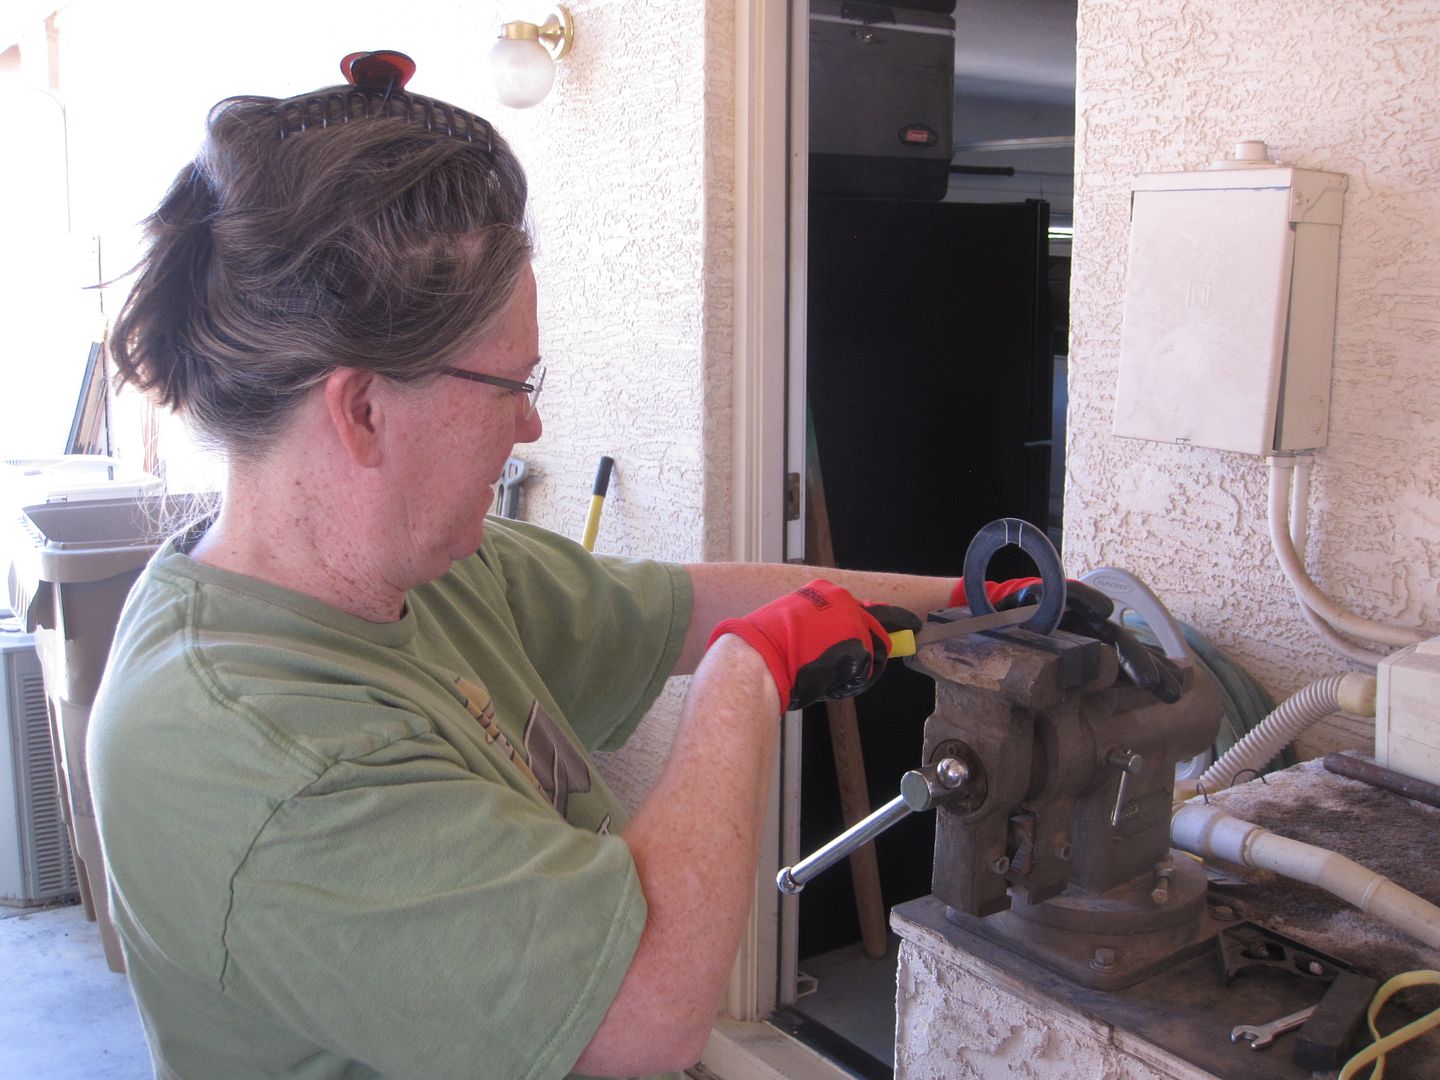
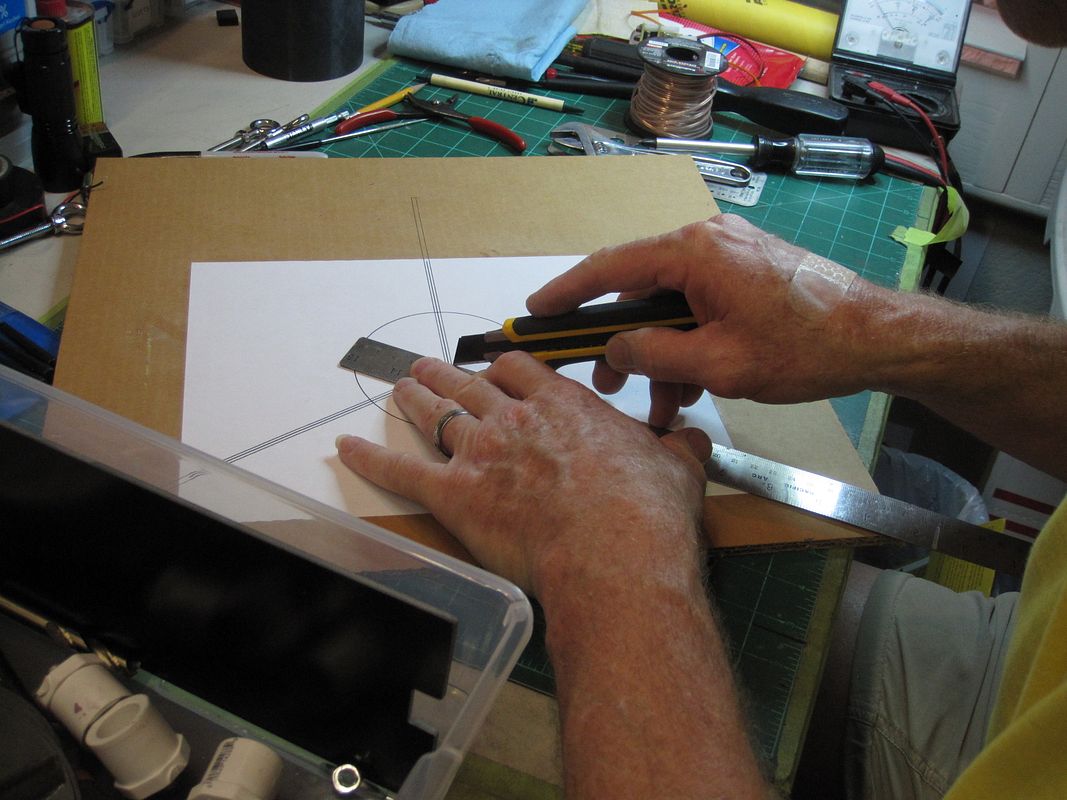
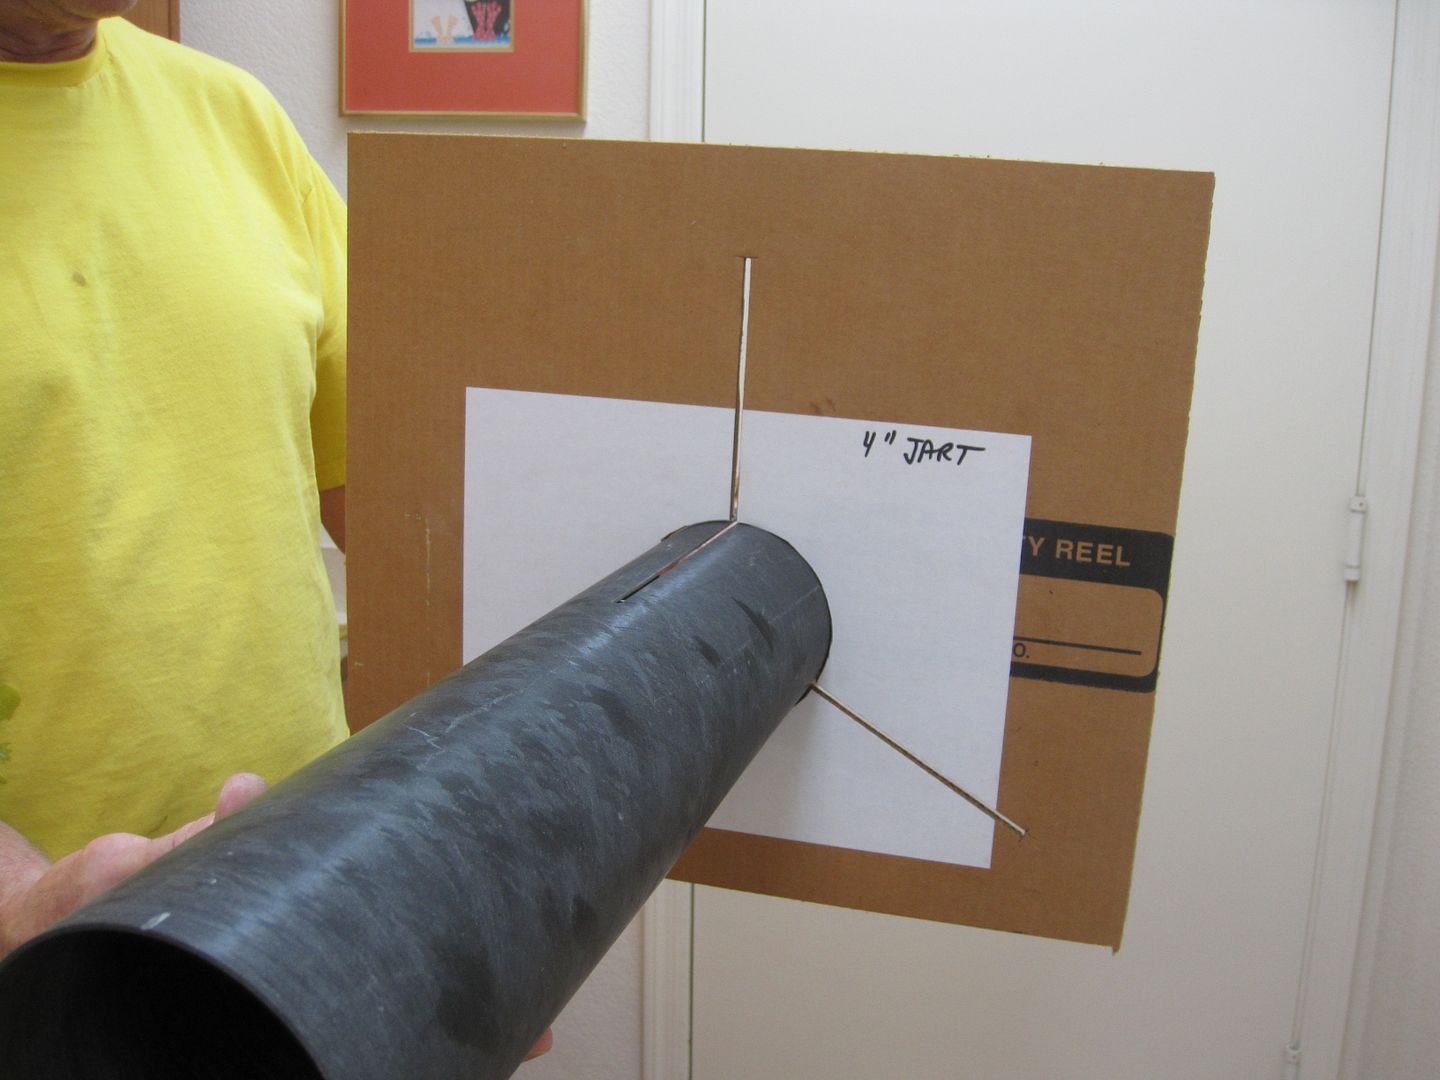
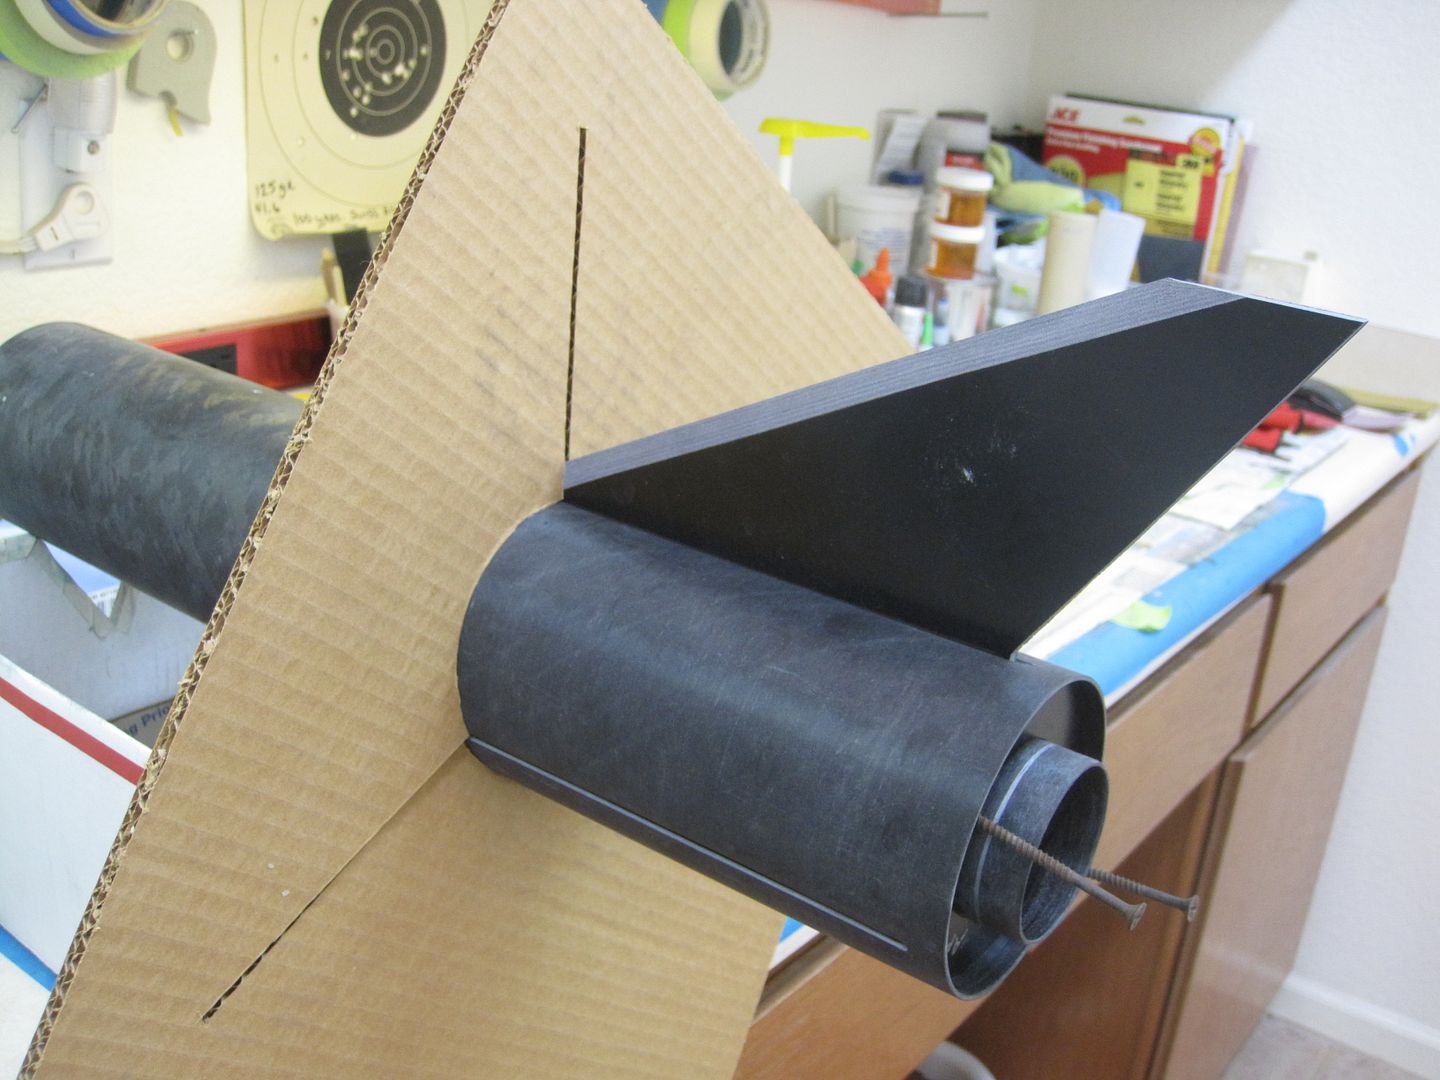
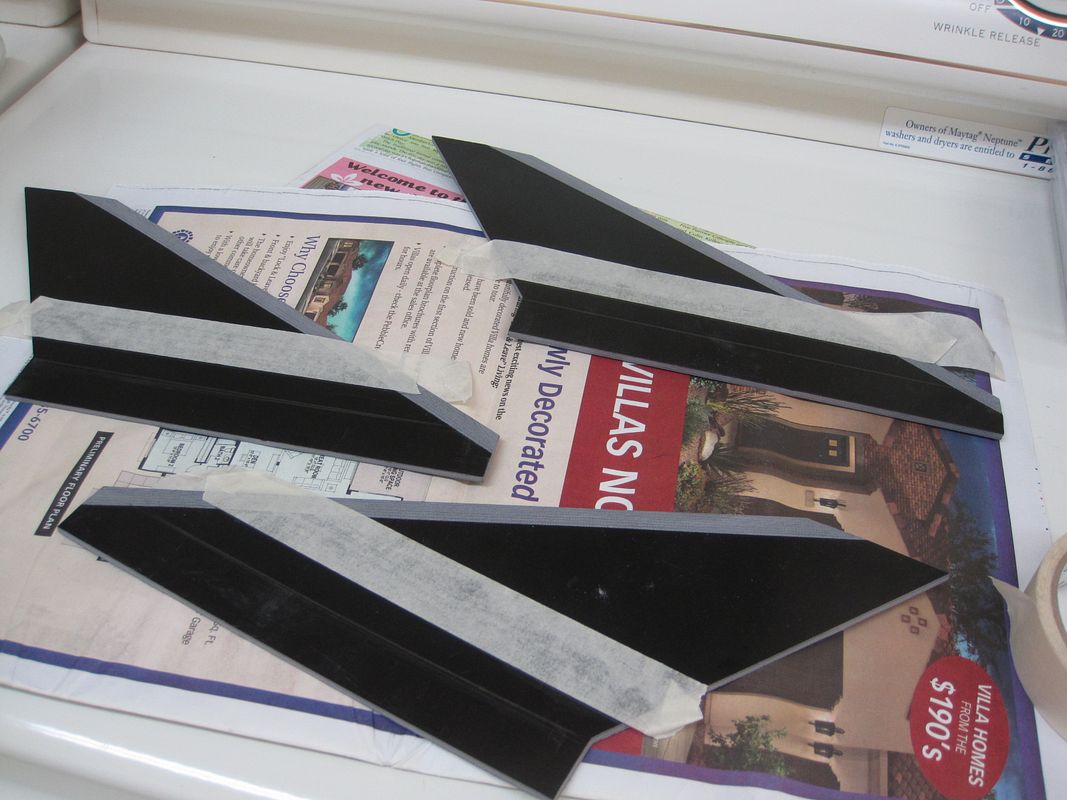
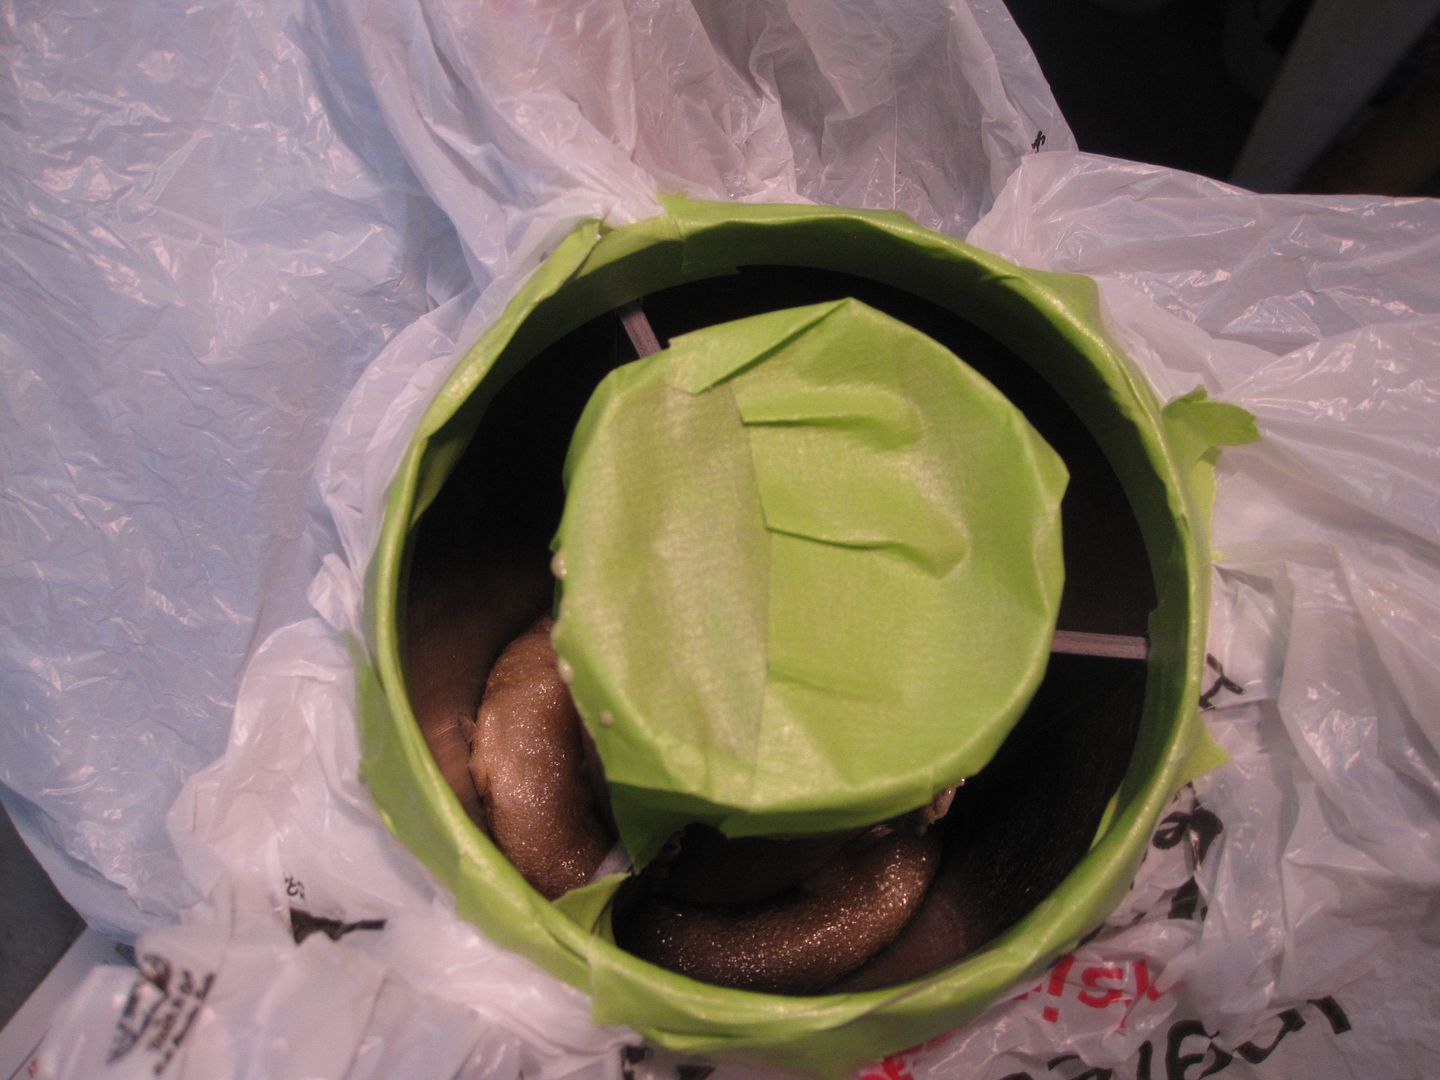
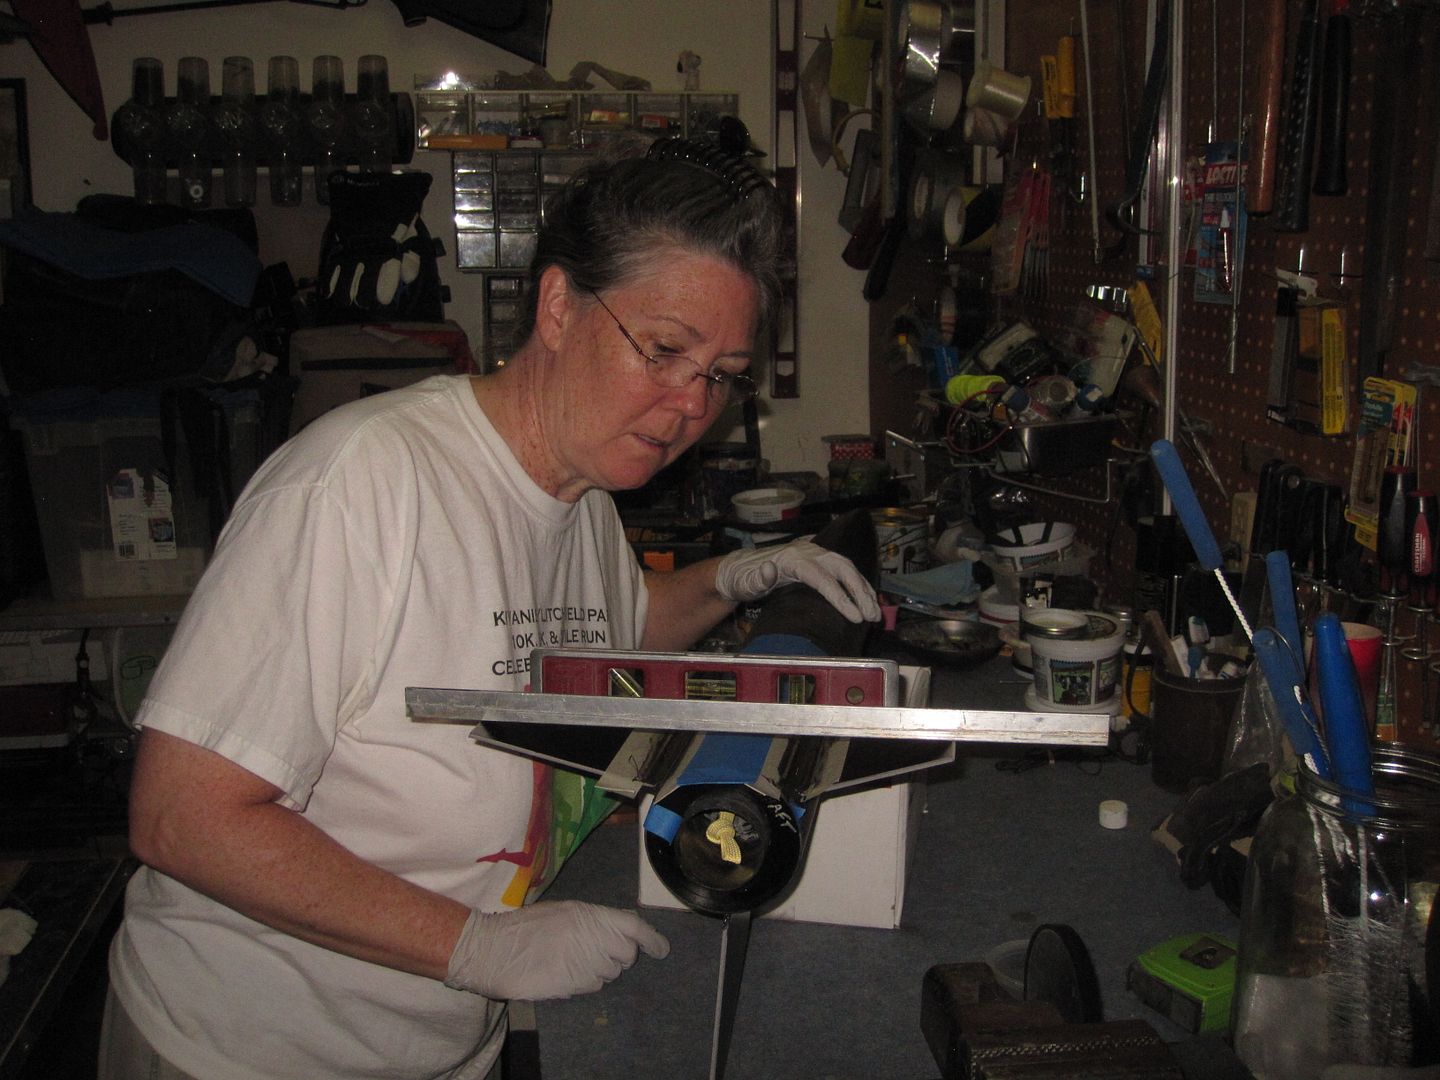
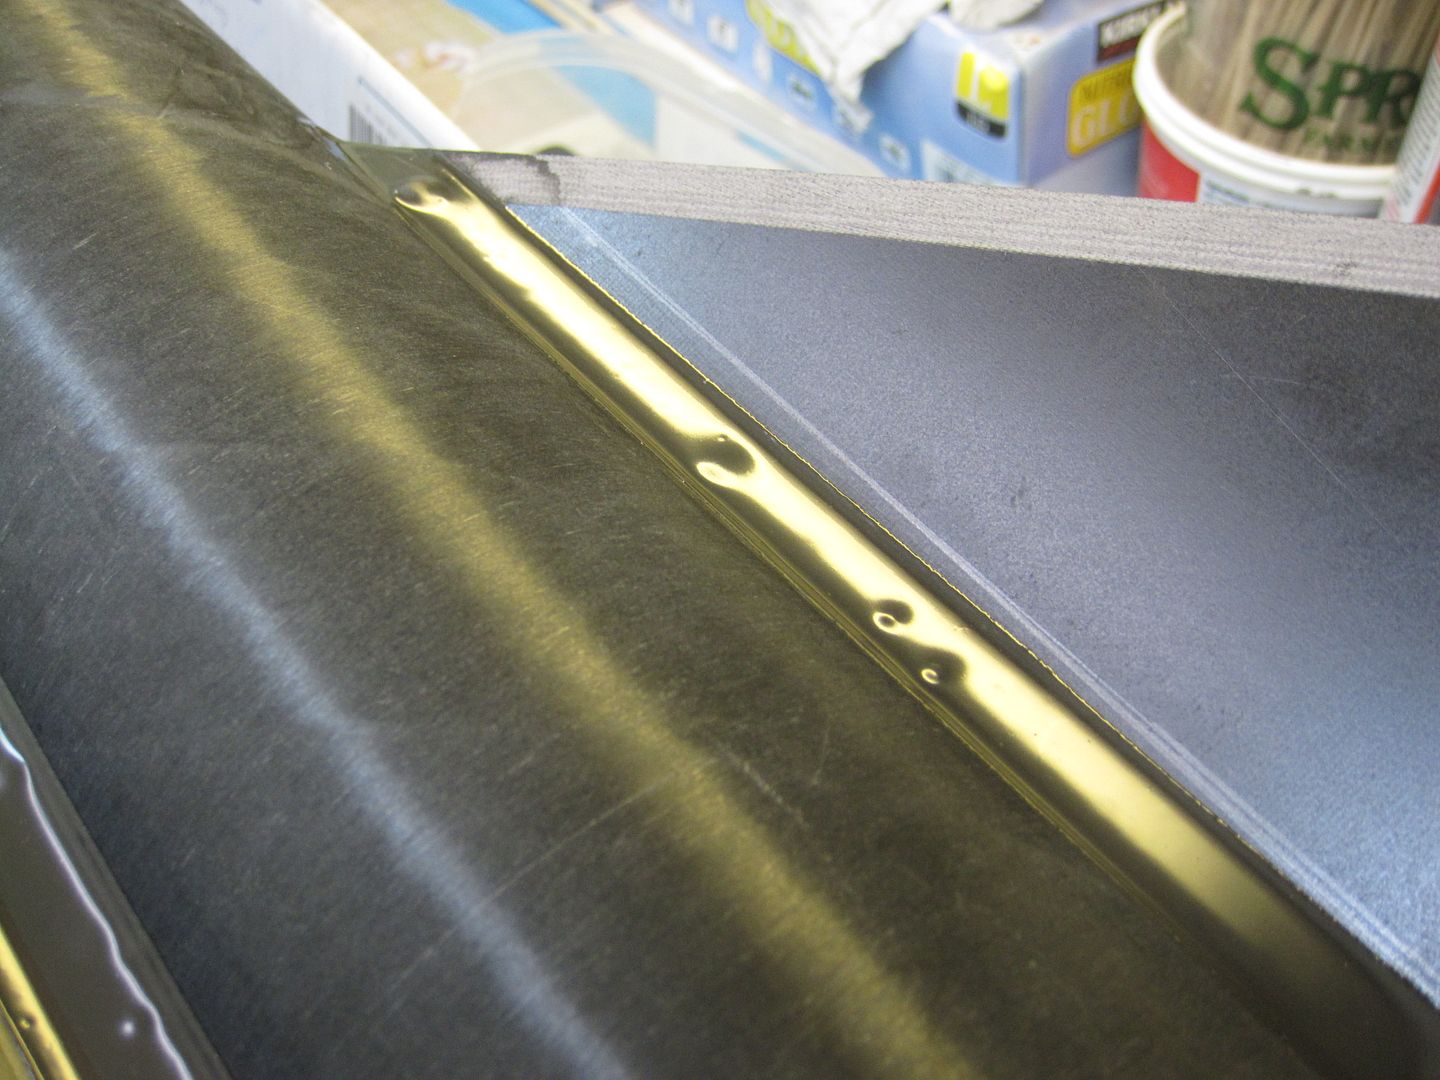
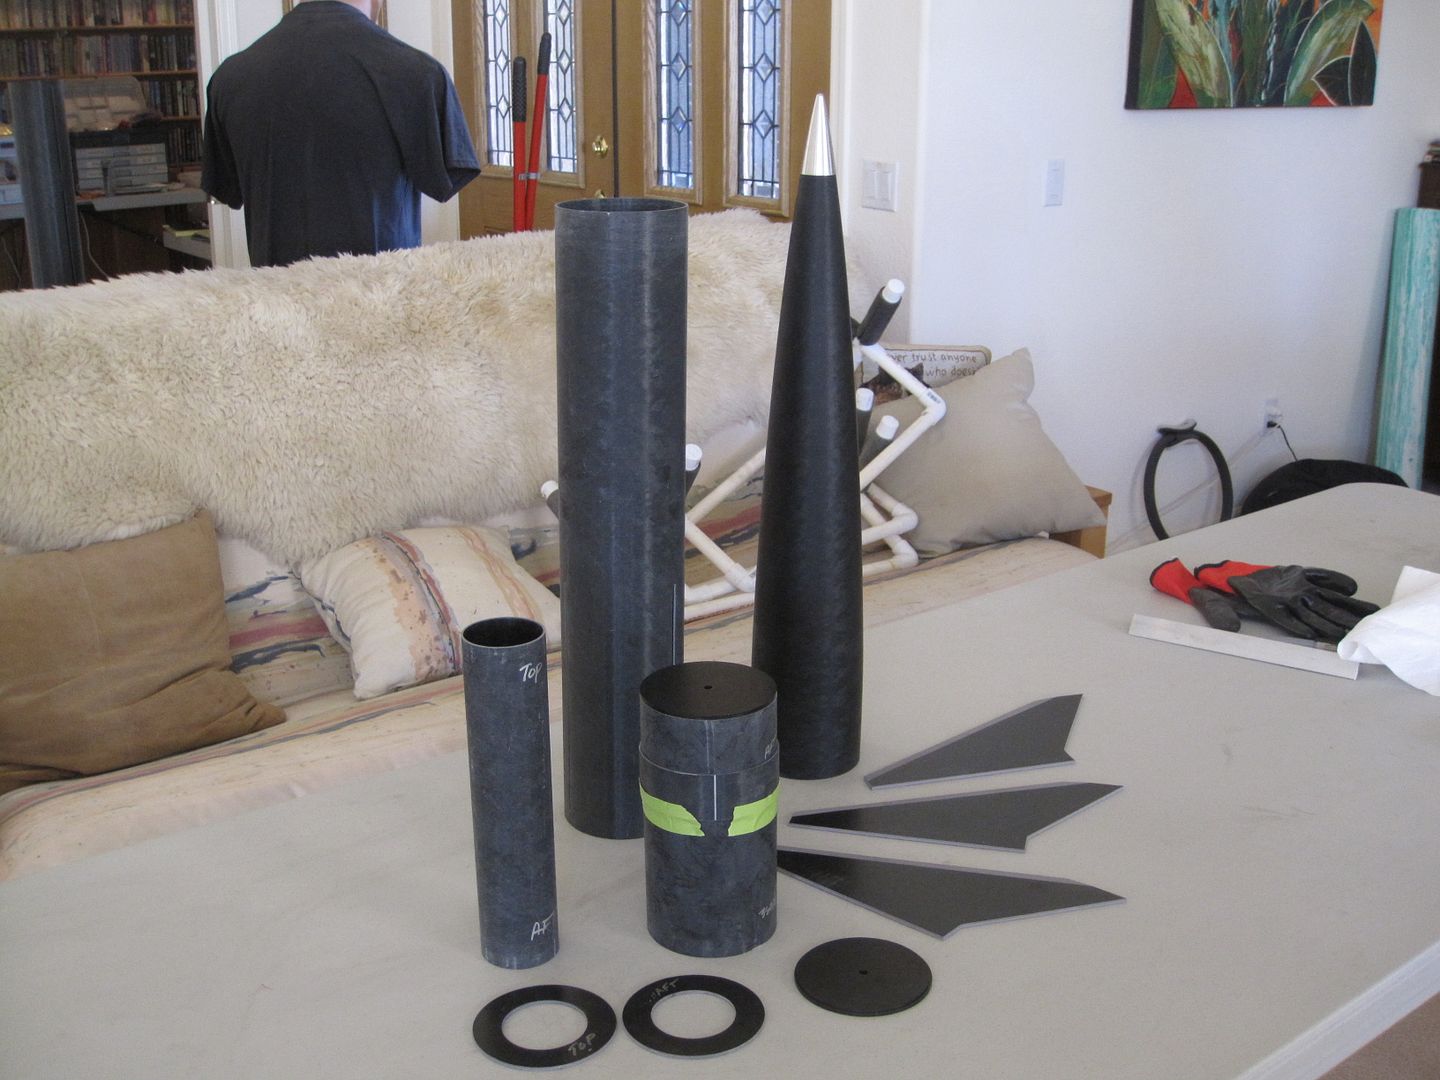
Started around 4pm and washed parts, sanded the CNC machine tabs off, smoothed the edges in body and parts. Then sanded and test fit centering rings and fins, numbering the fins and slots:
At this point I am following Post #32
https://www.rocketryforum.com/showthread.php?60755-CJ-s-Black-Sat-quot-JIMBO-quot-Jart-4-in-DD-in-NC-or-any-Jart-build!/page2&highlight=jimbo
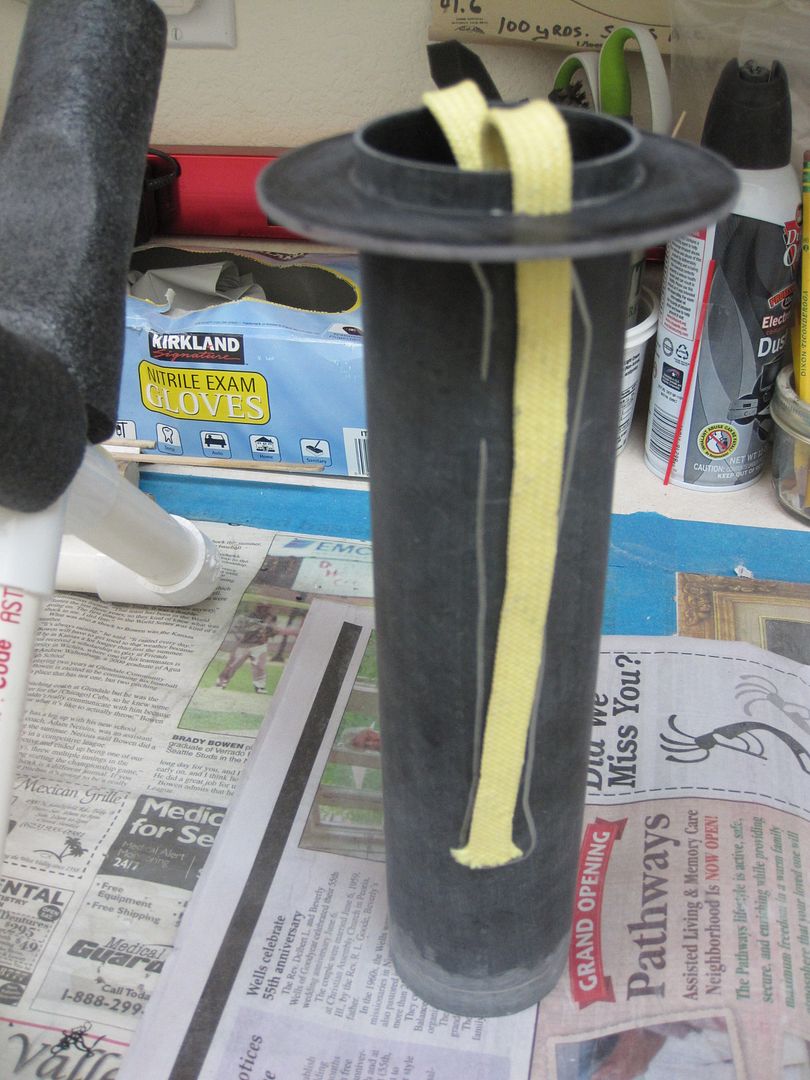
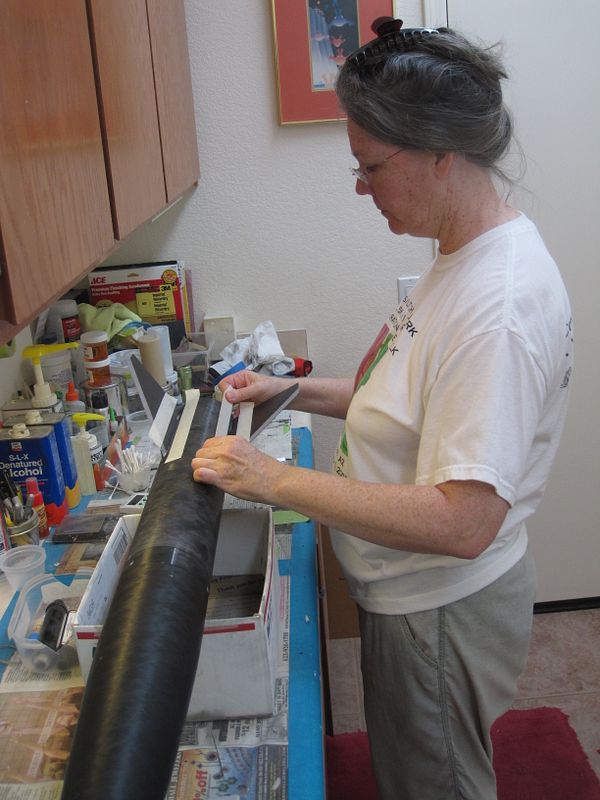
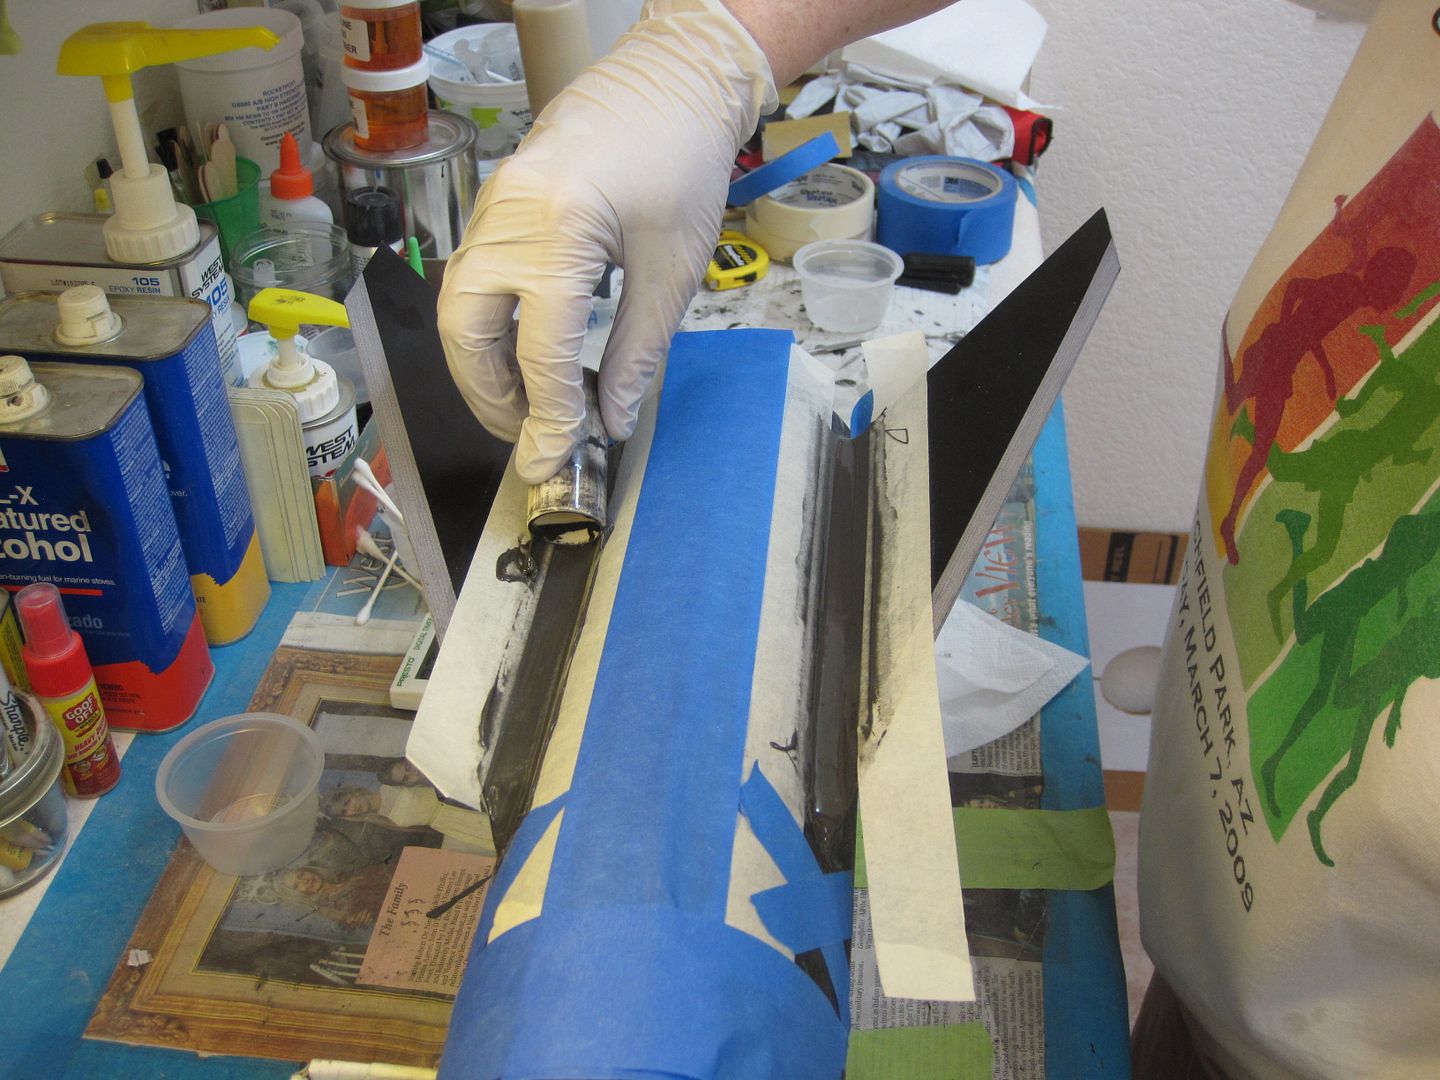
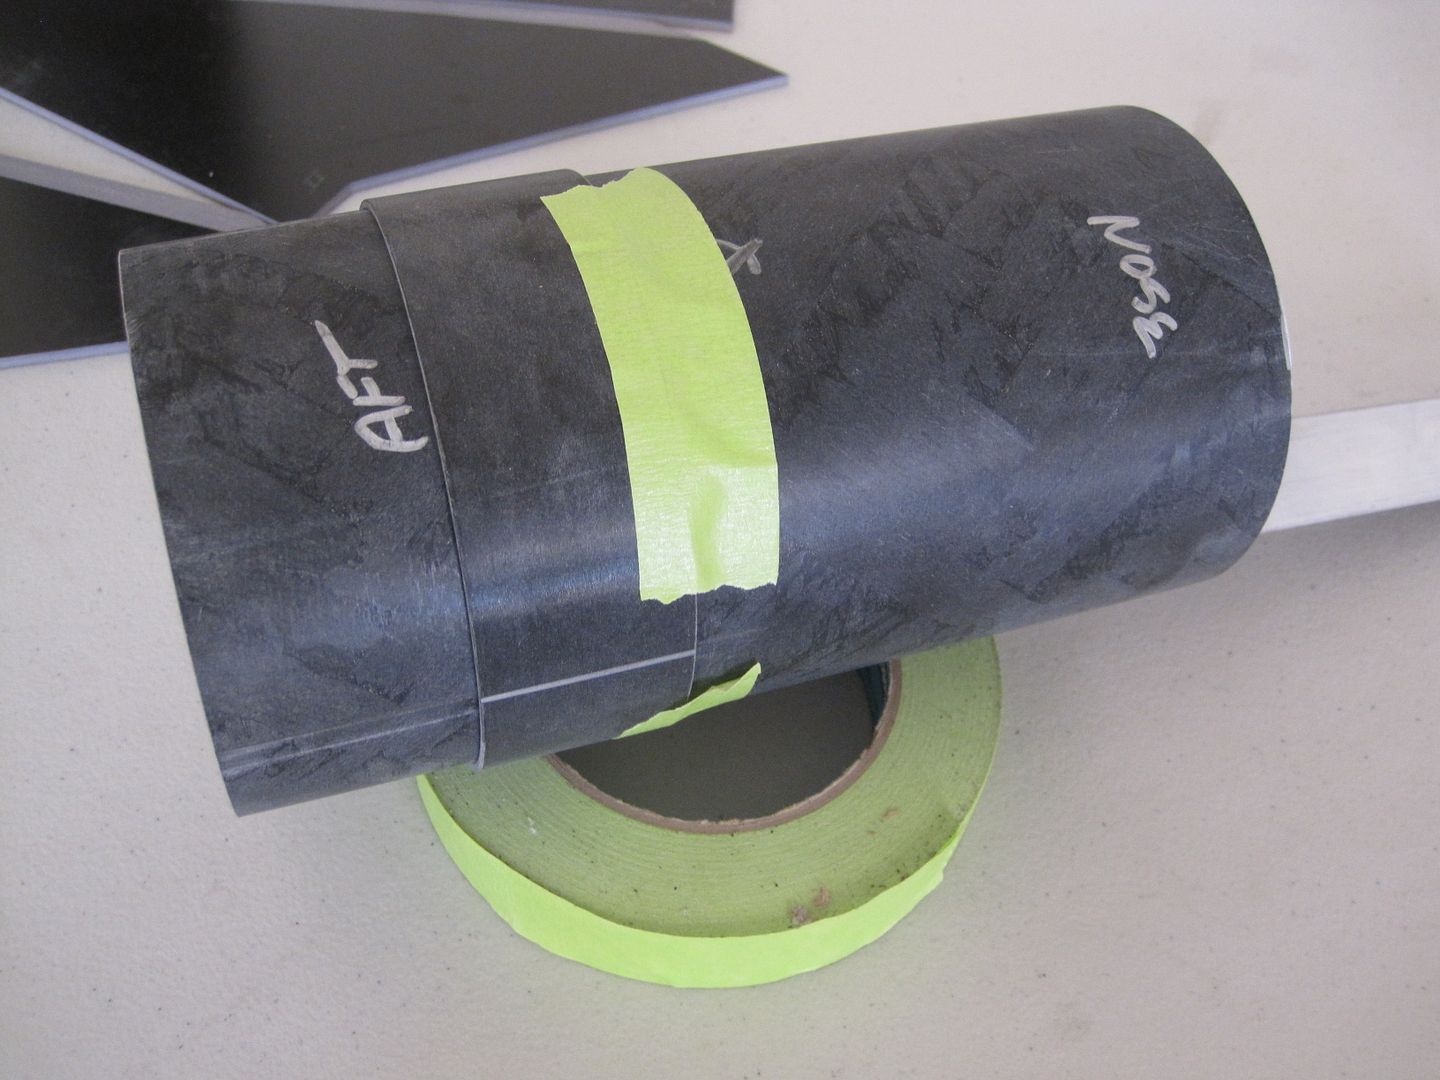
Inserting the coupler into the aft portion of the fin can I drew fin line marks for future shear pins and vent placement. Then transferred the marks from the coupler to the vent band. I used a piece of tape to keep the vent band on the coupler while making marks so it wouldn't move while I was handling it.
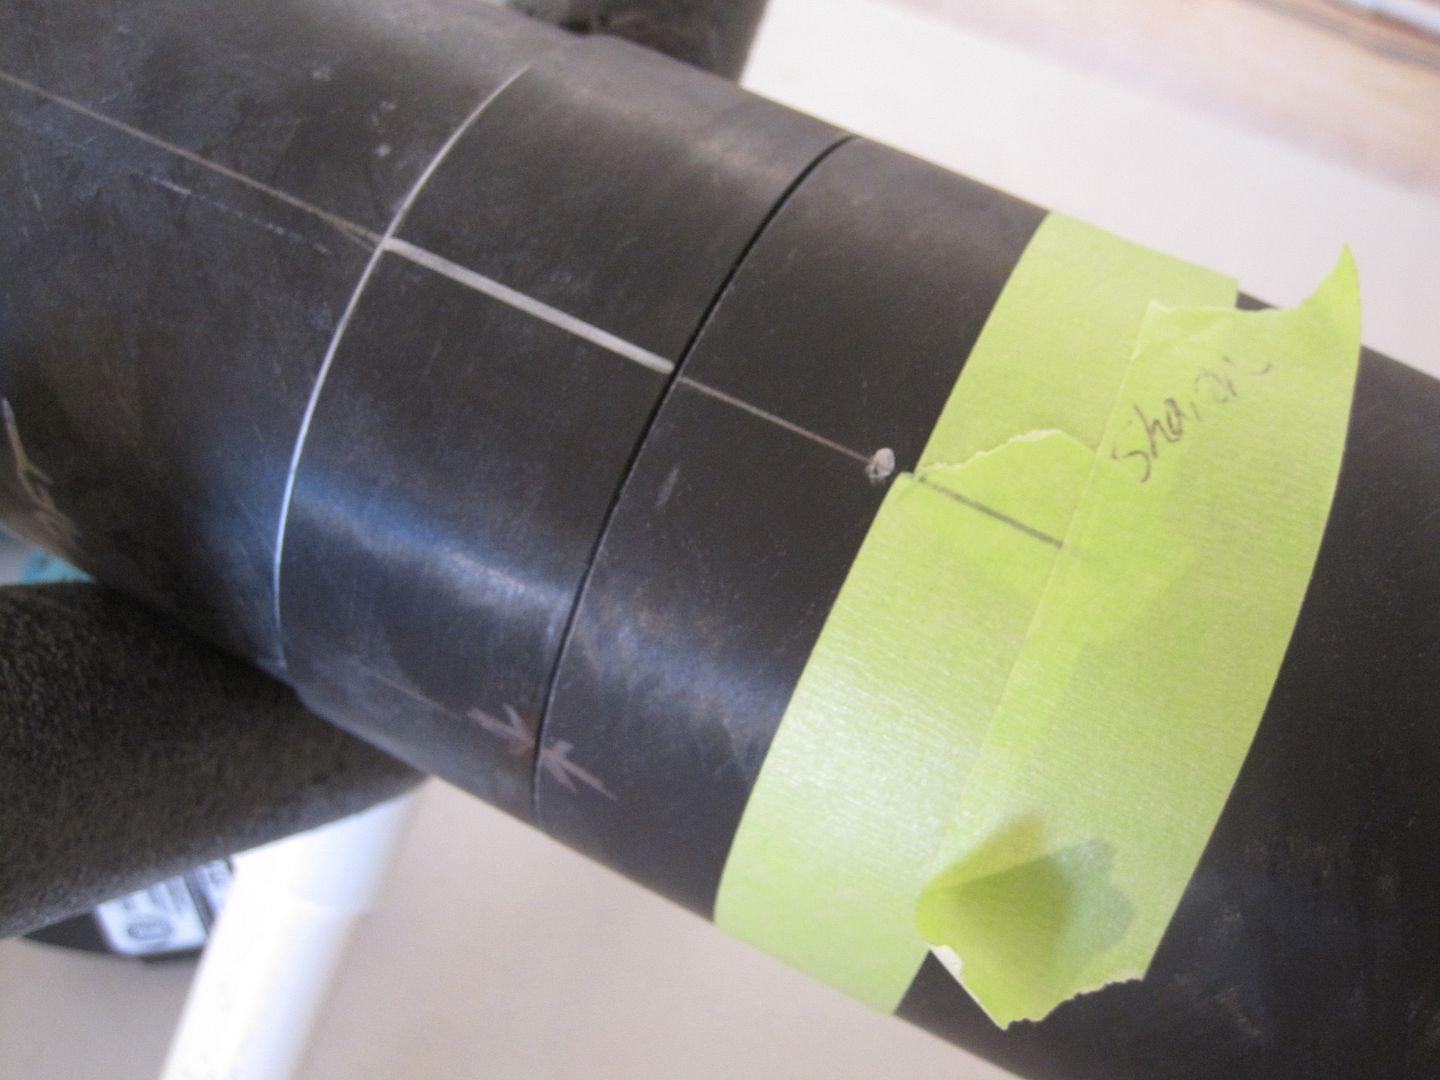
Putting the bulk plate on the nose side of the coupler I inserted the coupler into the nose cone to a snug but not too tight fit and drew a line with a silver sharpie around the coupler where it met the nose cone. I also marked where the vent band fit the best to the nose cone.
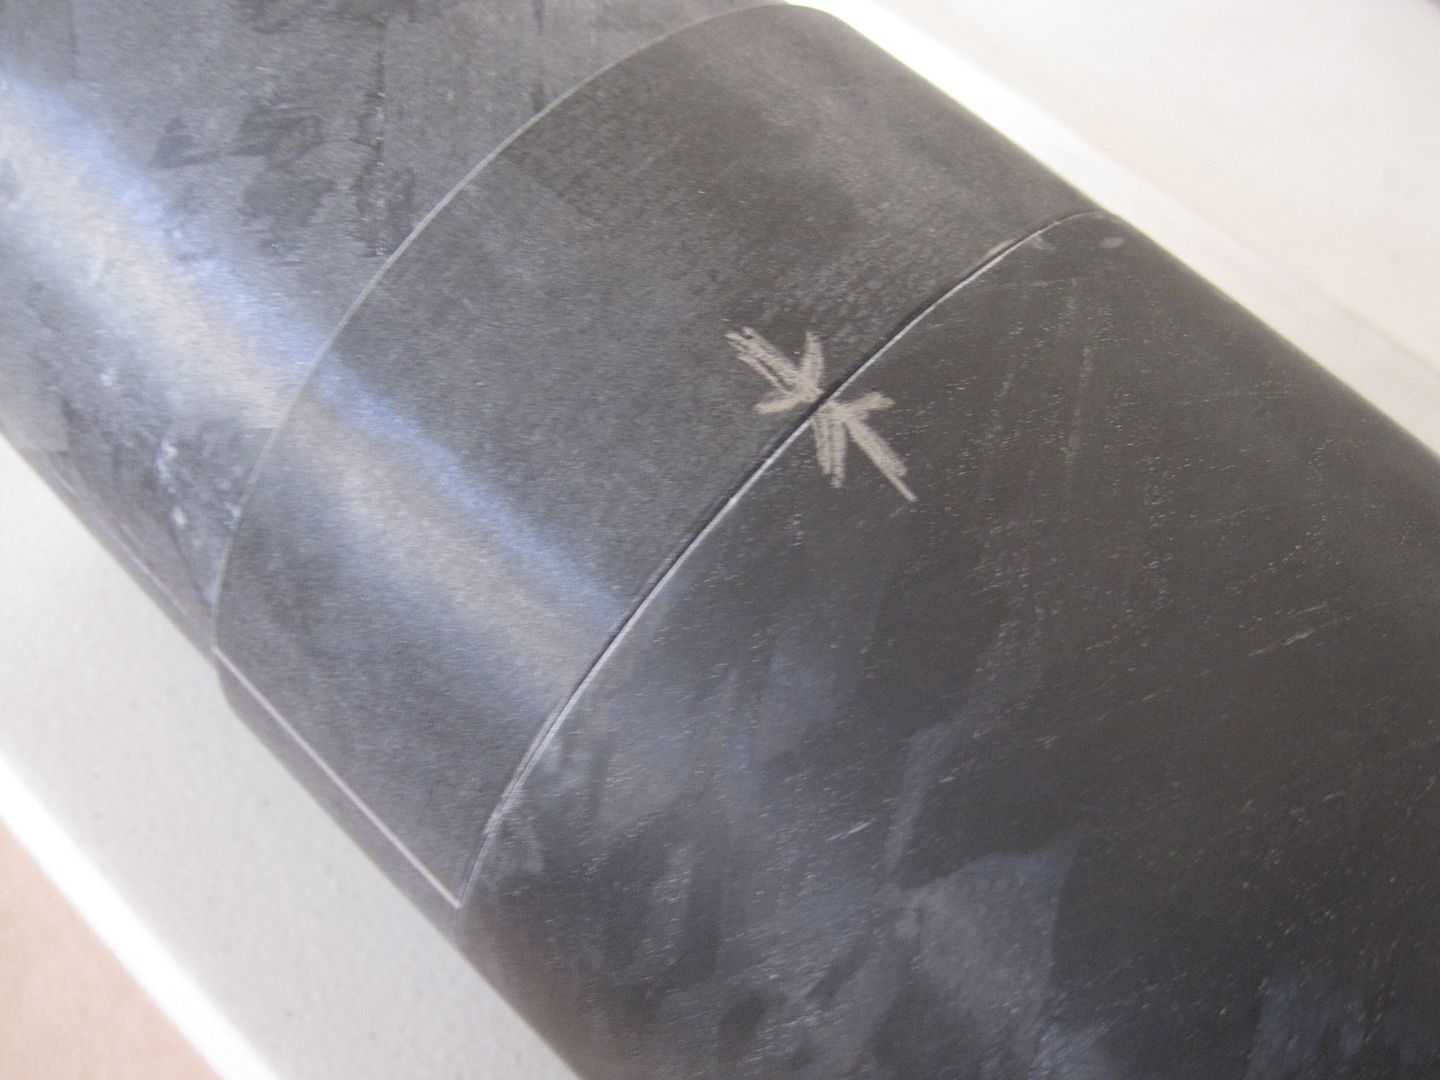
Putting a piece of tape where the silver line was, I added the vent band and marked a silver line around the aft end.
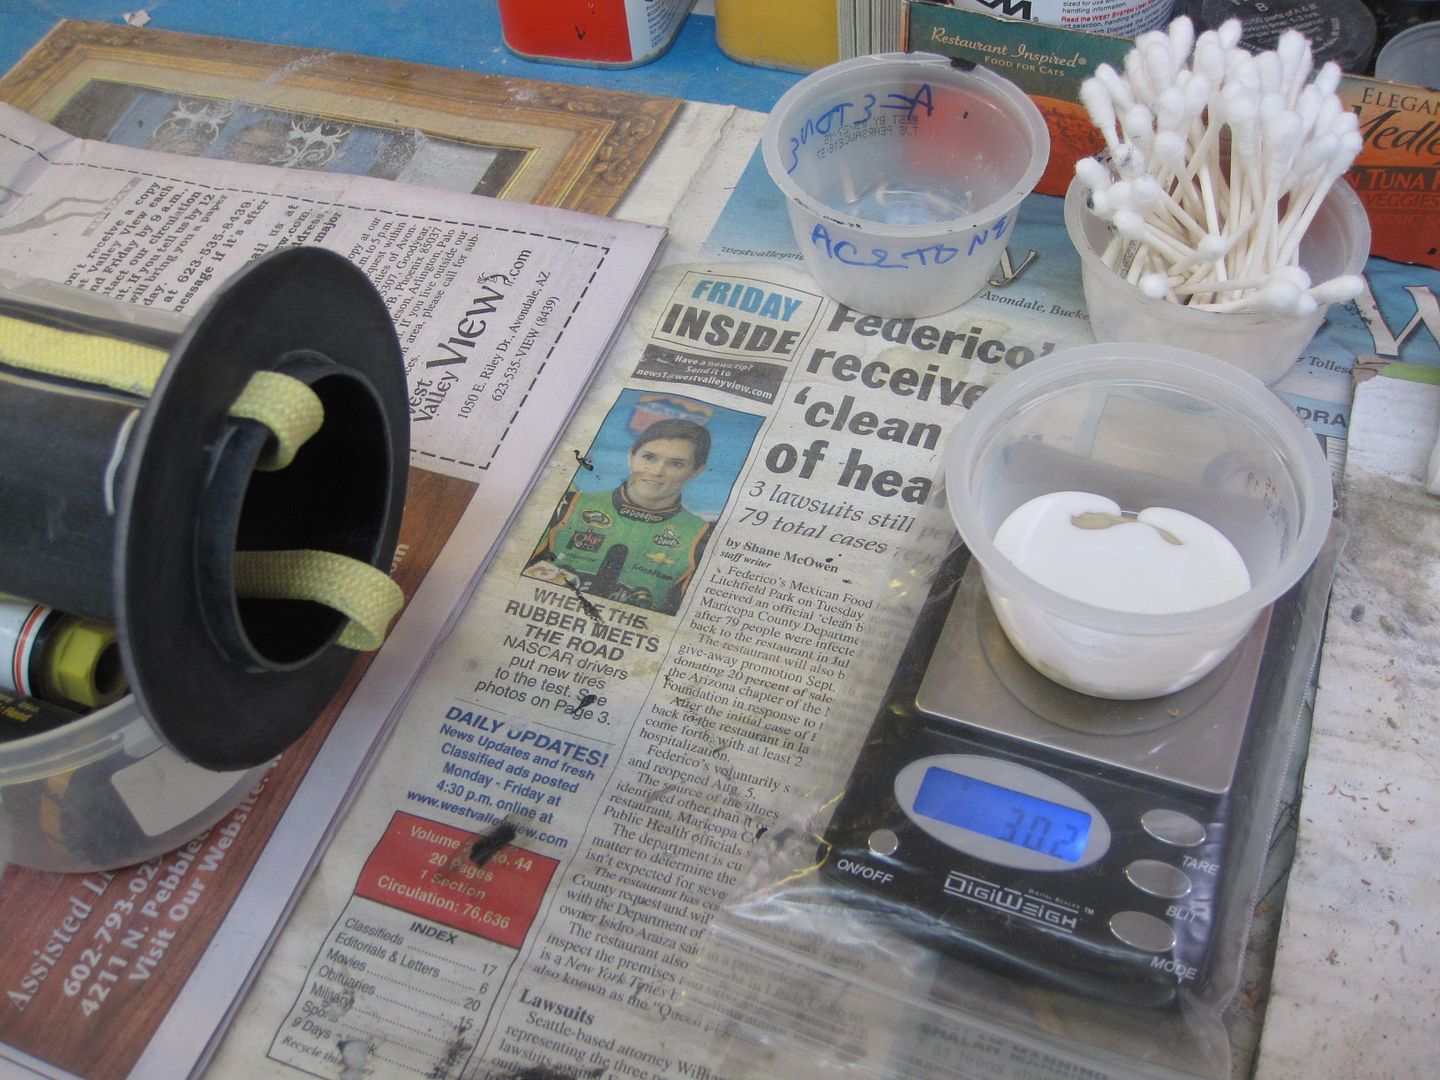
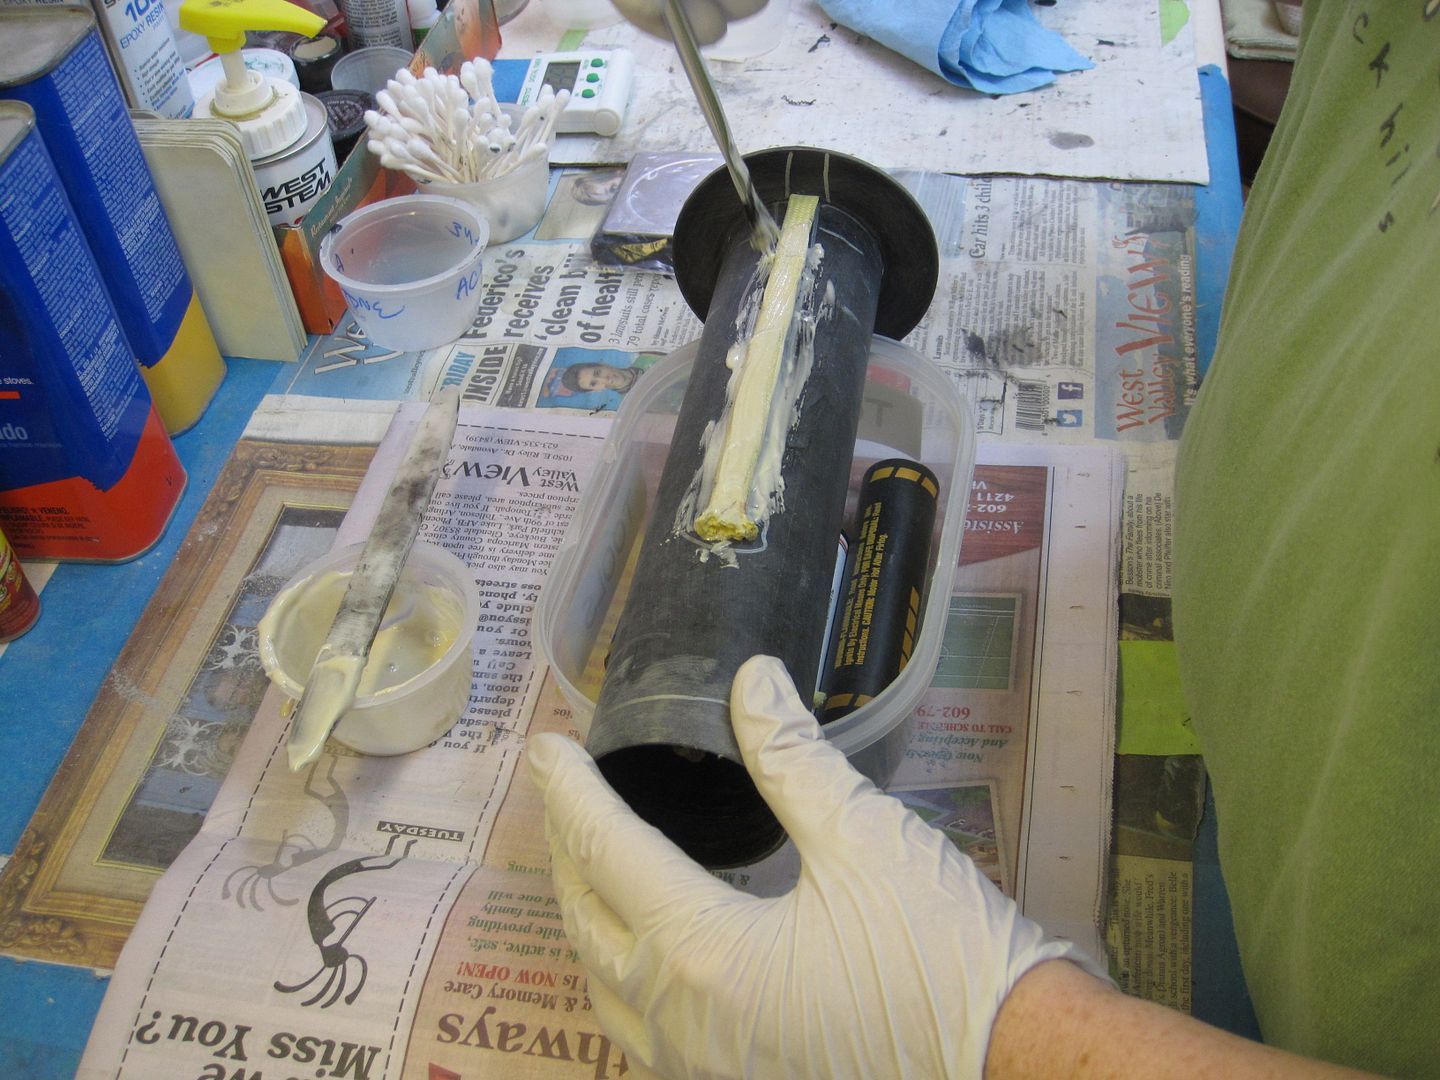
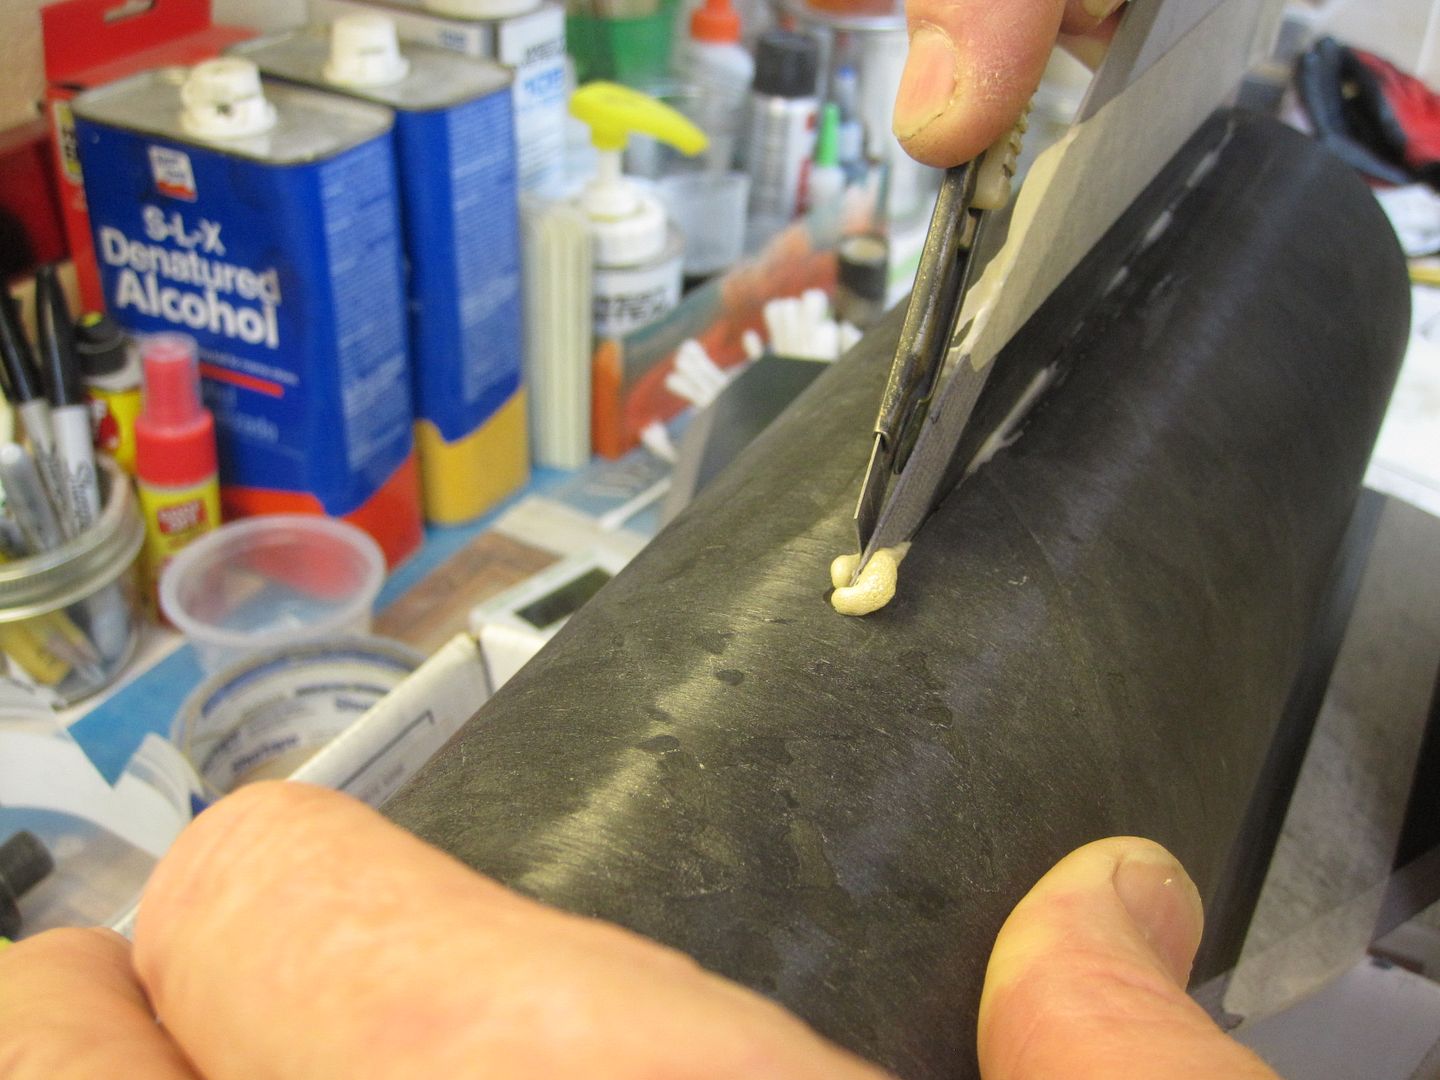
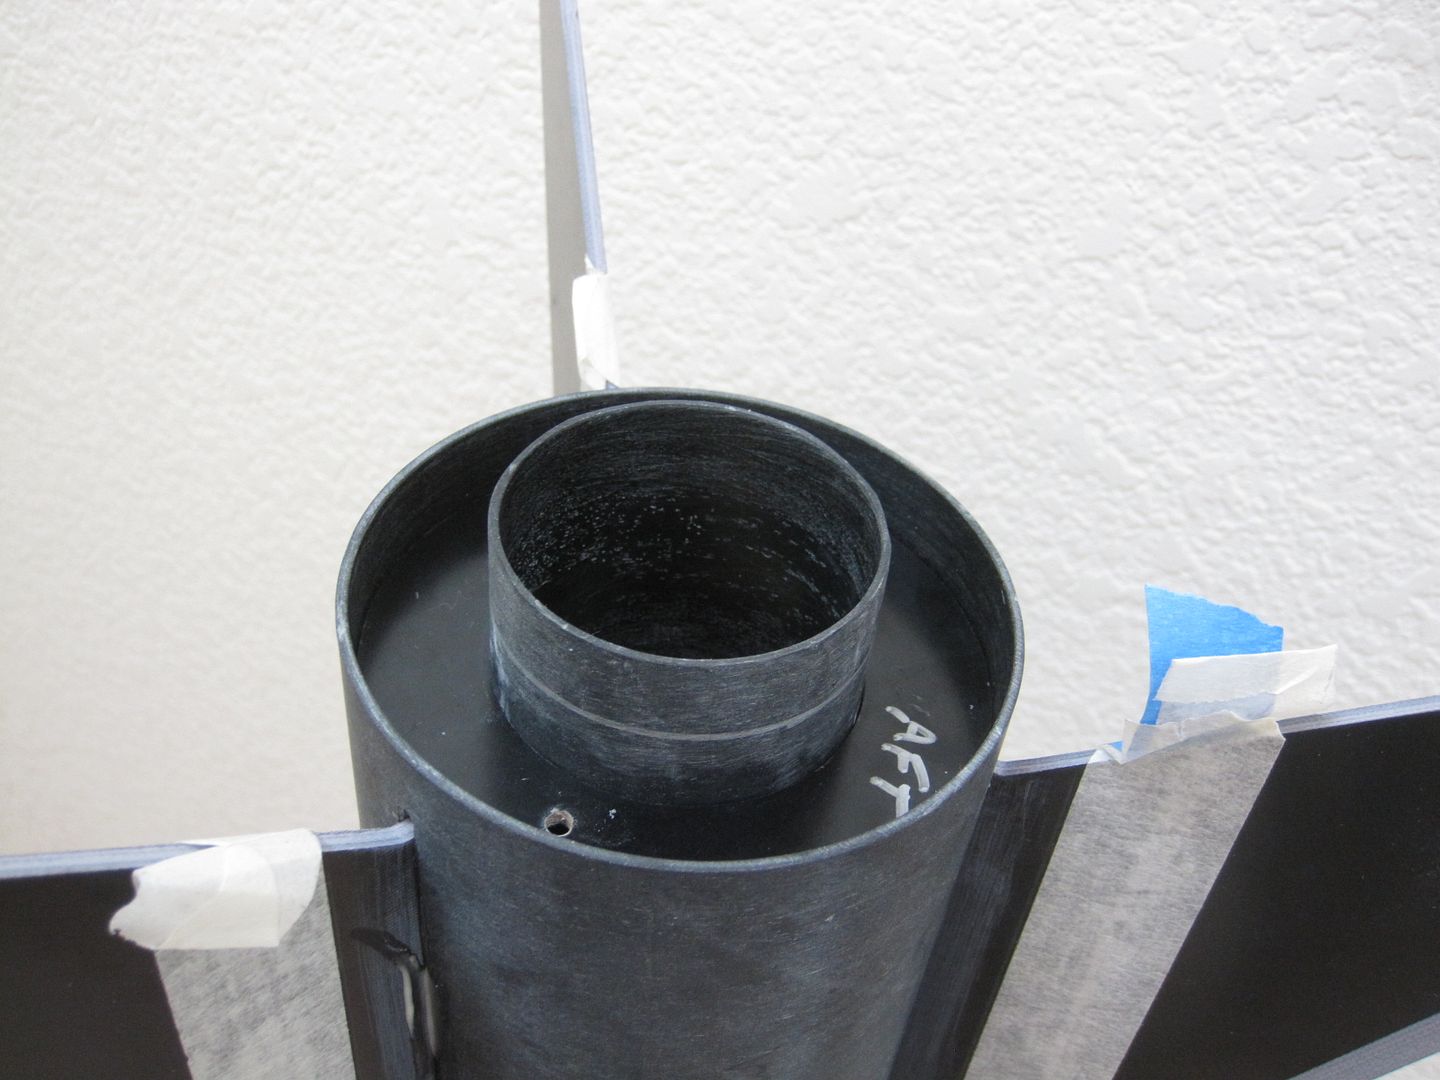
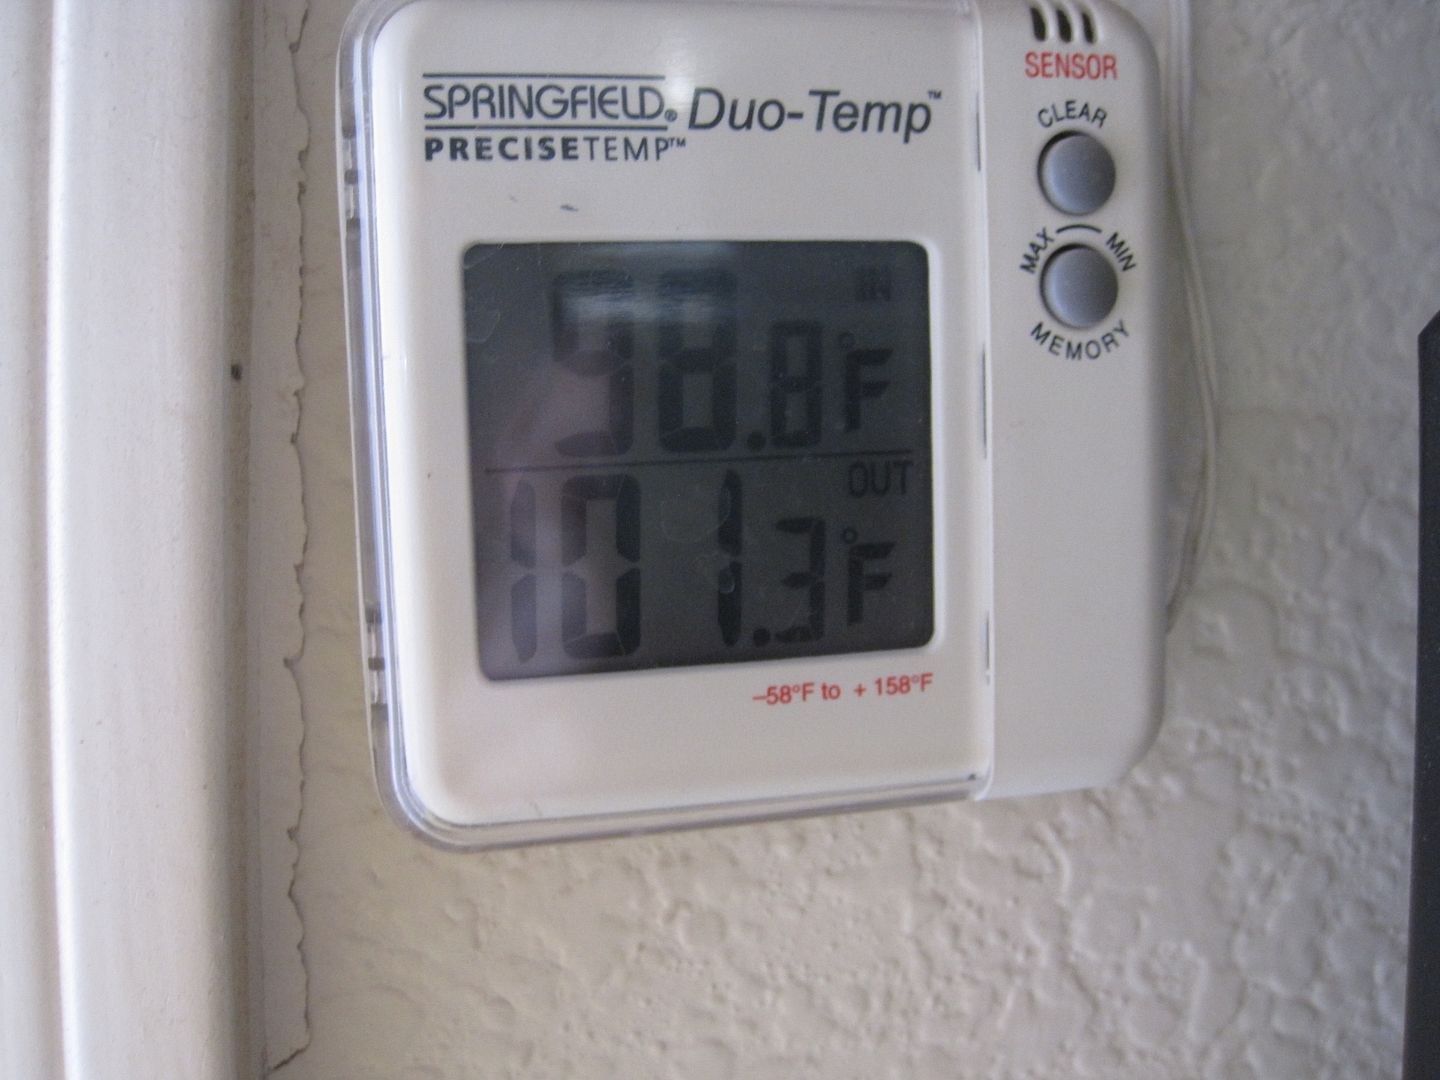
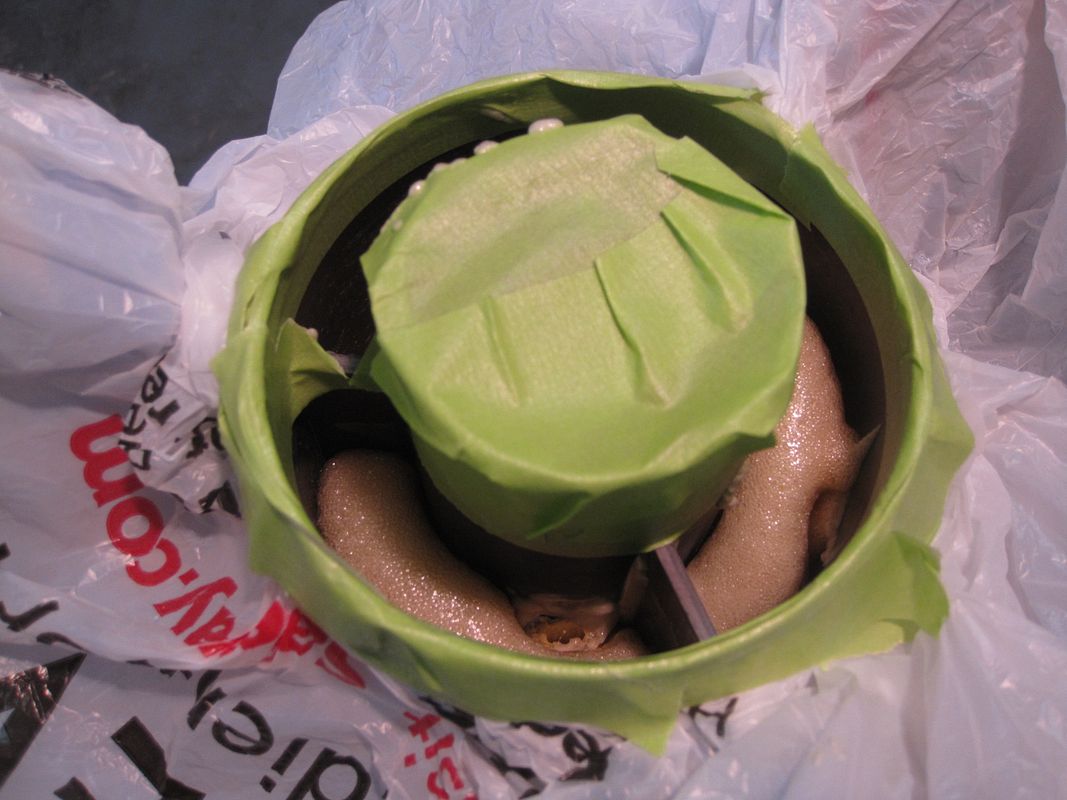
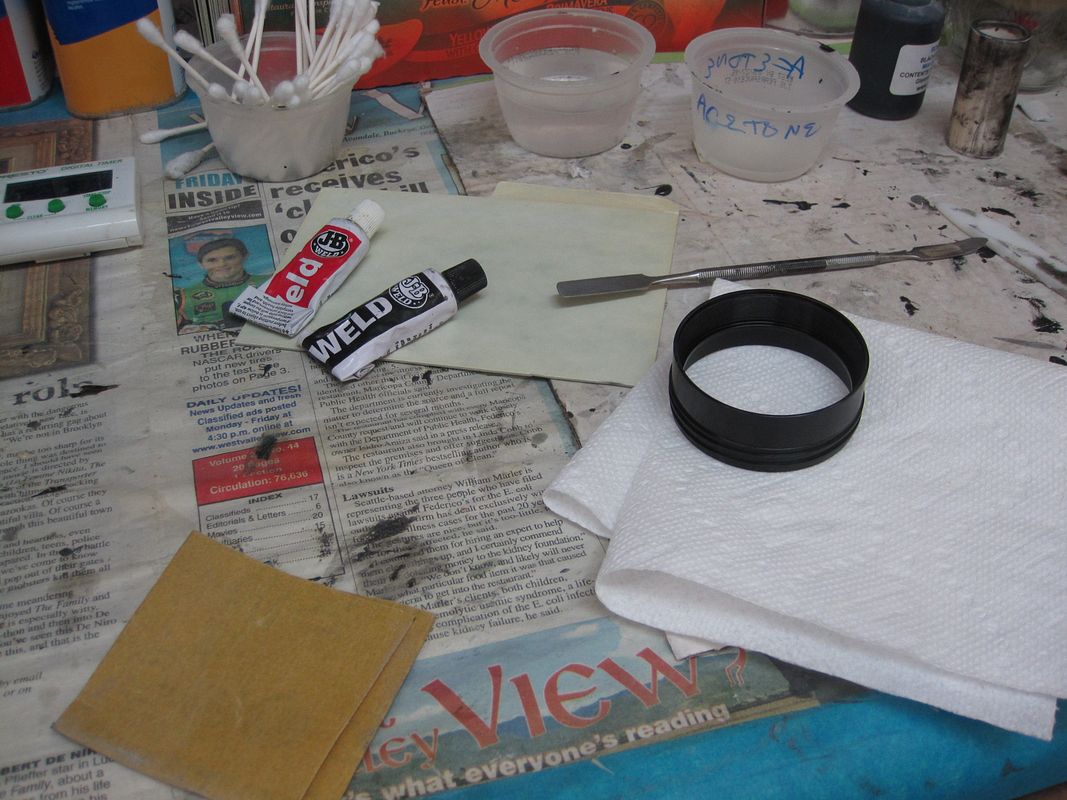
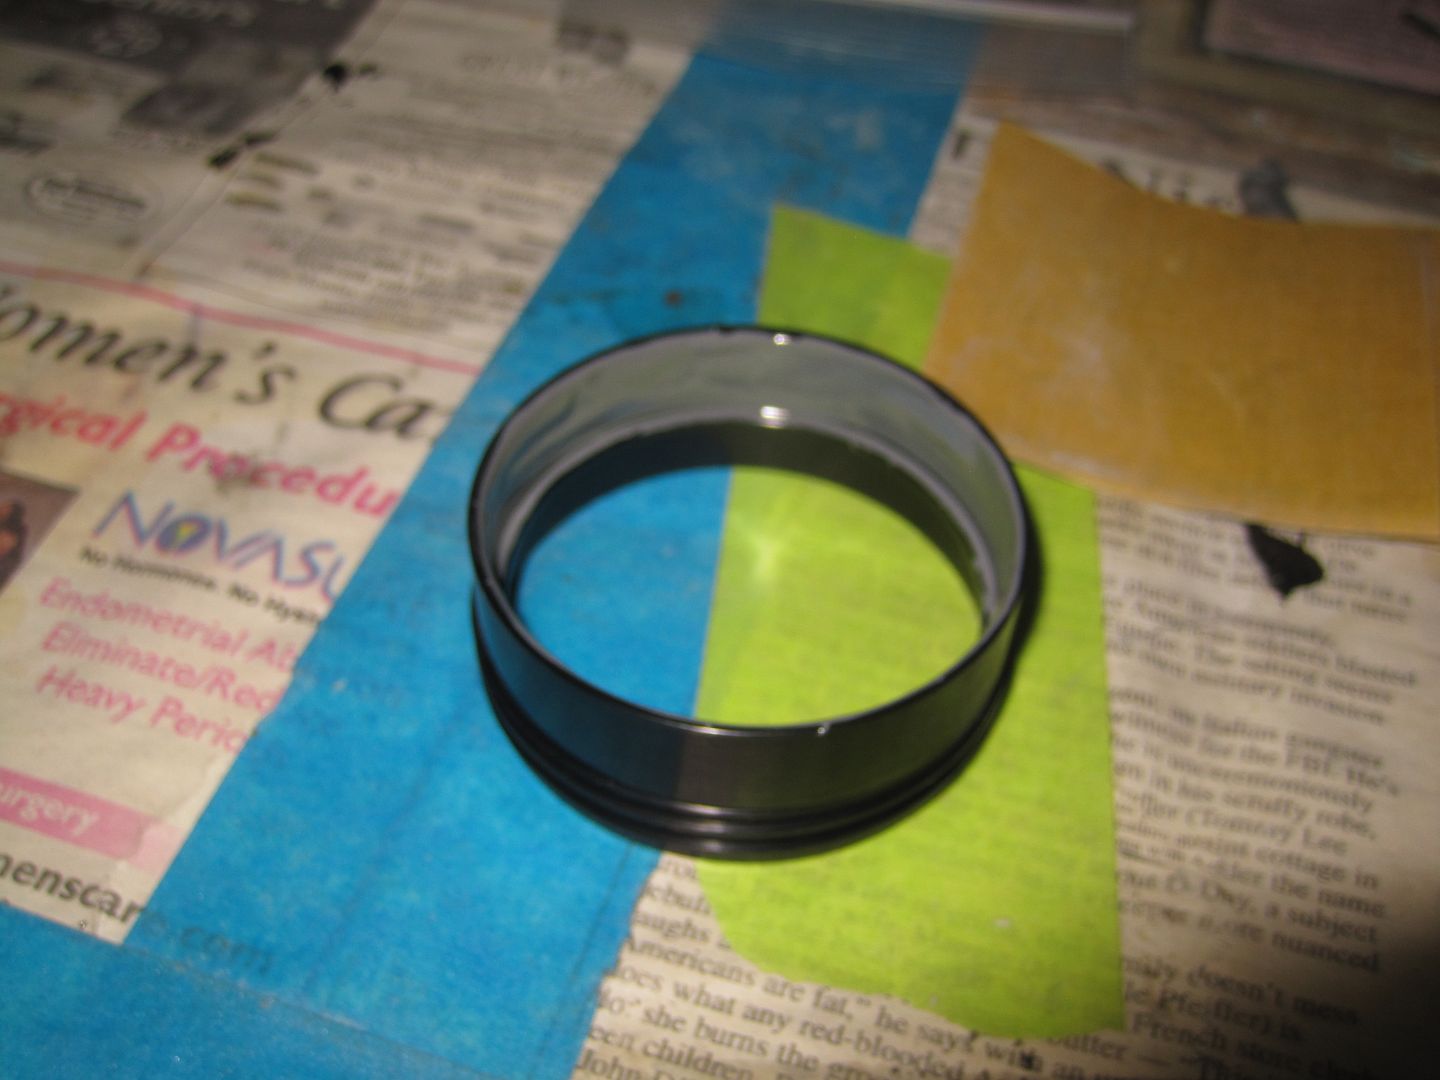
At this point I moved to our Epoxy station (aka laundry room), removed the tape, sanded inside the vent band and sanded on the coupler between the silver lines to "excite the molecules" then wiped with alcohol and then brushed on 30 minute Epoxy and using a twisting motion I put the switch band in place. Clean up was easy with a little alcohol and pulling the tape up after about 15 minutes. Checked it with the nose cone to make sure I got it right, then put the coupler/switchband in the curing oven, aka outside in 107 degree Arizona temperature. At this point it was 5:15pm. I guess I'm not the fastest builder out there....
Wayne got into the act by bringing out his Wildman Extreme to start building and picked up my nose cone instead of his for test fitting. Needless to say: :gavel:
Tomorrow I'll start on #36 of CJ's Thread .....
The first thing was to review his Jimbo Jart Thread and made a series of notes to myself
A sample of these notes are: remember to add bulk plate while fitting coupler to nose cone; read posts 71 and 79 before sticking fins; and be sure and get a skull decal from CJ for my Jimbo Jart. Not sure what that says about my priorities......
Started around 4pm and washed parts, sanded the CNC machine tabs off, smoothed the edges in body and parts. Then sanded and test fit centering rings and fins, numbering the fins and slots:
At this point I am following Post #32
https://www.rocketryforum.com/showthread.php?60755-CJ-s-Black-Sat-quot-JIMBO-quot-Jart-4-in-DD-in-NC-or-any-Jart-build!/page2&highlight=jimbo
Inserting the coupler into the aft portion of the fin can I drew fin line marks for future shear pins and vent placement. Then transferred the marks from the coupler to the vent band. I used a piece of tape to keep the vent band on the coupler while making marks so it wouldn't move while I was handling it.
Putting the bulk plate on the nose side of the coupler I inserted the coupler into the nose cone to a snug but not too tight fit and drew a line with a silver sharpie around the coupler where it met the nose cone. I also marked where the vent band fit the best to the nose cone.
Putting a piece of tape where the silver line was, I added the vent band and marked a silver line around the aft end.
At this point I moved to our Epoxy station (aka laundry room), removed the tape, sanded inside the vent band and sanded on the coupler between the silver lines to "excite the molecules" then wiped with alcohol and then brushed on 30 minute Epoxy and using a twisting motion I put the switch band in place. Clean up was easy with a little alcohol and pulling the tape up after about 15 minutes. Checked it with the nose cone to make sure I got it right, then put the coupler/switchband in the curing oven, aka outside in 107 degree Arizona temperature. At this point it was 5:15pm. I guess I'm not the fastest builder out there....
Wayne got into the act by bringing out his Wildman Extreme to start building and picked up my nose cone instead of his for test fitting. Needless to say: :gavel:
Tomorrow I'll start on #36 of CJ's Thread .....
Last edited: