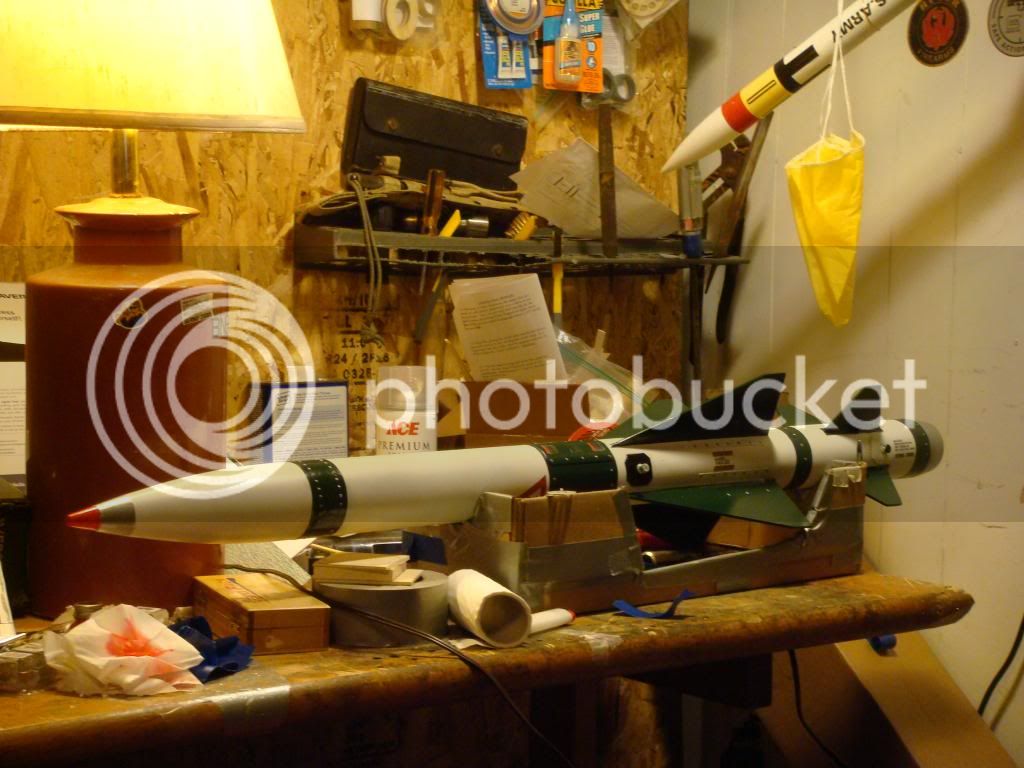
Anyone made rivets with syringe and no-drip glue?

The Rocketry Forum

Help Support The Rocketry Forum:

This site may earn a commission from merchant affiliate links, including eBay, Amazon, and others.

lvgdgts

Well-Known Member
Joined
Aug 3, 2013
Messages
148
Reaction score
0
I'm building a TLP Bullpup and am going to add rivets. I thought using the Titebond no-run, no-drip glue with a syringe might work well. I'm only concerned it might be too thick to get in the syringe, or out for that matter.

I'd appreciate any thoughts.
 
I've done it with good ol' Elmer's glue and a toothpick.

Just have a paper towel handy to wipe off bad ones.

It takes about a half hour or so to do a whole model.
 
I used Titebond II and a Toothpick. The Glue dried with Dimples in it, but I'm going to paint them with Testors with a Brush, so they'll be ok.
 
The toothpic and glue method works great.

I use a white all purpose glue called WeldBond ,nice and thick,dries clear and does not dimple when dry.

By cutting back the toothpic to reduce the point ,you can adjust the size of the rivets you want to make.

You probably have more control in size and placement by doing them by hand,as opposed to a syringe.


Good luck !


Paul T

I use RC-56 and a CA glue tip.. Our club Smug Mug might have some pics of Rockets I did.. Maybe this can help inspire..
https://cia-rocketry.smugmug.com/Rocket-Construction

DSC01658.JPG100_4314.jpg
 
A discription of your rivet making process with visual aids would be a great help to others wishing to do this type of detailing.

Needed to do this task are:
RC-56: This can be bought at most hobby shops or on line at Tower Hobbies.
Pointed glue tips: I like the Jet tips.
Masking tape: If you are going to place a long line of rivets

Pick an area of the model that you like to place rivets. Don’t worry if you struggle a tick at first. RC-56 whipes right off as long as it has not dried yet.

One note: You prime work and prep wipe down are best done first and this the last of the detail you plan on doing. You will not be able to go back at sand when this is done.

Place a drop of RC on the model and move about ¼ to ½ inch away from that rivet and place another. I touch the model with the tip as a leave the dot. Make sure to place and pull the tip straight up and down. Don’t slide it.

It will take some practice to get the size of the rivet the way you want it but with practice you will get them close. Truth is the more time you spend on this the more realistic your rivets will look.

Masking tape can be used as a straight edge if needed on long rivet lines. Just make sure to not over mask the rivets until they are dry.

Pics when I can

Grimracer
 
Thank you very much for taking the time to share.

Anyone that tries their hand at this had better have a steady hand!
 
Thank you very much for taking the time to share.

Anyone that tries their hand at this had better have a steady hand!

Its WAY easer then you think.. I have placed over 2000 rivets in just hours.. Its therapeutic! :surprised:

Grim
 
Thanks. I may try this, if I don't have luck with the syringe.
 
Another method, if you are doing lines of rivets, is to use a comb with teeth at the correct spacing and dip the tips of the teeth into the glue and then touch the comb to the surface to be riveted. Does a lot of rivets in a straight line. We do this a lot when detailing scale aircraft. Probably very difficult to do going around a rocket body tube. Lengthwise would be better.
 
Okay, so this afternoon, I used this:


and this:


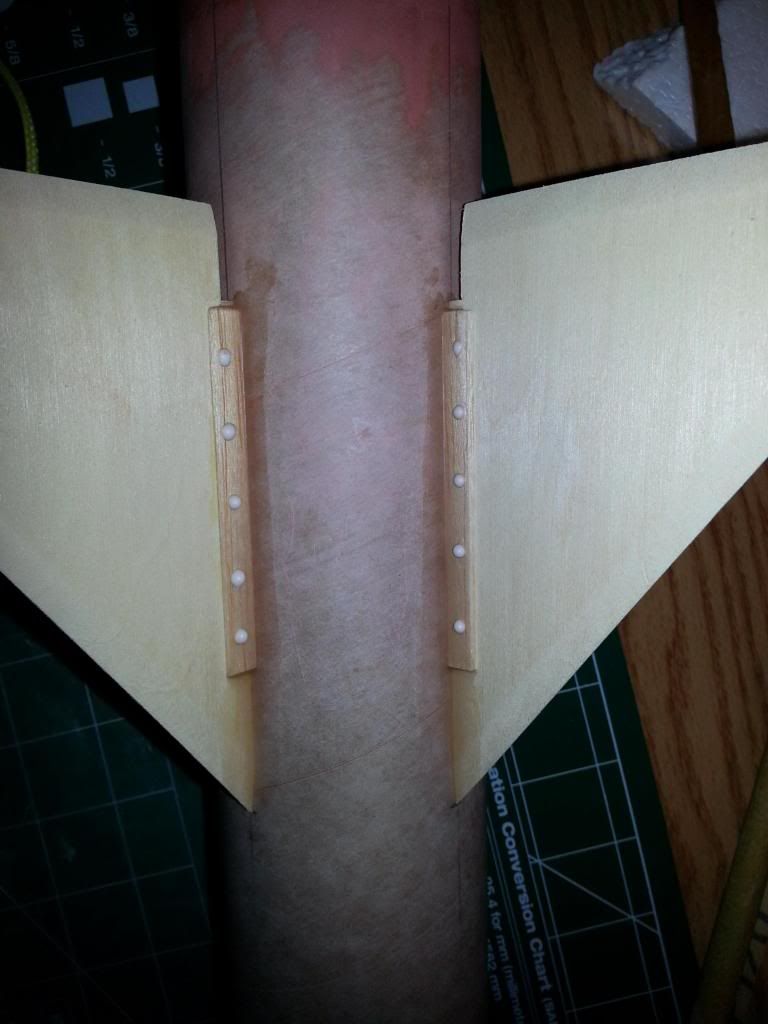
and got this:


In that last mega grande photo the rivets look huge. From a scale standpoint, they would be more like large bolts than rivets. But on the actual model and in person, they look pretty good.
 
They look GREAT to me! Fun, is'nt it?:) I'll have to get some of that "No Run, No Drip" TB. Right now I only have 2 & 3, and my Rivets were a little inconsistent in how they dried, leaving the Dimples. After Paint they look ok though.
One thing I wish I had done would be to have marked the locations of the Rivets prior to applying them. My spacing was not consistant, but you can't tell unless you get real close.
 
Last edited:
I'm not sure yet whether I'll have dimples. That pic is of them only partly dry. I'll comment on that tomorrow.
 
For anyone that may look at this in the future, the no-run no-drip Titebond did not dimple. The rivets hardened exactly like they looked above.
 
Back
Top