

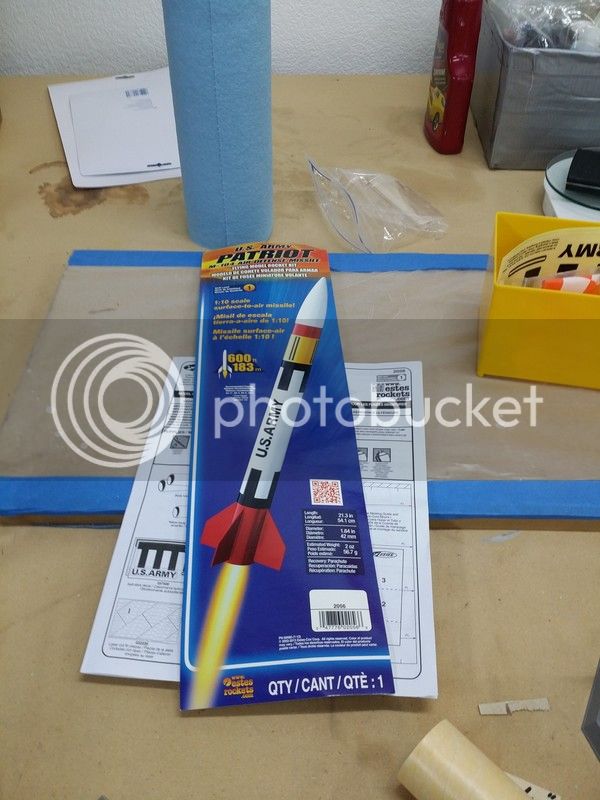
I decided to document my build today. Seen a lot of cool techniques and great advice here which opened my mind up. Although this is not my first rocket, more like my 25th(LPR-MPR), I decided to try to hone my HPR skills on this kit. Don't bash me too hard about weight and overbuilding, I keep an eye on weight and really just making sure I can execute my ideas before I try this out on a 50-120$ Kit.
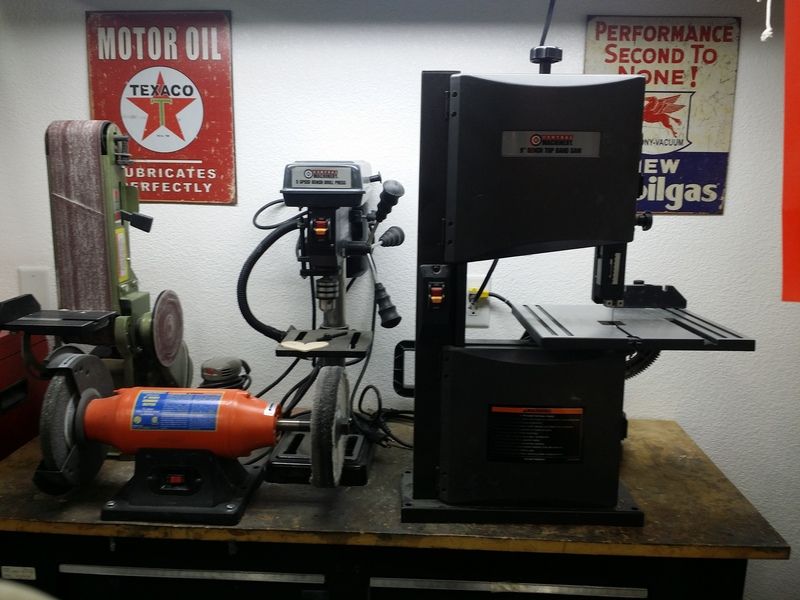
Starting with the Fins. I wanted to try out my band saw skills with cutting fins. I traced the Balsa fins onto 3/32 Basswood. After that, a trip to the belt sander. They came out absolutely perfect and square in every direction. I softened up the edges slightly with 600 grit sanding block as well as the surface in prep for sealing. I cut more for another kit, but i will post that build after this one.
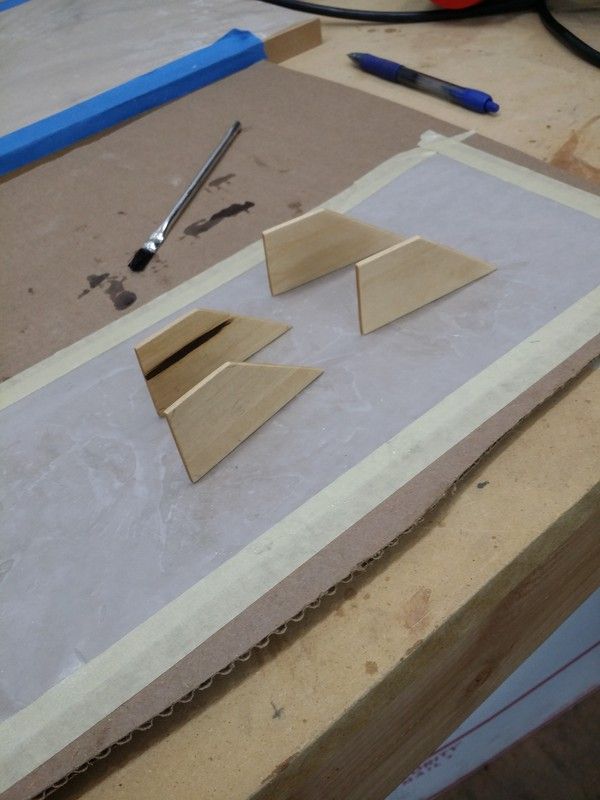
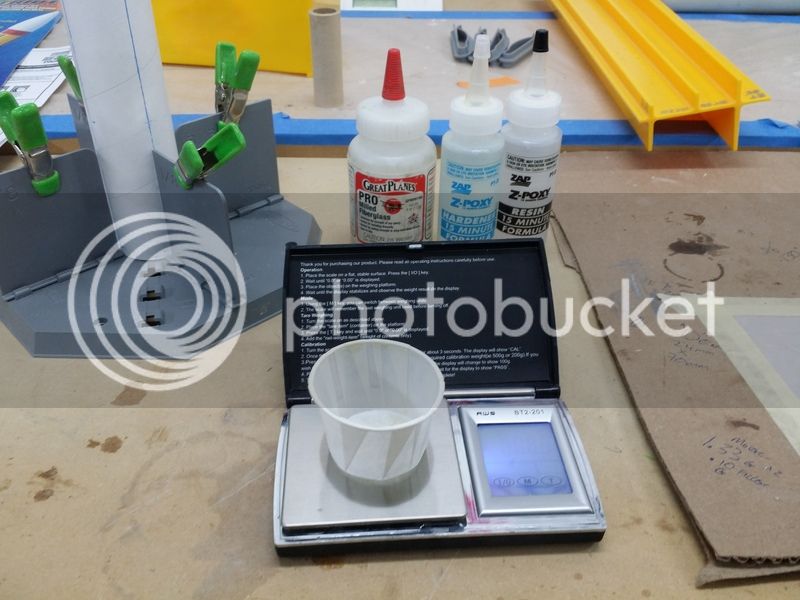
I sealed the wood with my favorite sealing epoxy, 300/21 epoxy. I heat up the wood slightly with a heat gun, brush a coat on both sides, set on wax paper for an hour, hit with heat again, let it cool for 5 min and wipe/scrape it off with either steel wool or a hotel key card. I let them dry overnight. The next day I sand with 600 to knock down any high spots and open up the root edge.
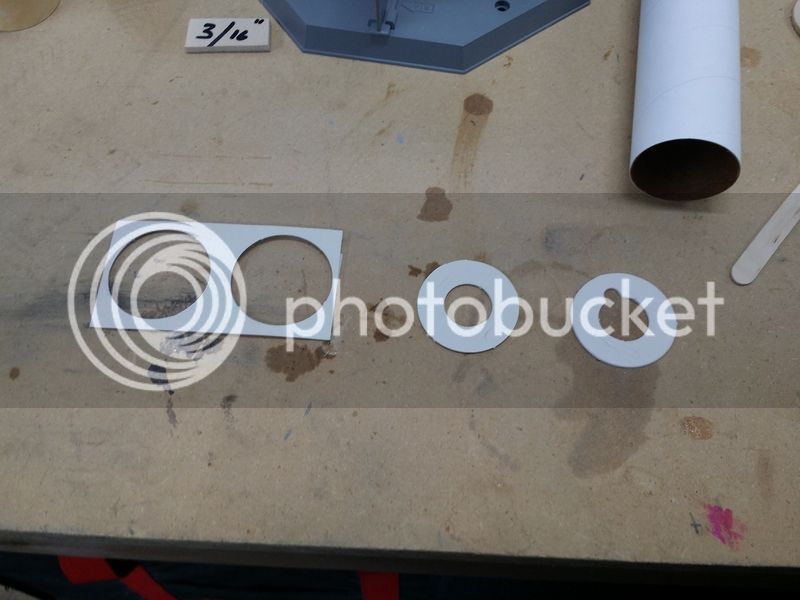
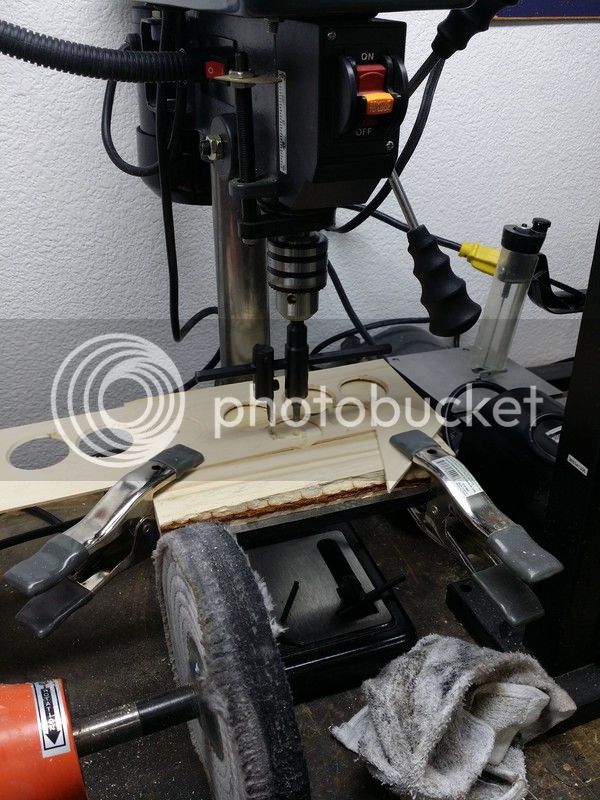
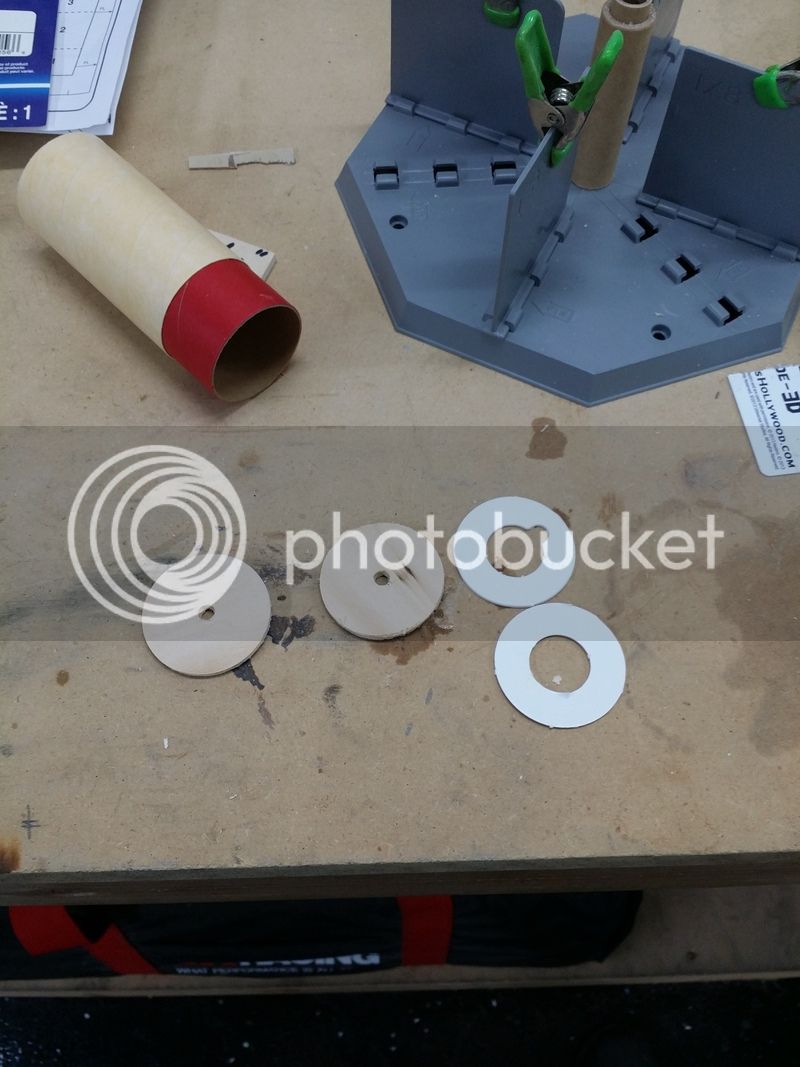
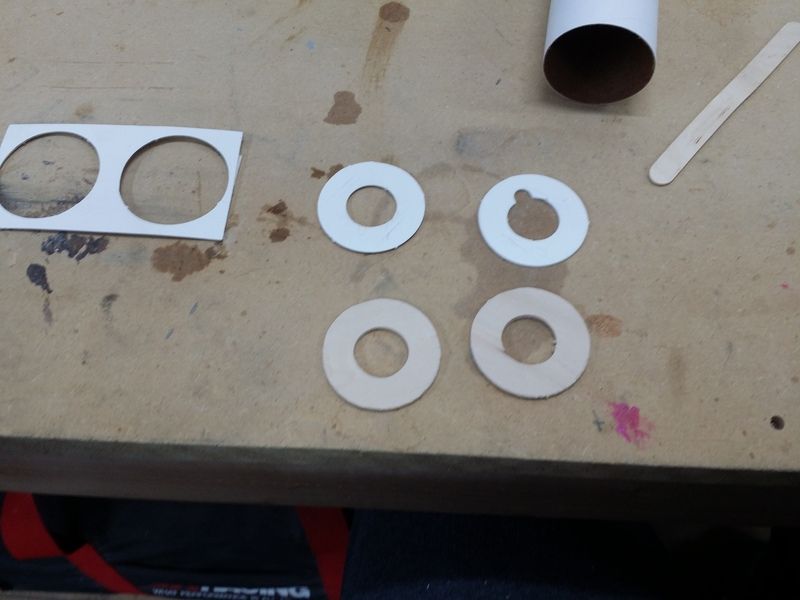
Next up is the centering rings. I ordered a 18/20 aluminum retainer and a longer 18mm MMT with the intention of cutting the MMT a little longer to encase the AT reload case and leave enough tube out the back for the retainer to fit on. I decided that the paper rings needed to go, so this was a great opportunity to try out my centering ring skills! Off to the drill press we go. It took me about 8 tries to get it dead set perfect. Between adjusting the tool, cutting blade and wood thicknesses, I decided to use 3/32 bass wood. Now I weighed the paper compared to the wood CR and the paper was .79 Grams and the wood was .99 grams.
I opened the 18mm center hole with a drill bit and finished it with the dremel drum sander and some 600 grit to soften in up. Perfect fit. I succeeded!
Starting with the Fins. I wanted to try out my band saw skills with cutting fins. I traced the Balsa fins onto 3/32 Basswood. After that, a trip to the belt sander. They came out absolutely perfect and square in every direction. I softened up the edges slightly with 600 grit sanding block as well as the surface in prep for sealing. I cut more for another kit, but i will post that build after this one.
I sealed the wood with my favorite sealing epoxy, 300/21 epoxy. I heat up the wood slightly with a heat gun, brush a coat on both sides, set on wax paper for an hour, hit with heat again, let it cool for 5 min and wipe/scrape it off with either steel wool or a hotel key card. I let them dry overnight. The next day I sand with 600 to knock down any high spots and open up the root edge.
Next up is the centering rings. I ordered a 18/20 aluminum retainer and a longer 18mm MMT with the intention of cutting the MMT a little longer to encase the AT reload case and leave enough tube out the back for the retainer to fit on. I decided that the paper rings needed to go, so this was a great opportunity to try out my centering ring skills! Off to the drill press we go. It took me about 8 tries to get it dead set perfect. Between adjusting the tool, cutting blade and wood thicknesses, I decided to use 3/32 bass wood. Now I weighed the paper compared to the wood CR and the paper was .79 Grams and the wood was .99 grams.
I opened the 18mm center hole with a drill bit and finished it with the dremel drum sander and some 600 grit to soften in up. Perfect fit. I succeeded!
Last edited:
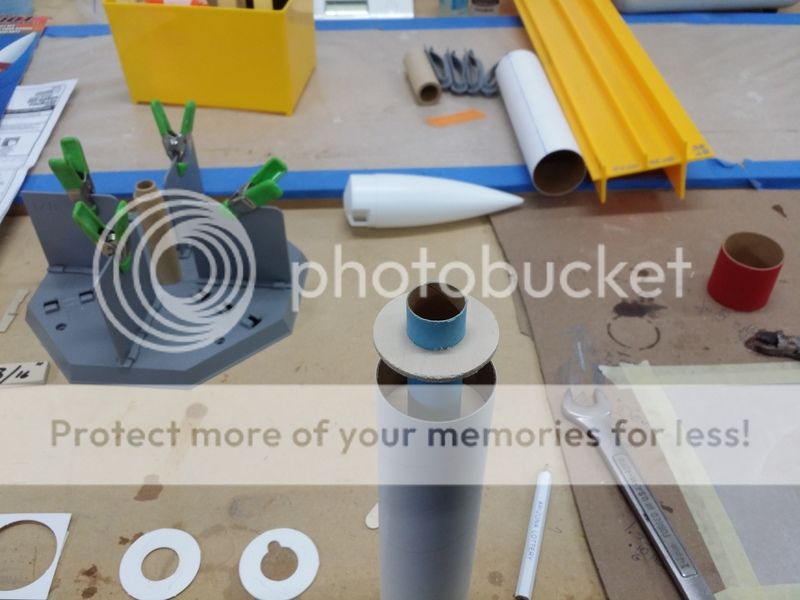
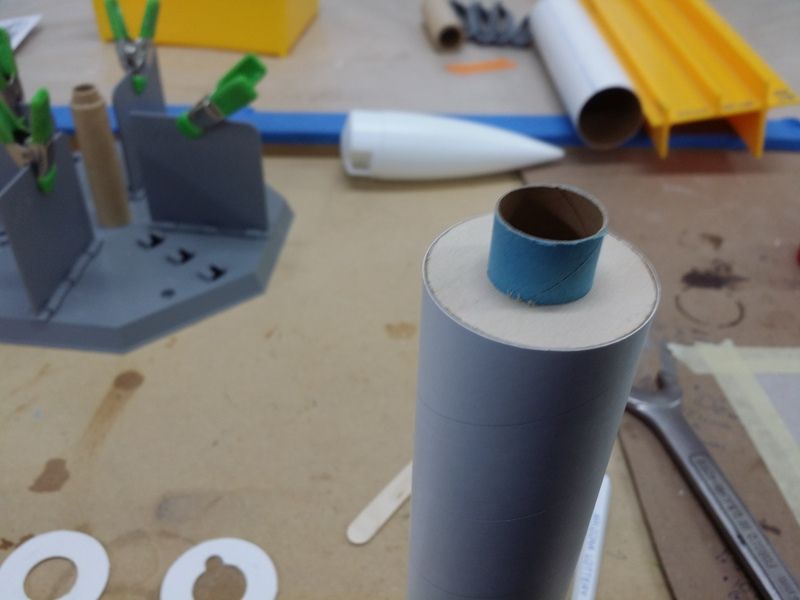

") Did you use the kit motor tube (blue) ? You mentioned waiting for a longer motor tube on order; I don't think that's absolutely necessary for the 18/24 reload case BTW.
Did you use the kit motor tube (blue) ? You mentioned waiting for a longer motor tube on order; I don't think that's absolutely necessary for the 18/24 reload case BTW.


