dragon_rider10
Well-Known Member
- Joined
- Dec 9, 2009
- Messages
- 699
- Reaction score
- 2
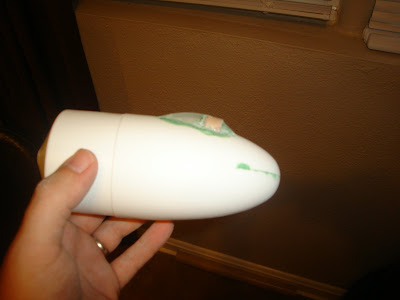
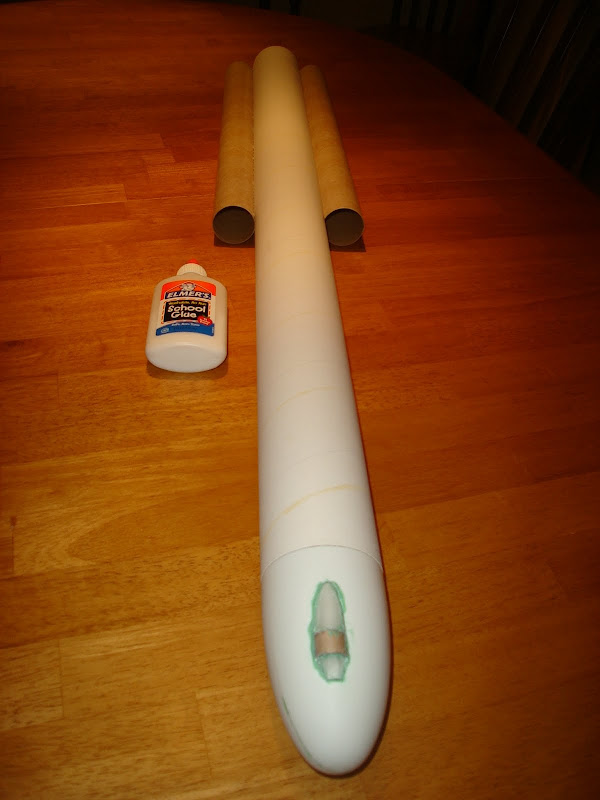
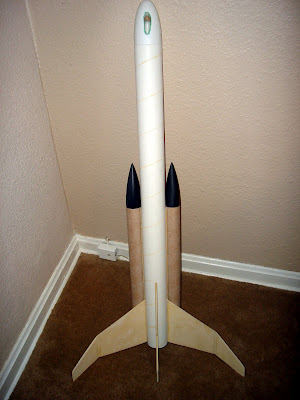
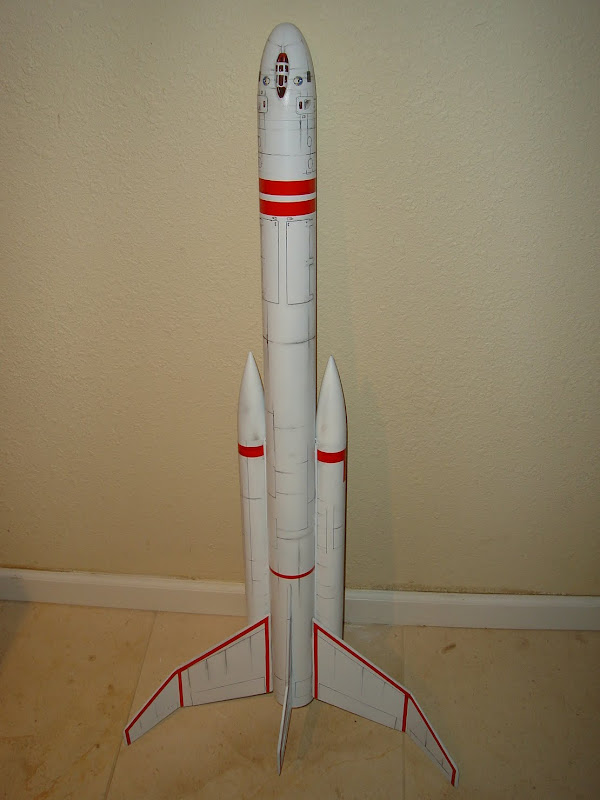
Another question came to me last night as I'm planning this thing out in my head. The main body tube is going to be 40" of BT80. Will I need to use a stuffer tube on the engine mount to ensure the ejection pressure from the single D12 is enough to pop the chute?
")