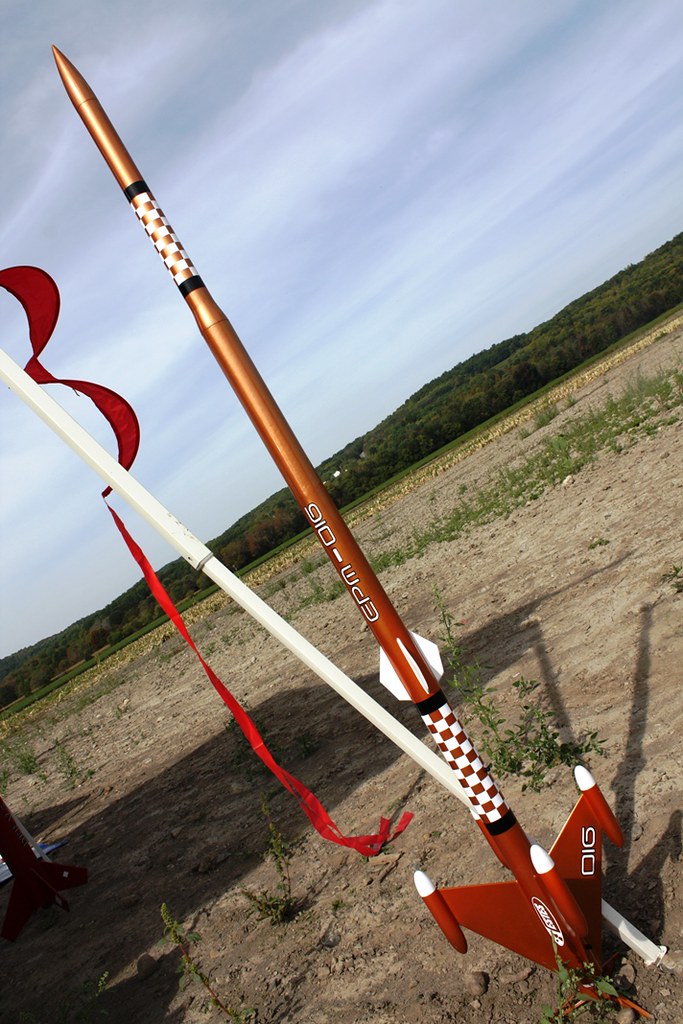
These cans are 1) expensive @ $6.50 or so each, 2) have a fairly inefficient nozzle, so that a lot of the paint winds up in the air and on the ground rather than on the model. I used Sienna Mist on my EPM-016, and while the final product looks good, I used a full 2 cans to get full, even coverage. And 3) it don't regulate well - even though there's a "trigger", it is mostly either on or off in terms of flow. It does not feather, and spraying lightly results in spattering. I've gotten this on several samples now, so I'm pretty sure its a consistent property. Oh, also, the alleged "2-in-1" paint and primer is bogus - if you do not prime first and have an even base coat, you will not get even color.
I recently painted a display piece for work with the "Carbon Mist", with apple red on the interior. It looks sharp, but again, it took a lot of paint (and priming and prep) to get there.


")