


marwady
Build twice, Launch once
- Joined
- Oct 28, 2012
- Messages
- 389
- Reaction score
- 10
-8 here right now so I guess I will not be painting...
Time to build and this kit has been in my pile for a while.
This is posted in mid-power because I won't fly it on anything less than an AT RMS E-18. No "heart attack", low altitude ejections for me.
I love Semroc kits, high quality and very rewarding. I have come to realize that I like building these kits in modules and mostly out of sequence.
I always spend time in reviewing, measuring, reviewing, measuring and then creating sub-assemblies that I can check fit and sometimes, add mods.
This Saturn will have the following mods:
I am assuming that the 2 piece stuffing tube was included in the kit as to facilitate packaging in a smaller box.
I just happened have the exact tube in a 1 piece, 18" length so I used it.
I also have one more surprise mod to be revealed later.
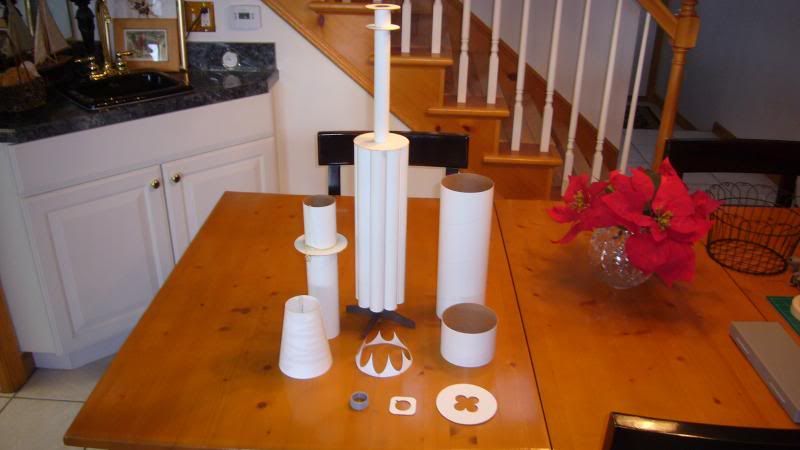
Here are some pix of the modules so far:
Cheers!!
Time to build and this kit has been in my pile for a while.
This is posted in mid-power because I won't fly it on anything less than an AT RMS E-18. No "heart attack", low altitude ejections for me.
I love Semroc kits, high quality and very rewarding. I have come to realize that I like building these kits in modules and mostly out of sequence.
I always spend time in reviewing, measuring, reviewing, measuring and then creating sub-assemblies that I can check fit and sometimes, add mods.
This Saturn will have the following mods:
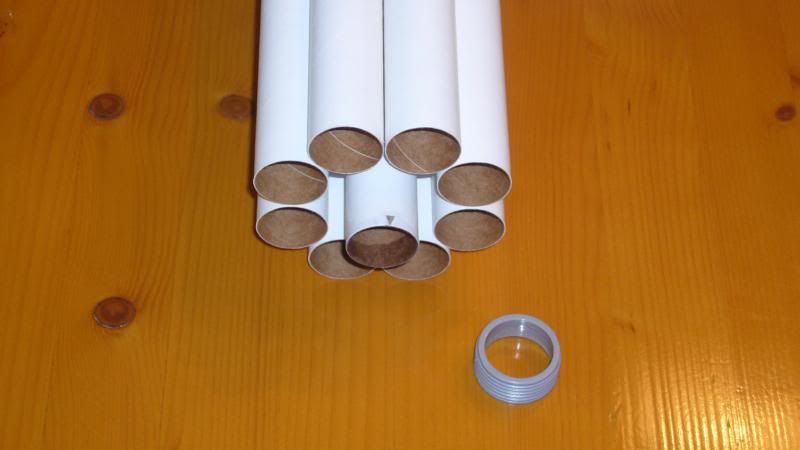
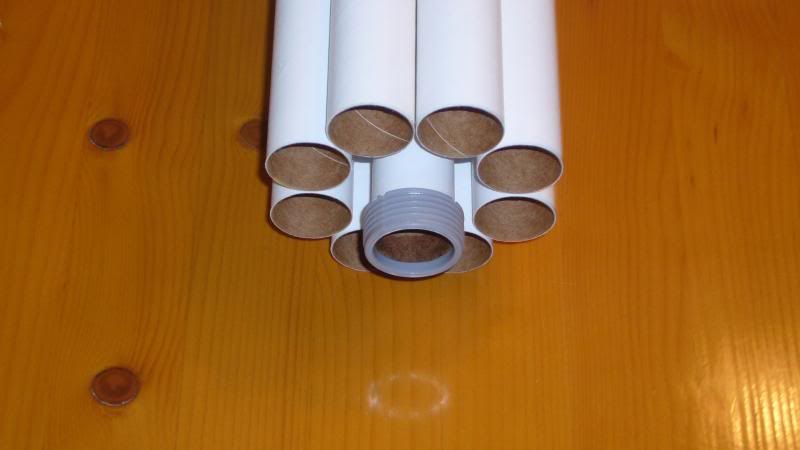
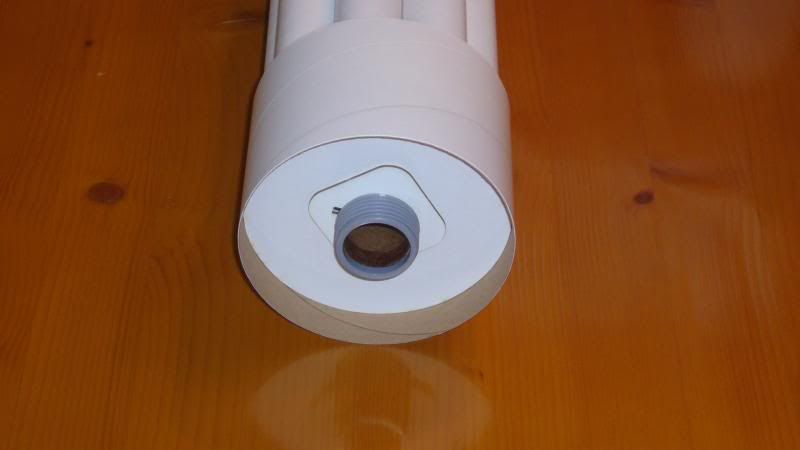
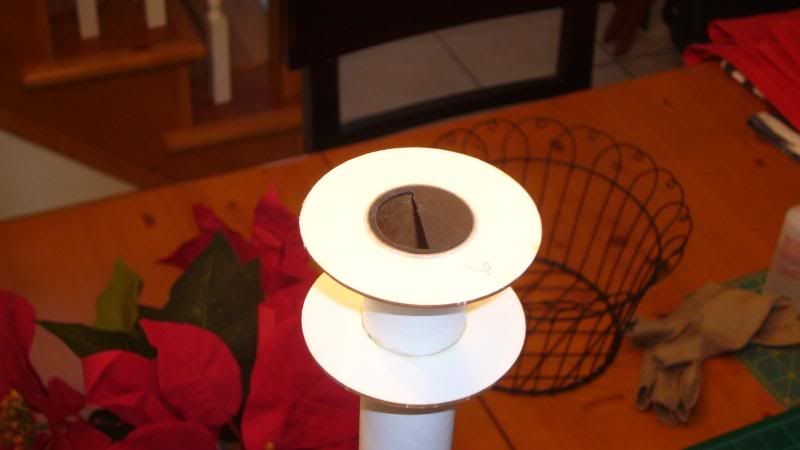
- 24mm Estes retainer
- 1 piece Center stuffing tube
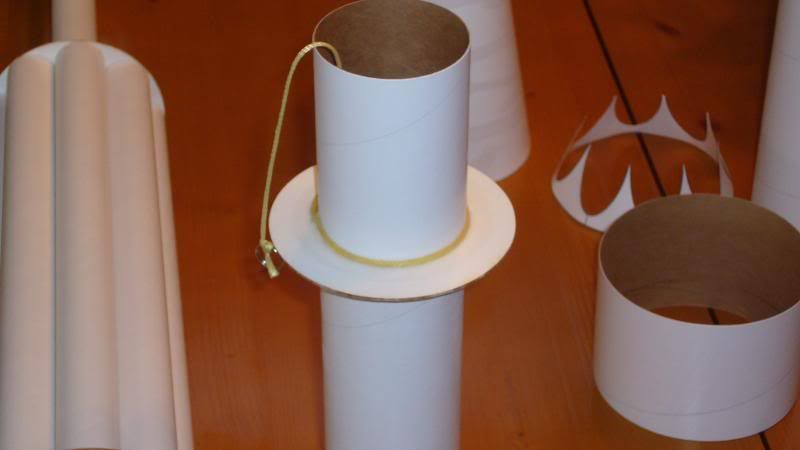
- Kevlar/Elastic shock cord
- 24mm baffle
I am assuming that the 2 piece stuffing tube was included in the kit as to facilitate packaging in a smaller box.
I just happened have the exact tube in a 1 piece, 18" length so I used it.
I also have one more surprise mod to be revealed later.
Here are some pix of the modules so far:


Cheers!!
Last edited:


.jpg")


