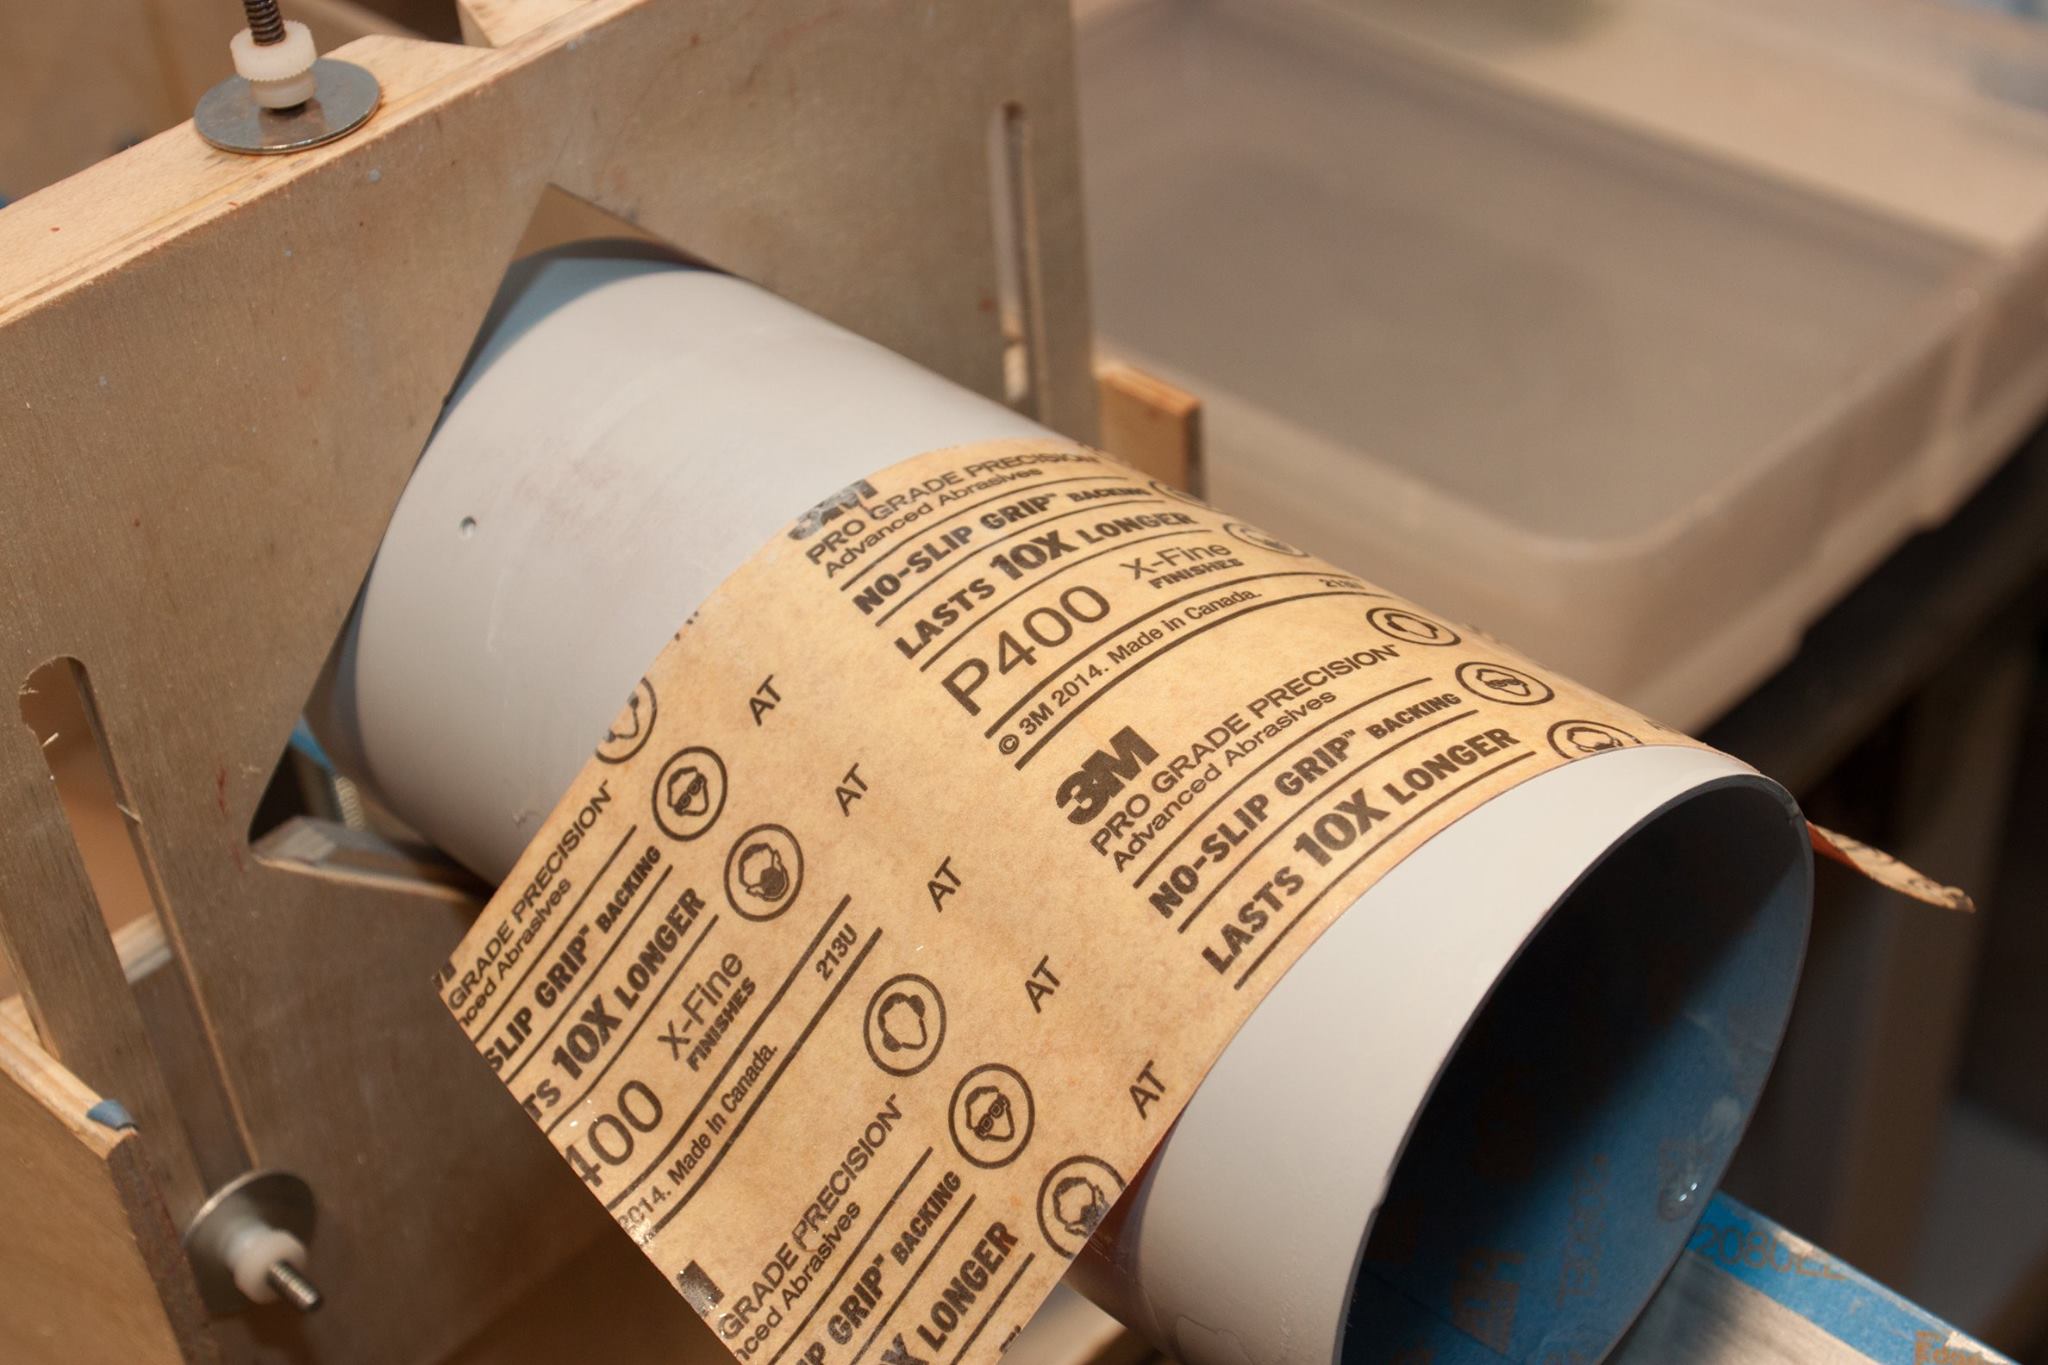
Backstory: I'm building a 2.6" rocket with PML phenolic tubing. It has world class spirals. If you yell into them, you can hear an echo. They seem to have a square cross section. I filled them with Elmer's CWF, and, yes, I completely filled them. It was mounded up above the tube surface. However....
When I sanded them down, it seems that the sandpaper "dipped" into the crevasse, er, I mean spiral, and sanded away some of the CWF. Probably due to uneven pressure from my hand or fingers. So I still have spirals, but just not as deep. I need a better way.
It would seem that some rigid sanding block would help, but a flat block on a curved surface isn't likely to provide even results. At least not in my unskilled hands. What would be perfect is a contoured sanding block, with curvature matching the tube diameter. Nobody seems to sell them, and I don't really want to try and make something just for this one rocket. I tried a foam backed sanding block, not much better results.
Ideas?
Hans.
")