krusty
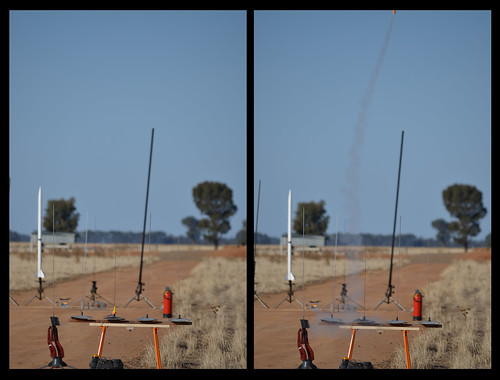
Rocket Powered Kangaroo
The Fliskits Tumble Weed is an itty bitty little kit, designed to fly on 13mm motors.
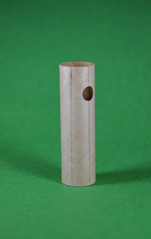
Opening the bag reveals the contents -
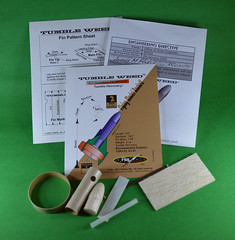
Nose cone, body tube (with vent holes), engine hook, balsa, launch lug etc.
The first thing that you need to do is to trim the nose cone shoulder down to 1/4"
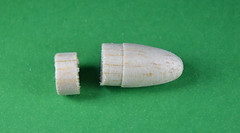
A few seconds on the bandsaw made quick work of the balsa.
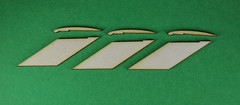
The kit comes with a piece of balsa and a template for cutting the fins. Now, I've tried cutting fins before - mostly they work out ok, but the Tumble Weed has these tiny little caps that go on the outside of the ring fin - there's no way I was going to cut those. So instead, I drafted the fins up in CorelDRAW and laser cut them from 1.5mm ply.
With the nose cone trimmed and the fins cut, marking the body tube comes next.
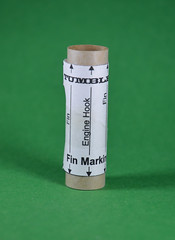
Marking guide wrapped around body tube and all marked up!
With the body tube marked, I started gluing on the fins, nose cone and then made a slit for the engine hook.
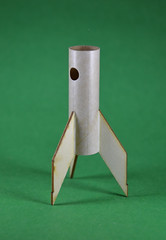
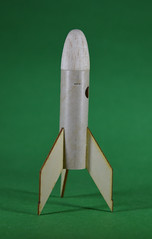
Once the glue was dry, I moved onto the engine hook which is held in place with a piece of gauze and the launch lug.
I started by painting the body and the tube fin separately.
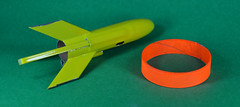
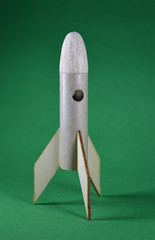
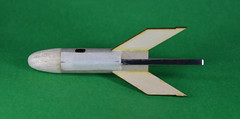
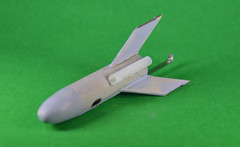
And finally assembled with the little fin bits added on the outside of the tube fin.
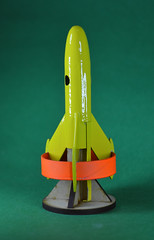
I made up some "Tumble Weed" decals & placed these around the ring fin. The final step was to clear-coat the whole rocket.
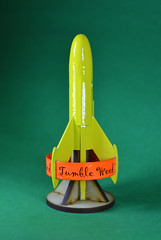
And we're done!!
Krusty
Opening the bag reveals the contents -
Nose cone, body tube (with vent holes), engine hook, balsa, launch lug etc.
The first thing that you need to do is to trim the nose cone shoulder down to 1/4"
A few seconds on the bandsaw made quick work of the balsa.
The kit comes with a piece of balsa and a template for cutting the fins. Now, I've tried cutting fins before - mostly they work out ok, but the Tumble Weed has these tiny little caps that go on the outside of the ring fin - there's no way I was going to cut those. So instead, I drafted the fins up in CorelDRAW and laser cut them from 1.5mm ply.
With the nose cone trimmed and the fins cut, marking the body tube comes next.
Marking guide wrapped around body tube and all marked up!
With the body tube marked, I started gluing on the fins, nose cone and then made a slit for the engine hook.
Once the glue was dry, I moved onto the engine hook which is held in place with a piece of gauze and the launch lug.
I started by painting the body and the tube fin separately.
And finally assembled with the little fin bits added on the outside of the tube fin.
I made up some "Tumble Weed" decals & placed these around the ring fin. The final step was to clear-coat the whole rocket.
And we're done!!
Krusty
")