Estes STM-012 Build-- FINISHED!

The Rocketry Forum

Help Support The Rocketry Forum:

This site may earn a commission from merchant affiliate links, including eBay, Amazon, and others.

Rob702Martinez

Zip-Tie Oversight Committee
TRF Supporter
Joined
Dec 30, 2015
Messages
1,371
Reaction score
351
Location
Las Vegas
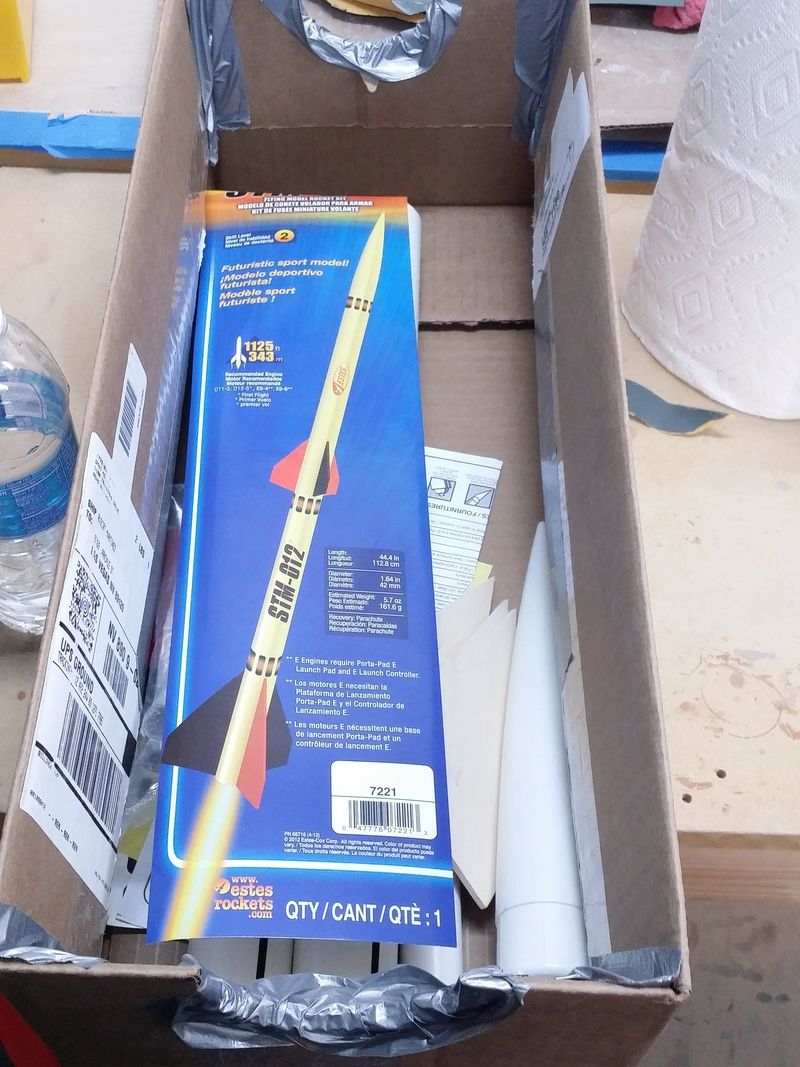
Well, on to the next kit. Its an Estes STM-012, I like the design so much I ordered a TLP AMMRAM...which ended up being out of stock, so I switched for a TLP Sparrow, which I think is cool, but the kit arriving was terrible. Not only was it smashed there were other issues with the order...we can get into that another time...

Onwards!

20160213_185620_zpsdjzenfij.jpg


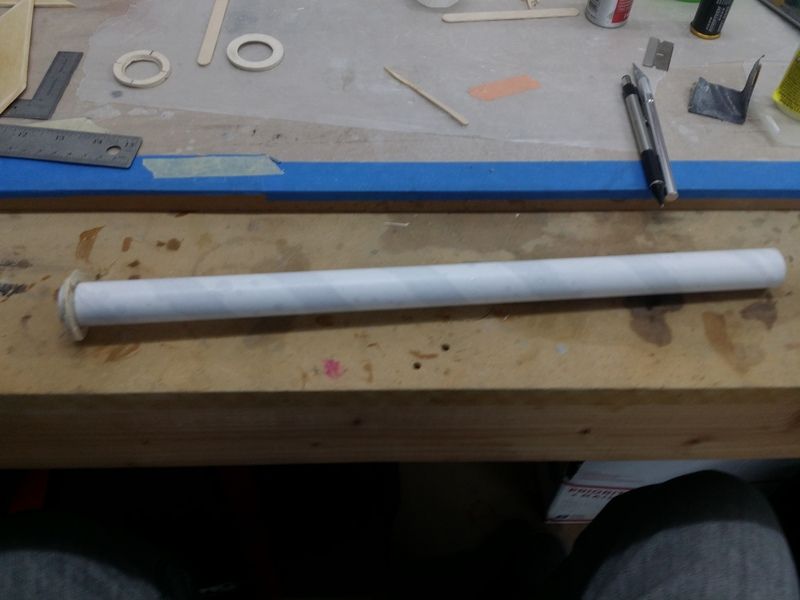
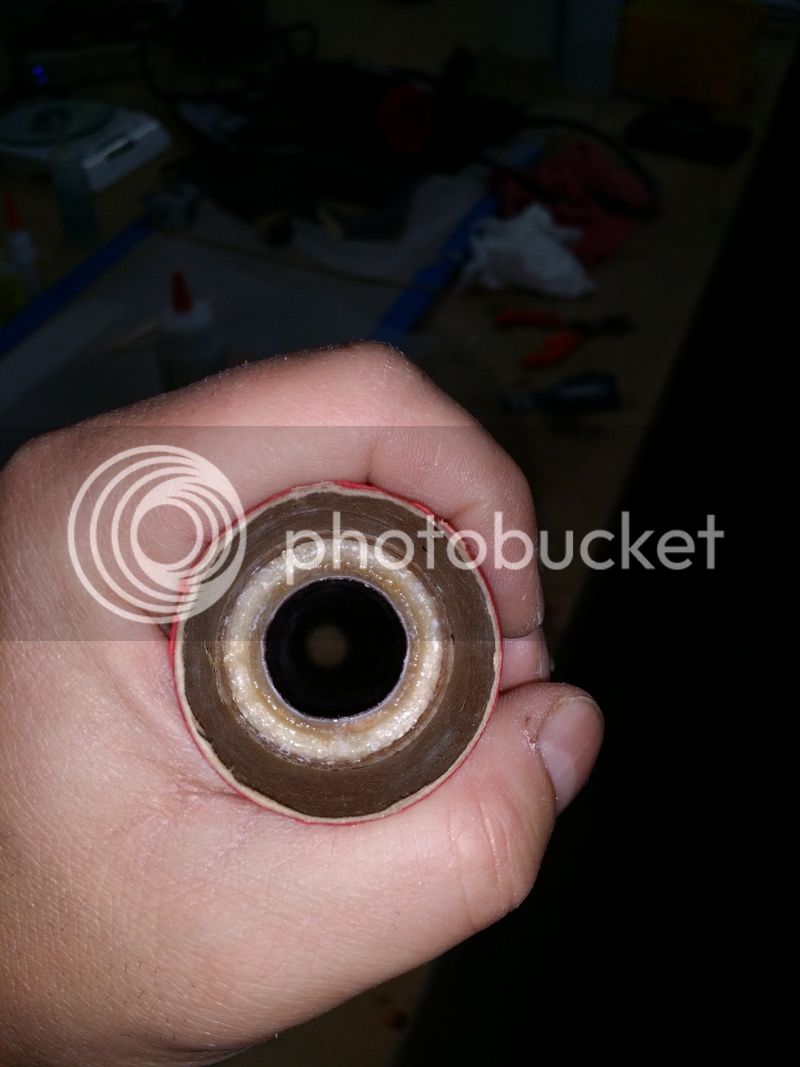
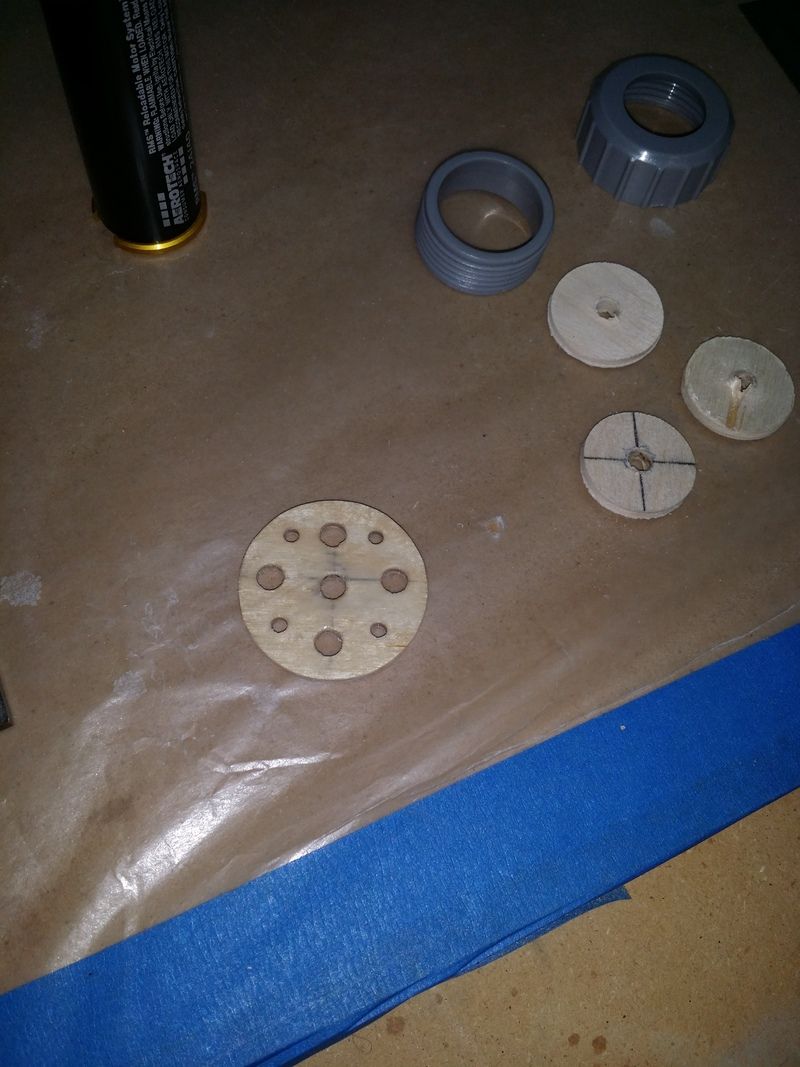
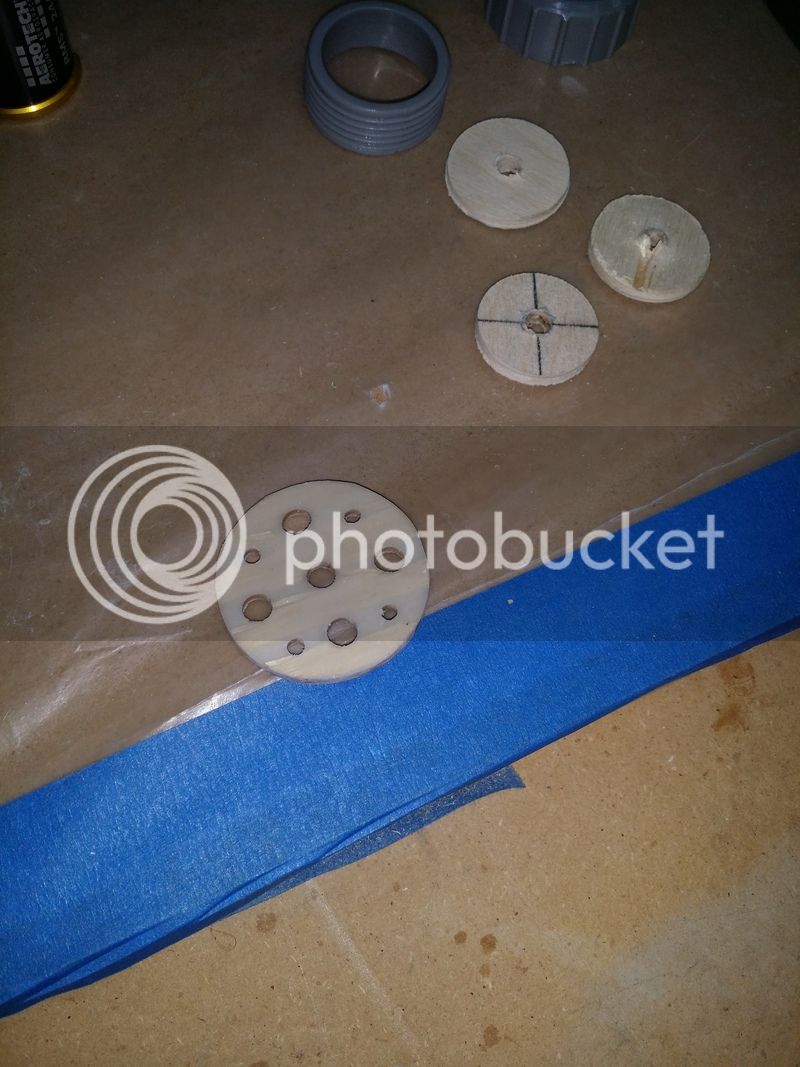
First things first... Ditch the paper CR and make 1/4 ply ones with the circle/fly cutter. If you have a drill press spend the 6 bucks for one of these at harbor freight. It has been worth it for me and I even cut G10 with it.

20160217_195322_zpsdjxvjdma.jpg


20160217_200614_zpspw5zpmgq.jpg


20160217_200604_zpsm8grknx0.jpg


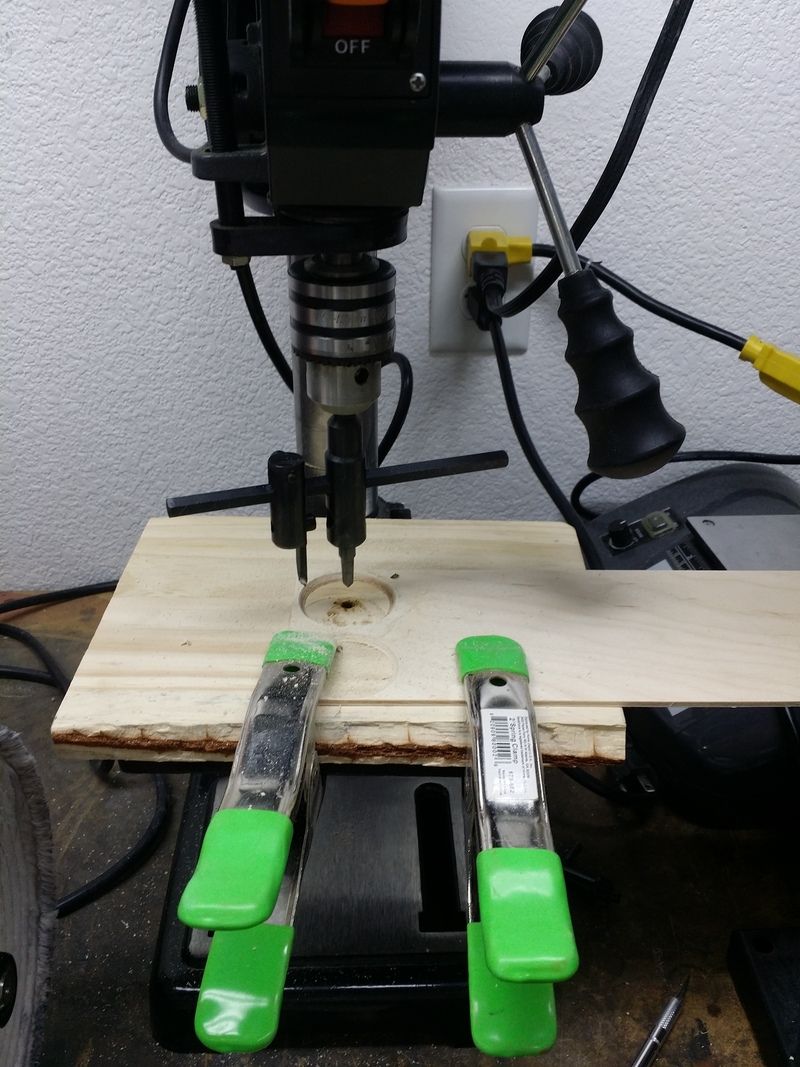
I was even able to adjust the cutter to cut the MMT hole in the CR. Cool!!

20160217_201609_zpspmsj90sf.jpg


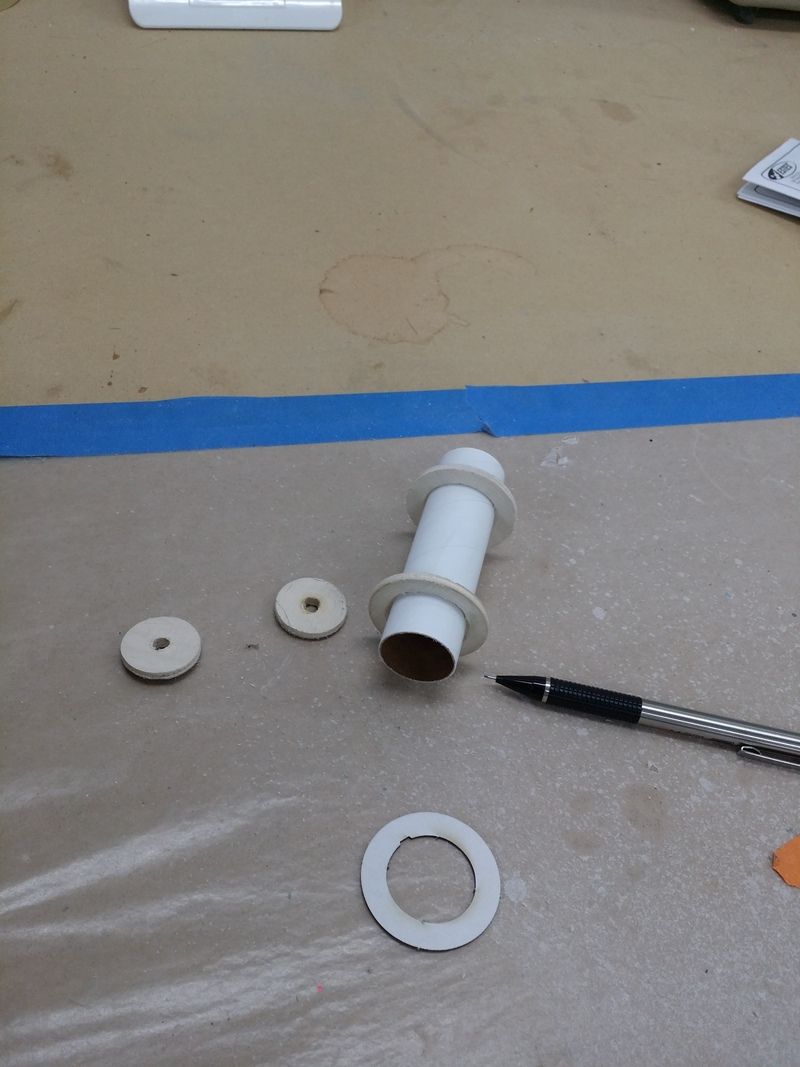
Now I have heard people say why add the extra weight, its heavy, etc.. Since I plan to use 24mm Reloads I decided the marginal extra weight here was worth it.

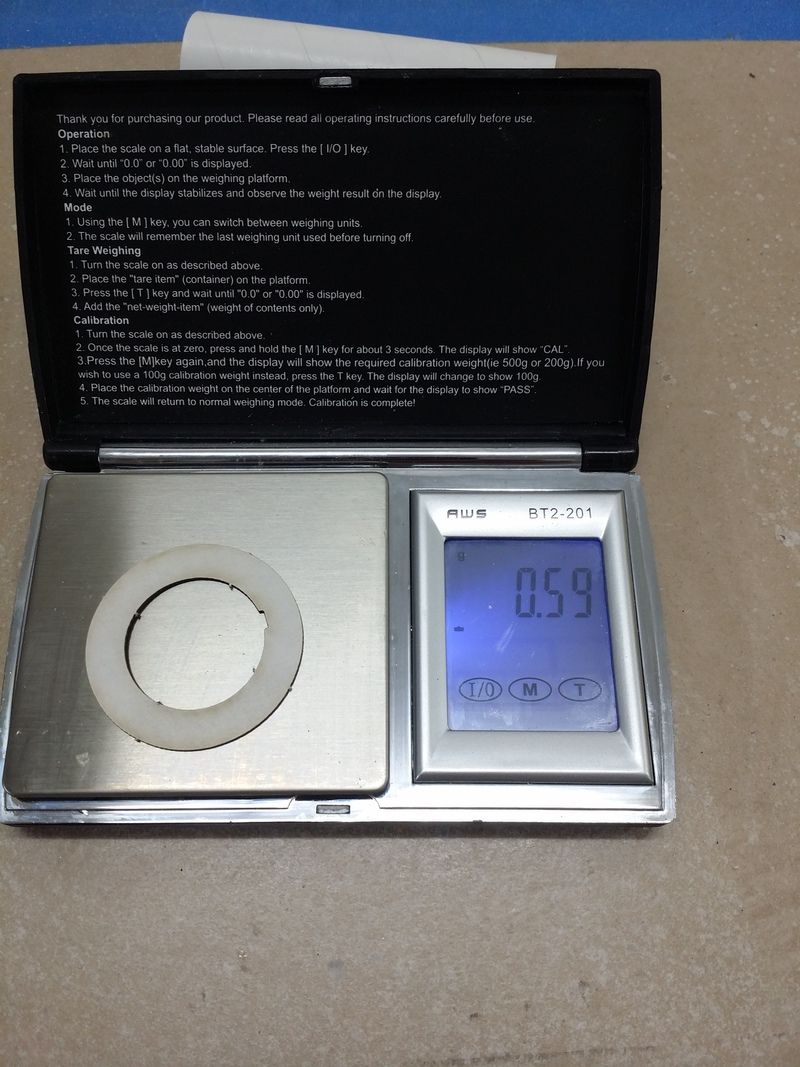
A paper ring for this kit weighs .021 Oz
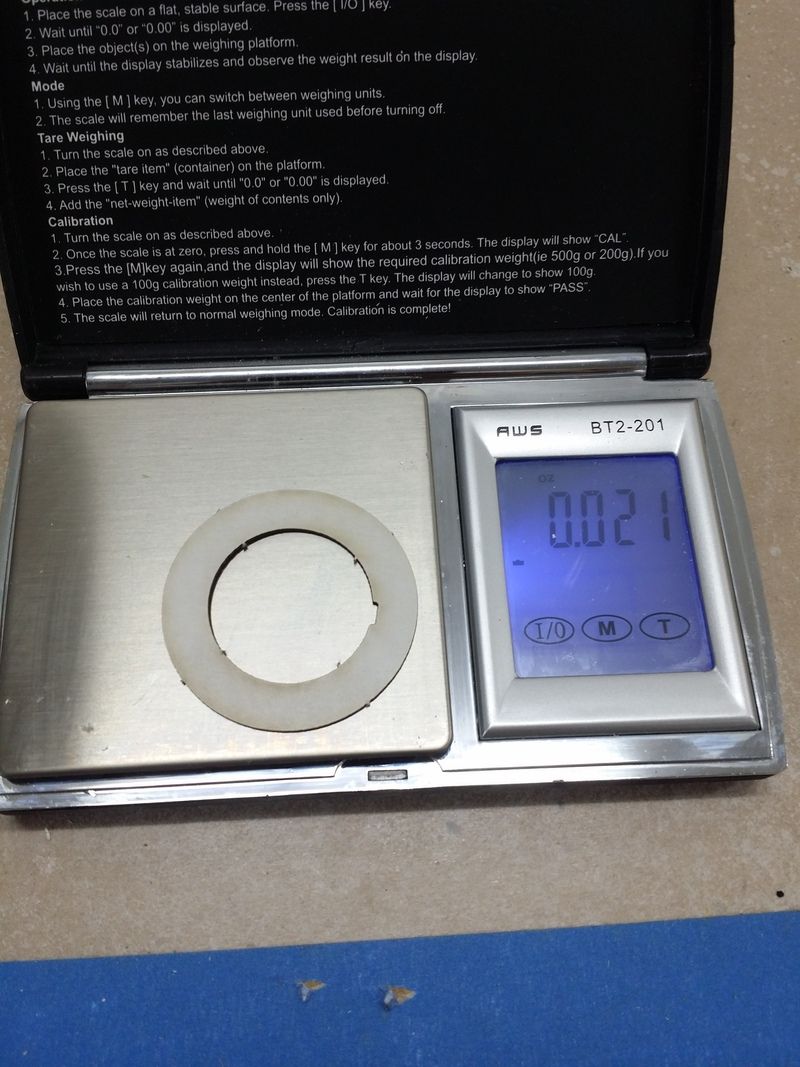
20160217_201654_zpsmxm5olrr.jpg


OR .590 Grams

20160217_201730_zpsru8sdyuy.jpg


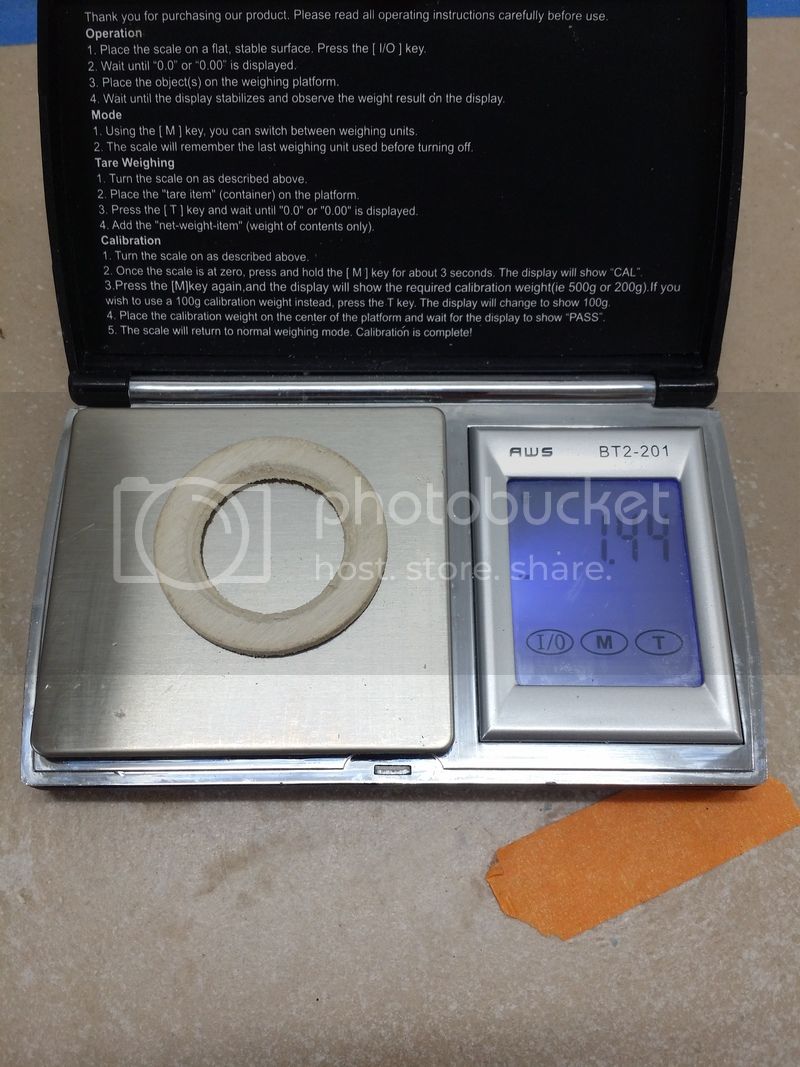
And the ply one weighs .051 Oz
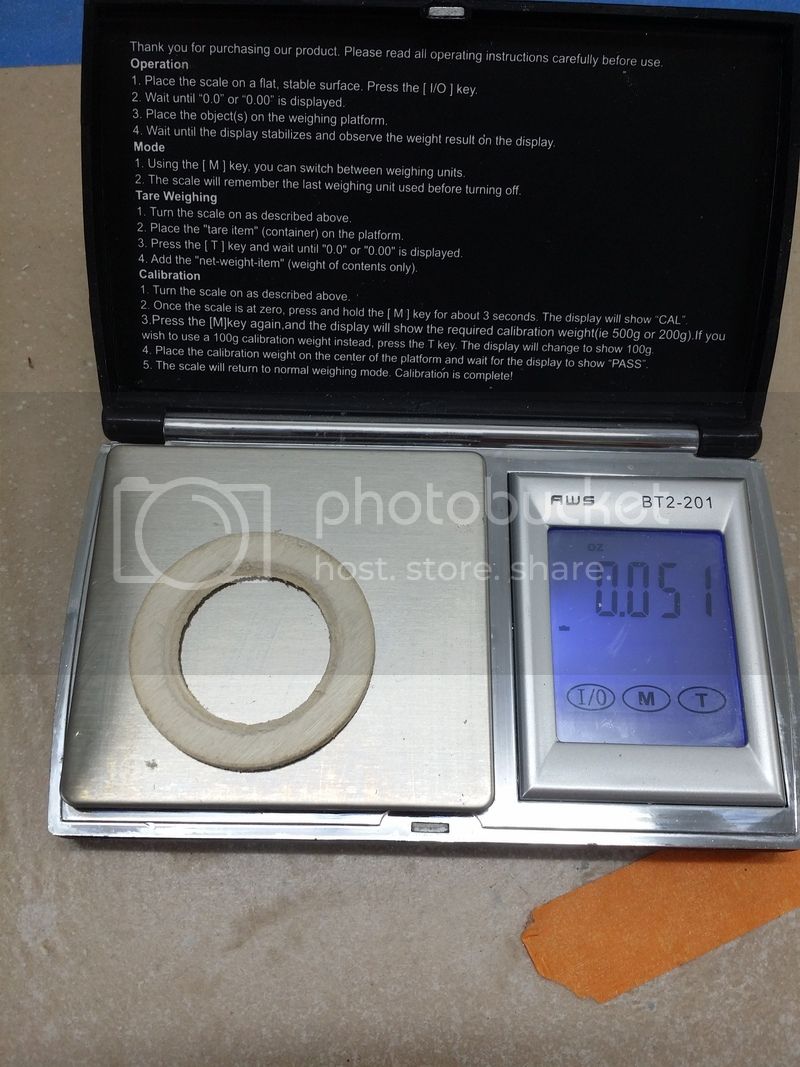
20160217_201829_zpskidp6s4g.jpg


OR 1.44 Grams

20160217_201845_zpslseiphn6.jpg


So total weight added is .060 Oz OR 1.7 Grams from the paper rings... Ehhh...

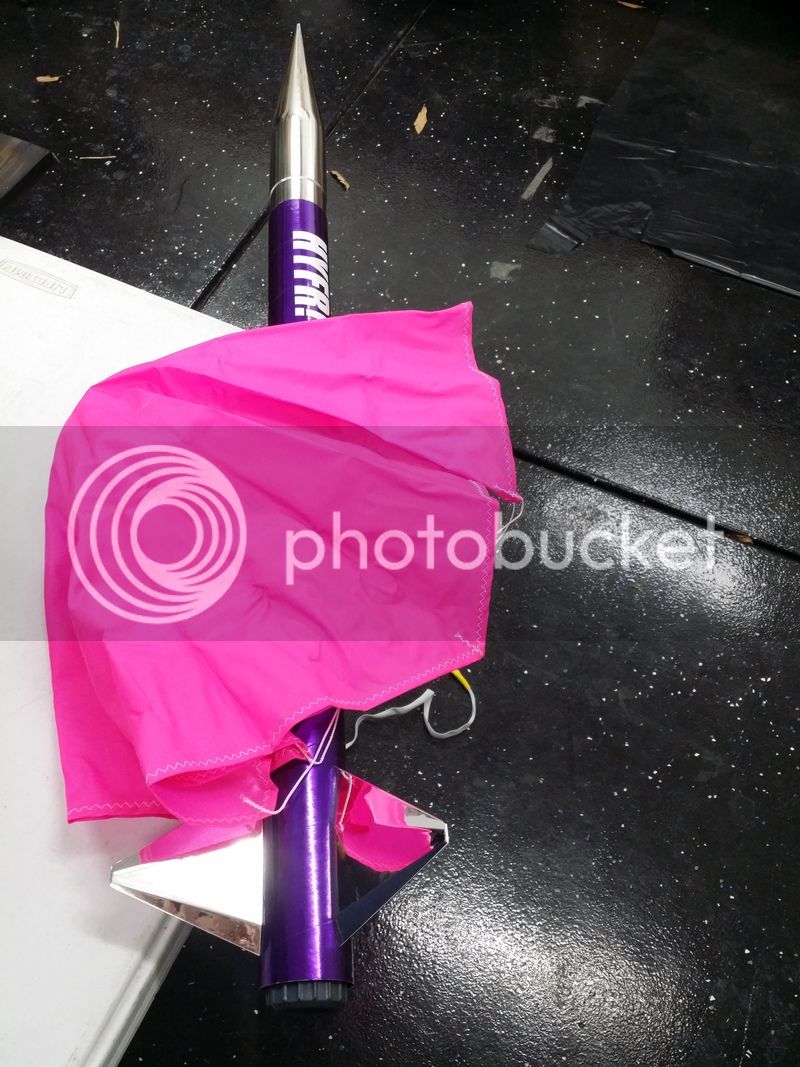
In the mean time I rigged up my new 24in Nylon chute from Top Flite for my Majestic, Right now this is my favorite rocket to launch as last time we hit 418MPH and 2322 Ft. It tore the chute off instantly from an early ejection and fell fin first on the lake bed :facepalm: and not even a scratch. I have a Jolly Logic Chute Release that gets here tomorrow to fix any "early deployment" issues going forward.

20160217_205341_zpspsuhtkfp.jpg


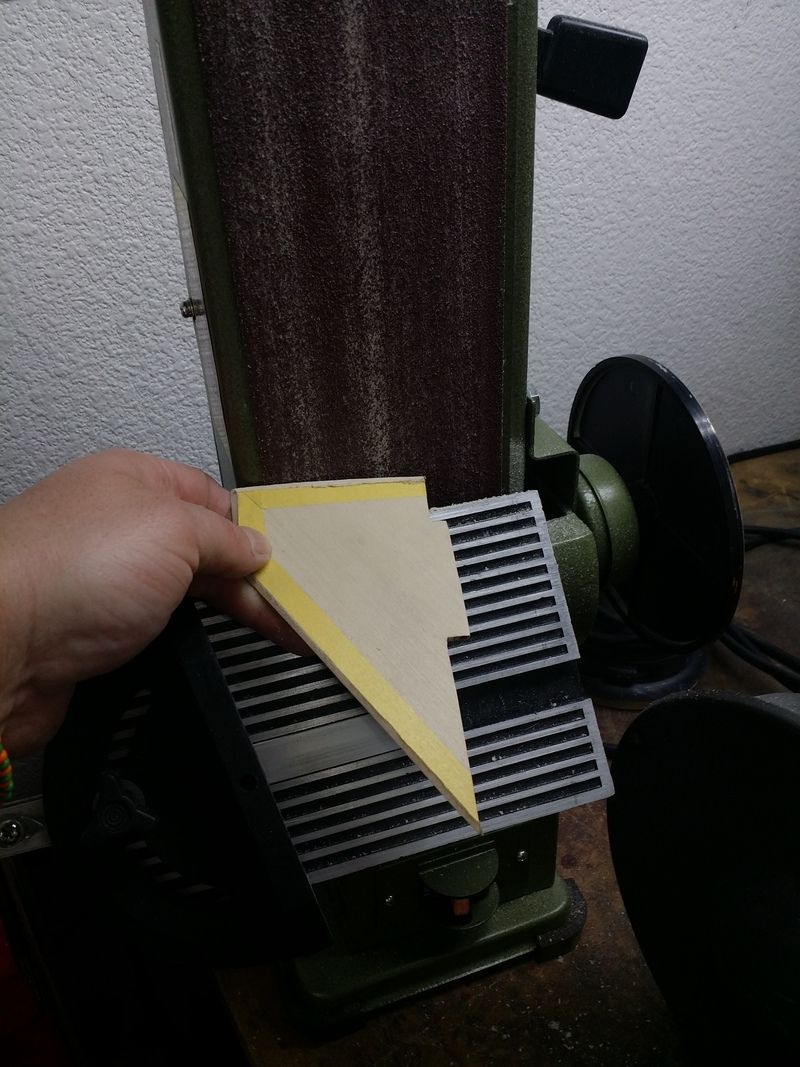
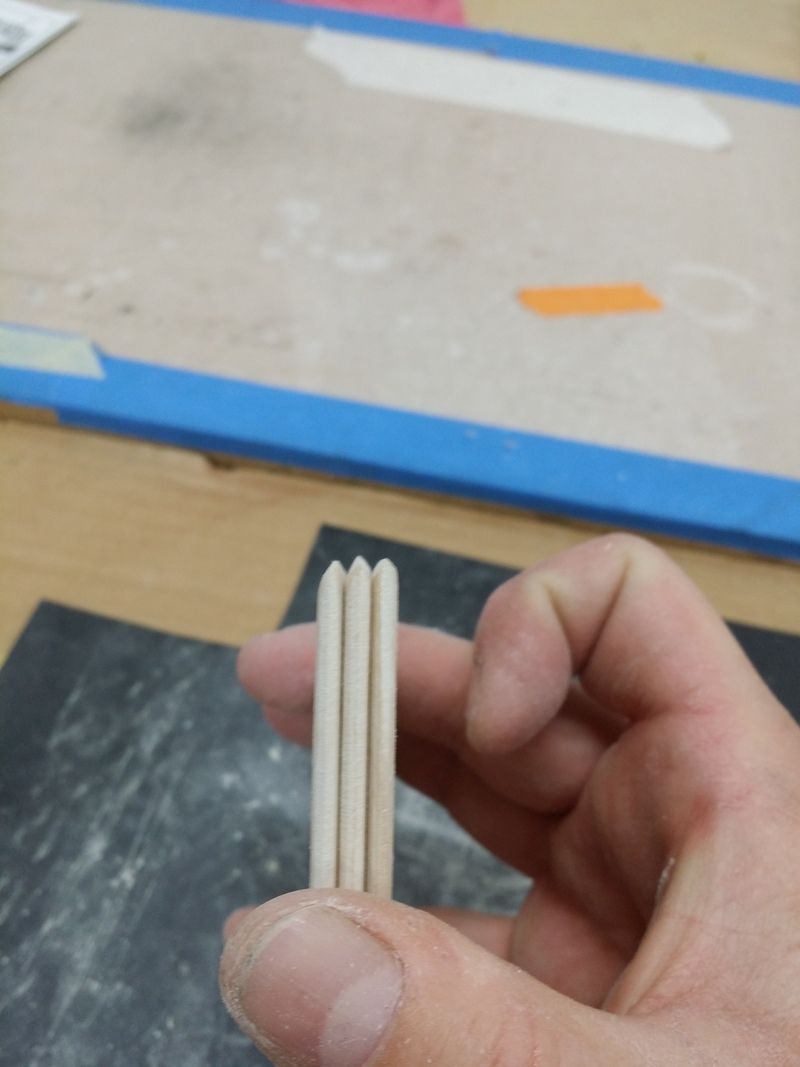
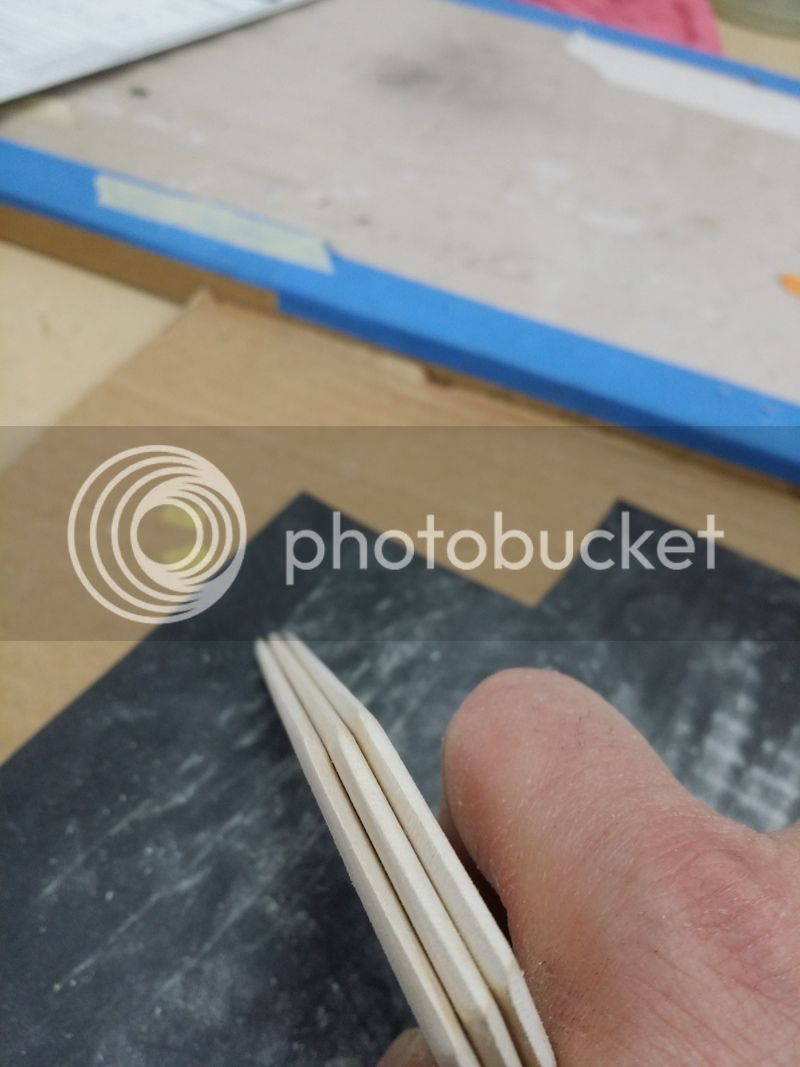
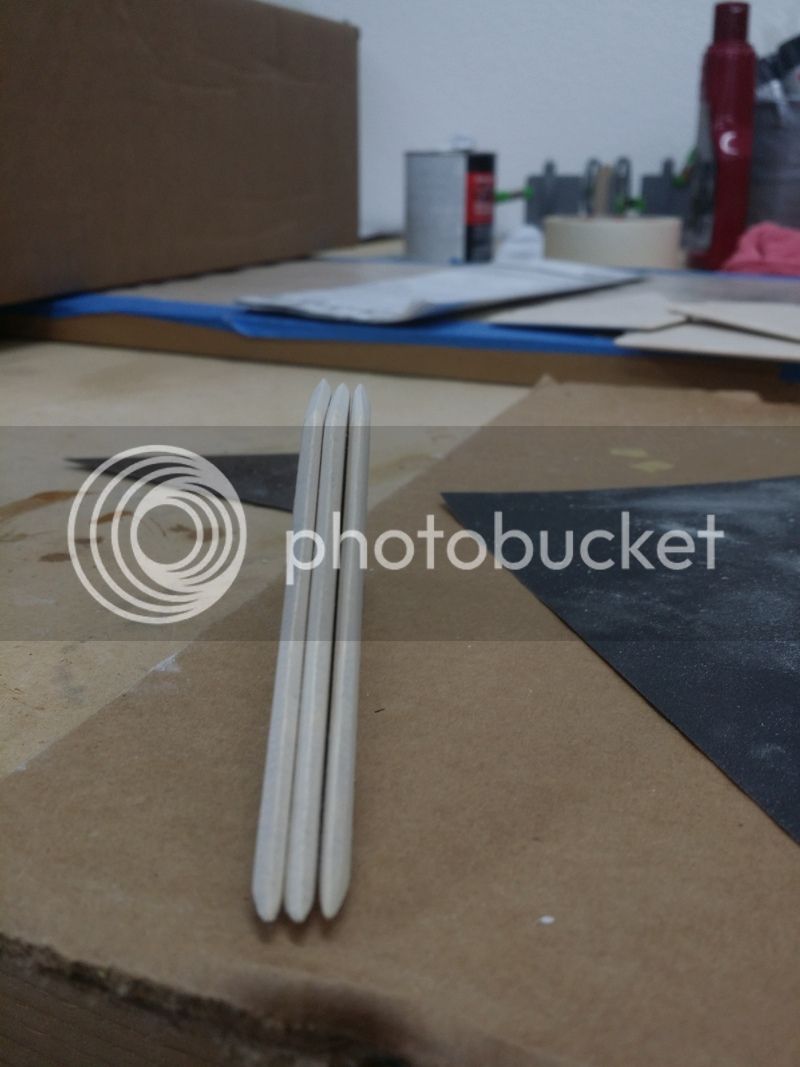
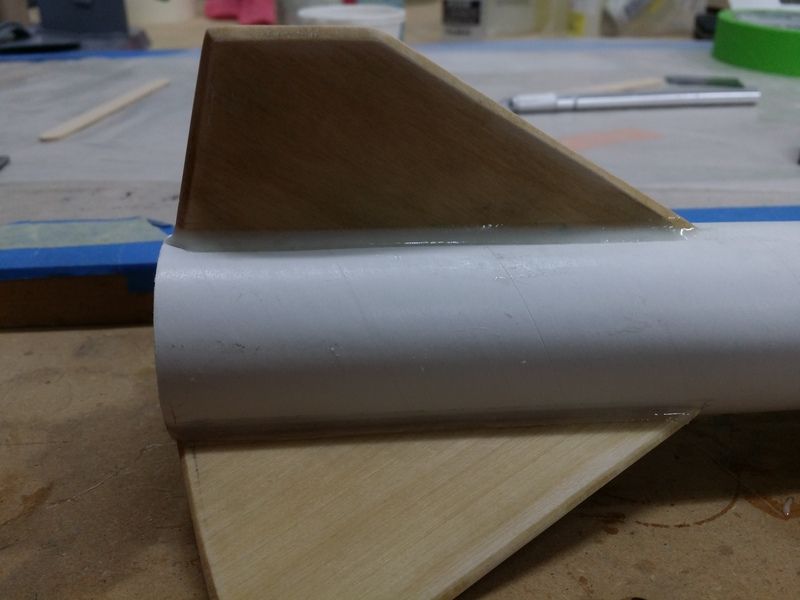
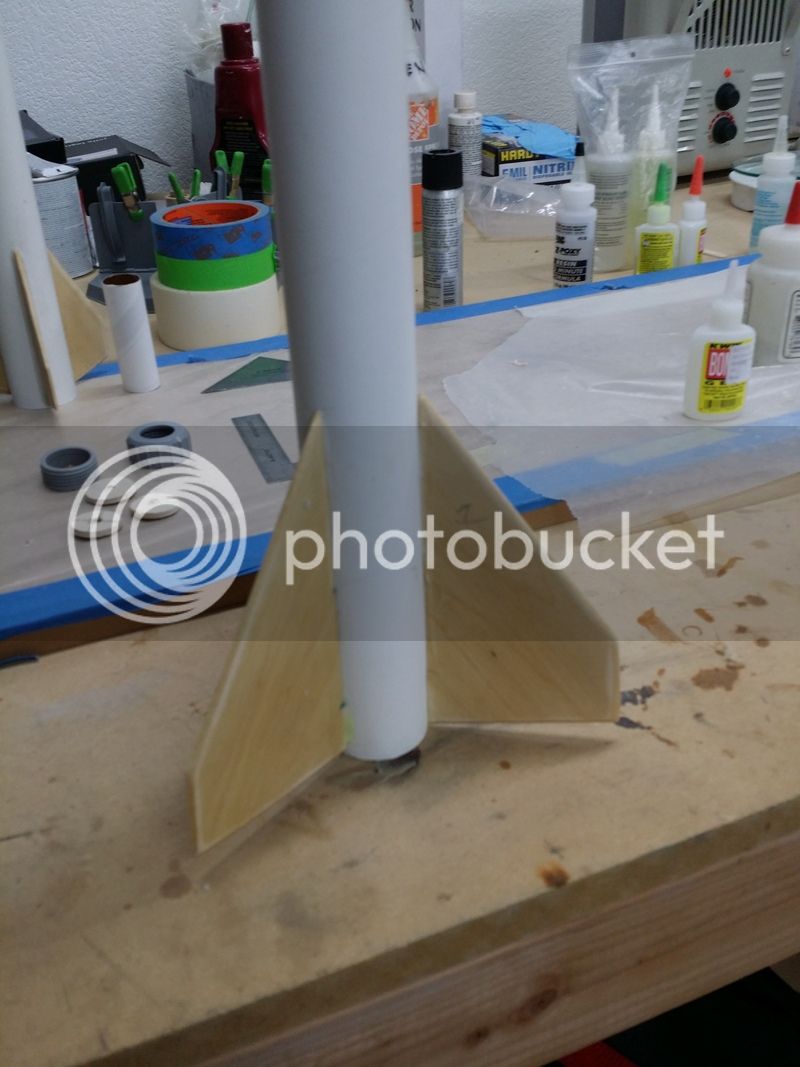
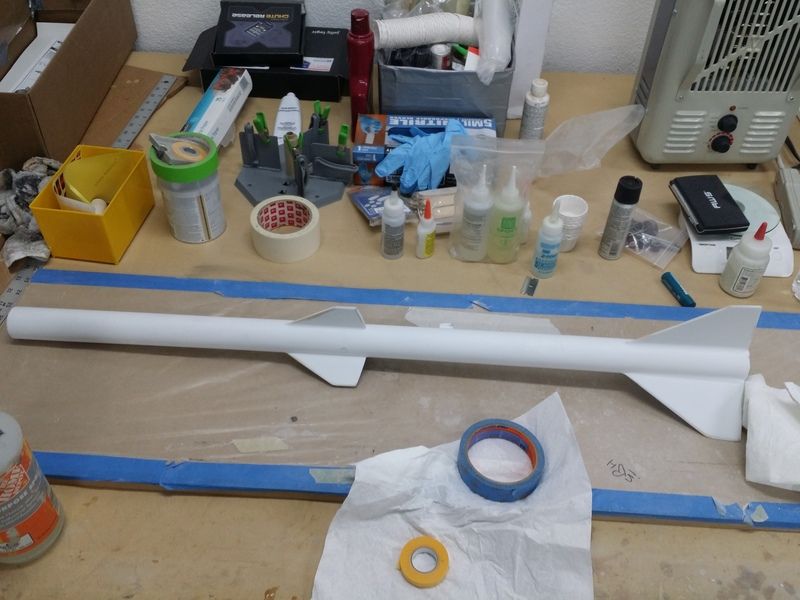
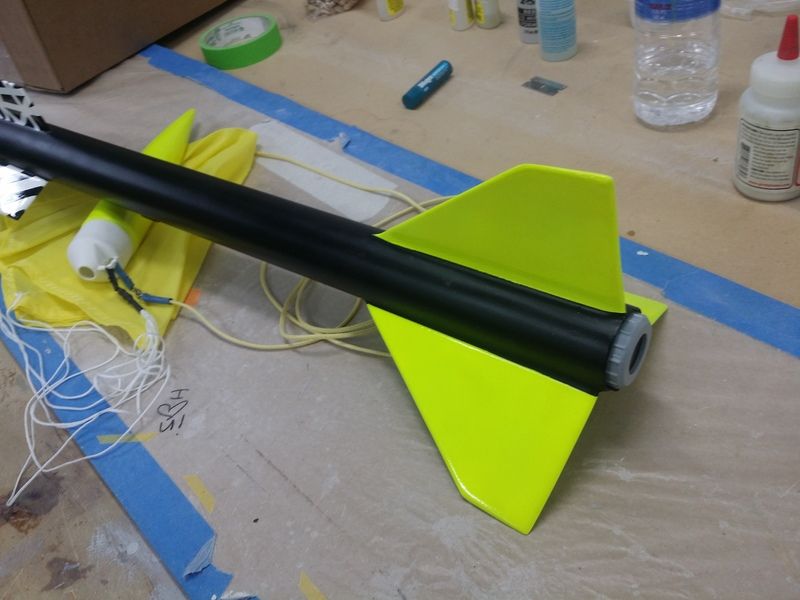
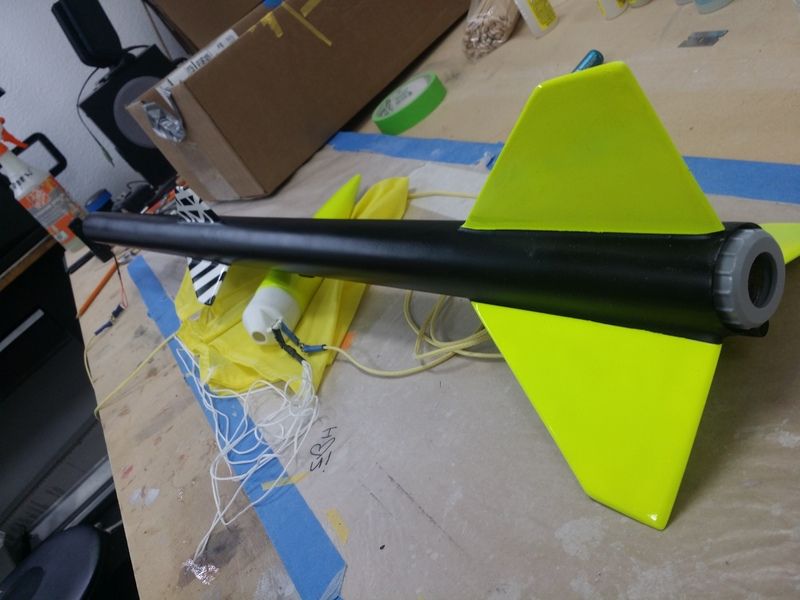
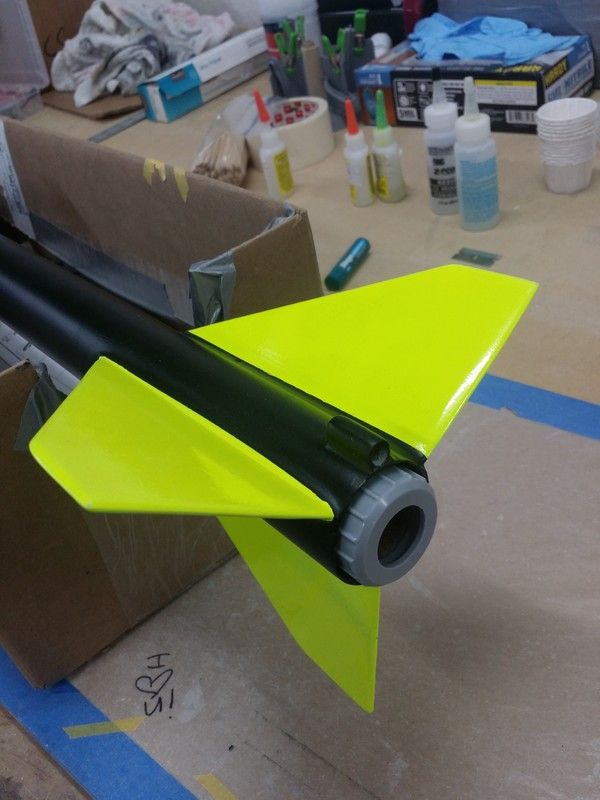
I also ditched the balsa fins, as me and balsa dont get along, so I cut out some new ones from 1/4 birch ply on the band saw. They came out identical and really good IMO.

20160217_204000_zpsgmnbg5j7.jpg


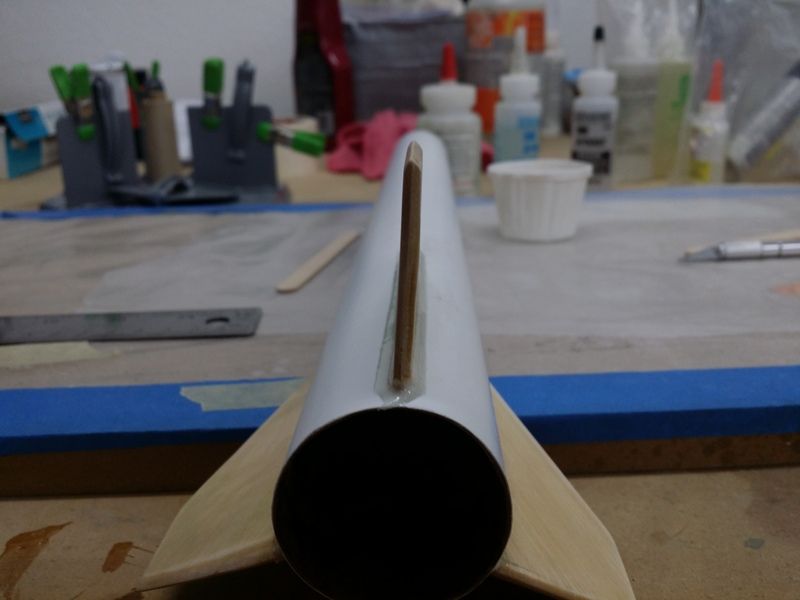
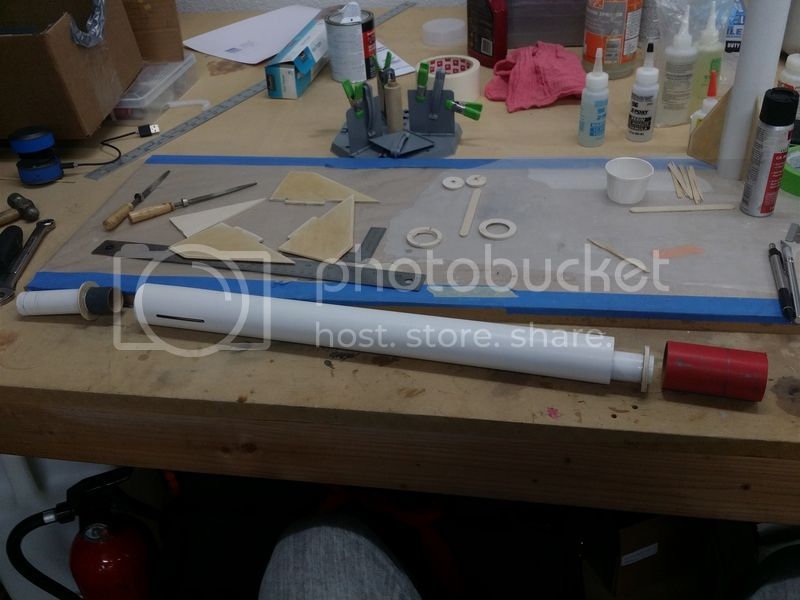
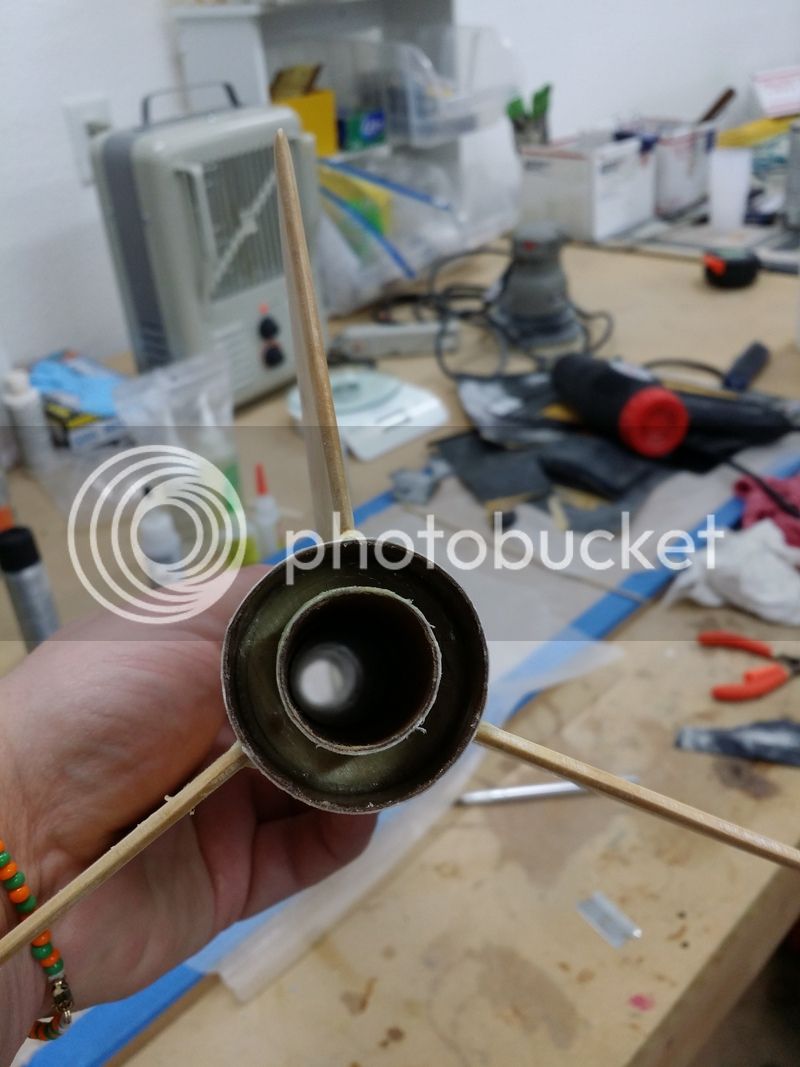
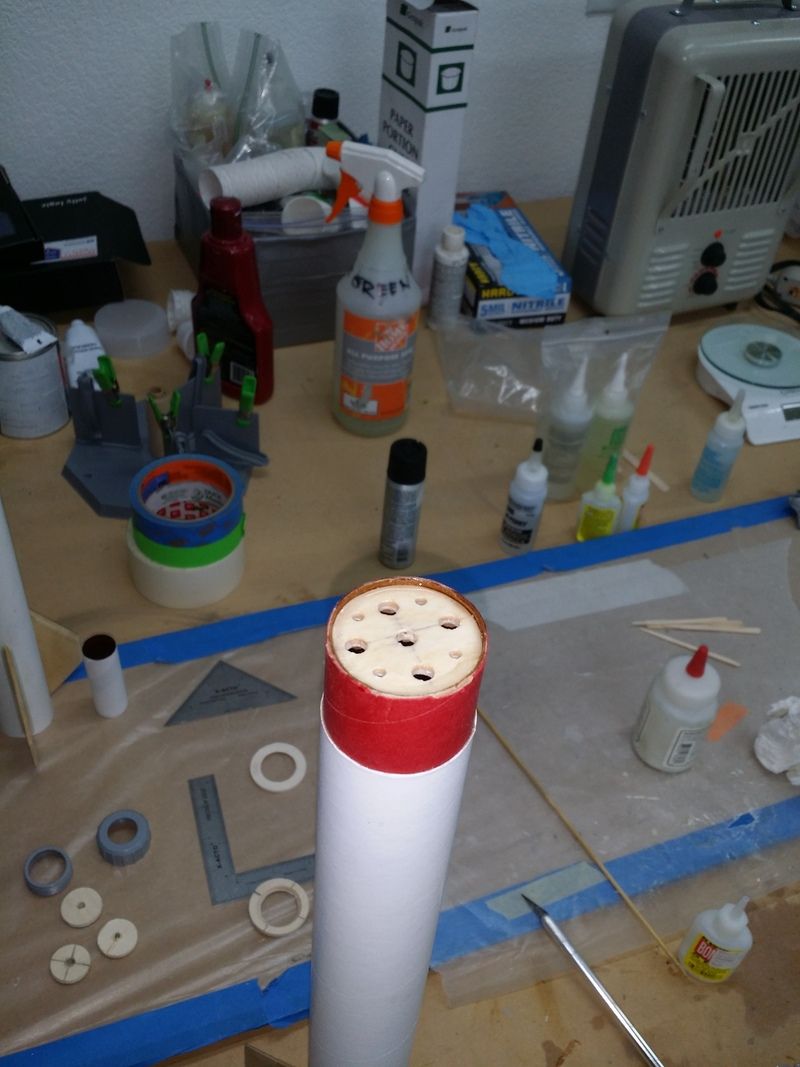
I also took the time to re-measure and mark the MMT with the position for the new rings and marked it for a Estes 24mm Retainer, all while keeping the distance just enough to hold the fin in the TTW slot...I also glued the Forward CR on the MMT in anticipation for gluing the fins on the outside and fillets on the inside....

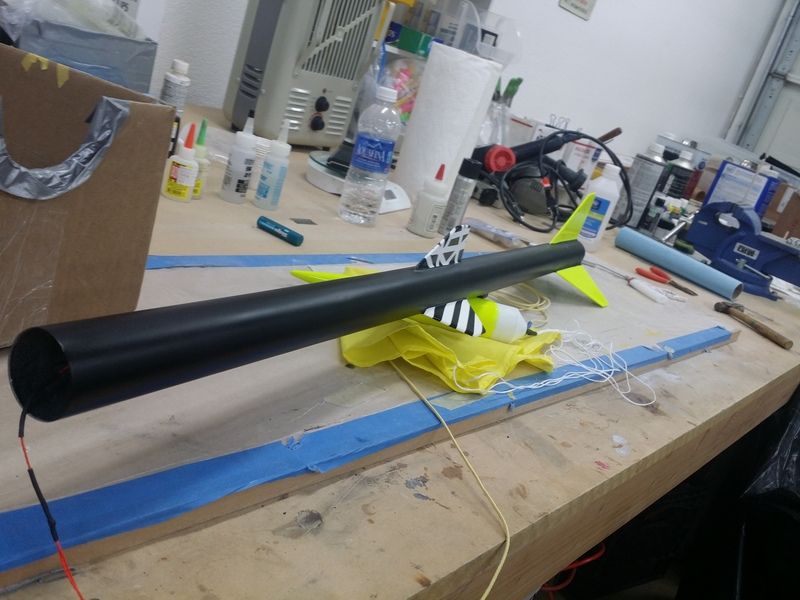
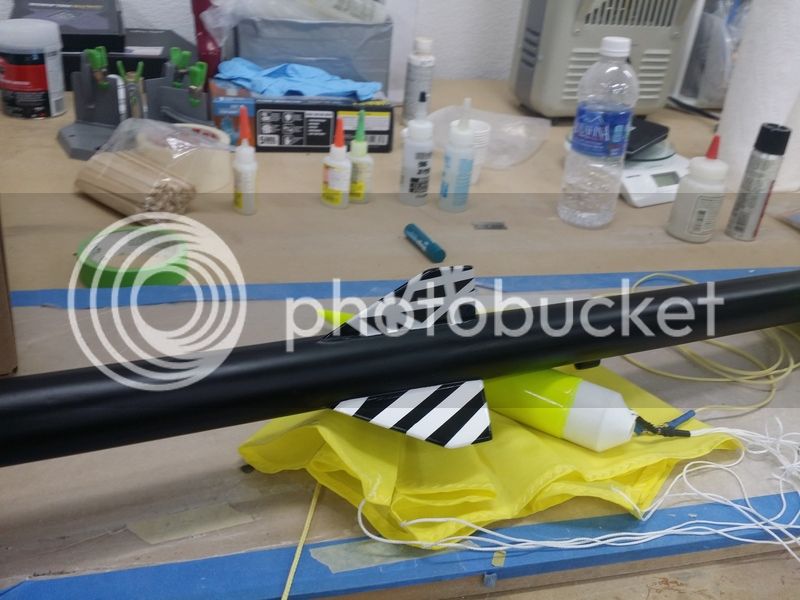
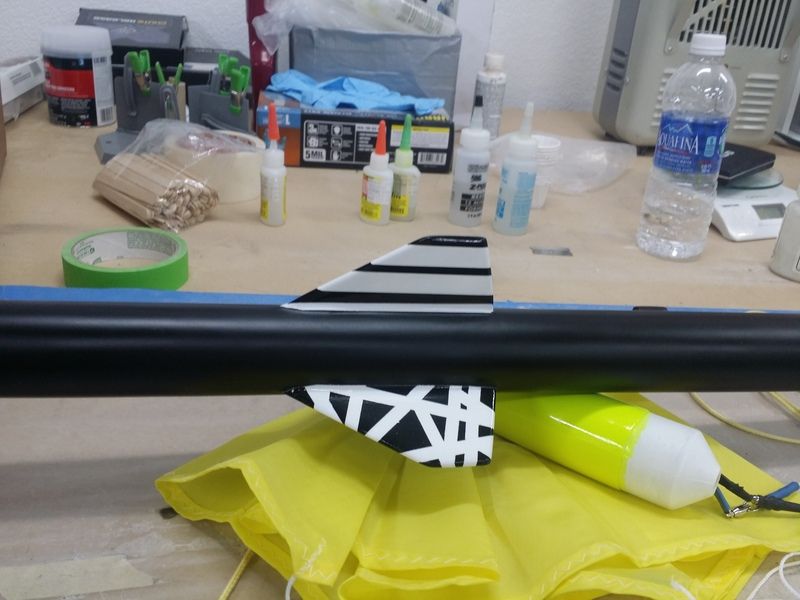
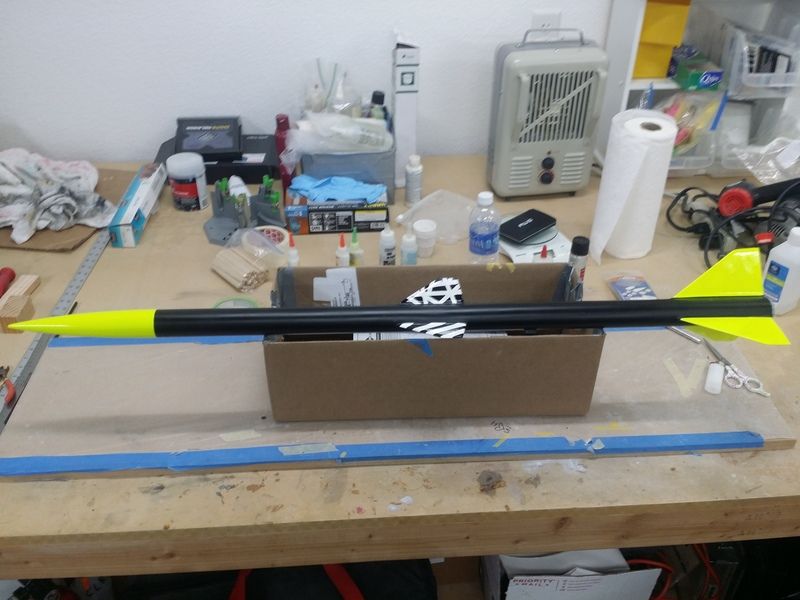
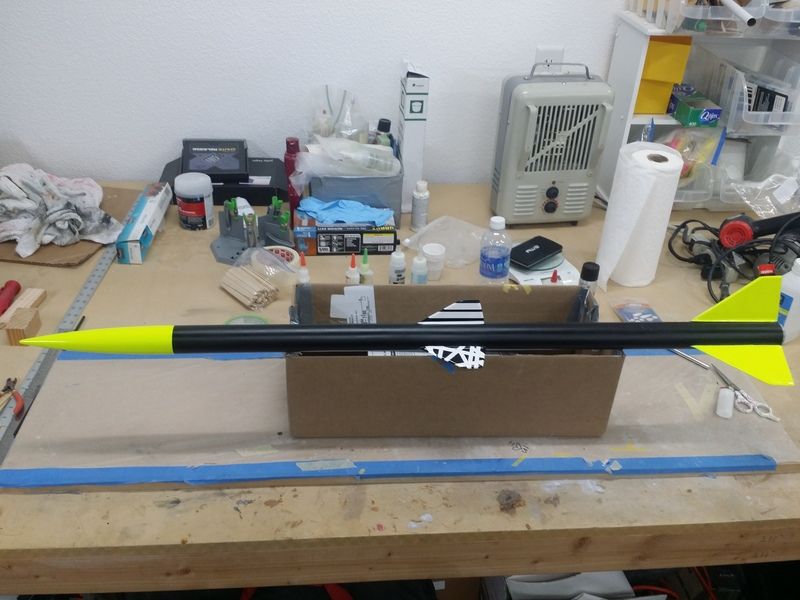
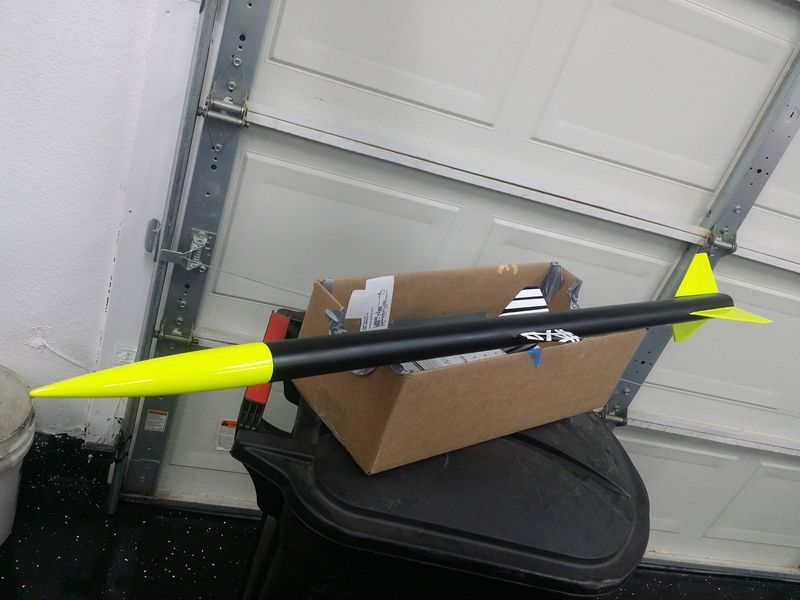
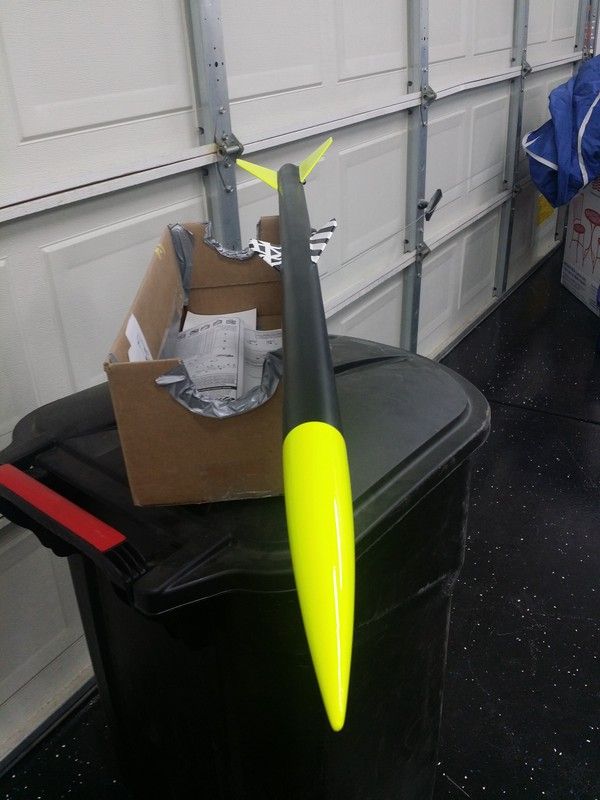
That is all for now. As far as colors, I don't think the traditional Estes or Military scheme. Im thinking Neon Yellow fins and nose cone, Flat Black body tube and maybe pearl green or blue rings like the marking rings on the real AMRAAM's. Thats enough for today.
 
Last edited:
So what exactly are the wood centering rings for, to hold the motor tube in place or something else? With through the wall fin mounting the centering rings are really there to align the motor while the glue dries. After that the centering rings are pretty much just there to cap the end of the rocket body tube and to prevent ejection gasses from leaking out the back. You now have three fins and all their glue contact area along the motor tube and rockets body tube holding that engine mount in place. If your motor is strong enough to rip out that motor mount there is something else going on that needs to be considered in the design of the rocket. Of course the centering rings will add strength to the entire motor mount system so I would still use them.

Now with that said, if you have the time, material and building skills necessary to make your own centering rings out of wood, there's nothing wrong with doing it.


John Boren
 
Good question and point. My thought was to have the rings spaced along the MMT to hold it securely but also be just at the forward and aft opening of the slot as to give the fin more contact area for binding along the leading and trailing root edge instead of just gluing it to the body tube and the MMT. So the rings would act as a cap, if you will, to give more surface area to bond. Just trying out different methods and trying to master what I see others doing but also use my ideas along with it in anticipation for building more expensive HPR kits. Just trying things out before I jump to the next class.

Also using the screw on retainer need repositioning of the MMT anyways so I just lined up everything to maximize bonding for all the parts.
 
Awesome!

I love upgrading the Estes stuff to meet my tastes.
Building kits stock is boring to me, and not nearly as fun as modding them.

My glass cloth clad 24mm #3232 Centuri kit is one of my favorite rockets.

I approve of your methods wholeheartedly!!!:cheers:
 
$100 says the tubes were smashed up eh? That's been a trend with estes as of late. That plus warped balsa from cramming everything into a plastic bag two-three sizes too small.

I'll post some pics of my Der Red Max later. It was jokes when I opened it.
 
Well, we got some updates. Not as many pictures as I would like, I have been pressed for time the last few weeks with work, company coming in town each weekend, more work, and house chores, and other commitments.
Anyhow...

Stepping up my Reload Game!
20160302_195033_zps4xh8prmj.jpg


I decided to bevel/airfoil the fins. There was no real science to it other than to measure evenly around each edge and tape it for visibility, set the belt sander to 45 degrees and on we went.

20160303_190747_zpsxkgomy0e.jpg


20160303_191141_zps44kt0l3p.jpg


I softened up the edges a bit with some 400 grit and made sure they were sharp.

20160303_191216_zpsybqcajt4.jpg


20160303_195244_zps1bulnyx0.jpg


I later sanded them with 320 then 600 grit and sealed them with 30min epoxy brushed on, hit with heat to get it to soak in, and scrapped it off about 2 min before it set. Did this twice and on the second time I had them pressed between two of my MDF boards lined with wax paper and 25 pounds on top over night.
Then I preceded to glue the fins on to the body tube, standard procedure here, I was just very weight conscious with the 30 min epoxy. I first glued just the root edge to the tube, let that dry. Glued the filets on with tape as a guide and a small rounded stir stick. Let that dry, then did the internal fillets. The front fins didn't have enough TTW to really filet the inside so i just covered the exposed area with 30min and milled fibers.

20160305_074849_zpswlg94oqx.jpg

20160305_074908_zpse0ebuj64.jpg

20160305_075041_zpsnbcxmlzc.jpg


After building the Tomahawk in another thread, I liked the idea of a long MMT with a bulk head at the end to contain the ejection charge up to the forward air frame section, with out having to charge the whole air frame. So I rigged up this extension method that terminates in the coupler with a baffle at the other end of the coupler. I cut out a few extra centering rings and baffle.

20160305_102046_zpslkpipqzq.jpg


20160305_102050_zpsunnc8t2m.jpg


20160305_102105_zpsr4l3apib.jpg


20160305_102204_zpsjftk7kp9.jpg


Here is a better idea of what im doing. I used the stock black outer MMT coupler to join them together.

20160305_102035_zpshzbctpid.jpg


20160305_102253_zpsperm9pgh.jpg


I moved on to the big fins for the lower section, pretty straight forward here. Same process as usual.

20160306_105043_zpskbfphhey.jpg


I didn't get a good picture of the MMT inserted with the internal fillets, but its all there. Here is the end buttoned up.

20160306_105101_zps393zrdhw.jpg


Here is the top end of the coupler with the MMT extension terminated at the bottom of the coupler. I must say this kit is very fragile at the ends, as the ends of the coupler and the body tubes look really beat up, some sanding and thin CA will fix all of that.

20160306_105154_zpse4lfrugq.jpg


Here is the baffle I made, coated in 30min and milled fibers.

20160306_105215_zpsbpv5qhk7.jpg


20160306_105220_zpsu1h4fvaw.jpg


Here it is glued to the top of the coupler

20160306_105610_zpsnzlrikii.jpg


That is it for now. I think I am doing good on weight, as the face card says appx. 5.75 oz... Im at 5.25 with the motor retainer and nose cone on the scale.

Im going for a Hot Rod Black body tube and Neon Yellow fins and nosecone.

Thoughts, good bad or indifferent?
 
Being pressed for time lately I didn't get as many pictures as I would have liked... but its done and ready to go for this weekend.

I spent a solid two evenings, priming, sanding, filling, sanding, priming, cursing, walking away....it came out good, not exactly what I expected but this is how we get better. I read an article in Sport Rocketry magazine about getting awesome fillets, using different files, filler, epoxy etc... I went and got a file set and it made life so much easier.

20160315_205824_zpsietj7fwu.jpg


Using the newly learned method, i think the fillets came out good. I did learn a bit more and would be better prepared for my next kit using this method.

20160315_205815_zpszlw10he0.jpg


While waiting for paint to dry, I marked my reload/ejection charge case... so it is clearly identified... maybe it was a good idea?

20160303_075502_zpsk2obahmf.jpg


Well we missed getting pictures of the painting process, but here it is. My Girlfriend wanted it painted this way and I think it came out really cool looking.

Neon yellow Createx, white createx base, dupont 2k clear, 10ft Kevlar shock cord, 24in yellow top flite chute, all terminated with bearing swivels and heat shrink. Added .4 oz to the nose based off sims.

20160317_211740_zpsu14vnwyo.jpg


20160317_211755_zpsd0t7piqj.jpg


Using my typical method of the carbon tube, layer of fiberglass, kevlar thread with a loop and glass bead at the end of the carbon tube. So far this has been holding up really well on my other kits.

20160317_211813_zpsedtonpu2.jpg


And now the finished product. So the fins are createx neon yellow with white base dupont clear, The body tube is SEM hot rod black, which is the original and real flat black finish, its a 4 part paint, and the middle fins are abstract just as she wanted, createx white and tamiya black with dupont clear. Using my mini paint gun and my airbrush.

20160317_211901_zpsxhqrdgtw.jpg


20160317_211909_zpssughovhj.jpg


20160317_211916_zpsuyupecti.jpg


20160317_211923_zpsa5cbkuhx.jpg


20160317_211932_zps471ybigq.jpg


20160317_212046_zpsmteh7xsp.jpg


20160317_212058_zpspyz2qzph.jpg


20160317_212156_zpscluuw1s8.jpg


20160317_212216_zpsa50lbcyg.jpg


20160317_212258_zpsbdsanmje.jpg


Well here she is. Ready for this weekend. overall weight is 7.98oz from the suggested 5oz.
 
Back
Top