


novahobbies
Well-Known Member
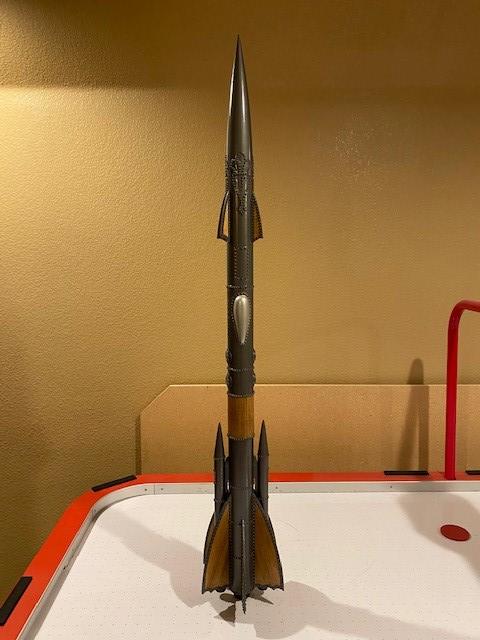
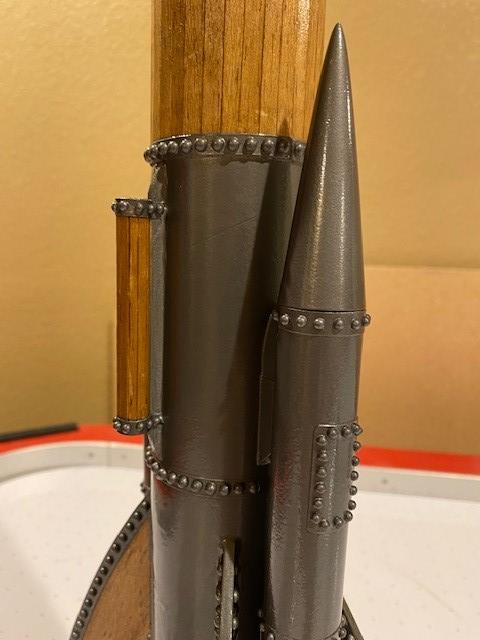
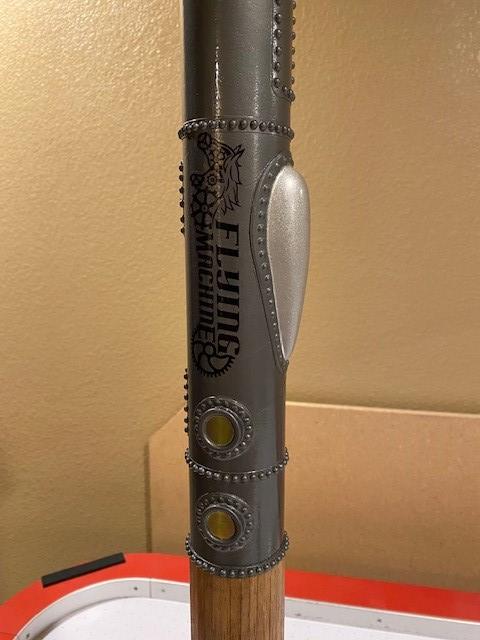
I came across this on Amazon of all places, and when I saw it I went over to the Apogee website to check out some of the videos on it. WOW, it's quite a rocket! I'd been tempted to get the Zephyr Jr recently, but I decided to put that off another couple months and pick this one up instead. I've got this one coming, should be here in a few days but it's going to be a stash queen until I have a little time this winter. In the meantime I'm thinking of alternate ways of doing the details. Might transfer the patterns to my cricut and cut those out of vinyl, and then use 2 or 3mm gems for the rivets. I also noticed one of the models on the Apogee website had the fins stained and glossed instead of sealed and painted. That is a MUCH cooler look IMO and I think I'll copy that versus the aluminum-look for the fins.
So......who here has this built? Any good launch vids?
So......who here has this built? Any good launch vids?


 We'll see.


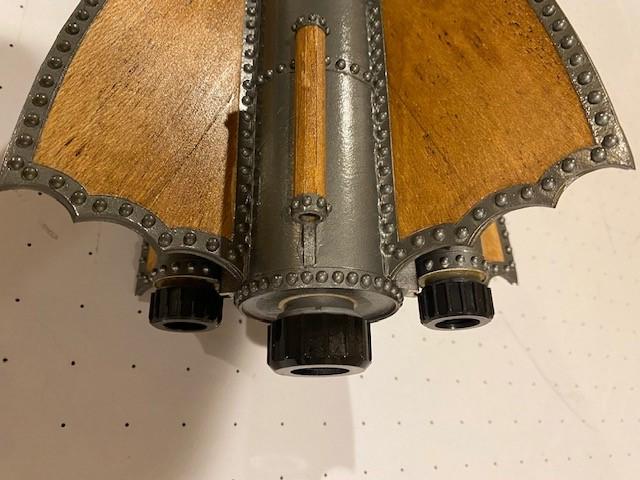

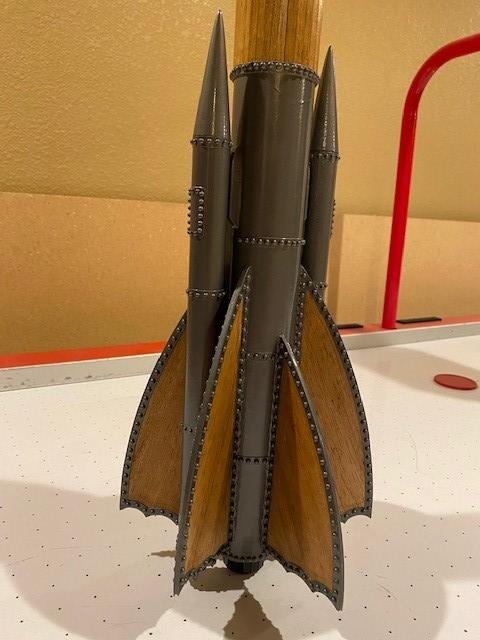


 but it was cheap at about 9 or 10 bucks. I only used 3 & 4mm ones.