Cosmic Dragon L3 Build

The Rocketry Forum

Help Support The Rocketry Forum:

This site may earn a commission from merchant affiliate links, including eBay, Amazon, and others.

kandsrockets

Well-Known Member
Joined
Jan 17, 2009
Messages
3,015
Reaction score
0
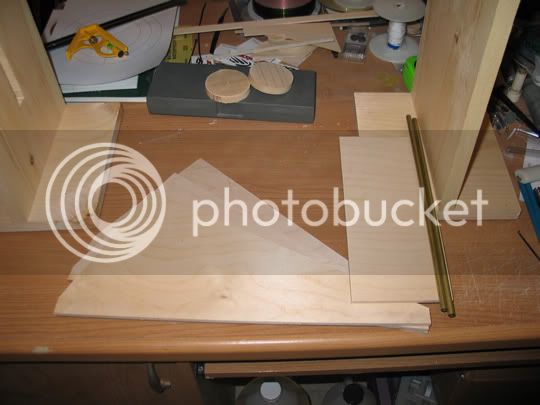
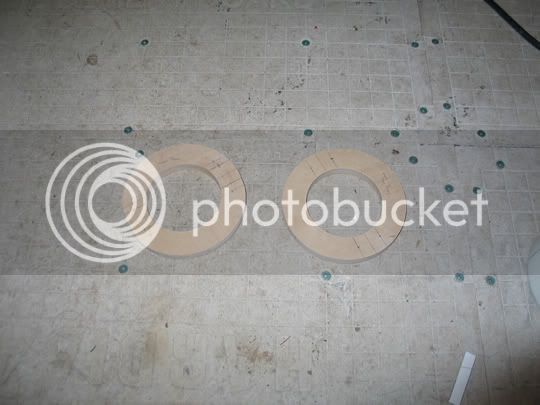
Well after talking with my Tap's I will be starting my L3 rocket. It will be a 5.5" dia 123" tall with a 98mm motor mount. At this point the motor will be a M1297W but may change to something bigger. I will start cutting bulkheads and centering rings this weekend and also cut my fins. I still need to order a few items (glass, epoxy, motor mount tube and tubing for couplers)


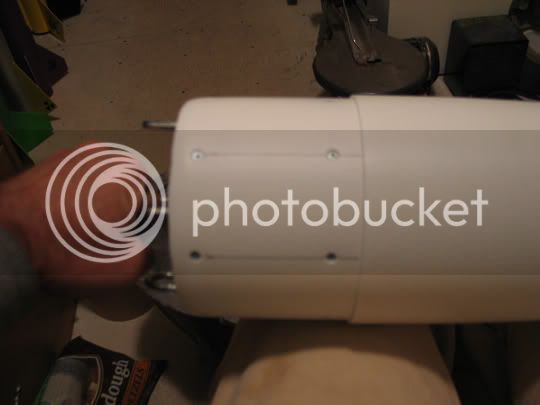
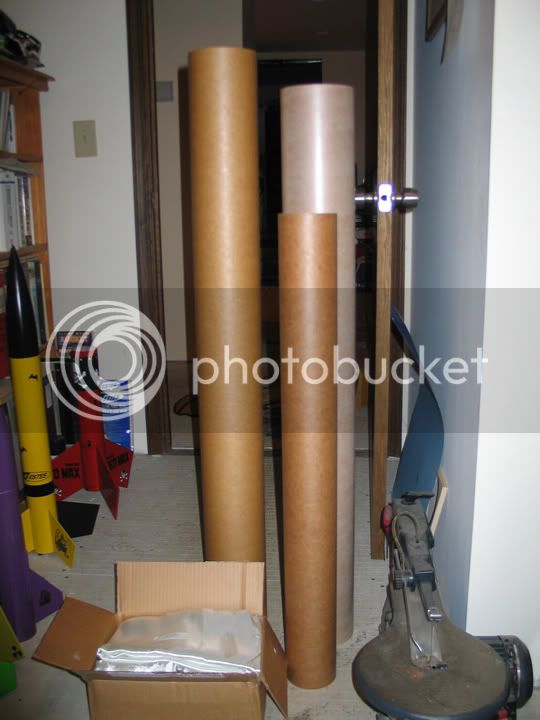
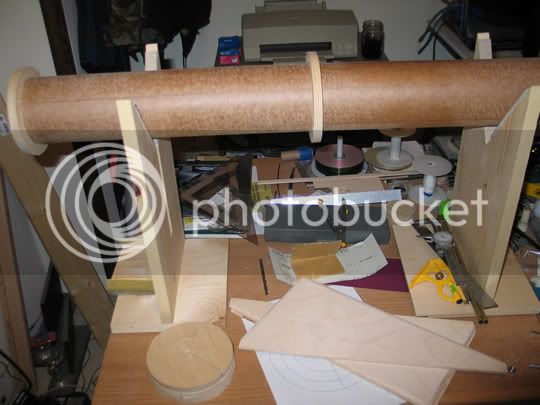
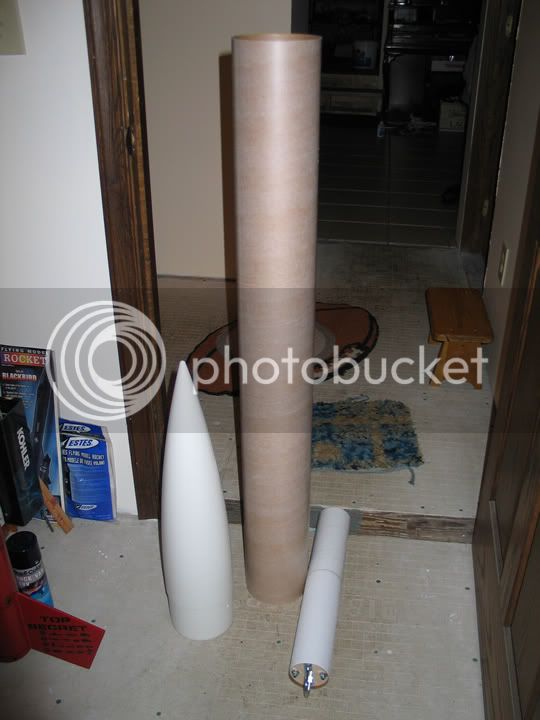
Here is a pic of the nose cone, the 3" tube will be inside the nose cone for a weight system and also a electronics bay for tracking equipement. There is one of the three body tubes that will be glassed with 3 layers of 8 oz glass.

Picture.jpg
 
Here is my parts list.

•3 LOC 5.38 tubes laminated with 3 layers of 8oz fiberglass cloth for strength.
•2 5.38 phenolic couplers laminated on the inside with 2 layers of 8oz fiberglass cloth for strength.
•3 fins made of ¼” Baltic birch plywood with 2 layers of 8oz fiberglass cloth tip-to-tip across motor tube.
•LOC PNC-5.38L nosecone modified with a 3" electronics bay/adjustable weight system.
•98mm LOC motor tube with three ½” Baltic birch plywood centering rings and Aeropack motor retainer system plus 98mm to 75mm adapter.
•Three ½” Baltic birch plywood bulkheads
•Three ¼” stainless steel threaded rod used to reinforce motor mount assembly.
•¼” stainless steel nuts on each side of upper 2 centering rings and top of booster bulkhead.
•¼” stainless steel threaded rod for electronics bay coupler.
•¼” stainless steel u bolts for booster, upper and lower bulkheads for e-bay coupler.
•All recovery harnesses are 9/16” tubular nylon with sewn loops on each end and nomex fire protector.
•¼” stainless steel quick link for attaching recovery harness and parachutes.
•Drogue chute is 36” custom made cupped chute.
•Main chute is 12’ custom made cupped chute.
•Nomex fire blanket for drogue chute
•Nomex deployment bag for main chute.
•Perfectflite HiAlt45 altimeter
•Missile works RRC-mini altimeter
•Pro Rail guides
•Pyrodex charges ignited by 3 twists of 40ga nichrome wire
•U.S Composites epoxy used for all joints and laminations
 
Judging by your list of materials and hardware, I'd say you have a great start.
Any sims yet? Total weight?
_______________________
-Chris
 
Judging by your list of materials and hardware, I'd say you have a great start.
Any sims yet? Total weight?
_______________________
-Chris

Chris total weight less motor should be around 32 pounds. It sims with a M1297W to 7400ft and with a M1315W to 9500ft
 
Don't forget your hiking shoes... other than that, I'm looking forward to seeing your project progress. BTW, what does the rocket sim to on an AT M1550R?
 
Don't forget your hiking shoes... other than that, I'm looking forward to seeing your project progress. BTW, what does the rocket sim to on an AT M1550R?

It sims at 7300ft. I always have my hiking shoes on for my flights..:lol: Maybe I will be as lucky as you and only have to go for a short walk.
 
Thats OK, 2 out of my last 5 flights required a shovel as well as hiking boots, so you are infinitely better off just needing the boots.... btw, dont forget that radio tracking device AND a beeper. A beeper would have helped us find Christine's rocket a lot faster last Sunday.

Lets hope you actually make it even closer to the flight line than I did. For that to happen:

A.) Have plenty of water handy
B.) Have the chain saw in hand when you push the launch button
c.) Have a recovery team ready
D.) Put the radio tracking devices in it
E.) Don't open the main at 800+ feet.

The by laws of luck, it will land right next to, or between cars, the flight line.

I need to get ahold of Tim and see if he has the drawing of how he made his beeper. That thing was loud. As far as tracking system, I have been looking at Big Red Bee's GPS unit.
 
Tim is supposed to look for his drawings he made, or he is going to disassemble the buzzer and make a new drawing.
 
This looks like a fun build and I always enjoy all of your included pics. I'm guessing the adjustable nose weight must be for 4" motors? My 5.38 Tomahawk is similar in dimensions and still Sims over stable with the L1420R and M1297W with zero nose weight and should reach around 9,300' on the L motor and just over 10,000 on the M load. Mine has zero fiberglass though and weighs 19.3lbs ready to fly minus the motor. I hear that a Mojave Green load might be on the horizon for the 75/5120 case as well, it would be nice to have more than 2 loads for this case. If I actually recover my rocket and motor case back I would be happy to loan it to you and you can save $300.
 
This looks like a fun build and I always enjoy all of your included pics. I'm guessing the adjustable nose weight must be for 4" motors? My 5.38 Tomahawk is similar in dimensions and still Sims over stable with the L1420R and M1297W with zero nose weight and should reach around 9,300' on the L motor and just over 10,000 on the M load. Mine has zero fiberglass though and weighs 19.3lbs ready to fly minus the motor. I hear that a Mojave Green load might be on the horizon for the 75/5120 case as well, it would be nice to have more than 2 loads for this case. If I actually recover my rocket and motor case back I would be happy to loan it to you and you can save $300.

The adjustable nose weight system is to keep it under our waiver. I also have an area in the booster section that weight can be added to keep it balanced. I am hoping the green motor comes out by june since this is when I want to do my L3.
 
Well I got some free time to work on this project today. I got the e-bay/weight tube installed in the nose cone. I also got all my parts ordered today except for my aero pack retainer.

I still need to make the tracker sled and cast some lead weights.


Rings for the nose cone.
Picture001.jpg


First ring and tube installed
Picture006.jpg


Second ring installed
Picture007.jpg
 
nice!!!! I can't wait till you get your L3!! I am still excited to hear about the full scale patriot ;) I'd be willing to donate some time and $$ to work on it!!

Ben
 
Scott,

How did you secure the bulkheads (centering rings) to the nose cone? It looks like you used epoxy only... if so, do you remember my VelociRaptor flight and the missing nose cone (the anchor and bulkhead were still attached to the recovery harness)?
 
Scott,

How did you secure the bulkheads (centering rings) to the nose cone? It looks like you used epoxy only... if so, do you remember my VelociRaptor flight and the missing nose cone (the anchor and bulkhead were still attached to the recovery harness)?

I have eight 4x3/4" screws counter sunk in the shoulder into the side of the bulkheads, this was done for both bulkheads.
 
Got home from work and there was a few packages on the door step. I got my phenolic full length coupler and my 98mm motor tube. Also my fiberglass came. My order from us composites will be here tomorrow.


Picture010.jpg
 
nice!! I like the Der Red Max in the backround too :D

Ben
 
Thanks Ben. After I get my L3 bird done I will give the Der Red Max a partner I am going to make a Blue Bird Zero upscale.
 
Looking good Scott. Those screws should do a pretty good job... unlike what I did with that Velociraptor nose cone. Looking forward to seeing her fly.
 
Ok,...now I'm jealous!
You have a scroll saw and I don't.....:D

Seriously, I'm actually quite jazzed on the NC!
Nice work...;)

_________________________
-Chris
 
Thanks Joe and Chris. I am getting really excited to get this thing done so I can get it in the air. Chris I got my scroll saw used. I found it in the paper for 30 bucks but I do not use it very often. I use my router and circle jigs more than anything.
 
I definitley agree with using 1/4" threaded rod to help reinforce the MMT, however I noticed that only 3 C.R.'s will be used. Just curious if you think that's enough and do your TAP's agree?
_______________________
-Chris
 
I definitley agree with using 1/4" threaded rod to help reinforce the MMT, however I noticed that only 3 C.R.'s will be used. Just curious if you think that's enough and do your TAP's agree?
_______________________
-Chris

Yes there will only be three centering ring, these will not only be epoxied to the air frame they will also have #6 screws counter sunk in the air frame into the centering rings plus this is thru wall fins that will be glassed tip to tip over the motor tube plus over the air frame. This will be more than stronge enough for anything I plan on flying in this. My TAP says what I am doing is overkill but has no problem with the design.
 
Yes there will only be three centering ring, these will not only be epoxied to the air frame they will also have #6 screws counter sunk in the air frame into the centering rings plus this is thru wall fins that will be glassed tip to tip over the motor tube plus over the air frame. This will be more than stronge enough for anything I plan on flying in this. My TAP says what I am doing is overkill but has no problem with the design.

One thing I thoght of is what happens if you go for the L3 and your chute gets tangled. Comes in hard but you built it strong so you happen to get another M motor and can try again. That happened to Brian Wadsley. He built it goot and strong and he tried L3 on Friday but the main tangled then tried again on Sunday and got it!
 
Yes there will only be three centering ring, these will not only be epoxied to the air frame they will also have #6 screws counter sunk in the air frame into the centering rings plus this is thru wall fins that will be glassed tip to tip over the motor tube plus over the air frame. This will be more than stronge enough for anything I plan on flying in this. My TAP says what I am doing is overkill but has no problem with the design.

I don't know, personally I think the screws sound like a good idea.....The way I see it, a little bit of overkill never hurt, especially on a L3 bird! It's what I refer to as "Peace of mind"! ;)

Carry on, Sir.
Kinda waitin' to see those fins, actually...:D
 
I don't know, personally I think the screws sound like a good idea.....The way I see it, a little bit of overkill never hurt, especially on a L3 bird! It's what I refer to as "Peace of mind"! ;)

Carry on, Sir.
Kinda waitin' to see those fins, actually...:D

I was hoping to cut out the rest of my centering rings and fins today but it will have to wait since I have to dig up my drain field for my septic tank (dang old terra cotta pipe) Hopefully tomorrow after work.
 
Well had a spare moment this morning to cut out my fins and also my e-bay sled. I will bevel the edges of the fins later tonight and maybe get the rest of my centering rings cut out.

Picture011.jpg
 
Well got my centering ring and bulkheads cut. I also got the fins beveled. Now it is time to start building.

Picture012.jpg
 
Well got the fins glued to the motor tube tonight. I will be adding fillets later this week and then tip to tip 8oz glass. I also got to pick up my all thread and install it plus the forward centering ring.

Picture013.jpg


Picture014.jpg
 
Back
Top