Playin' With Fire - Flight Report

The Rocketry Forum

Help Support The Rocketry Forum:

This site may earn a commission from merchant affiliate links, including eBay, Amazon, and others.
I used a 1in chip brush. Acetone might not play nice with foam.

I do not recommend this method for epoxy coating. You want a very thin but even coat. Just pouring some on and smoothing it out with your hands will not be the best option. I use either a playing card or a chip brush. The playing card is nice because I can easily contour it to the curvature of the tube.

Alex

I do not pour and then smooth---I use my fingers to apply the epoxy in the first place, whether coating or wetting out cloth.
 
I do not pour and then smooth---I use my fingers to apply the epoxy in the first place, whether coating or wetting out cloth.

CarVac's very proud of what he can do with his fingers... =p =p

They both work, I think, with proper technique. I think I said this already, but dang, gorgeous work there. Really impressed!
 
CarVac's very proud of what he can do with his fingers... =p =p

They both work, I think, with proper technique. I think I said this already, but dang, gorgeous work there. Really impressed!

I bet his fingers were giving him a hard time when you guys used the VARTM technique on BN's nose cone lol.

Alex, I have used a foam brush on Aeropoxy thinned with acetone and nothing happened to the brush. Unless maybe I am mistaken and used something other than acetone to thin out the epoxy. I will double check when I get the chance to work on a composite part.
 
I bet his fingers were giving him a hard time when you guys used the VARTM technique on BN's nose cone lol.

...What?

In any case, I was only there for the first learning attempt---Chris did the full layup by himself, which speaks volumes to the complexity of the parts the technique enables: there's no way either one of us could have laid up the molded nosecone for V15 (the first version) alone.
 
Personally, I never use brushes for epoxy. I use (double-)gloved hands, or popsicle sticks. I get more control that way.

Every time I've began using a brush I set it aside after a minute or two, it just doesn't lay enough resin before it stops, and it holds so much it's unusable. Only time it *might* be useful would be to make spot corrections when you need to carry resin without dripping. And yes, double layered gloves, I've nicked gloves and then awkwardly taken them off far too often.
 
Alex I have a question for you. How do you determine the number of wraps to get the desired outer diameter?
 
Alex I have a question for you. How do you determine the number of wraps to get the desired outer diameter?

Generally cloth thickness x # of wraps will get you close. There are other factors at work, like epoxy content and finishing method, but thickness x wraps will get you close with layups with no compression.

Alex
 
Alex I have a question for you. How do you determine the number of wraps to get the desired outer diameter?

With compression, it gets tougher, but after making two or three tubes where you know the number of layers and measure the initial fabric thickness and the final tube wall thickness, you can write a decently accurate formula for it that is correct for your particular style.

The reason that all the hobby-brand filament-wound tubes have that strange lustrous texture is because they have been wound to a greater-than-desired wall thickness and then machine-sanded (it's called centerless grinding, technically) down to nominal OD. If you measure carefully, the wall thickness on Wildman tubes is usually different on one side than the other, because the technique does not necessarily produce tubes with concentric ID and OD. (You also might notice while measuring that the tube ID's are always tapered; they're wound on tapered mandrels, so (for example) a 54mm motor might be quite loose in one end of a 60" tube but fit snugly in the other end).
 
Generally cloth thickness x # of wraps will get you close. There are other factors at work, like epoxy content and finishing method, but thickness x wraps will get you close with layups with no compression.

Alex

Thank you Alex
 
With compression, it gets tougher, but after making two or three tubes where you know the number of layers and measure the initial fabric thickness and the final tube wall thickness, you can write a decently accurate formula for it that is correct for your particular style.

The reason that all the hobby-brand filament-wound tubes have that strange lustrous texture is because they have been wound to a greater-than-desired wall thickness and then machine-sanded (it's called centerless grinding, technically) down to nominal OD. If you measure carefully, the wall thickness on Wildman tubes is usually different on one side than the other, because the technique does not necessarily produce tubes with concentric ID and OD. (You also might notice while measuring that the tube ID's are always tapered; they're wound on tapered mandrels, so (for example) a 54mm motor might be quite loose in one end of a 60" tube but fit snugly in the other end).

Personally I never liked filament wound tubes due to the fact that their expensive. I never figured that they are wound on a tapered mandrel. That would most likely explain the different OD's and ID's when using commercial CR's and Nose cones. I have always figured that it had to have been machine-sanded to get to the nominal OD. It had crossed my mind how would the machine manage to wound it to the right OD since the strand is only so thick that the machine has to make certain passes to fill any empty gaps.This is why I prefer woven fabric over filament wound.
 
for the 2x2 Alex likes its usually about .0098 with full vacuum. Per ply

From a thread a while back very few tubes are still wound on taper mandrels. We do every thing from .24"tubes to 12" diameter tubes with no taper. Your winding machine setup, winding pattern, Resin cure temp and temp profile all effect how easy it is to pull a tube.

You can wind to a nominal OD without grinding. Its not the easiest thing in the world though. With tow preg you can get within .004 of a set ID assuming it falls on a multiple of your ply thickness.


No grinding here :) and the tube is much more round than the nose cone or the couper.
DSC_0264_zps5c285eef.jpg


Now back to Alex :pop::pop:
 
While I am in the typing mood. The commercial version of the alex method would be done on a table like this. No wet resin though prepreg only. A mandrel would have a ply started then the table would compress and roll it onto the tube. Keep adding plies until you get your wall thickness.

2012092816361678442.jpg
 
Thanks for the info, flynfrog. I never got that factory tour to see this stuff first hand. Still hoping to do that sometime. I'd be lying if I said I wasn't jealous of your job.

Real shame you had altimeter problems at HF. That thing would have been outa there.

Alex
 
for the 2x2 Alex likes its usually about .0098 with full vacuum. Per ply

From a thread a while back very few tubes are still wound on taper mandrels. We do every thing from .24"tubes to 12" diameter tubes with no taper. Your winding machine setup, winding pattern, Resin cure temp and temp profile all effect how easy it is to pull a tube.

You can wind to a nominal OD without grinding. Its not the easiest thing in the world though. With tow preg you can get within .004 of a set ID assuming it falls on a multiple of your ply thickness.


No grinding here :) and the tube is much more round than the nose cone or the couper.
DSC_0264_zps5c285eef.jpg


Now back to Alex :pop::pop:

Oops I forgot all about that lol. I guess it just depends on the winding process to get it right. Like you said, I bet it wasnt easy. I have to admit that is the best filament wound carbon airframe I have ever seen.
 
Alex, I used to work with the composites group at ATK. They have a factory in Clearfield that makes rocket motor cases and composite parts for commercial and military aircraft. I still have a few contacts there and may be able to introduce you to some of the people who work there. Let me know if you want me to do that. You might want to see the big motors wound onto mandrels. Or the fiber placement machines that do all of the work. And if you ever find yourself in Iuka, Mississippi, you could see the factory that makes even bigger composite motor cases. The autoclave there is massive. And in Elkton, Maryland, they make the small motor that puts satellites into their final orbit. They wind the carbon fiber right onto the solid propellant.

Joe
 
Alex, I used to work with the composites group at ATK. They have a factory in Clearfield that makes rocket motor cases and composite parts for commercial and military aircraft. I still have a few contacts there and may be able to introduce you to some of the people who work there. Let me know if you want me to do that.
Joe
Joe, that would be super awesome. I never knew you worked in composites!


Edit: Well guys, this is where the building gets slow. It's consistently in the 10-20 degree range here in UT and epoxy doesn't like that temperature.


Alex
 
Alex, I used to work with the composites group at ATK. They have a factory in Clearfield that makes rocket motor cases and composite parts for commercial and military aircraft. I still have a few contacts there and may be able to introduce you to some of the people who work there. Let me know if you want me to do that. You might want to see the big motors wound onto mandrels. Or the fiber placement machines that do all of the work. And if you ever find yourself in Iuka, Mississippi, you could see the factory that makes even bigger composite motor cases. The autoclave there is massive. And in Elkton, Maryland, they make the small motor that puts satellites into their final orbit. They wind the carbon fiber right onto the solid propellant.

Joe

Several of us would be highly interested in seeing such an operation!
-Ken
 
And in Elkton, Maryland, they make the small motor that puts satellites into their final orbit. They wind the carbon fiber right onto the solid propellant.

That's definitely one of my personal research goals-to build and fly a rocket that is essentially built around the propellant. I was probably going to do it in the other order though; make an airframe, and cast a fin-o-cyl grain into the airframe directly, no liner, no insulator. Never dawned on me to cast the propellant and use it as the mandrel for the airframe...
 
Joe, that would be super awesome. I never knew you worked in composites! Alex

It's hard to say I worked in composites. I was the attorney for the division of ATK that does composites. I saw a lot, but couldn't do any of it. I'll put out some feelers. One of the composites engineers should want to show off for a high school student interested in composites as a career.

Joe
 
Got my AV bay from Mason.
DSC08032.jpg
DSC08033.jpg
DSC08034.jpg

It's got two sleds on top of eachother so I can sandwich my wiring in between them, which will keep my AV bay nice and tidy.

Alex
 
Alex it's looking very good . I should be starting a MD project soon
Chris
 
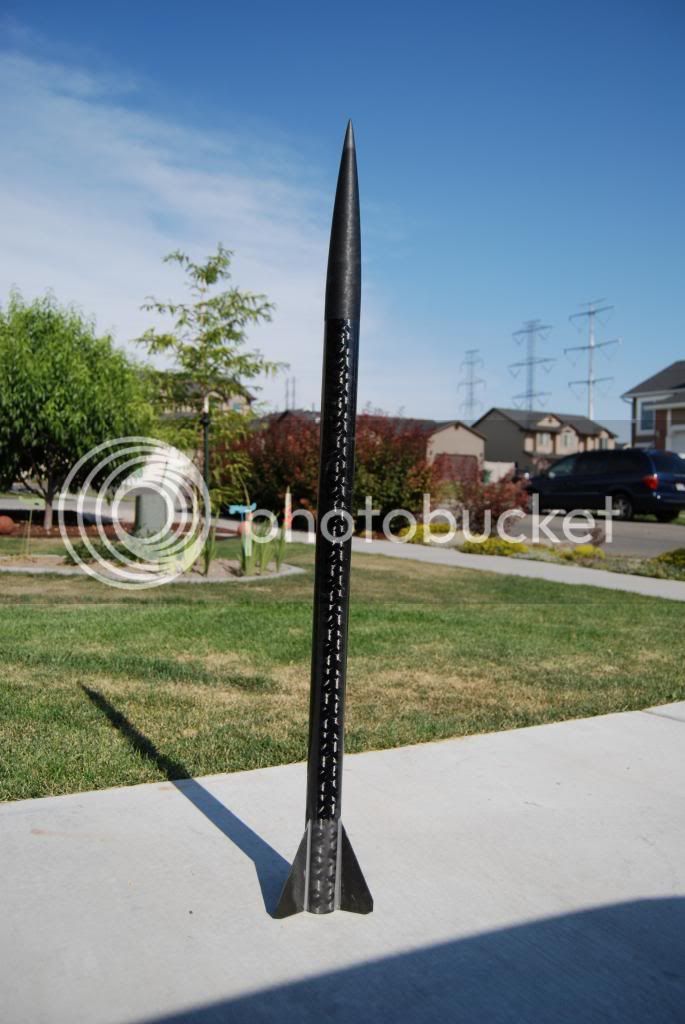
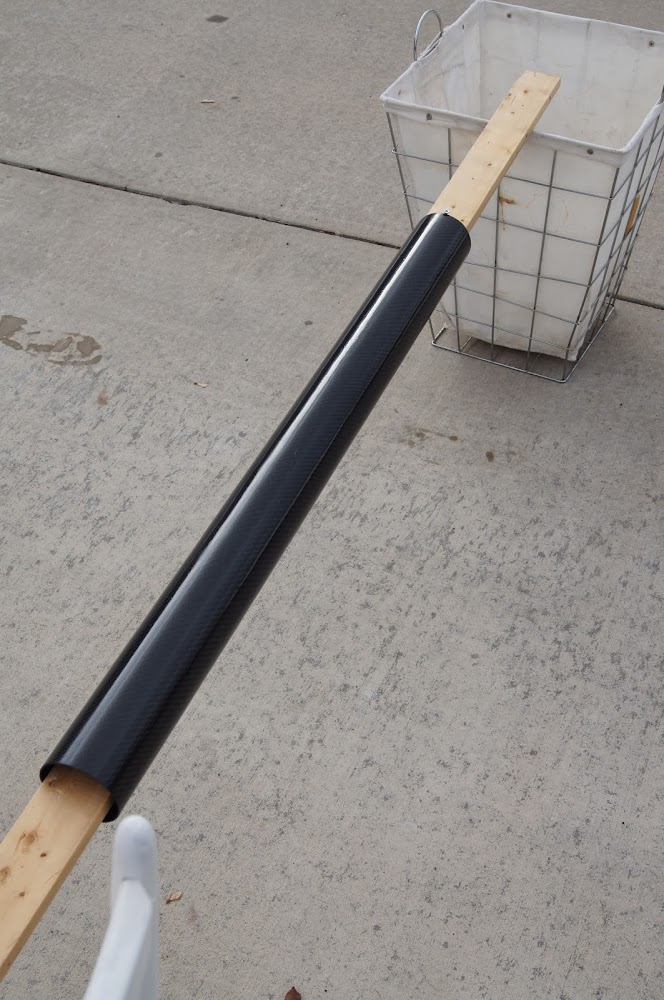
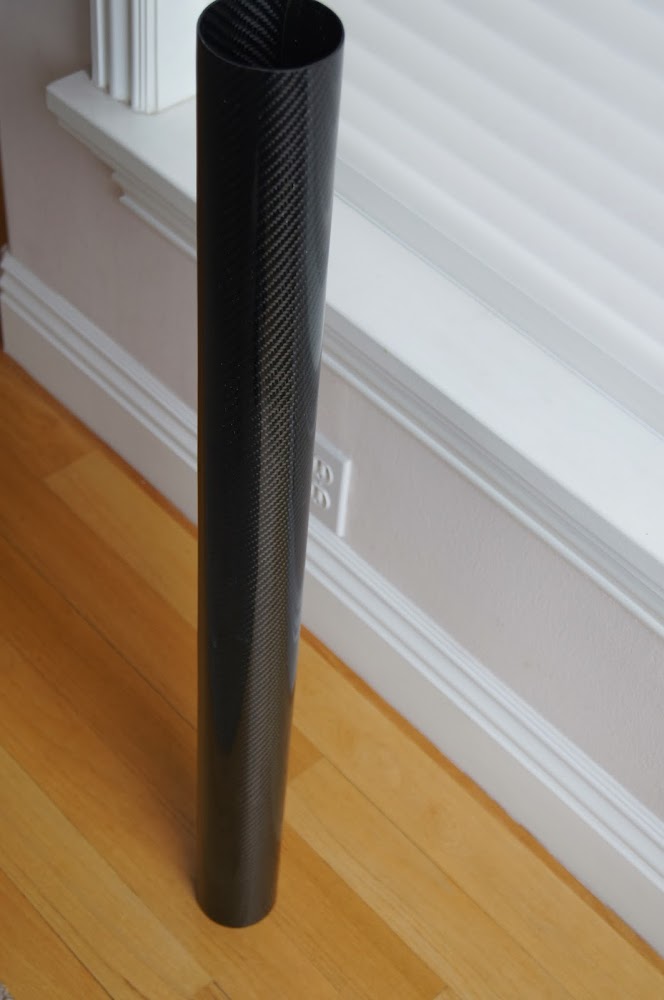
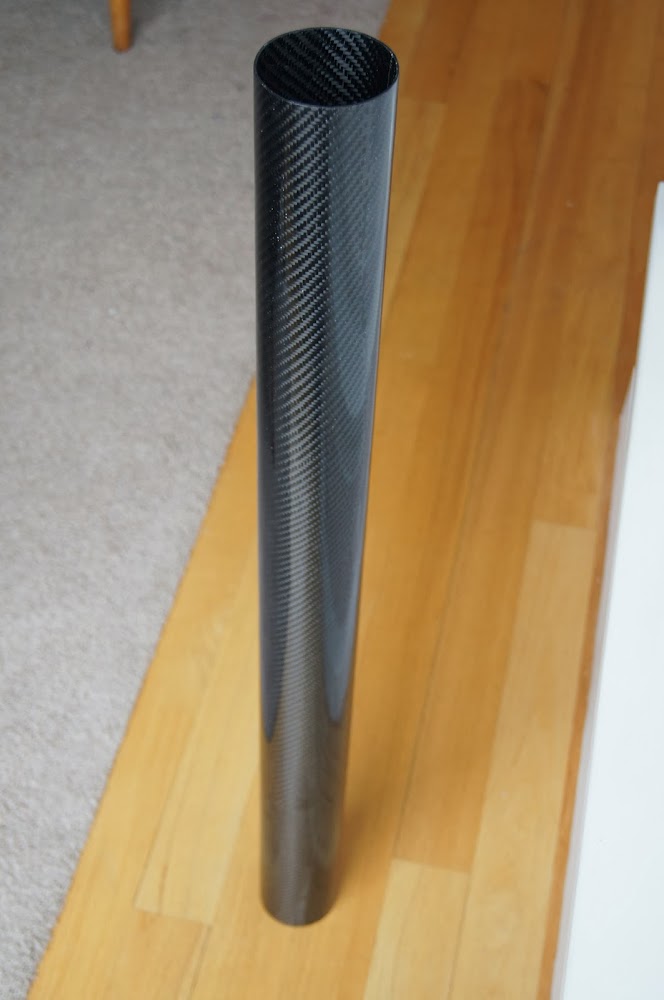
Well, I finished up the tube with a coat of clear gloss. Its not perfect, but its good enough for me. Maybe just a bit more sanding....
DSC08100.jpg

DSC08103.jpg

DSC08105.jpg


Alex
 
Last edited:
Well, I finished up the tube with a coat of clear gloss. Its not perfect, but its good enough for me. Maybe just a bit more sanding....


Alex
If ANYBODY asks why you are called the carbon yeti...

:)


That looks freaking awesome, man! Want to make me a few 29mm tubes?
:)
 
Last picture is posted twice.

Other then that the tube looks terrific! I will get some details later on FB.
 
No it isn't. The first picture has a power outlet in the back, the second doesn't.
:)

Details, Details...
:rofl:
 
If ANYBODY asks why you are called the carbon yeti...

:)


That looks freaking awesome, man! Want to make me a few 29mm tubes?
:)
Once I get a 29mm mandrel...
Last picture is posted twice.

Other then that the tube looks terrific! I will get some details later on FB.
Thanks. I changed it.
No it isn't. The first picture has a power outlet in the back, the second doesn't.
:)

Details, Details...
:rofl:
I changed it.
Last edited by Aksrockets; Today at 03:07 PM.
Details, Details....

Alex
 
I understand the need you feel to make it better; flaws in CF rarely show up in photographs so I'm guessing the tube looks less incredibly awesome in person.
 
First off - GREAT work! That tube looks fantastic. Your carbon skills keep getting better and better. I've got a couple of airframes in the works that I just might give up on and send them off to you to get done right.

I just noticed something in this pic, that I want some info about:

Tell me about that nosecone tip in the photo. I see it has a shoulder on it - UNLIKE any of the tips on my FWFG cones (I have three of them). On mine, it drives me completely insane getting them to go on straight, and/or to stay on straight. I'm talking foaming-at-the-mouth, screaming-and-shaking-my-fist-at-the-heavens kinda nuts. Very frustrating. I wish they had a shoulder on them like yours. So, what's the deal with yours?

On another note: I won't be making it up to the Feb UROC launch - gotta go to the dentist, have him torture me, and take all my money. Way more fun than flying rockets, let me tell ya.

s6
 

Latest posts

Back
Top