You are using an out of date browser. It may not display this or other websites correctly.
You should upgrade or use an alternative browser.
You should upgrade or use an alternative browser.
Letting CA dry - what materials won't get stuck?
- Thread starter lcorinth
- Start date


Help Support The Rocketry Forum:
This site may earn a commission from merchant affiliate
links, including eBay, Amazon, and others.
- Joined
- Jan 19, 2009
- Messages
- 3,447
- Reaction score
- 1,328
wax paper
RocketGeekInFL
Well-Known Member
- Joined
- Nov 22, 2013
- Messages
- 3,283
- Reaction score
- 2,984
lcorinth
Well-Known Member
- Joined
- Aug 5, 2014
- Messages
- 1,022
- Reaction score
- 46
wax paper
I did a little experiment with plastic wrap - and due to the heat the CA generated, it melted the plastic onto the wood! Wouldn't this be the case with wax paper?
conman13
Well-Known Member
- Joined
- Sep 18, 2013
- Messages
- 2,703
- Reaction score
- 77
I did a little experiment with plastic wrap - and due to the heat the CA generated, it melted the plastic onto the wood! Wouldn't this be the case with wax paper?
nope
rbelknap
Well-Known Member
- Joined
- Feb 24, 2012
- Messages
- 1,834
- Reaction score
- 227
Not to derail the thread, but I'm going to derail the thread....
When I read the topic title, I thought to myself: "CA is already pretty dry. We need some frelling rain."
Now to get this thread back on track - are the fins to small to stick a pin in the root edge of them? I've made quick stands with pins and a chunk of foam before.
When I read the topic title, I thought to myself: "CA is already pretty dry. We need some frelling rain."
Now to get this thread back on track - are the fins to small to stick a pin in the root edge of them? I've made quick stands with pins and a chunk of foam before.
RocketGeekInFL
Well-Known Member
- Joined
- Nov 22, 2013
- Messages
- 3,283
- Reaction score
- 2,984
I do the pins and foam to dry fins often. It is a great technique!!
We need some frelling rain."
What kind of dren talk is that?!?? :eyeroll:
lcorinth
Well-Known Member
- Joined
- Aug 5, 2014
- Messages
- 1,022
- Reaction score
- 46
...are the fins to small to stick a pin in the root edge of them? I've made quick stands with pins and a chunk of foam before.
They are pretty thin, but I'll try this next time. I already did it earlier this evening, with the wax paper method. I had no problem, other than that my nitrile gloves got stuck, and a bit ripped off and stuck to a fin, after which I had to sand what of it I could off the fin.
I thought nitrile was the go-to glove for CA, because it wasn't supposed to stick.
Could've been worse. Could've been my finger.
Pat_B
Well-Known Member
- Joined
- Jan 18, 2009
- Messages
- 922
- Reaction score
- 2
It seems like wax paper doesn't have nearly as much was on it as it did years ago.
One other option is to buy a silicone cooking mat or some thicker Mylar sheet from a supplier. The Mylar sheet can also be waxed with a mold release which is nice because it provides a double layer of protection.
One other option is to buy a silicone cooking mat or some thicker Mylar sheet from a supplier. The Mylar sheet can also be waxed with a mold release which is nice because it provides a double layer of protection.
luke strawwalker
Well-Known Member
- Joined
- Jan 18, 2009
- Messages
- 9,147
- Reaction score
- 40
They are pretty thin, but I'll try this next time. I already did it earlier this evening, with the wax paper method. I had no problem, other than that my nitrile gloves got stuck, and a bit ripped off and stuck to a fin, after which I had to sand what of it I could off the fin.
I thought nitrile was the go-to glove for CA, because it wasn't supposed to stick.
Could've been worse. Could've been my finger.
Nope... CA will stick to them...
Nitrile gloves ARE recommended for EPOXY work because they won't allow the chemicals in epoxy to leach through and into your skin, unlike latex gloves which have microscopic "pores" in them which will allow the epoxy chemicals to leach through...
Later! OL JR
")
PS. Bad thing about CA-ing fins BEFORE attaching them to your rocket-- the CA seals off all the pores in the wood grain that allows the wood glue to soak into the grain and make a strong bond between the wood fin root and the paper tube. This can be partially offset by applying a layer of wood glue to the fin root edges and allowing it to dry BEFORE applying the CA to seal the grain of the wood. That allows the wood glue "first dibs" on soaking into the wood as far as it can BEFORE the CA soaks in and seals it all off. This also prepares the fins for a good, fast, double-glue joint attachment to the tube when you're ready to put the fins on the rocket.
That's one big benefit of just papering the fins... the white glue doesn't seal off the grain of the wood so that the wood glue can't penetrate it... the paper adds strength, covers the grain of the wood, and doesn't require the extensive sanding necessary after applying CA to the wood raises all the "wood fibers" and hardens the sawdust on the surface of (even well cleaned) wood, turning it all into concrete-like concretions on the fin's surface...
Just throwing out alternatives...
Later! OL JR
rbelknap
Well-Known Member
- Joined
- Feb 24, 2012
- Messages
- 1,834
- Reaction score
- 227
This can be partially offset by applying a layer of wood glue to the fin root edges and allowing it to dry BEFORE applying the CA to seal the grain of the wood. That allows the wood glue "first dibs" on soaking into the wood as far as it can BEFORE the CA soaks in and seals it all off. This also prepares the fins for a good, fast, double-glue joint attachment to the tube when you're ready to put the fins on the rocket.
That's a good idea. I hadn't really ever thought of doing it that way. Of course, I don't usually seal my fins with CA, I paper them and seal just the edges (except the root) with CA. I used the pin and foam trick when filling the fin grain on fins with thinned wood filler, but I like papering them much better.
I'll still harden my balsa nose cones with CA, but that's a different thread.
luke strawwalker
Well-Known Member
- Joined
- Jan 18, 2009
- Messages
- 9,147
- Reaction score
- 40
That's a good idea. I hadn't really ever thought of doing it that way. Of course, I don't usually seal my fins with CA, I paper them and seal just the edges (except the root) with CA. I used the pin and foam trick when filling the fin grain on fins with thinned wood filler, but I like papering them much better.
I'll still harden my balsa nose cones with CA, but that's a different thread.
I sand the fin to the desired profile (usually "teardrop" but sometimes "wedge" depending on the rocket-- scalers usually have a wedge profile) then I glue them to a piece of printer paper using a VERY THIN layer of white glue, with the LEADING EDGE toward the very center of the paper. (I usually cut a square of paper big enough to cover the entire fin on both sides with at least a half inch all the way around. Then I apply a second coat of glue to the other side of the fin or paper, and ROLL THE FIN OVER THE LEADING EDGE and press it down onto the other half of the paper. Then I burnish the paper down TIGHT to the wood, squeezing out ANY excess glue so that the paper is completely smooth and as tight to the surface as possible... flip and repeat, burnishing everything down tight with a Sharpie marker. Then I run the rounded end of the marker around the periphery of the fin, burnishing the paper down to itself, all the way around the fin, flip and repeat. Allow the fin to dry overnight, then cut away the excess paper with a SHARP hobby knife, all the way around it (except the leading edge). This way, the fin is COMPLETELY papered, with NO exposed balsa AT ALL, therefore NO need of the additional step of hardening exposed edges with CA and for locking the paper to the balsa along the edges. Also NO possibility of that sealing giving out over time and the 200mph plus slipstream ripping the paper loose from the surface of the fin in flight, since it completely covers the leading edge. The only exposed balsa is along the root and tip edges, basically-- I usually try to trim the paper so it's glued to itself along the trailing edge.
best of luck! OL JR
I'm going to seal a few small, thin balsa fins with some thin CA. What can I set the fins on while they dry, so that they won't get stuck?
Late reply on this but I still use Wax paper with a small trick.
Instead of using the Wax Paper laid flat on the table with fins laying in CA I fold a short inverted V about 3/8" to 1/2" high so to the CA soaked fins only make contact at two points (Tip and somewhere near the leading edge).
I generally use Medium or thick CA, laying the fins in a small puddle on the flat part of the wax paper then using a toothpick or two move the completely coated fins to rest and dry on the 3/8" to 1/2" raised wax paper ridge. Sometimes the dried fin will have a small ridge where they laid on the folded Wax Paper but this is easily sanded out during the finishing process anyway.
Last edited:
lcorinth
Well-Known Member
- Joined
- Aug 5, 2014
- Messages
- 1,022
- Reaction score
- 46
That's one big benefit of just papering the fins... the white glue doesn't seal off the grain of the wood so that the wood glue can't penetrate it... the paper adds strength, covers the grain of the wood, and doesn't require the extensive sanding necessary after applying CA to the wood raises all the "wood fibers" and hardens the sawdust on the surface of (even well cleaned) wood, turning it all into concrete-like concretions on the fin's surface...
OL JR
The fins on this particular rocket are really long and thin, (by long, I mean the root cord), and since I've never papered a fin before, I decided not to try it with this one.
But since we're talking papering fins, what adhesive do you prefer? I've heard rubber cement, wood glue, even glue sticks. I did try a papering experiment with a piece of scrap balsa I cut into a quickie fin shape. I tried Apogee Components' method of using wood glue, then using fingers to squeegee off most of the glue. But it got so thin, it just dried to my fingers and got all rubbery. Didn't go so well - perhaps I needed to leave more of it on. But I want to try papering soon.
Also, do you prefer the wraparound papering technique, or do you just use two pieces of paper, one for each side? I guess your answer might depend on whether you round or airfoil the fins, or just leave them square...
lcorinth
Well-Known Member
- Joined
- Aug 5, 2014
- Messages
- 1,022
- Reaction score
- 46
I've never given it a try, and don't have CA on hand at the moment....
Rub baking soda into the wood grain, then hit it with thin CA. I bet you'd be able to sand it almost immediately.
KO
I've heard of doing this. Might try it. I wonder how well it works.
luke strawwalker
Well-Known Member
- Joined
- Jan 18, 2009
- Messages
- 9,147
- Reaction score
- 40
The fins on this particular rocket are really long and thin, (by long, I mean the root cord), and since I've never papered a fin before, I decided not to try it with this one.
But since we're talking papering fins, what adhesive do you prefer? I've heard rubber cement, wood glue, even glue sticks. I did try a papering experiment with a piece of scrap balsa I cut into a quickie fin shape. I tried Apogee Components' method of using wood glue, then using fingers to squeegee off most of the glue. But it got so thin, it just dried to my fingers and got all rubbery. Didn't go so well - perhaps I needed to leave more of it on. But I want to try papering soon.
Also, do you prefer the wraparound papering technique, or do you just use two pieces of paper, one for each side? I guess your answer might depend on whether you round or airfoil the fins, or just leave them square...
I just use plain old white glue... works perfect.
I cut and stack sand the fins and sand them to the desired airfoil shape (usually teardrop, but sometimes wedge for scale rockets that had them where they look more appropriate, despite the additional drag... rarely I just round over the leading edge, especially if they're THIN fins like 1/16 balsa or something). I then take regular printer paper, and cut it into squares large enough so that BOTH sides of the fin can be covered at once with the fin rolled over the leading edge. IF you want to make sure, lightly trace the fin outline onto the paper, gently flip it over the leading edge without allowing it to slip, and trace it again. This helps to get everything located properly the first time you do it, in fact. I like to have at LEAST 1/2 inch to an inch of excess paper all the way around the fin.
Take your regular white glue and smear a little onto the paper. With your finger, rapidly spread it as thin as you can get it, across the ENTIRE SURFACE of the paper that will be glued to the fin on ONE SIDE. (You CAN do both sides if it's a fairly small fin and you can work quickly-- I recommend to start you do ONE SIDE AT A TIME. Basically, ensure that the ENTIRE area you outlined earlier is completely and uniformly coated with as THIN a coat of white glue as you can possibly get... the excess glue can extend beyond the outline-- in fact, this is better... just make sure the glue coating is THIN-- this is the real trick to getting it to work well. Once you've quickly spread the glue thinly across the entire surface of the paper where the fin will go (inside the outline), take the fin and press it FIRMLY down onto the paper. Now apply more glue either to the fin itself or to the other side of the paper, working it out as THINLY as possible, covering the entire surface where the fin and paper will be pressed together, extending past the outline if you're applying the glue to the paper. Then, carefully fold the fin over the leading edge, just roll it over, right onto the other side of the paper, and press it down firmly. Using a nice rounded smooth object (I prefer a sharpie marker for this) firmly but gently burnish the paper down to the wood, sort of like a rolling pin, but without the rolling action-- just slide the smooth plastic sharpie pen barrel across the surface of the wood/paper, starting from the leading edge and working your way back toward the trailing edge, and outward in both directions from the center to the root and tip edges. This will squeeze all the excess glue out from between the paper and wood and give a MUCH stronger bond. It sounds counterintuitive, but actually, the thinner the glue, the stronger the bond! This will also ensure that the ENTIRE SURFACE of the paper is STRONGLY bonded to the wood of the fin. If you spread the glue thinly as recommended, this step won't take but a few seconds, and the fin will be sharp and tightly covered with paper. If you have too much glue, the paper can wrinkle or even tear from getting too wet and being worked... next time, use less glue and get it thinner... Once the entire top side is burnished down, I usually take the rounded tip of the sharpie marker and run it around the edges of the paper, pressing it down to itself, creasing it over the tip, trailing, and root edges of the fin, sealing the fin into the 'paper sandwich' like one of those vacuum seal food bags or space saver bags... Then flip the fin over, and repeat the burnishing process the same way on the other side of the fin, including the "go around the outline" of the fin tip, trailing,and root edges.
Set the fin aside to dry, usually overnight. Next day, trim the excess paper off the fin down to about 1/4 inch from the wood itself on the tip, trailing, and root edges. Then, using a SHARP hobby knife (new blade is best) CAREFULLY shave the paper away down to the edge of the wood... just gently slice it away until the blade is flat against the edge of the wood. Now, dress the final cut and shave off any stray "paper hairs" by GENTLY drawing the fin across a piece of 220 grit sandpaper laid flat on the table, tilting the fin at a very slight angle so the very paper edge is against the sandpaper. One or two LIGHT strokes across the paper should do it. Flip the fin and repeat, on both sides of each of the tip and root edges. If the fin was sanded to a teardrop shape, usually the trailing edge will have the paper glued to itself right up to the edge of the wood, and I try to leave just a tiny bit of this "glued to itself paper" along the trailing edge, encapsulating the fin.
This method has some distinct advantages... first, it uses common building materials, it's inexpensive, doesn't require special materials or complex procedures, and it completely covers the leading edge of the fin with paper, so there's no possibility of the slipstream ripping the paper away from the fin, since there is NO exposed paper/wood joint there, hardened by CA or not, a joint can STILL rip loose given the right circumstances... no joint=no problem. This method adds VERY VERY little weight-- surprisingly little, in fact... on one build I weighed the fins before and afterward... it was less than 1/3 gram per fin! The strengthening of the fin is substantial... they're not bulletproof, but about as close as you can get to it with balsa and paper... (hey, if you want an antitank round, just go with fiberglassed plywood and call it good LOL
) Best of all, this method COMPLETELY fills the exposed grain of the fin and leaves you with a nice, smooth, papered surface ready to be primered, sanded, and painted, once the fins are glued onto the rocket... There's also no danger of sealing off the pores of the wood and getting a poor fin/body tube joint like you get with CA glue applications to seal paper seams to the fin along the leading edge. I experimented with different ways of doing it and this is the best results I've found and the easiest method FOR ME. Others prefer pre-glued label paper, or wood glue, or gluing paper to the sheet wood and then cutting the fins out, or papering the fin and then sanding in the airfoil and sealing the paper edges down with CA, and if it works for them, more power to them, but honestly since I started doing this on my builds, I don't do it any other way... just too simple and the results are too good to bother with anything else, and none of the drawbacks of goofy CA and fumes and mess and exposed grain along the airfoiled edges and exposed paper joints in the slipstream and all that...
The main trick is to use JUST ENOUGH glue to stick the paper and wood together... not so much the paper will soften and tear, not so little that it dries out before the fin is glued down to it. The nice thing about PVA glue (white glue) is that, you can remelt the glue with a hot clothes iron (don't use one you use on good clothes, because if any glue cooks onto it and then gets on clothes it can ruin them-- use an old one, or one you pick up for a buck at a yard sale, or a "covering iron" for model airplane iron-on coverings) and iron the paper down onto the fin-- PVA glue will remelt with an application of heat (NO steam!!!) and "weld" the paper to the wood... (this same method has been used to make homemade body tubes, using strips of paper which have been coated with a thin layer of white glue and allowed to dry completely before rolling them around a tube mandrel, and then applying a hot iron to soften the glue and weld the layers of wound paper together... using this method, there's really no reason why one couldn't apply white glue to paper, let it dry completely, and then IRON ON the paper to the fin on one side, roll the leading edge over the face of the iron to weld the paper down to it as the fin is flipped, and then iron the paper down to the other side of the fin. I haven't tried it that way myself, but the theory has been used in other applications as mentioned...
If you leave the edges of the fins square, it's a LITTLE more difficult to roll over the leading edges and get a nice, crisp, straight crease along the leading edge-- and you want to make sure there is as little "excess glue" trapped between these "double creases" on either side of the thickness of the fin as possible. I did flat slab fins on a TLP kit (TLP Maverick) this way, and it's a little more trouble, but doable. You just have to be careful to get the paper to crease smoothly along one corner edge as you roll it onto the leading edge, get the paper burnished down to the edge of the balsa, and then crease it again along the second corner edge as you roll the paper over onto the other side... sort of an extra step in there I guess... but it works... and the balsa is COMPLETELY contained on three sides!
Don't bother with yellow wood glue-- the stuff it TERRIBLE in this application-- when spread thinly, it dries FAR too fast and gets WAY too tacky too quickly (as you experienced). PLUS, yellow wood glue is actually not as strong bonding paper to wood as white glue is, when it comes down to it... Spray adhesives are messy as all getout, and usually not permanent. Rubber adhesive and contact adhesive and stuff is messy, hard to apply, and hard to work with, and may or may not be permanent, and frankly, just don't bond paper to wood as well as white glue does. Label paper adhesive isn't meant to be permanent either. Done right, white glue papering of fins WILL be permanent... as permanent as things get in rocketry anyway... CA gives off fumes, can get hot, and seals off the pores of the wood so that wood glue cannot penetrate to give a good strong bond when you glue the fins to the rocket... If you're going to use it, make sure you do a double-glue joint and apply a layer of wood glue to the fin root edge first and let it dry so that it's had first dibs on soaking into and bonding with and sealing off the pores of the wood to its content first... this will ensure a good double-glue joint bond between the fin and body tube. Better yet, skip the CA entirely and save it for hardening cones or transitions, where it really shines...
later and good luck! OL JR
lcorinth
Well-Known Member
- Joined
- Aug 5, 2014
- Messages
- 1,022
- Reaction score
- 46
I cut and stack sand the fins and sand them to the desired airfoil shape (usually teardrop, but sometimes wedge for scale rockets that had them where they look more appropriate, despite the additional drag... rarely I just round over the leading edge, especially if they're THIN fins like 1/16 balsa or something).
OK, I'm glad you mentioned airfoiling fins together. I'm not sure I can envision how this is properly done. By "stack sanding," do you mean you sand them side by side, so that the profiles are the same, or is there a way of stacking them on top of one another so that they get the same shape? That "stack" is what I'm having a hard time imagining.
I just did my first airfoils, and they're not bad, but they are not perfect. I measured where I wanted the bevels to begin and end on each fin and tried to sand an even angle toward either the leading or trailing edge (depending on which edge I was working on). I got 'em pretty good, but from fin to fin I'm sure there's some variation, and I found it hard to get a straight sanded edge (I was trying to keep it simple this time, and just put a bevel on. As it turned out, I got a bit of a curve, even though I used a sanding block).
I'll post pictures when I'm done with the rocket so you can see what I've done with them. But I'd like to know what people who are really good at airfoiling consistent fins are doing.
luke strawwalker
Well-Known Member
- Joined
- Jan 18, 2009
- Messages
- 9,147
- Reaction score
- 40
OK, I'm glad you mentioned airfoiling fins together. I'm not sure I can envision how this is properly done. By "stack sanding," do you mean you sand them side by side, so that the profiles are the same, or is there a way of stacking them on top of one another so that they get the same shape? That "stack" is what I'm having a hard time imagining.
I just did my first airfoils, and they're not bad, but they are not perfect. I measured where I wanted the bevels to begin and end on each fin and tried to sand an even angle toward either the leading or trailing edge (depending on which edge I was working on). I got 'em pretty good, but from fin to fin I'm sure there's some variation, and I found it hard to get a straight sanded edge (I was trying to keep it simple this time, and just put a bevel on. As it turned out, I got a bit of a curve, even though I used a sanding block).
I'll post pictures when I'm done with the rocket so you can see what I've done with them. But I'd like to know what people who are really good at airfoiling consistent fins are doing.
Here's the process with pictures... should help explain...
https://www.rocketryforum.com/showt...d-Eagle-Beta-Build-Thread&p=118648#post118648
https://www.rocketryforum.com/showt...d-Eagle-Beta-Build-Thread&p=118654#post118654
https://www.rocketryforum.com/showt...d-Eagle-Beta-Build-Thread&p=118657#post118657
https://www.rocketryforum.com/showt...d-Eagle-Beta-Build-Thread&p=118660#post118660
When I say "stack sand" I'm talking about the process where one takes the cut out fins, stacks them up into a single stack, and then sand them against a sheet of sandpaper on the tabletop, each side at a time, keeping them carefully clamped together... this will sand all the fins down until they are exactly the same size and shape. THEN you can carefully sand in the airfoil you desire. I tyically just round the leading edge (doesn't take long at all) and then "feather" the trailing edge, removing as close to half the thickness of the fin trailing edge from each side to get a "knife" edge... this is the most aerodynamic shape for our typical model rockets, and fairly easy to do. You CAN get by with just simply rounding the leading and trailing edges and STILL cut air drag by about 75% over just square shouldered "slab fins" with no rounding whatsoever... Smoothing the rear trailing edge to a "feathered" (knife edge) shape will reduce drag another 10-15% over just rounding the trailing edges, but rounding them is much easier, so it's just up to what you want to do... They'll fly just fine with slab edges, but the aerodynamic drag is much higher, reducing maximum altitude attained by the rocket in flight... but in some cases, you don't WANT maximum altitude... and sanding in airfoils CAN cause some problems, especially if they are noticeably non-symmetrical... (nearly flat on one side and much more curved on the other side-- this will cause the fin to act like a wing and create classical aerodynamic lift-- that is, an aerodynamic force perpendicular to the fin's surface away from the flat surface and toward the curved surface. This manifests itself as a rotational force on the rocket, causing it spin on the way up... this lowers peak altitude by robbing energy that could have been exchanged for altitude and converting it into rotational energy of the rocket, as well as increasing induced drag on the fin outer tip edges... (vortexes at the fin tips).
Anyway, that's stack sanding and a basic explanation of the fin shapes and effects on aerodynamics...
Oh, one other thing.... cutting the leading and trailing edges of your launch lug to a slight angle (anything up to about 45 degrees) will DRASTICALLY reduce aerodynamic drag on your rocket... plus it looks really cool... just use a sharp hobby knife and cut the end of the lug off at a 45 degree angle on both ends... works great!
later! OL JR
lcorinth
Well-Known Member
- Joined
- Aug 5, 2014
- Messages
- 1,022
- Reaction score
- 46
Oh, one other thing.... cutting the leading and trailing edges of your launch lug to a slight angle (anything up to about 45 degrees) will DRASTICALLY reduce aerodynamic drag on your rocket... plus it looks really cool... just use a sharp hobby knife and cut the end of the lug off at a 45 degree angle on both ends... works great!
later! OL JR
Oh, that's cool! I'd never heard of that.
What you say about airfoils and drag all makes sense to me. I've done a lot of reading on this subject, but it's the actual manual act of sanding the correct shape that I'm currently trying to improve on.
Here's a picture of the profile of my current fins.
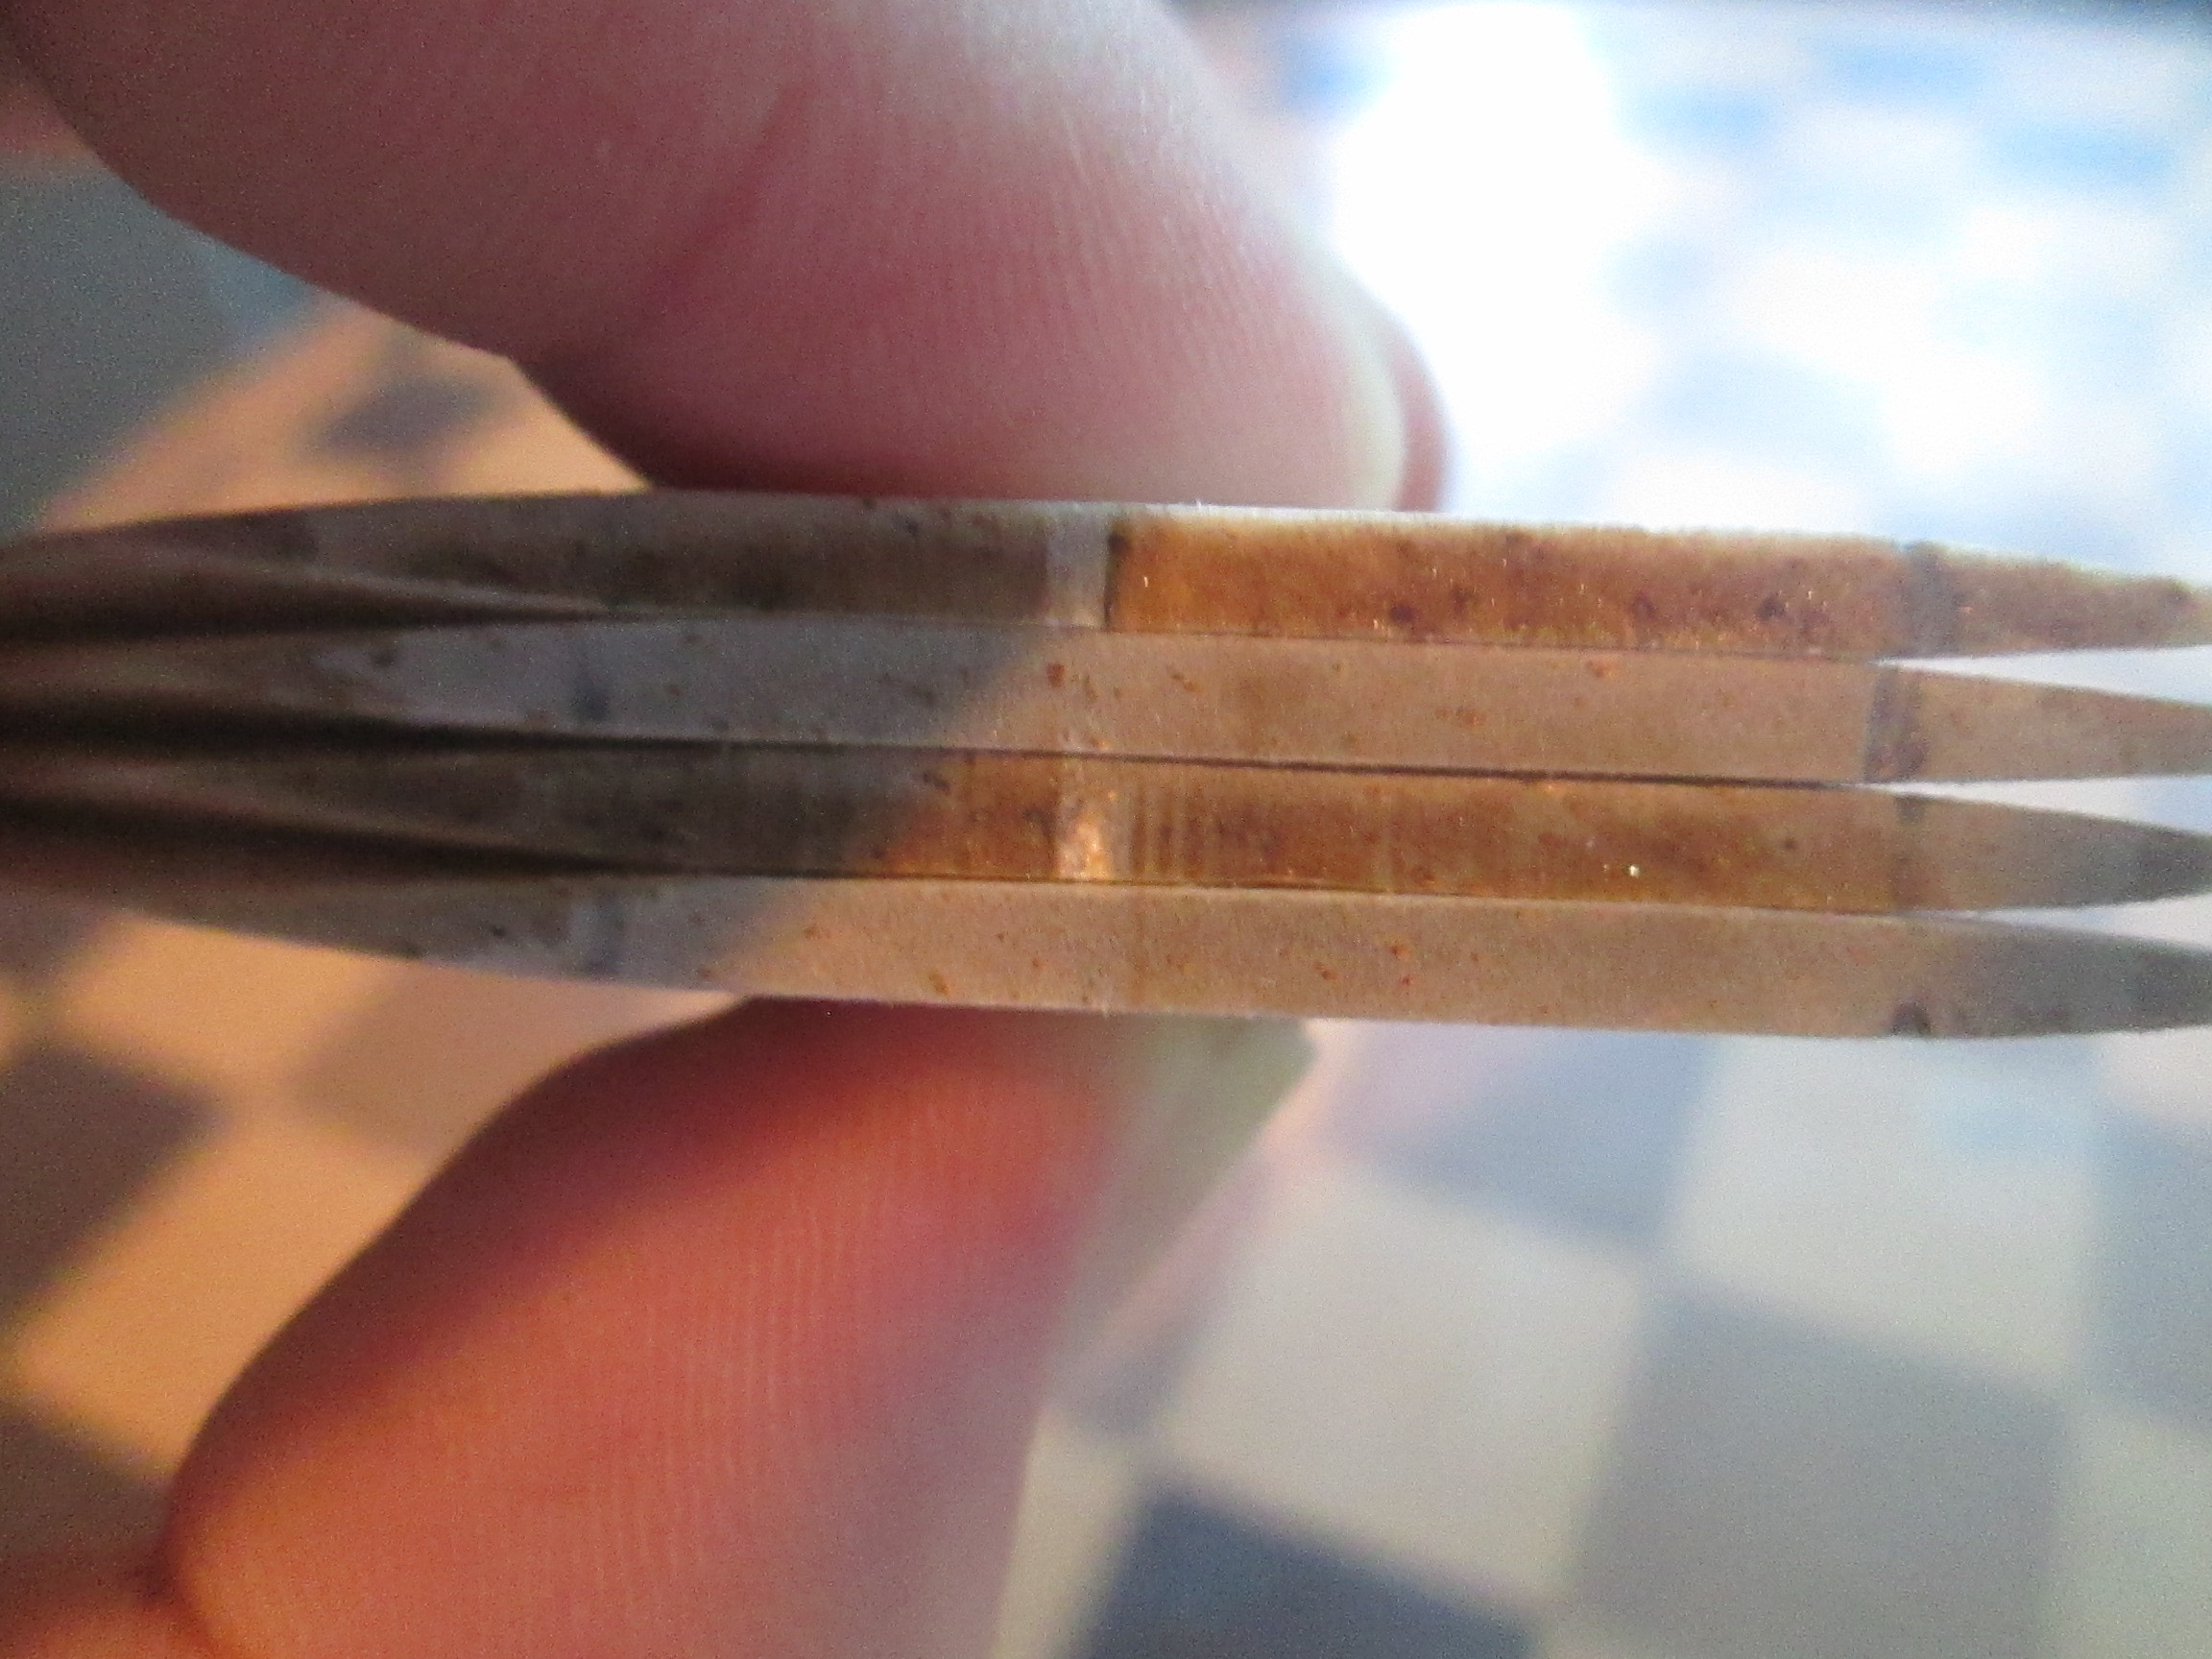
As you can see, the leading edge is a lot sharper than it probably needs to be. That's because originally, I was trying for a simple leading/trailing bevel, and then ended up with this. It's not perfect, but I have to say, for a first try, I'm pretty happy with it.
[Edit] Oh, and that's up to 45 degrees from the top of the lug (parallel to the openings in the body tube), or from the side?
Last edited:
Similar threads
- Replies
- 27
- Views
- 794