Rich Holmes
Well-Known Member
- Joined
- Jul 24, 2013
- Messages
- 720
- Reaction score
- 2
Last edited:


And who says I don't?you gone have more a problem, when you gone have one like this and want a bigger one
View attachment 144791
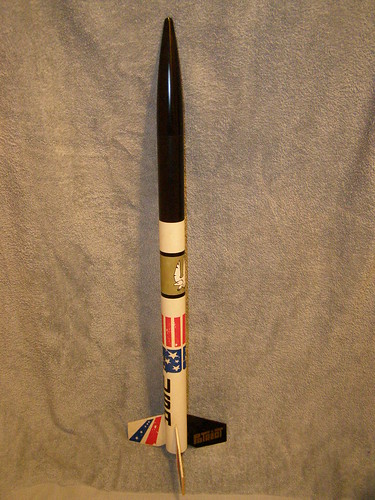

THERE IS NO PROBLEM I CAN STOP MAKING PATRIOTS ANY TIME I WANT TO
 oint::rofl:
Do you mean this one?Where can I find photos of the Patriot with retro paint? I have a 1/2 scale and would like to paint it in retro colors. Thanks
Enter your email address to join:


