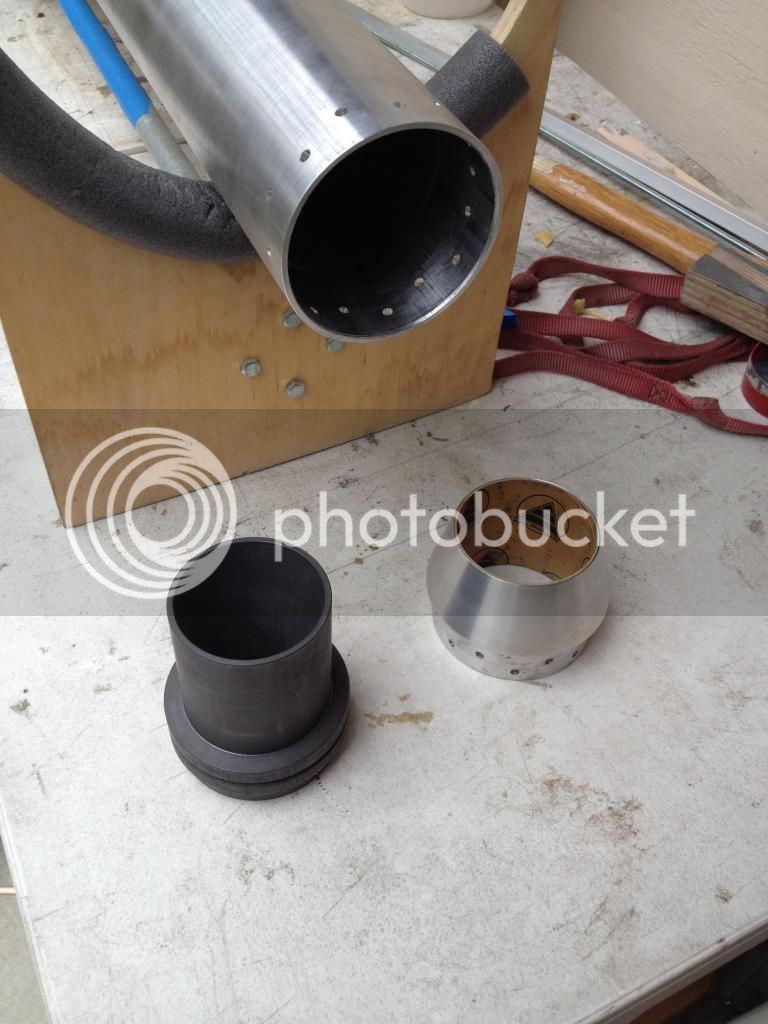
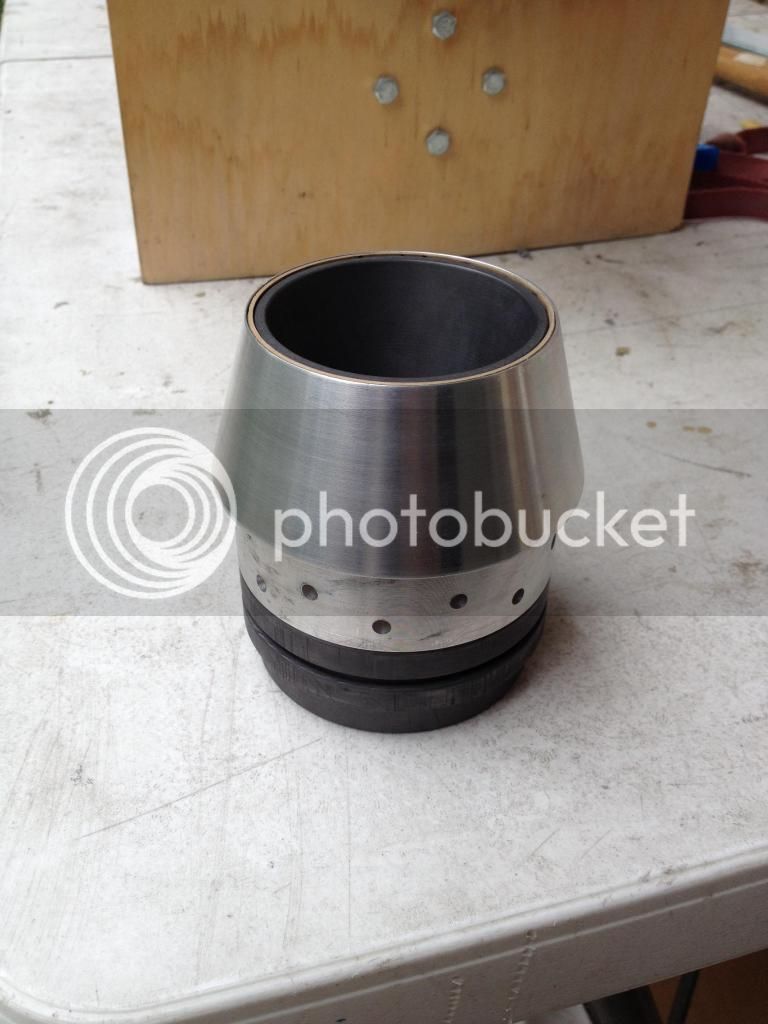
I'm preparing to weld the forward closure. If you missed it earlier in the thread, the plan is to weld this length of aluminum tubing to this aluminum round stock. The tubing will serve as both the AV bay, and the place to anchor the forward retention pins. After welding, they will both be turned down to the correct diameter.
Compared to steel, aluminum is very tough to weld. It's much more finicky, it cracks and it has a tough oxide layer. I've been practicing my aluminum TIG welding, and I think I'm about ready. In preparation tonight, I meticulously cleaned them with a stainless steel pad to remove any grime and wiped them down with Acetone. That should give me a good, clean weld. Since I'll be trying to achieve full penetration, I will be using a purge gas setup.
Here are the weld parameters I'll be using.
Welder: Lincoln Square Wave 175
Filler Rod: 4043 3/32
Amps: 120-135
Amperage control: foot pedal.
Shielding gas: 20cfh Argon
Purge gas: 5-10cfh Argon
Tungsten: 3/32 pure or 3/32in 2% thoriated.
They'll be welded either tomorrow or sometime next week. Wish me luck!
Because of the nature of this design, it's not likely that a poor weld will result in a failure, however I still want to do a good job.
View attachment 248229
Alex


")